A brake system wheel cylinder is used to push against a set of brake shoes to help stop the car.
How Does it Work?
A brake system wheel cylinder is designed to receive hydraulic pressure from the brake master cylinder and transfer it to the rear brake shoes and drum, this helps stop the vehicle when the brake pedal is applied.
What Goes Wrong?
Filled with brake fluid the wheel cylinder is subject to heat and moisture. This can create rust inside the wheel cylinder which will cause the cup seals (2) to fail and leak brake fluid or seize up and not work at all, brake fluid on the shoes can cause the brakes to grab and lockup. The front brake system will still work, with a slightly lower brake pedal position and diminished brake operation. Once this occurs the wheel cylinder and the rear brake shoes will need to be replaced due to the brake fluid contamination.
What Will it Cost?
Typically a wheel cylinder will cost between $11.00 and $25.00 (US) each on Amazon and the shop time labor is approximately 2.0 hours. If exact labor times or procedures are needed you can ask our experts to supply you with the information (free), or consult an online resource such as AllData DIY (pay) but this guide and video will be sufficient in most cases.
Let's Jump In!
When a wheel cylinder is being replaced it is normal for the
rear brake shoes to
be replaced as well. Brake shoes contain asbestos so avoid using compressed
air to clean, we use water from a hose which helps contain dust partials while washing
brake dust away, spray the drum and components, allow it to dry before beginning.
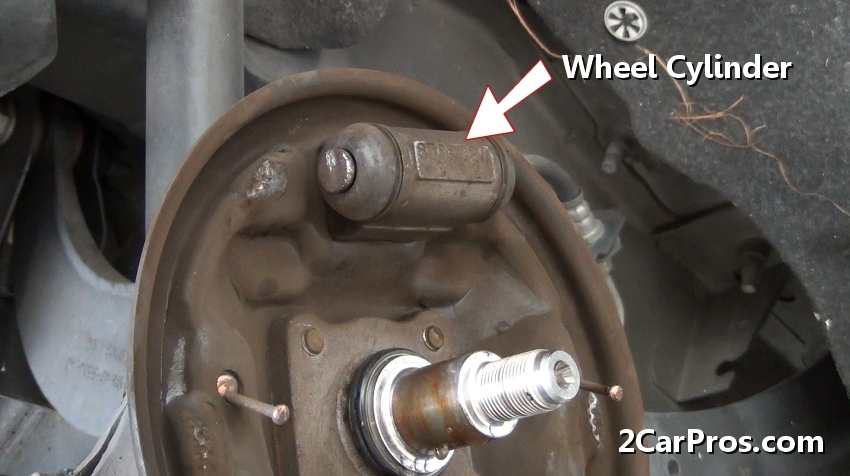
Wear a dust mask and gloves to help eliminate harmful contaminants. In the example
below the brake shoes have already been removed. This is what the wheel cylinder
looks like when it is ready to be replaced.
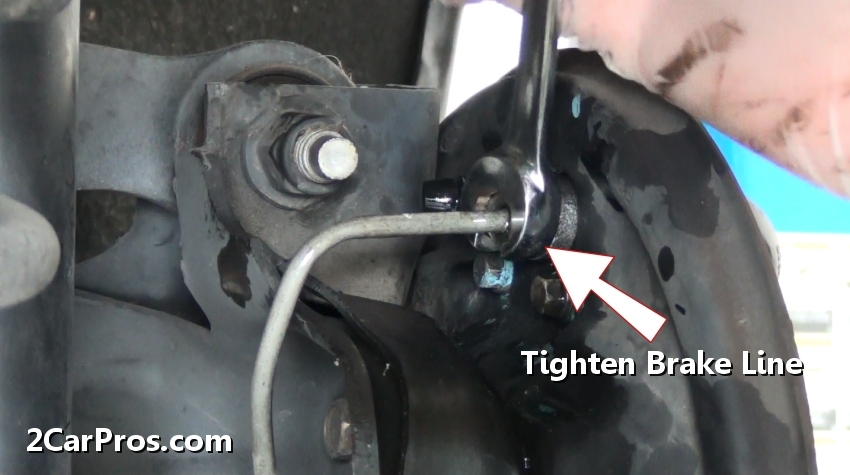
The first step is to loosen the brake line from the wheel cylinder,
using a line wrench will help you avoid
rounding the brake line fitting, center the wrench on the fitting completely before
applying pressure. Once loosened, brake fluid will start to drip out so have a shop
towel ready.

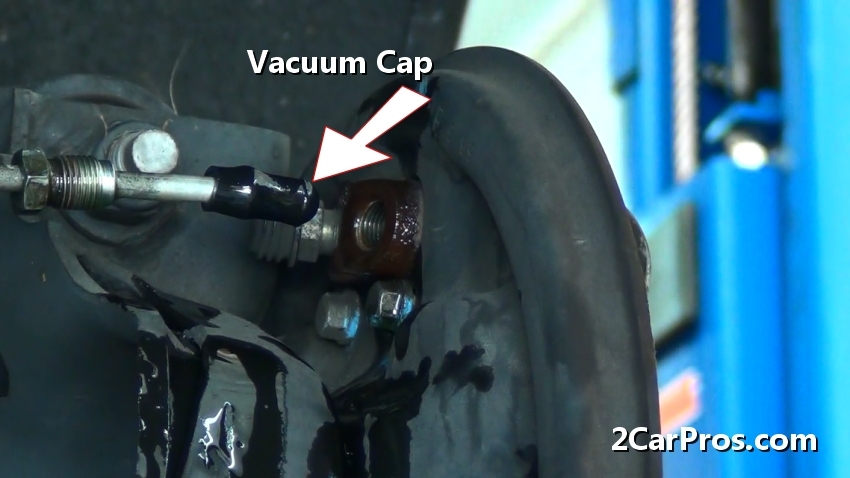
Quickly use a vacuum cap to stop the brake fluid from flowing once the line is
completely removed. This is necessary to stop the brake fluid from leaking so as
to not empty the brake
master cylinder, if this does occur the brake master will need to be bled.
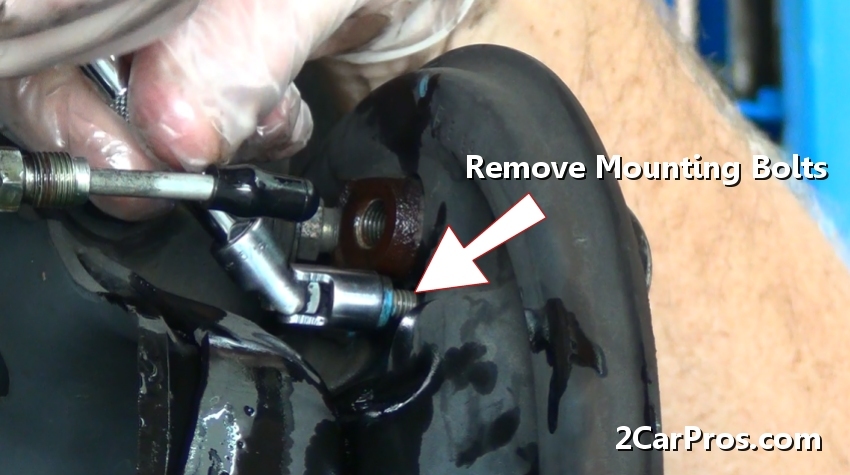
Use a wrench or socket to remove the wheel cylinder mounting bolts (2), in this
case the bolt size is 8mm, rarely wheel cylinders are held in place by a snap ring.
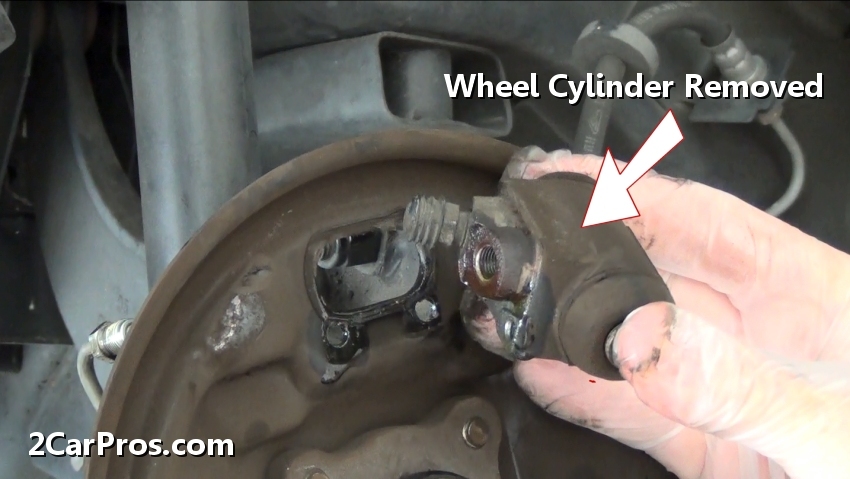
Gasp the wheel cylinder firmly and remove it from the backing plate.
Watch the Video!
After the video please continue with the remainder of the guide to glean additional information. Complete rear brake job video.
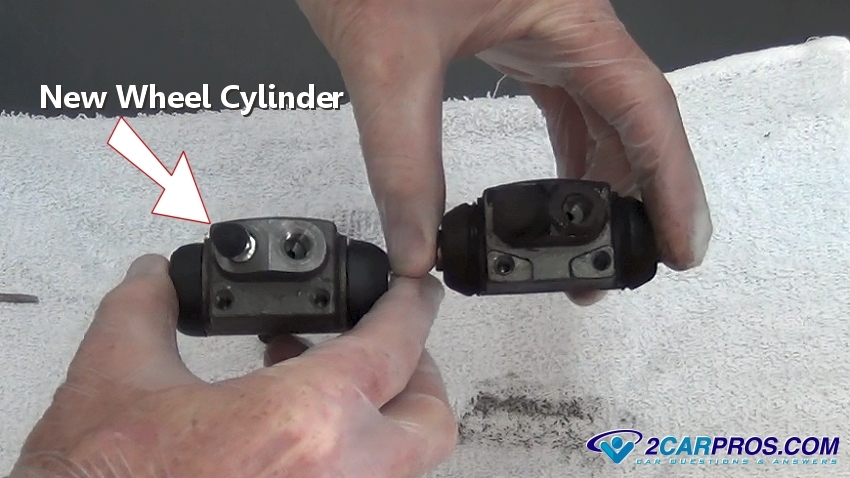
Remove the new wheel cylinder from its box to match up to the old wheel cylinder
to the new unit, they should match identically.
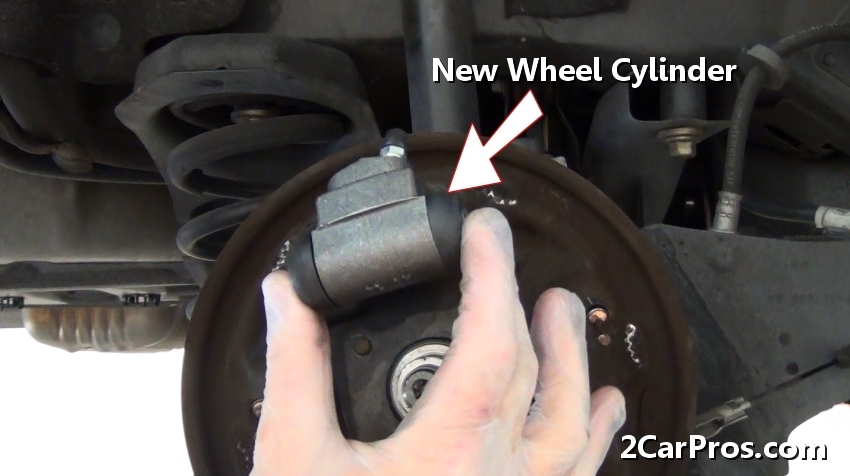
Insert the wheel cylinder into the backing plate and secure it by installing
the mounting bolts (hand tight).
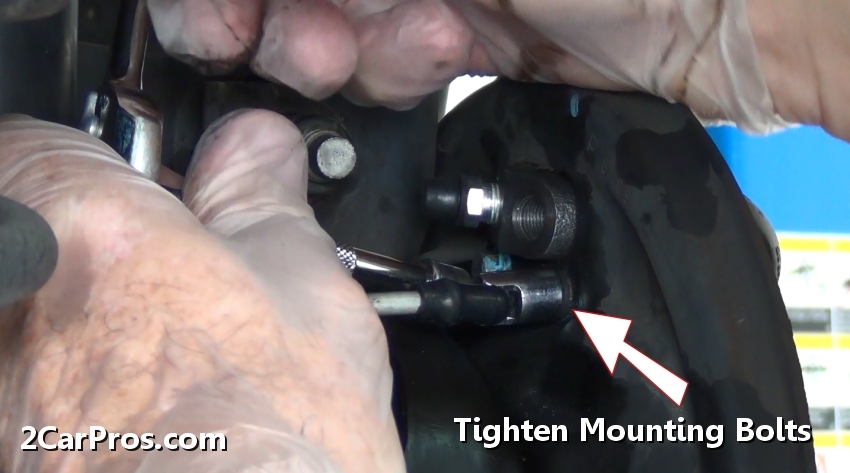
Use a wrench or ratchet to tighten the wheel cylinder mounting bolts. The torque
setting for these particular bolts is 9 foot pounds.
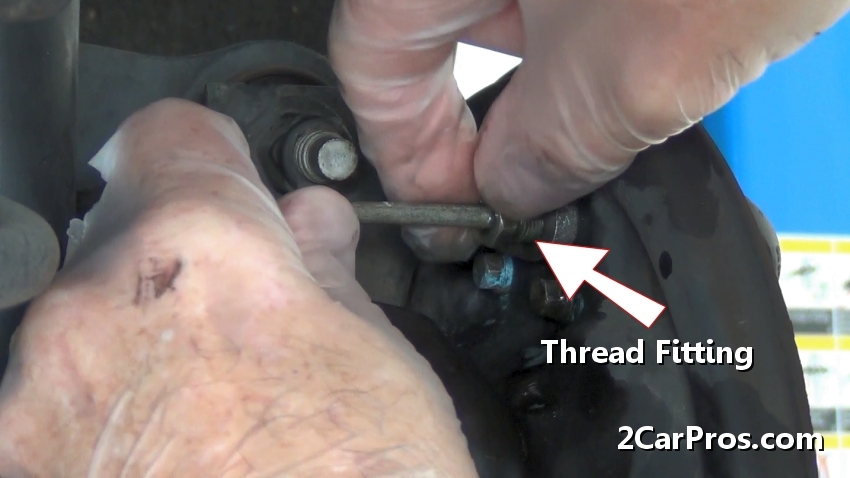
Remove the dust cap which was installed by the manufacturer to protect the fitting
threads, the brake line must be straight into the wheel cylinder before the fitting
will thread in. Hand thread the brake line fitting into the cylinder to prevent
cross threading.
Use a line wrench to tighten the brake
line. There is no torque tightening setting for this, so a medium snug will work,
do not over tighten.
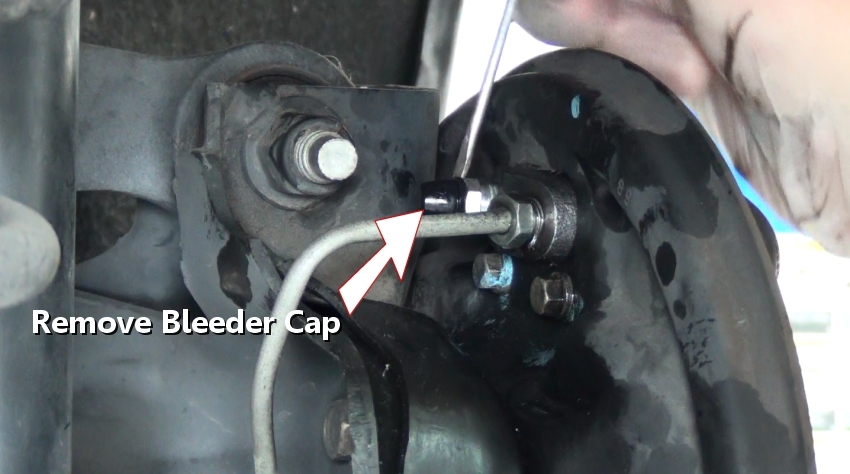
After the brake shoes and drum have been reinstalled use a small screwdriver
to remove the bleeder cap. This job is typically performed during a rear brake job,
we have broken out the wheel cylinder replacement to help simplify the repair. Before
the wheel cylinder can operate correctly the
brake system will need
to be bled. After the job is complete, recheck the wheel cylinder for leaks.
Questions?
Our certified technicians are ready to answer car repair questions for free. We hope you saved money and learned from this guide. We are creating a full set of car repair guides. Please subscribe to our 2CarPros YouTube channel and check back often for new videos which are uploaded regularly.