Good morning,
The upper cover has to be removed to gain access to the spider. It is not a difficult job but it is a tight job. Make sure you move everything out of the way when removing. Do not take short cuts. You have wiring and plastic vacuum lines that are fragile.
Roy
FUEL INJECTOR FUEL METER BODY REPLACEMENT
Removal Procedure
An 8-digit part identification number is on a mylar label affixed to the fuel meter body assembly. Refer to this number if servicing or part replacement is required.
Caution: Unless directed otherwise, the ignition and start switch must be in the OFF or LOCK position, and all electrical loads must be OFF before servicing any electrical component. Disconnect the negative battery cable to prevent an electrical spark should a tool or equipment come in contact with an exposed electrical terminal. Failure to follow these precautions may result in personal injury and/or damage to the vehicle or its components.
For Vehicles equipped with OnStar (UE1) with Back Up Battery:
The Back Up Battery is a redundant power supply to allow limited OnStar functionality in the event of a main vehicle battery power disruption to the VCIM (OnStar module). Do not disconnect the main vehicle battery or remove the OnStar fuse with the ignition key in any position other than OFF. Retained accessory power (RAP) should be allowed to time out or be disabled (simply opening the driver door should disable RAP) before disconnecting power. Disconnecting power to the OnStar module in any way while the ignition is On or with RAP activated may cause activation of the OnStar Back-Up Battery (BUB) system and will discharge and permanently damage the back-up battery. Once the Back-Up Battery is activated it will stay on until it has completely discharged. The BUB is not rechargeable and once activated the BUB must be replaced.
1. Disconnect the negative battery cable.
2. Relieve the fuel system pressure. See: Fuel Pressure Release > Procedures > Fuel System Pressure Relief
3. Remove the upper intake manifold assembly. See: Intake Manifold > Removal and Replacement > Upper Intake Manifold Replacement
Notice: Do not use any solvent that contains Methyl Ethyl Ketone (MEK). This solvent may damage fuel system components.
4. Before removal, clean the fuel meter body assembly with a spray type engine cleaner, GM X-30A or the equivalent, if necessary. Follow the package instructions. DO NOT soak fuel meter body assemblies in liquid cleaning solvent.
ImageOpen In New TabZoom/Print
Notice: Cover the injector sockets in order to prevent dirt and other contaminants from entering the open fuel passages.
Important: When disconnecting the injectors, remember the sequence in order to ensure correct injectors placement to each cylinder.
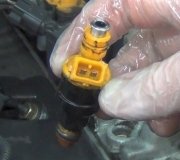
5. Lightly pull on the injector tube and use a small pocket screwdriver to remove the injector from the manifold.
ImageOpen In New TabZoom/Print
6. Remove the fuel meter body from the bracket by releasing the lock tabs on the bracket.
Intake Manifold Replacement - Upper
Removal Procedure
Important: The upper intake does not have to be removed to remove the lower intake manifold.
ImageOpen In New TabZoom/Print
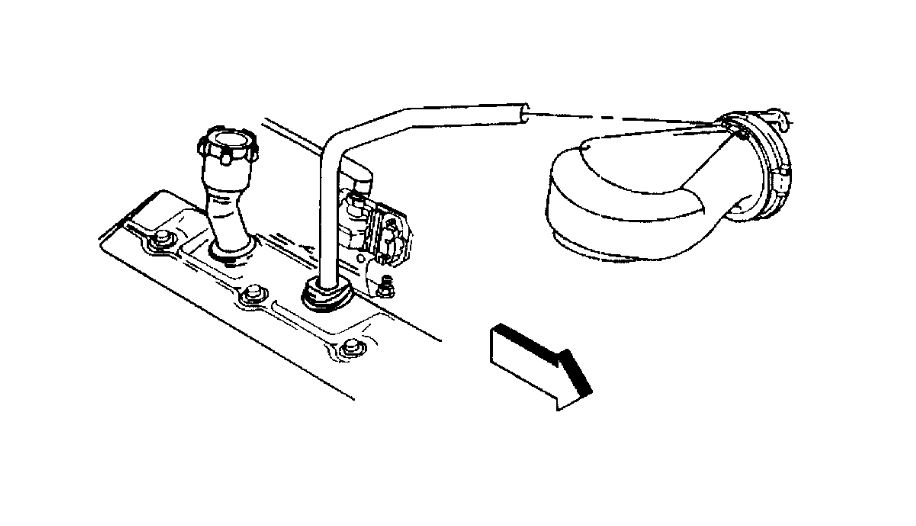
1. Disconnect the breather tube at the air cleaner outlet duct.
ImageOpen In New TabZoom/Print
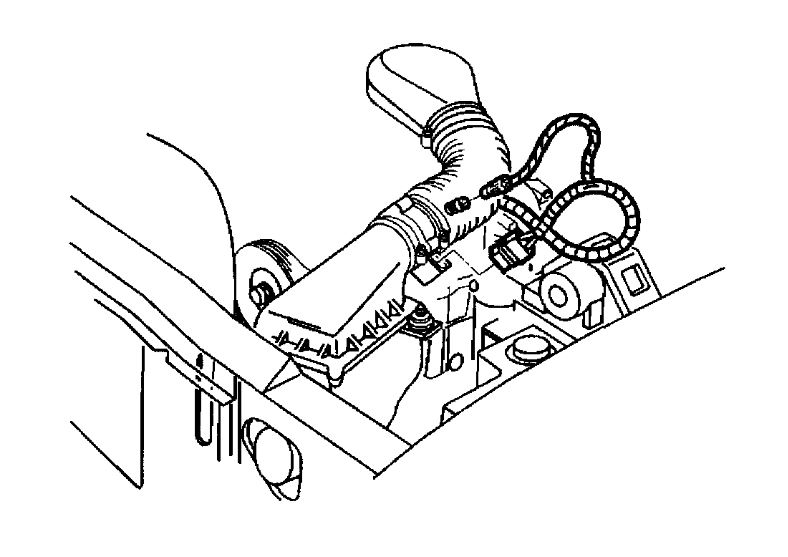
2. Remove the air cleaner outlet duct retaining wingnut.
ImageOpen In New TabZoom/Print
3. Disconnect the IAT sensor harness connector.
ImageOpen In New TabZoom/Print
4. Remove the air cleaner outlet duct from the throttle body.
ImageOpen In New TabZoom/Print
5. Disconnect the accelerator cable from the throttle body.
Image
6. Remove the accelerator cable from the accelerator control cable bracket.
ImageOpen In New TabZoom/Print
7. Disconnect the cruise control cable, if equipped from the throttle shaft and the accelerator cable bracket.
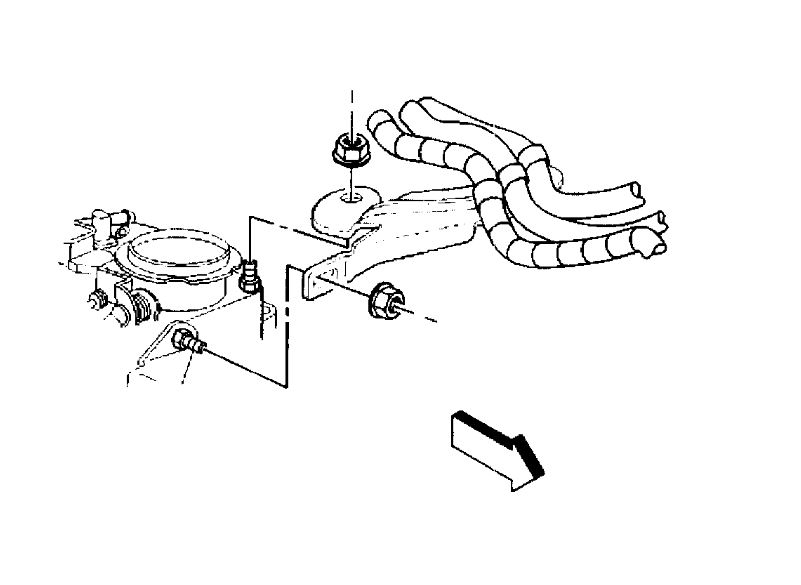
8. Disconnect the vacuum hose from the intake manifold for the vacuum tank.
9. Remove the power brake booster vacuum hose.
ImageOpen In New TabZoom/Print
10. Disconnect the following electrical connectors:
The A/C compressor clutch (1)
The A/C compressor cutoff switch (5), if equipped
The Throttle Position (TP) sensor (2)
The Idle Air Control (IAC) motor (3)
imageOpen In New TabZoom/Print
11. Disconnect the following electrical connectors:
The fuel meter body assembly (1)
The Manifold Absolute Pressure (MAP) sensor (3)
The EVAP canister purge solenoid valve (2)
12. Remove the engine wire harness clip from the accelerator cable bracket.
13. Move the engine wiring harness aside.
ImageOpen In New TabZoom/Print
14. Remove the accelerator cable bracket from the throttle body and the intake manifold.
ImageOpen In New TabZoom/Print
15. Remove the accelerator and cruise control cable bracket from the throttle body. Leave the accelerator and cruise control cables on the bracket.
ImageOpen In New TabZoom/Print
16. Remove the PCV valve hose assembly from the intake manifold and the valve rocker arm cover.
ImageOpen In New TabZoom/Print
17. Remove the bracket for the engine wiring harness from the intake manifold stud.
18. Remove the fuel lines from the fuel meter body assembly.
19. Remove the EVAP canister purge solenoid valve.
ImageOpen In New TabZoom/Print
20. Remove the studs for the upper intake manifold.
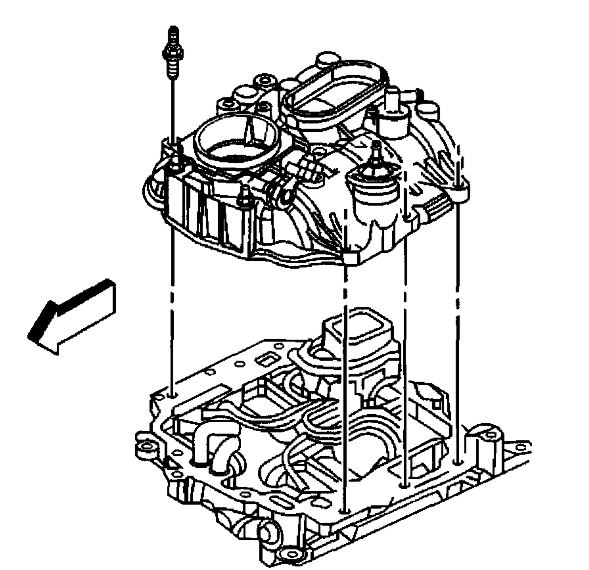
21. Remove the upper intake manifold.
ImageOpen In New TabZoom/Print
22. Remove the upper intake manifold gasket from the groove.
23. Discard the gasket.
Images (Click to make bigger)
Friday, May 22nd, 2020 AT 6:21 AM