Welcome to 2CarPros.
If the system is over charging, that is a concern because not only can it cause damage to some components, but it can also cause a fire.
Now, the alternator output is regulated by a voltage regulator. When the engine is running, the voltage at the battery should be right around 14 volts. With that in mind, we really need to check if it is over charging.
Here is a link that describes and shows how to check the alternator on your vehicle. Please do this and let me know the results.
https://www.2carpros.com/articles/how-to-check-a-car-alternator
Here are a few links that you may find helpful when checking the alternator.
https://www.2carpros.com/articles/how-to-use-a-test-light-circuit-tester
https://www.2carpros.com/articles/how-to-use-a-voltmeter
https://www.2carpros.com/articles/how-to-check-wiring
The voltage regulator on your vehicle is part of the alternator and isn't serviceable. So, if it is bad, the alternator needs replaced.
If you find the alternator is bad, here is a link that shows in general how one is replaced:
https://www.2carpros.com/articles/how-to-replace-an-alternator
Here are the directions specific to your vehicle for alternator replacement. The attached pictures correlate with these directions. Make sure to disconnect the battery prior to starting this procedure. Always remove the negative terminal first and install it last.
_______________________________________________________________________
REMOVAL PROCEDURE
CAUTION: Refer to Battery Disconnect Caution in Service Precautions.
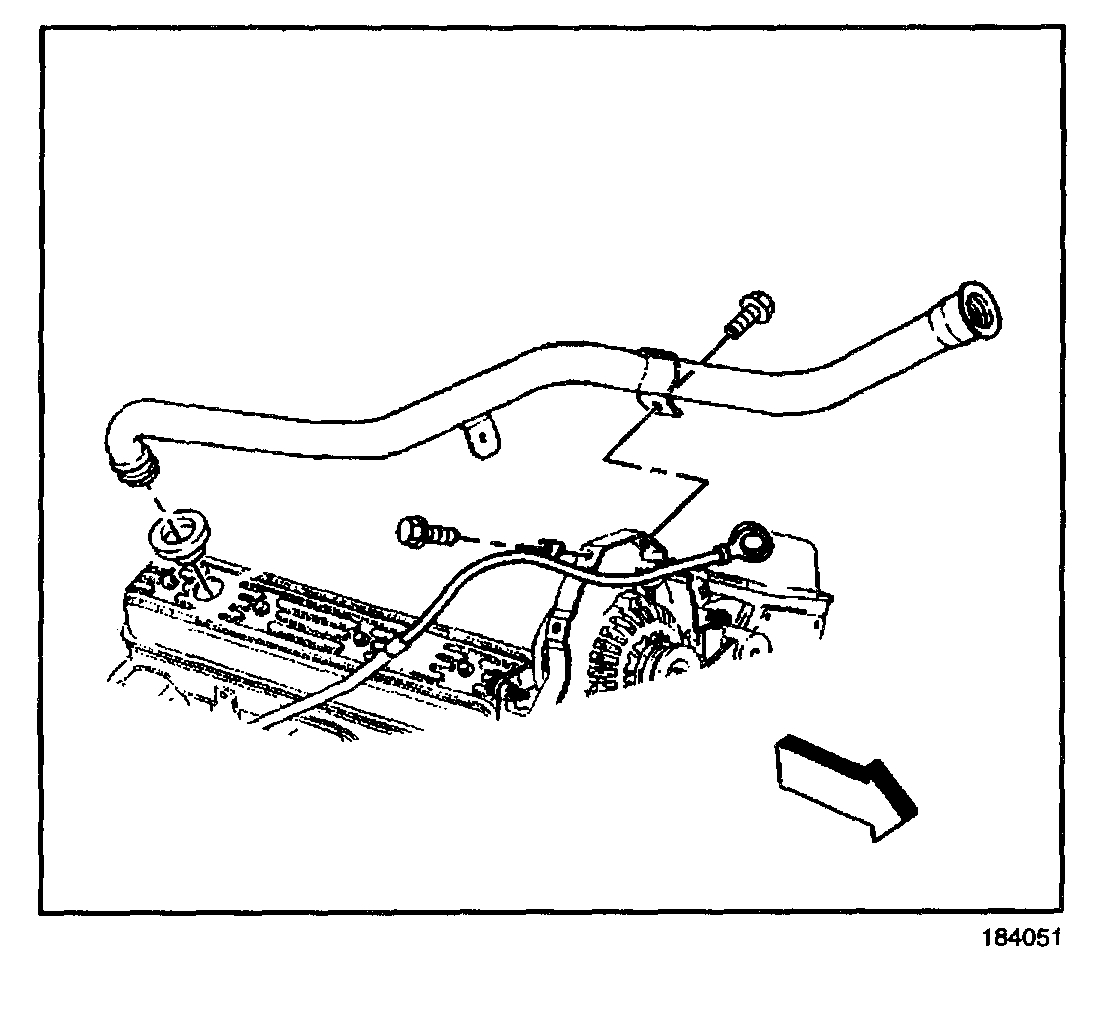
Pic 1
1. Disconnect the battery negative cable.
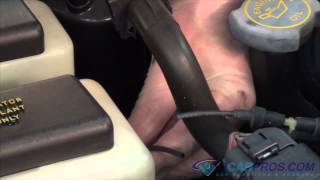
2. Remove the coolant reservoir.
3. Remove the air cleaner assembly.
4. Remove the upper fan shroud.
5. Remove the drive belt from the generator.
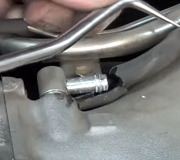
6. Remove the heater hose pipe from the generator.
7. Remove the oil fill tubes from the support bracket.
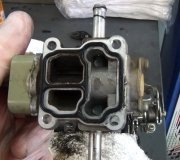
Pic 2
8. Remove the support bracket from the generator bracket.
Pic 3
9. Remove the generator mounting bolts.
10. Remove the generator from the engine.
Pic 4
11. Disconnect the electrical connectors.
INSTALLATION PROCEDURE
NOTE: Refer to Fastener Notice in Service Precautions.
Pic 5
1. Connect the electrical connectors to the generator.
Tighten
Tighten the generator output (BAT) terminal nut to 18 N.m (13 lb ft).
Pic 6
2. Install the generator to the engine.
3. Install the generator mounting bolts.
Tighten
- Tighten the generator front mounting bolts to 50 N.m (37 lb ft).
- Tighten the generator rear mounting bolt to 25 N.m (18 lb ft).
Pic 7
4. Install the oil fill tube support bracket to the generator bracket.
5. Install the oil fill tube support bracket bolt and stud.
Tighten
Tighten the oil fill tube support bracket bolt and stud to 25 N.m (18 lb ft).
Pic 8
6. Install the oil fill tube to the support bracket.
7. Install the oil fill tube screw to the support bracket.
Tighten
Tighten the oil fill tube screw to 5 N.m (44 lb in).
8. Install the heater hose pipe to the generator.
9. Install the drive belt to the generator.
10. Install the upper fan shroud.
11. Install the air cleaner.
12. Install the coolant reservoir.
13. Connect the battery negative cable.
___________________________________________
Let me know what you find or if you have other questions.
Joe
Images (Click to make bigger)
Friday, March 15th, 2019 AT 9:20 PM