Introduction
An automotive engine heavily relies on a sealed vacuum system to help monitor and optimize the engine's performance, when this system fails and leaks emerge performance problems will ensue. In this guide we go over what to looks for and how to test your engine for these issues.
Supplies Needed
- Flashlight
- Smoke Machine
WARNING: Do Not Use Carburetor Cleaner Due to Fire Risk
Let's Jump In!
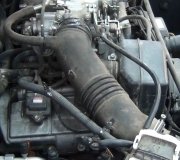
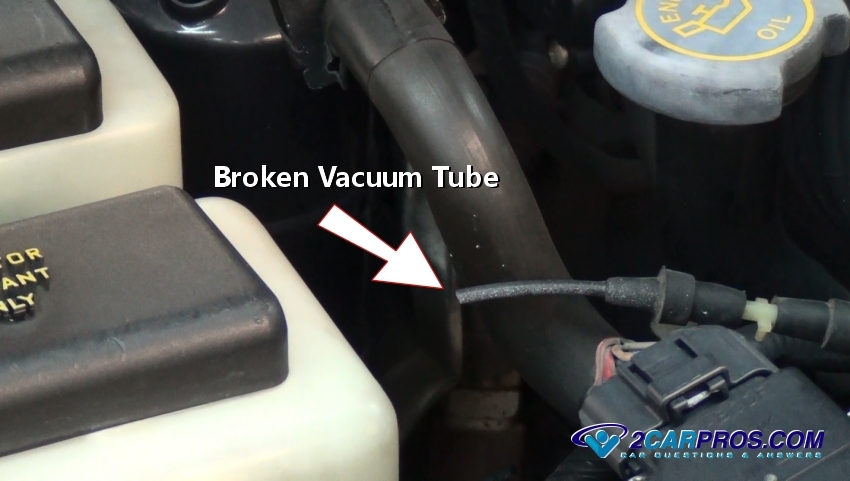
1. Lift the hood and inspect the vacuum hoses (engine off) to look for obvious cracks or breakage, be sure to inspect the PCV, EVAP systems and the vacuum line to the brake booster as well.
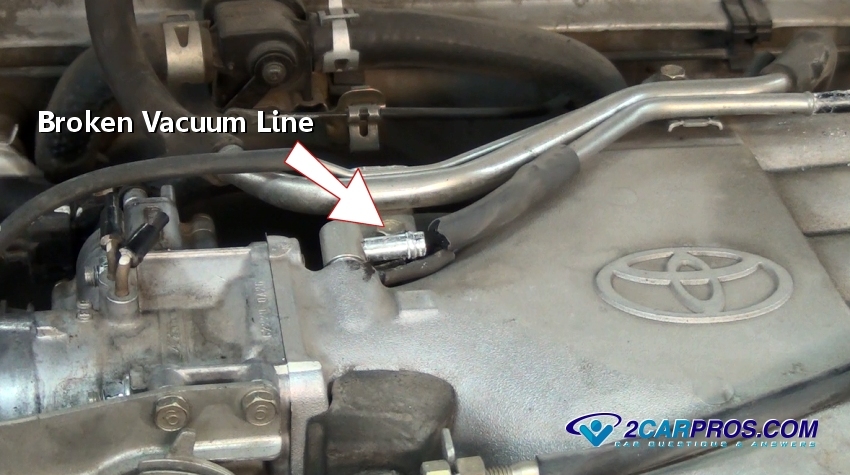
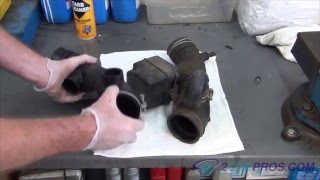
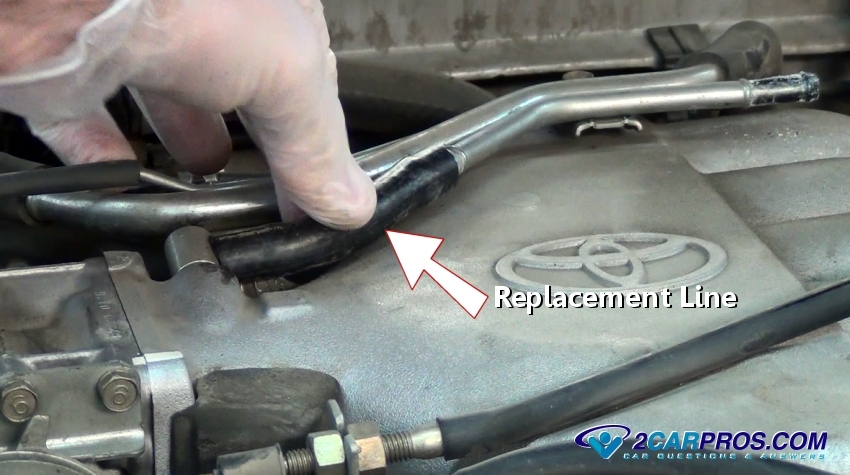
2. If a broken or dilapidated vacuum line is found remove the hose to replace the line with a new hose which you can get at any auto parts store, take the old hose with you to get the correct size.
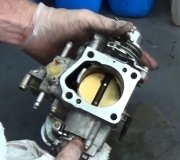
3. If after inspection if no visible problems are found, a vacuum hose could have a problem that is unseen such as under the intake manifold, or the throttle body gasket has failed which can be found using a smoke machine which are inexpensive on Amazon.
4. A large amount of vacuum is supplied to the brake booster which can allow major leaks. Also, an audible hissing noise can sometimes be heard coming from inside the vehicle above the brake pedal which indicates the booster has failed. An alternative method of a vacuum leak inspection is to gently pinch a supply line to the accessory and observe engine speed, an increase indicates a leak.
8. Check small vacuum tubes for cracks and broken pieces, these tubes provide vacuum to many accessories such as the heater/air conditioner, leaks under the dashboard or near the heater plenum can also occur.
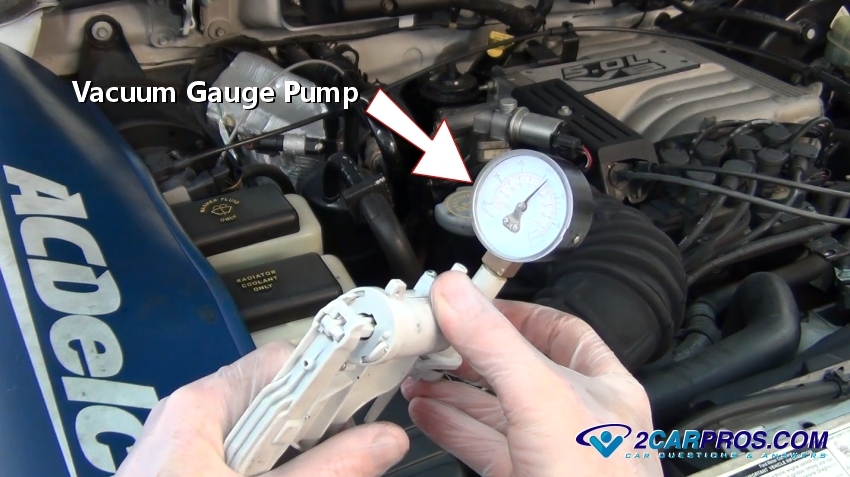
9. A vacuum tester can be used to check items such as a MAP sensor, EGR valve, vacuum canister, brake booster or a HVAC blend door actuator. Disconnect the line from the accessory and connect it to the tester, pump the tester and observe the vacuum, the gauge will raise and should hold steady if the accessory is okay.
10. If a vacuum leak is still suspected remove the oil fill cap with the engine running, place your hand over the oil cap opening, if you can feel vacuum when you remove your hand chances are the intake gasket has failed and is leaking internally.
11. The preferred method which involves using a smoke machine which is then pumped into the engine's intake where it can be detected at the leak,
12. When using a scan tool checking the fuel trim can indicate a vacuum leak, the short term fuel trim should be at about + or - 5, if its above +7 you can suspect a leak.
Watch the Video!
Please watch this video of the job being done to glean additional helpful information.
Credits
This guide knowledge base was created by the 2CarPros Team, and by Ken Lavacot: Automobile repair shop owner and certified master automobile technician of over 30 years. If you have question or need help please ask one of our experts we are happy to help. Please visit our 2CarPros YouTube Channel for additional car repairs.

Article published 2025-05-16