What is the best way to remove these scratches

Tiny
WKLMT4
  • MEMBER
  • 2012 VOLVO
  • 0.8L
  • 4 CYL
  • TURBO
  • 4WD
  • AUTOMATIC
  • 90,000 MILES
I dinged my car and would rather not pay hundreds of dollars to take it into a body shop. While the size of the scratch is large in area, there are no dents and does not seem that bad. It seems only paint got taken off, nothing more. Do you have any suggestions on products I can buy that might fix this?
Tuesday, December 27th, 2016 AT 12:21 PM

5 Replies

Tiny
CARADIODOC
  • MECHANIC
  • 33,752 POSTS
Thank you for including a photo, but I cannot tell from it the size of the area. Many years ago there was a polish called "Star Brite" or "Star Bright" that came in about a 16 oz. Bottle. It partially dissolved the paint and allowed it to be spread around to fill in scratches.

Another suggestion is to visit the service department at a new-car dealership and ask if they have a person they hire to repair small scratches on new cars and higher-value trade-ins. We had a company called "DentCraft". He used special lights to see ripples in the sheet metal, and long rods to massage the dents out. He poked those tools through drain holes in the bottoms of doors, and other such places to avoid doing other damage. The parts department supplied him with the correct bottle of touch-up paint. Anyone can apply that paint, but he sanded and buffed it too so the repairs were invisible. I have a 1993 Dodge Dynasty I bought new. An installer hit a door with a running board, and later a baseball landed on the hood. For $40.00 each, he spent about two hours on each dent. Both are impossible to find now.

The last suggestion is to use a small can of spray paint to cover the area. The color will never match perfectly because besides tint, the color is affected by how glossy it is, how wet or dry it is applied, air temperature which affects how quickly it dries, humidity, and things like that. This is why people at body shops always paint an entire panel or up to an edge that will hide the overlapping area.

If you are painting a flexible rubber panel, an additive needs to be blended into the paint to make it flexible. Spray paint from a can will crack and flake off very quickly.

Having a panel painted by the professionals might seem expensive, but when you look at all the prep work they go through, and the extremely high cost of paint and supplies, the results is the best value for your money. You can thank the environmentalists and the politicians that some paint costs over $400.00 per gallon.
Was this
answer
helpful?
Yes
No
Tuesday, December 27th, 2016 AT 12:53 PM
Tiny
STEVE W.
  • MECHANIC
  • 13,003 POSTS
If you have never done paint repair before you would probably be better off letting a shop do the job.
If you want to DIY, you will need wax and grease remover, 320, 500, 1000 grit sandpapers, sanding block, matching base coat and clear coat paints (these you can sometimes have a body supply store load in spray cans)
Then you need to use the cleaner to remove any wax or grease, sand the scratched areas with 320 until you cannot feel the edges of the paint. Then sand with the 500 to smooth out the 320 scratch. Wipe it all down, mask off the areas (not up close go back six inches or so) then a light coat of the base coat, let it flash off, apply another coat, do that until the dark primer areas are gone. Then go over that with 500 grit to smooth it all down. Wipe again, then a last light coat of base. Follow the directions as to the time you can clear coat, some it's as soon as the solvent flashes, others it is within a set time period. But you apply thin coats of clear until you build up a reasonable finish. Now you use the 1000, grit wet and sand the entire repaired area and out on the surrounding area to blend it all. Then buff it out. If you do it all right and the paint is a good match it will look good.
Price wise you will be shocked at what paint costs these days. DIY with the proper items you will spend close to $200.00 for all the stuff.
Was this
answer
helpful?
Yes
No
Tuesday, December 27th, 2016 AT 1:02 PM
Tiny
WKLMT4
  • MEMBER
  • 2 POSTS
@CARADIODOC I've attached another picture, that should give a larger viewpoint. To clarify, I'm looking for something I can buy and make it look a little better, it doesn't need to have a professional touch. I would prefer to do it myself, if that's realistic.
Was this
answer
helpful?
Yes
No
Tuesday, December 27th, 2016 AT 6:34 PM
Tiny
CJ MEDEVAC
  • MECHANIC
  • 11,004 POSTS
I am going to jump in!

I sort of go the hillbilly route and still get good results!

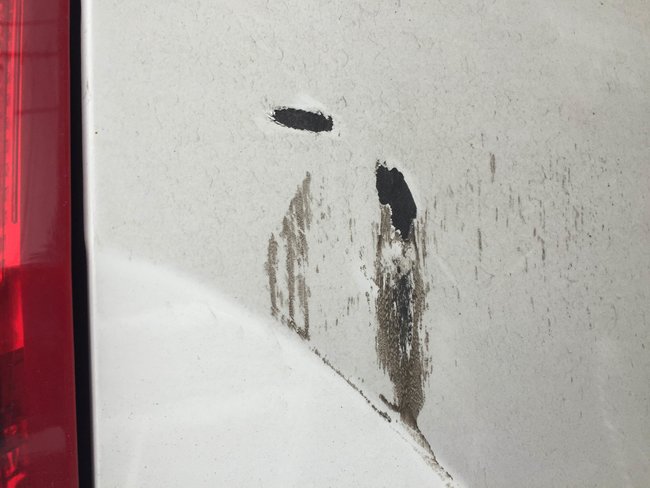
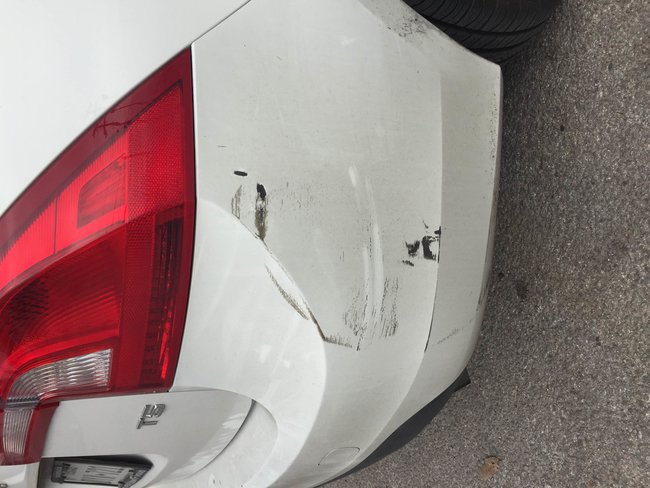
Looks like maybe you have some rubber or scuffs on the paint

"Goof Off" (Lowes and others have it) May take off the foreign material. Wipe/scrub fast, soap and water it off, leaving it on might mess with the paint. Thus far, I have had no problem with it reacting with the paint. This might reveal you have less to fix than you thought.

Rubbing compound may work too, it is abrasive and overdoing it can sort of sand on the paint.

Once you get down to the actual "need to paint" areas. Some light sanding (not big areas) may be needed to 'feather in" the pitted/ chunks missing area.

Here is the good part.

Obtain an exact match touch up bottle (or two) of paint from the dealers or some auto parts stores.

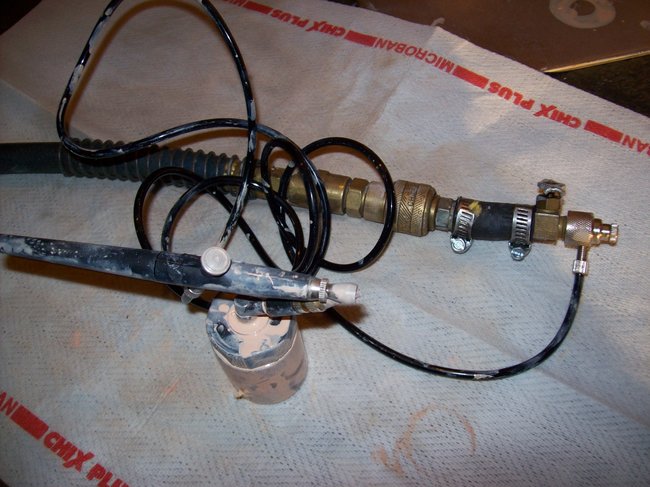
"Harbor Freight" has an airbrush kit for about $5 (yep) and a can of bottled air for maybe $5.00 to $10.00.

Obtain a small bottle of model car paint (this is for practicing on a clean metal surface (maybe a gallon can of sorts, like a paint thinner can.)

This airbrush can be adjusted to spray heavy (like a 6" cone) or light so that it is a real fine mist like 1/4" inch wide. In that fine mode, it may take several passes to see results. I 'paint', let it tack up a few minutes, paint again. A little at a time is better than gobbing it on and it start running!

YouTube may show some 'eyes on' tips with using an airbrush (distance/ adjustments/ thinning/ etc, may wanna look at scale modelers using them on youTube. A little time learning goes a long way!

I use mine with my air compressor and regulated way down.

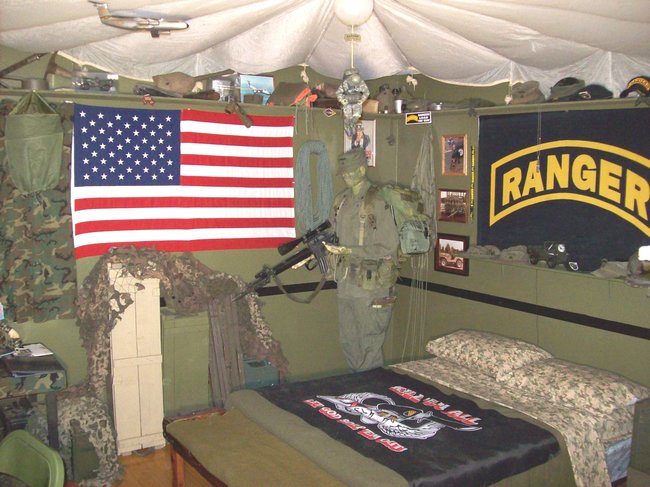
Unfortunately I have no pictures of touching up a vehicle.

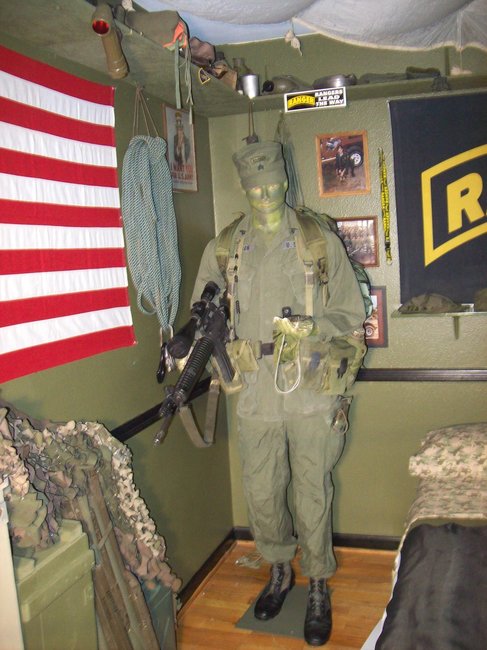
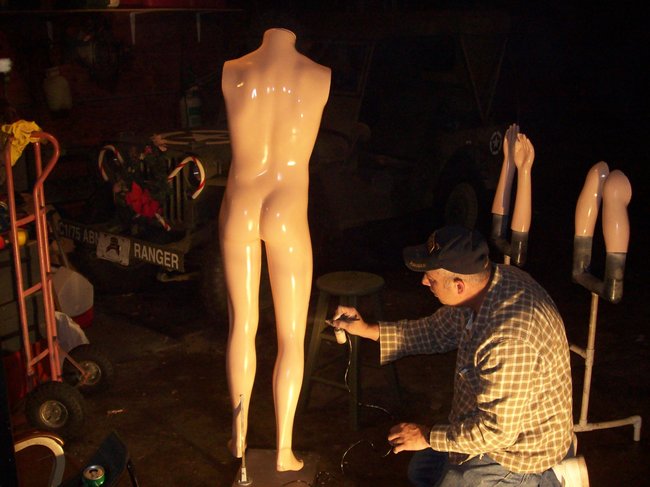
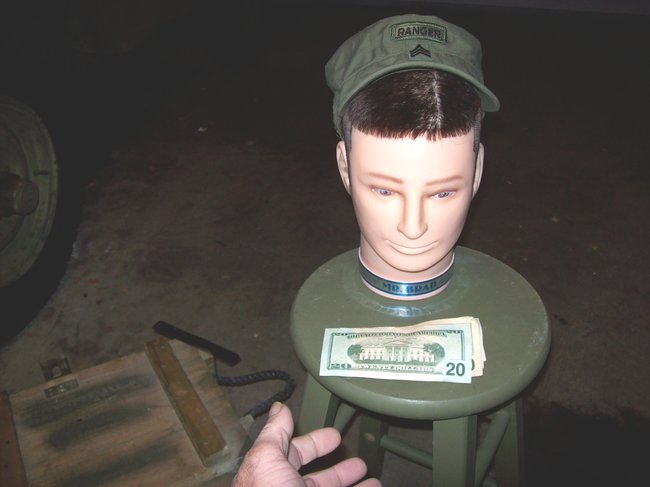
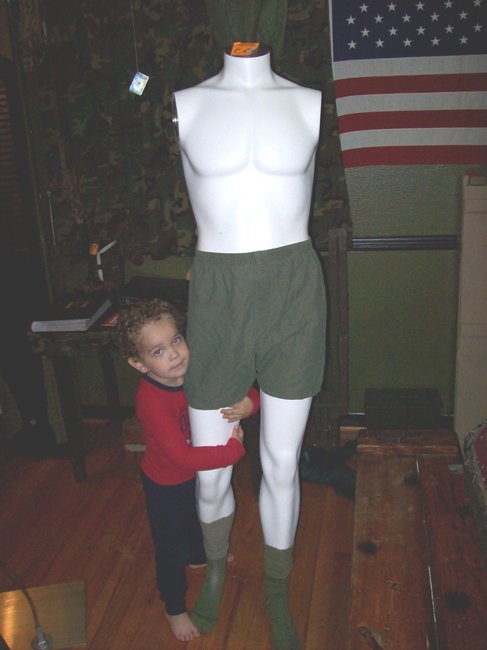
I do have some of my mannequin in my Man Cave/Army Room.

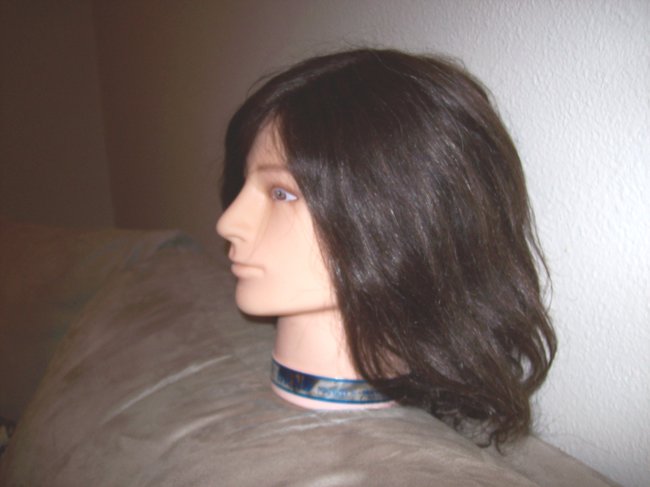
We obtained a headless mannequin from the Salvation Army for $20.00 and a hippy head from a beauty supply shop for $25.00.

My six year old grandson said that the 'milky white" body just was not going to cut it. He insisted we paint it.

He did not understand that he would be wearing my jungle fatigues and be camouflaged, pretty much no skin showing!

I had to take the severed head into Lowe's to have my paint matched!

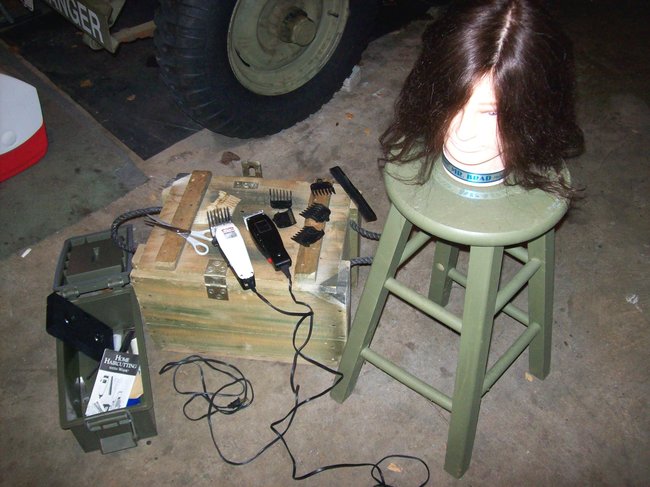
We had to make him happy. Pictures below (many more were taken).

Do let us know how it comes out.

The Medic
Was this
answer
helpful?
Yes
No
Tuesday, December 27th, 2016 AT 8:23 PM
Tiny
CARADIODOC
  • MECHANIC
  • 33,752 POSTS
You must remember this is on a flexible panel. After taking a body shop class in college, (which was just as much a waste of time in my life as most of the other classes), I tried to repair a rusted area on my car, in the mid 1980's. I finally gave up, and everything I had done in six weeks, my buddy redid in three hours. I am a wizard, but I cannot be an expert on everything!

Since you are not worried about perfect results, I would lightly sand the area and featheredge it so you cannot feel any raised areas, then use a spray can of primer, then a spray can of paint from the dealer. There are dozens of different colors of white. The dealer will use the paint code from your car to get the right shade.

There are all kinds of special primers that promote bonding and resist rusting of metal parts. You do not need those. At worst, the paint might flake off in a few months. If it does, do the job over but with a different primer. If you are lucky, it might last for years or until someone else backs into you! The biggest mistake you are going to make is applying the paint too fast or the can is held too close. When it runs, just let it dry for a few hours, then sand the runs down and start over. It works better to spray a light coat that does not cover completely, then spray another light coat or two a half hour later.

If you really get emotionally-involved with your new experience and the texture of the repair does not look right, reread Steve W's last steps about wet-sanding with water and very fine-grit sandpaper. For an area this size, use light hand pressure, and it should take less than about half a minute to complete. If you attempt this, be sure to start with enough coats of paint so you do not sand through it to the primer.

Good luck. I am fairly confident whatever you end up with will be better than if I had done it.
Was this
answer
helpful?
Yes
No
Wednesday, December 28th, 2016 AT 1:41 PM

Please login or register to post a reply.

Related Paint Content

Scratch Removal
VIDEO

Sponsored links