Water leak in passenger cabin

Tiny
CHAIRMANOFTHEBOARD
  • MEMBER
  • 2004 LINCOLN TOWN CAR
  • 4.6L
  • V8
  • 2WD
  • AUTOMATIC
  • 50,030 MILES
Hello,

When it rains I get water on the drivers side floor.
I removed the rug and used a garden hose.

From what I can tell so far;
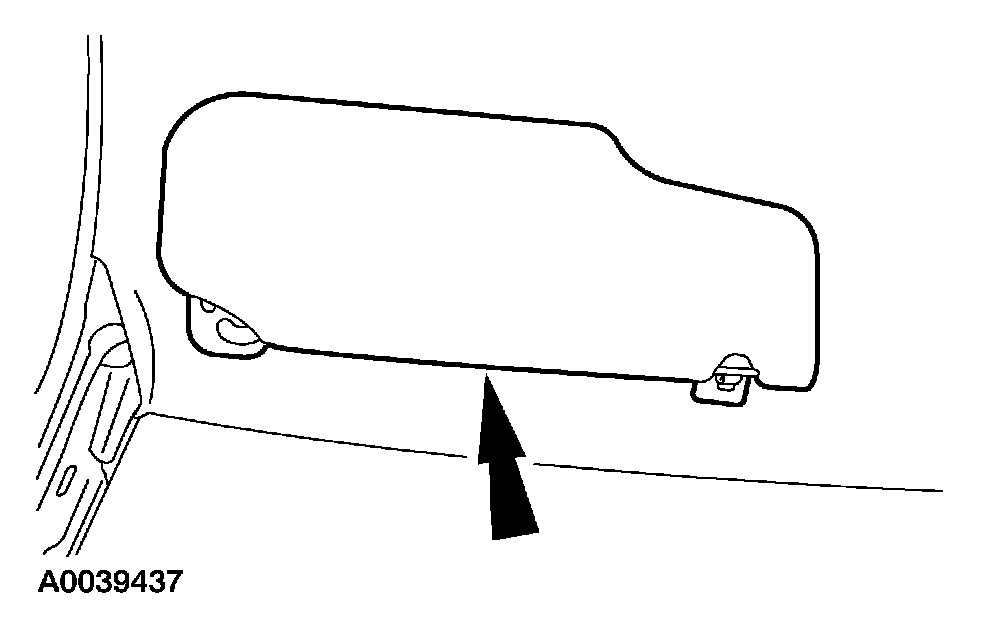
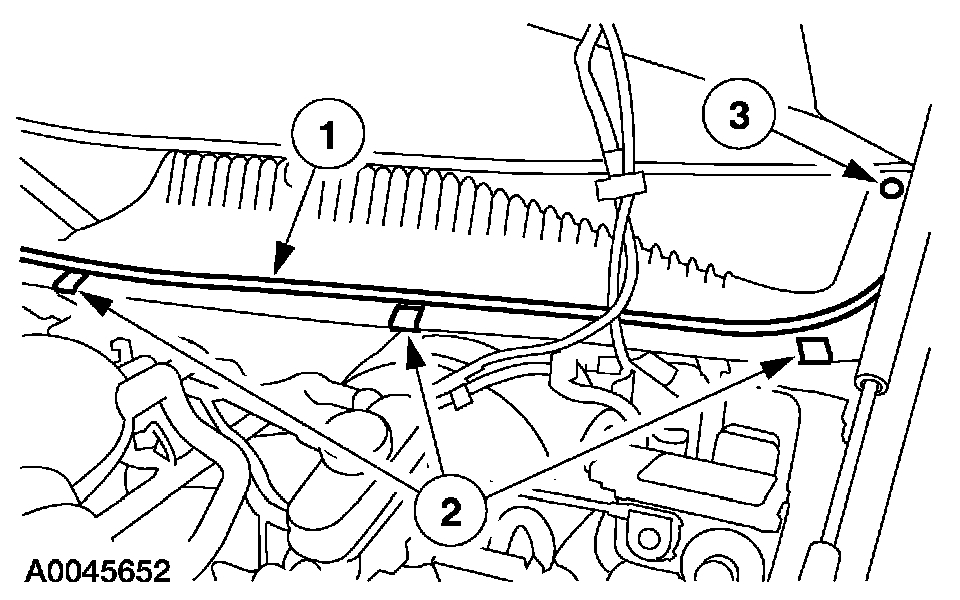
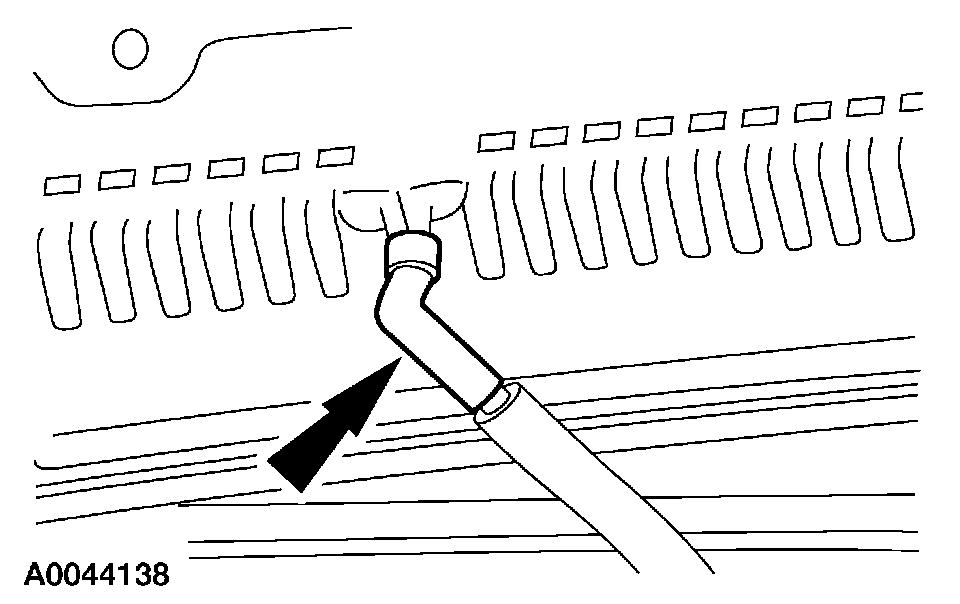
Water seems to be coming from up under the brake pedal area. I see rust drip marks, as well as fresh dripping of water.

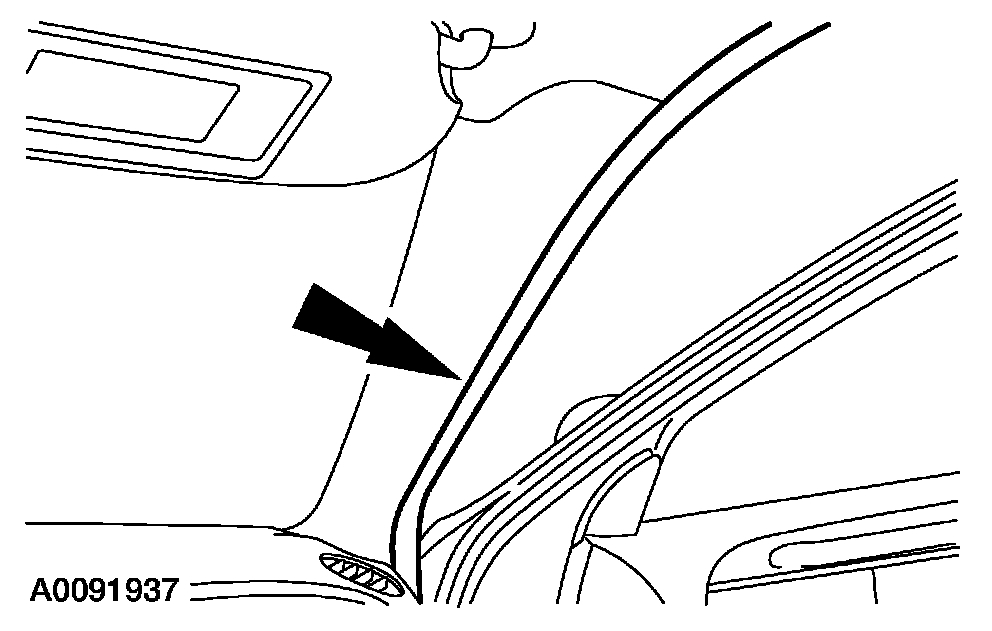
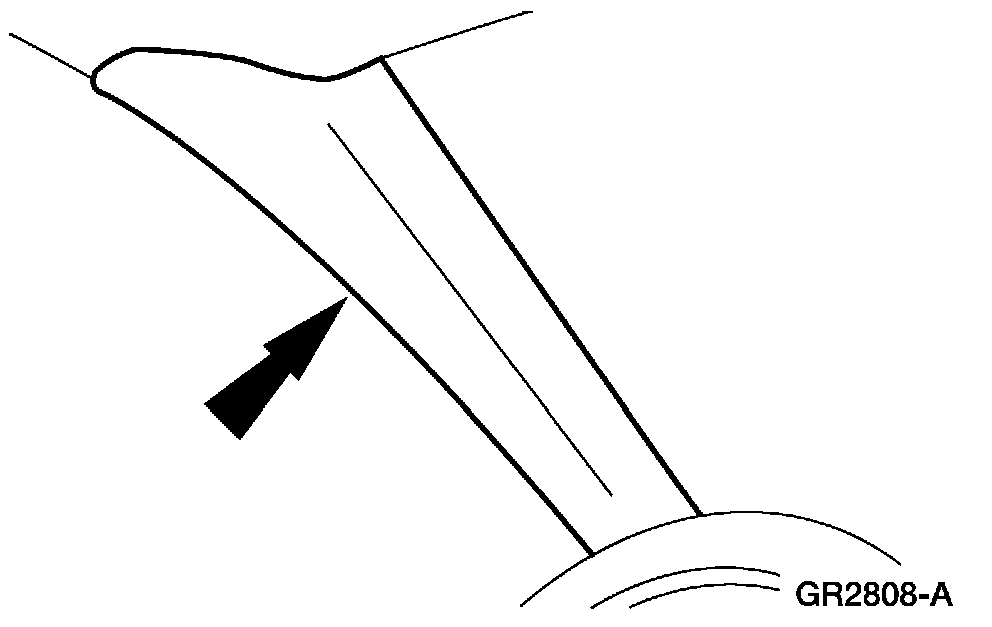
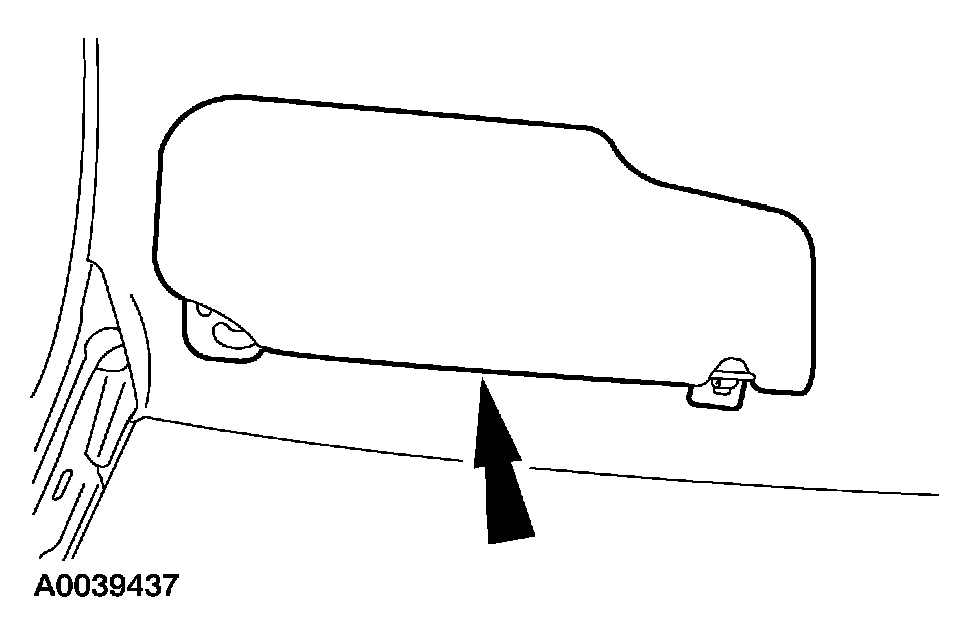
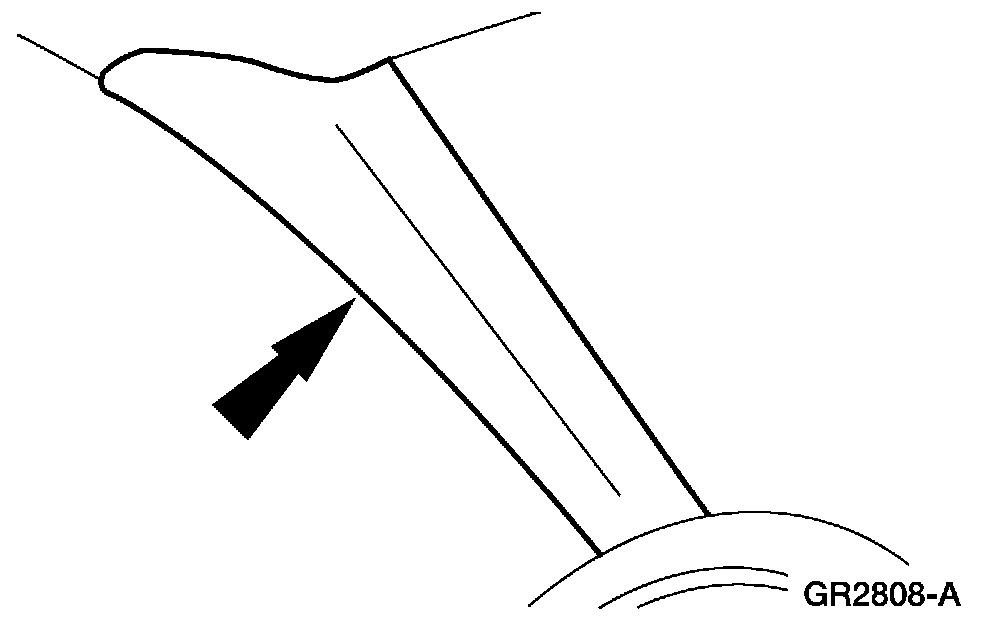
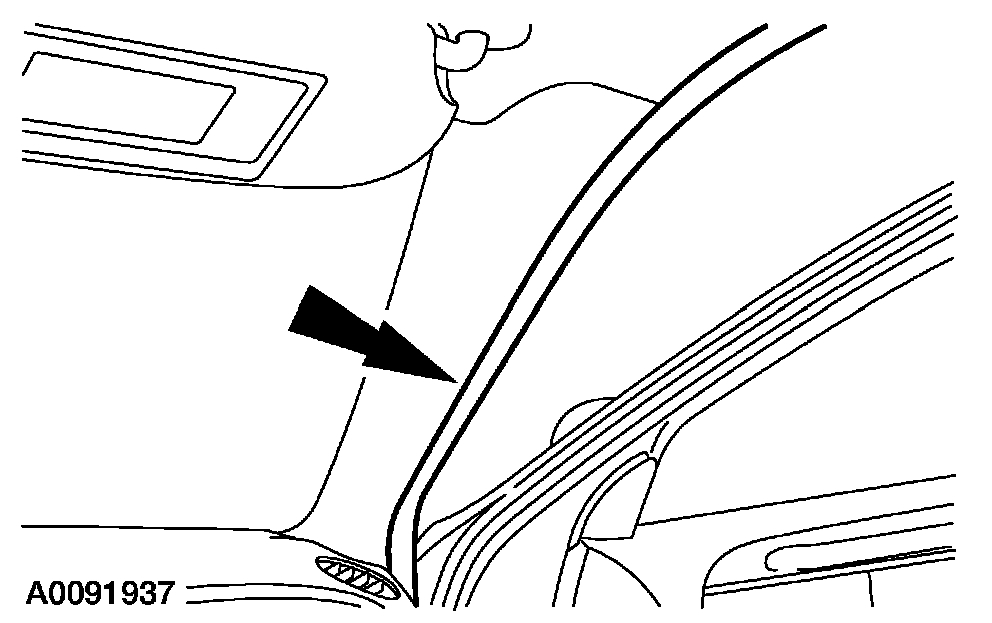
Also see water (not all the time) drip from the drivers side windshield pillar and also from directly under the drivers side visor (headliner gets wet) and drips directly on to the center of the steering wheel/horn pad.

So much so, that the water pools under the drivers rear foot well. (It also ruined the power seat motor)

Is there a TSB or something like that can shed some light into this for me?

Also, the car has a factory (sliding, electric) sunroof.

I appreciate it if anyone can help me, thank you.
Do you
have the same problem?
Yes
No
Sunday, August 2nd, 2020 AT 8:56 PM

3 Replies

Tiny
JACOBANDNICKOLAS
  • MECHANIC
  • 107,922 POSTS
Hi,

I am not seeing a service bulletin, but I do have directions for resealing the windshield which seems to be a common problem.

Here are those directions. Based on what you described, I believe this is the problem.

_________________________________________________

2004 Lincoln Town Car V8-4.6L VIN W
Windshield Reseal
Vehicle Windows and Glass Windshield Service and Repair Procedures Windshield Reseal
WINDSHIELD RESEAL
WINDSHIELD RESEAL

1. Remove the cowl panel grille.
2. If equipped, remove the overhead console.

Pic 1

3. Position the LH and RH front door weatherstrips aside.

Pic 2

4. Remove the LH and RH windshield side garnish mouldings.

Pic 3

5. Remove the LH and RH sun visors and sun visor clips.
6. Partially lower the front portion of the headliner and block with a suitable material.
7. Clean the interior and exterior of windshield glass surface with a non-alcohol based glass cleaner.

Pic 4

8. Cut the urethane adhesive applicator tip to specification.

9. NOTE:
- Use either a high-ratio, electric or battery-operated caulk gun that will apply the urethane with less effort and continuous bead.
- Make sure that all gaps in the urethane adhesive are smoothed into one continuous bead.

Apply urethane adhesive over top of the existing urethane adhesive.
- Apply the urethane to the top and sides of the windshield from the interior of the vehicle.
- Apply the urethane to the bottom of the windshield from the exterior of the vehicle.

10. NOTE: The urethane adhesive must cure for a minimum of 1 hour before testing for air or water leaks.

After the urethane has cured, check the windshield seal for air or water leaks through the urethane bead and add urethane adhesive as necessary.

11. Position the front portion of the headliner.

Pic 5

12. Install the LH and RH sun visors and sun visor clips.

Pic 6

13. Install the LH and RH windshield side garnish mouldings.

Pic 7

14. Install the LH and RH front door weatherstrips.
15. If equipped, install the overhead console.
16. Install the cowl panel grille.

_____________________________________________

Let me know if that takes care of the problem.

Joe
Was this
answer
helpful?
Yes
No
Sunday, August 2nd, 2020 AT 9:38 PM
Tiny
CHAIRMANOFTHEBOARD
  • MEMBER
  • 11 POSTS
Thank you for the reply.
I am assuming the windshield doesn’t have to come out?
What is meant by the cowl panel grille? (See#1)

So if I’m understanding this correctly, I would just have to reseal the windshield from the inside of the car?
And the side door weatherstripping as well (Just remove weatherstripping, apply urethane to area and reinstall?)

Thank you
Was this
answer
helpful?
Yes
No
Monday, August 3rd, 2020 AT 10:01 AM
Tiny
JACOBANDNICKOLAS
  • MECHANIC
  • 107,922 POSTS
Hi,

The cowl grille is the section between the hood and the windshield. You need to open the hood to remove them (left and right). Here are the directions. The attached pics correlate with the directions.

______________________________________-

2004 Lincoln Town Car V8-4.6L VIN W
Removal and Replacement
Vehicle Body and Frame Uni-body Cowl Cowl Molding/Trim Service and Repair Removal and Replacement
REMOVAL AND REPLACEMENT
COWL PANEL GRILLE

Removal and Installation
1. Remove the wiper pivot arms.

Pic 1

2. Position the LH cowl grille panel aside.
1 Remove the weather seal.
2 Remove the seven clips.
3 Remove the two pin-type retainers.

Pic 2

3. Disconnect the two washer nozzle hoses and remove the LH cowl grille panel.

Pic 3

4. Remove the RH cowl grille panel.
1 Remove the clips.
2 Remove the pin-type retainers.

5. To install, reverse the removal procedure.

______________________________

I re-read the directions. It sounds like everything is done from the inside. However, since they want the cowl removed, that indicates the bottom of the windshield will be done from the outside. And you are correct, the windshield doesn't need removed.

Let me know if you have questions or need help.

Take care,
Joe
Was this
answer
helpful?
Yes
No
Monday, August 3rd, 2020 AT 10:52 PM

Please login or register to post a reply.

Sponsored links