Good morning,
Is the brake pedal still hard as well? did the new booster resolve that issue?
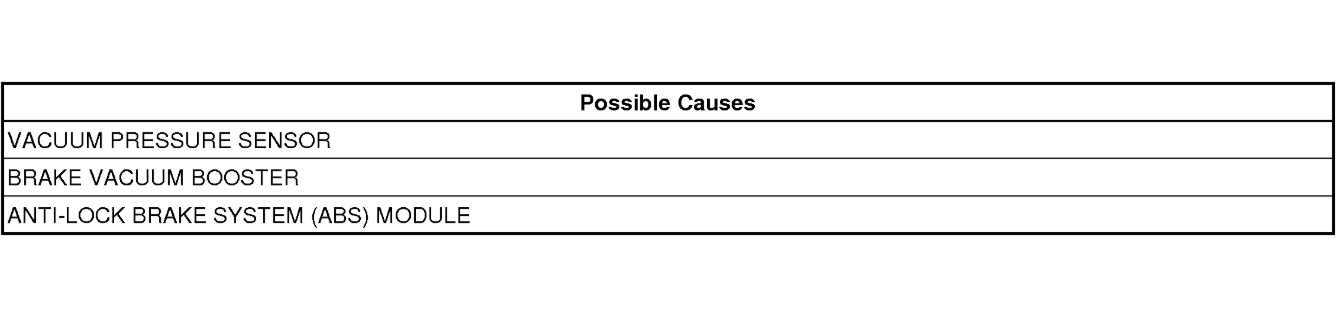
below is a description of the code and possible failures.
Has anyone checked this out and given you suggestion? I looks like a vacuum issue. are there any broken or missing hoses from the engine?
Roy
C1082-02-VACUUM PRESSURE SENSOR - GENERAL SIGNAL FAILURE
For a complete wiring diagram, refer to the Wiring Information.
When Monitored and Set Conditions
When Monitored: This diagnostic runs continuously when the following conditions are met:
- Ignition on.
- No under voltage DTCs.
- Engine running for 5 minutes.
Set Conditions:
- Anti-Lock Brake Module detects that the Vacuum Sensor Signal is out of range based on other vehicle conditions.
- Vacuum Sensor Signal indicating no signal change.
- Vacuum Sensor Signal indicating signal rapid change.
- Vacuum Sensor Signal indicating unexpected change.
Default Actions:
- ABS is disabled.
image
Diagnostic Test
1. VACUUM PRESSURE SIGNAL
1. Start the engine.
2. With the scan tool, view and record the vacuum pressure signal with no brake applied.
3. Turn the engine off.
4. Ignition on.
5. With the scan tool, view and record the vacuum pressure with no brake applied.
Is the vacuum pressure signal staying consistent?
Yes
- Go To 2
No
- Go To 4
2. MEASURE THE VACUUM PRESSURE SIGNAL
1. Start the engine.
2. Measure the vacuum pressure while pressing the brake pedal several times.
3. Turn the engine off.
4. Ignition on.
Does the vacuum drop below 14 mbar (2 psi)?
Yes
- Go To 3
No
- Perform the ABS-INTERMITTENT CONDITION TEST. See: Antilock Brakes / Traction Control Systems > Initial Inspection and Diagnostic Overview > ABS Intermittent Condition Test.
3. CHECK FOR VACUUM PRESSURE SIGNAL CHANGE
1. Turn the ignition on.
2. Remove the Vacuum Pressure Sensor from the Booster.
3. Connect a vacuum pump to the Vacuum Pressure Sensor.
4. Apply vacuum to the Vacuum Pressure Sensor and watch for signal change.
Is the vacuum pressure signal changing on the scan tool as vacuum is being applied?
Yes
- Go To 4
No
- Replace the Vacuum Pressure Sensor.
- Perform the ABS VERIFICATION TEST. See: A L L Diagnostic Trouble Codes ( DTC ) > Verification Tests > ABS Verification Test.
4. CHECK BRAKE BOOSTER CHECK VALVE
1. Remove the Brake Booster Check Valve.
2. Apply vacuum to the booster side of the check valve.
Is the Brake Booster Check Valve holding vacuum?
Yes
- Go To 5
No
- Replace the Brake Booster Check Valve.
- Perform the ABS VERIFICATION TEST. See: A L L Diagnostic Trouble Codes ( DTC ) > Verification Tests > ABS Verification Test.
5. CHECK BRAKE BOOSTER
1. Reinstall the Brake Booster Check Valve.
2. Using a vacuum pump apply vacuum to the Brake Booster.
Is the Brake Booster holding vacuum?
Yes
- Go To 6
No
- Replace the Power Brake Booster. See: Vacuum Brake Booster > Removal and Replacement > Power Brake Booster - Removal.
- Perform the ABS VERIFICATION TEST. See: A L L Diagnostic Trouble Codes ( DTC ) > Verification Tests > ABS Verification Test.
6. EXTERNAL VACUUM PUMP
1. Verify the vehicle is equipped with a external vacuum pump.
Is the vehicle equipped with a external vacuum pump?
Yes
- Repair or replace the External Vacuum Pump.
- Perform the ABS VERIFICATION TEST. See: A L L Diagnostic Trouble Codes ( DTC ) > Verification Tests > ABS Verification Test.
No
- Go To 7
7. ANTI-LOCK BRAKE SYSTEM (ABS) MODULE
1. Turn the ignition off to the lock position.
2. Replace the Vacuum Pressure Sensor.
3. Perform the ABS VERIFICATION TEST. See: A L L Diagnostic Trouble Codes ( DTC ) > Verification Tests > ABS Verification Test.
4. With the scan tool, read the DTCs.
Does the DTC remain active?
Yes
- Replace the Anti-Lock Brake System (ABS) Module. See: Hydraulic Control Assembly - Antilock Brakes > Removal and Replacement > Integrated Control Unit (ICU) - Removal.
- Perform the ABS VERIFICATION TEST. See: A L L Diagnostic Trouble Codes ( DTC ) > Verification Tests > ABS Verification Test.
No
- Test complete, the condition or conditions that originally set this DTC are not present at this time.
Dec 28, 2018 at 5:12 AM