Welcome to 2CarPros. Check out the diagrams (Below).
Honestly, you need a good C-Clamp. I have also used a vise and two sockets. Once that is slightly smaller in diameter than the end cap on one side and one that is larger that the outside diameter. Using a vise, I place the sockets on the joint. And by tightening the vice, the smaller socket will force the end cap into the bigger socket. Honestly, you won't get them out with a rubber mallet.
Here are the directions specific to replacement using the C-clamp or a c frame screw as described in the directions. The attached pics correlate with the directions.
___________________
DRIVESHAFT UNIVERSAL JOINT - SINGLE CARDAN, FLANGE YOKE
Driveshaft Universal Joint - Single Cardan, Flange Yoke
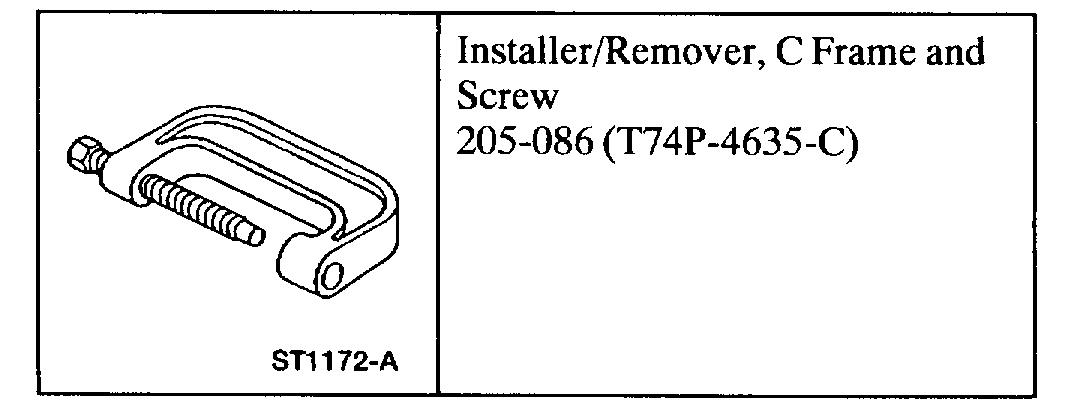
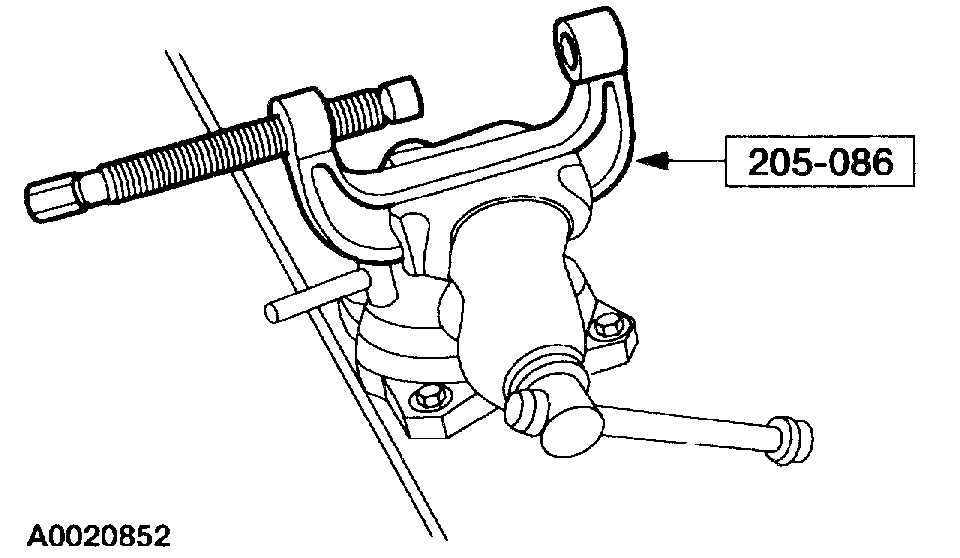
Special Tool(s)
Disassembly
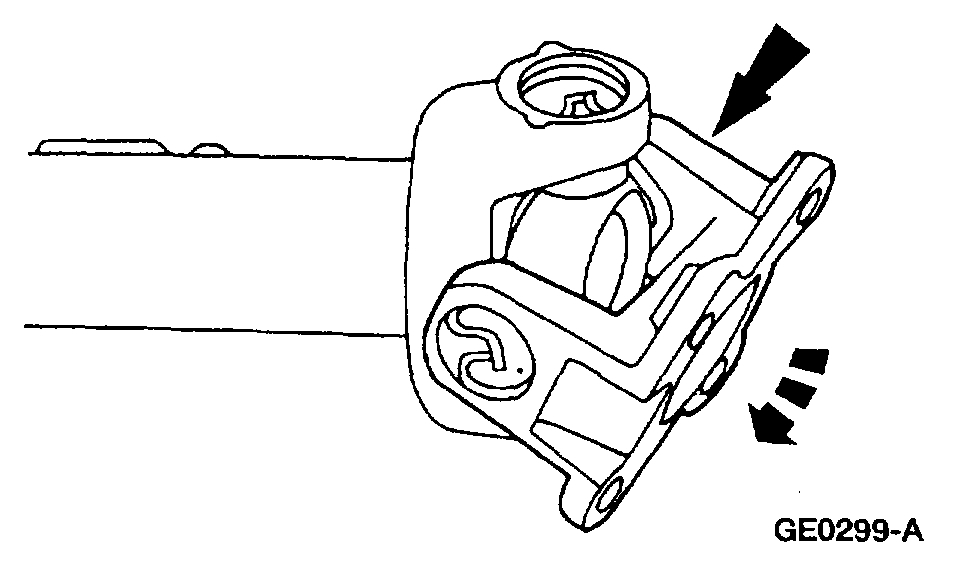
1. CAUTION: Do not, under my circumstance, damp the driveshaft in the jaws of a vise or similar holding fixture Denting or localizing fracture can result, causing driveshaft failure during vehicle operation.
Place the driveshaft on a suitable workbench. Do not damage the tube.
2. NOTE: If components are not marked and installed incorrectly, driveline imbalance can occur.
Index-mark the driveshaft components.
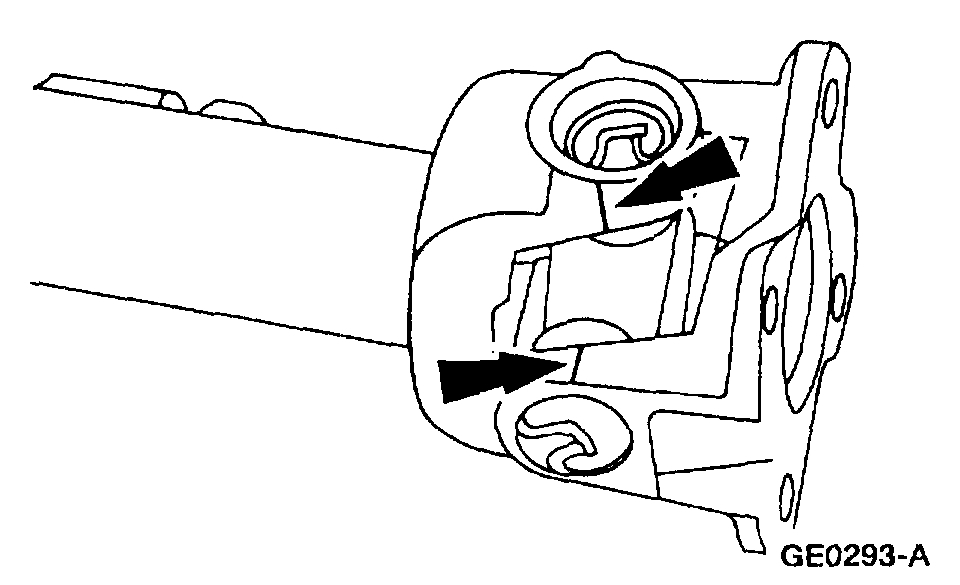
3. Remove and discard all four of the snap rings.
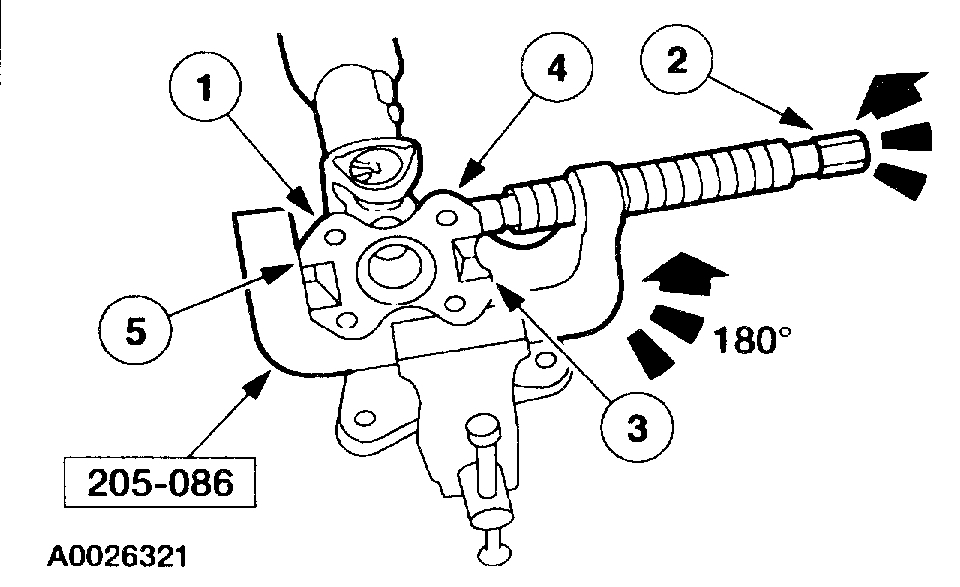
4. Clamp the special tool in a vise.
Bearing cup removal
5. NOTE: If necessary, use a pair of pliers to remove a bearing cup that fails to press out all the way.
Remove the bearing cups and the flange.
1 Position the flange in the special tool.
2 Press out a bearing cup.
3 Rotate the flange 180 degrees.
4 Press on the spider to remove there main bearing cup.
5 Remove the flange.
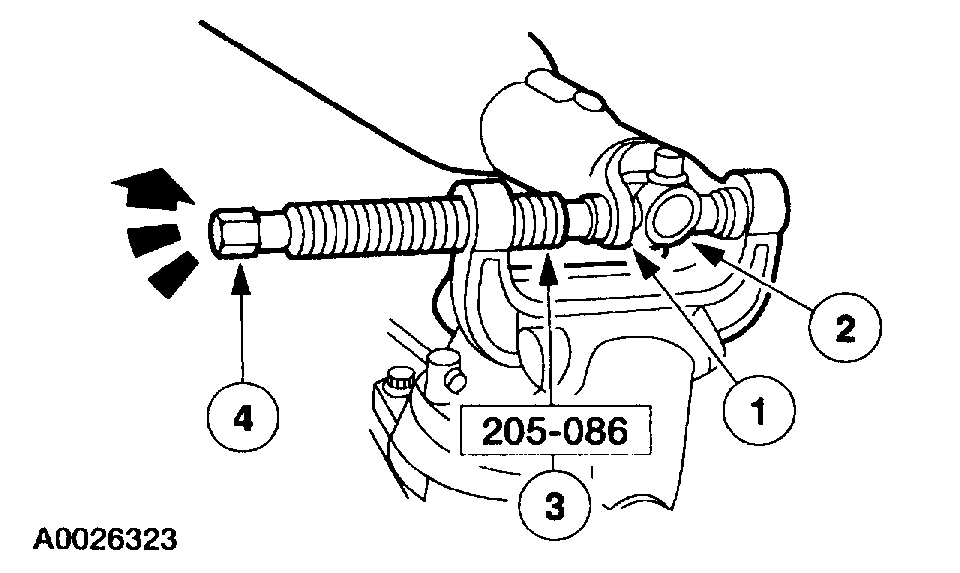
Final disassembly
6. Repeat Bearing cup removal in this procedure to remove the remaining bearing cups and the spider from the driveshaft.
7. Clean the yoke area at the end of the driveshaft.
Assembly
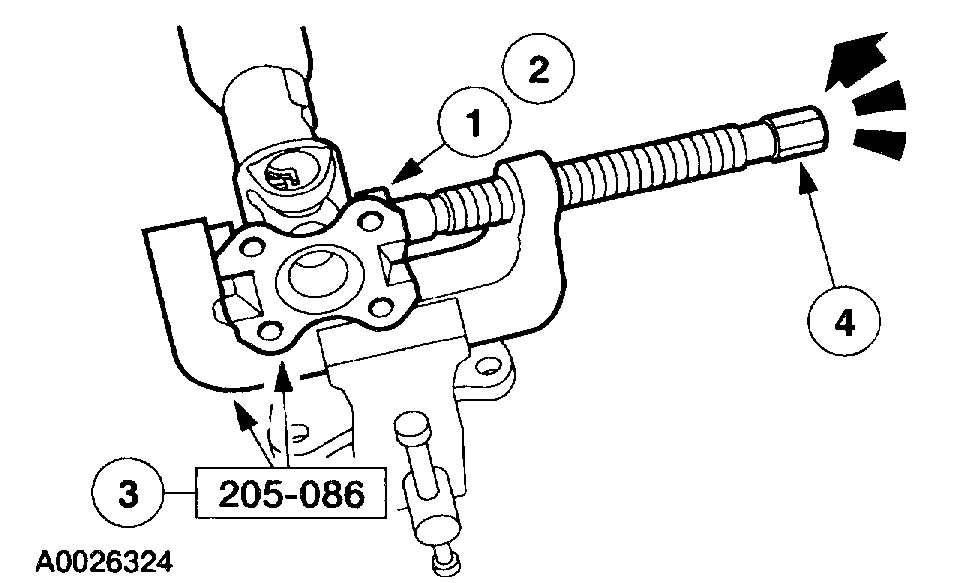
Bearing cup installation
1. NOTE: Install the Universal Joint Kits as complete assemblies only. Do not mix components from other Kits.
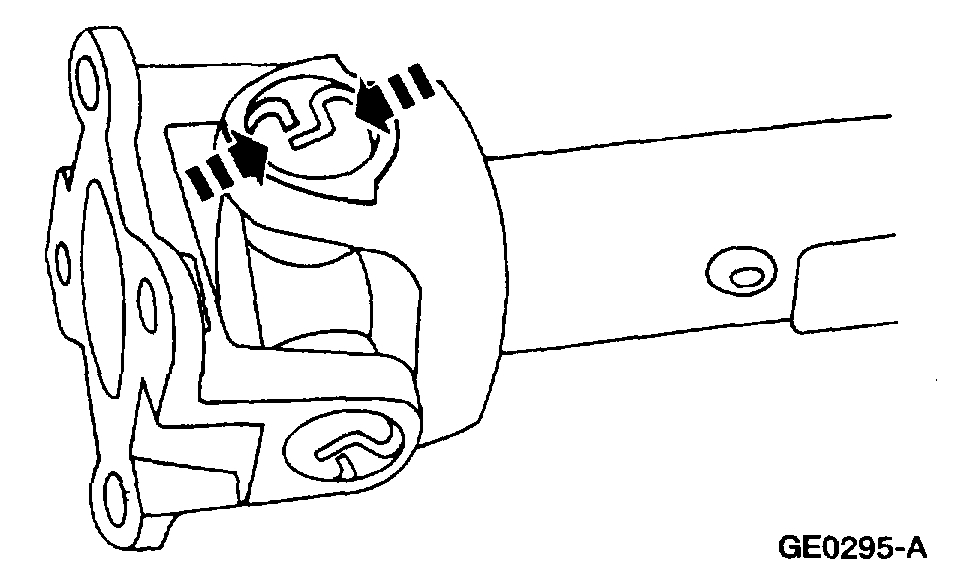
Install a new spider and bearing cups.
1 Start a new bearing cup in the driveshaft yoke.
- Check the needle bearings for correct positioning.
2 Position the new spider in the driveshaft yoke.
3 Position the driveshaft yoke in the special tool.
4 Press the bearing cup to just below the snap ring groove.
- Repeat to install the new bearing cup on the opposite side of the driveshaft yoke.
Flange installation
2. Inspect the flange. Install a new flange, if necessary.
3. Install the new bearing cups and the flange.
1 Start a new bearing cup in the flange.
- Check the needle bearings for correct position.
2 Position the flange on the spider.
3 Position the assembly in the special tool.
4 Press the bearing cup to just below the snap ring groove.
- Repeat to install the new bearing cup on the opposite side of the flange.
Final assembly
4. NOTE: Use the yellow snap rings supplied in the kit to assemble the universal joint (U-joint). If difficulty is encountered with the yellow snap Rings, install the black snap rings.
Remove the driveshaft from the special tool, and install the four new snap rings.
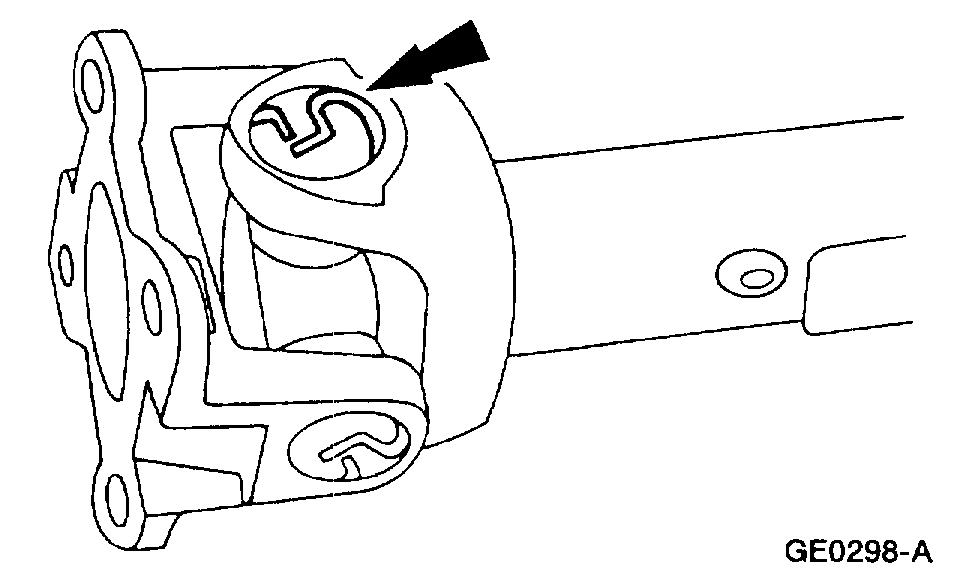
5. CAUTION: Do not strike the bearings. Check the U-joint for freedom of movement.
If binding, strike the yoke with a brass or plastic hammer.
Check out the diagrams (Below). Please let us know if you need anything else to get the problem fixed.
Images (Click to enlarge)
Apr 1, 2021 at 5:55 PM