Transmission problem

Tiny
TRACEY LAWRENCE
  • MEMBER
  • 2010 BUICK LA CROSSE
  • 3.0L
  • V6
  • 2WD
  • AUTOMATIC
  • 96,000 MILES
Car listed above is the CXL model.

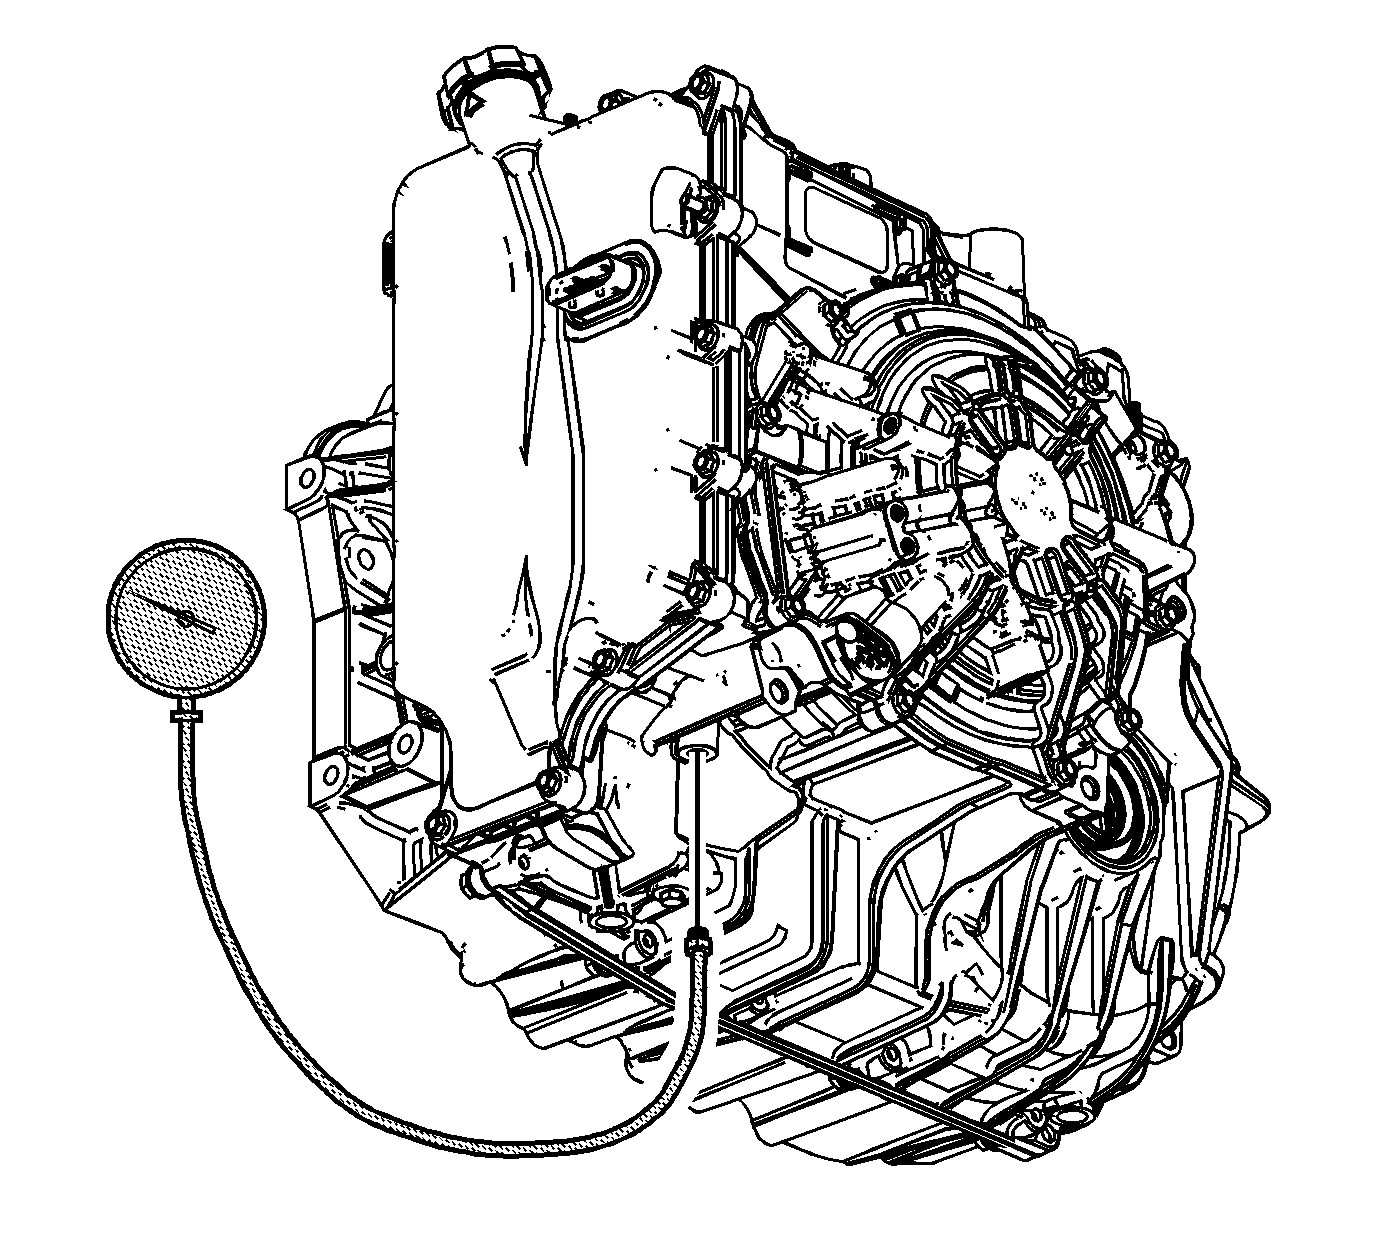
At around 75,000 a issue started with transmission. When starting car and driving out of the driveway or wherever I am driving my car will shift normally from 1 to 2 gear. Then it will shift from 2 gear to 3 gear and slip back down to second gear. Normally only do it when first riding then after a few miles it will switch through all gears normally. I have been doing some playing around with and and figured if I run it to a higher RPM when on 2 gear to 3 gear the transmission will go smoothly to 3 gear and 4, 5, 6. But when I drive the car at a lower rpm like typical cruise acceleration the car will make it to 3rd gear and slip back down to 2 gear. I have had a transmission flush and that didn’t help problem still occurring.
Thursday, October 10th, 2019 AT 7:48 PM

3 Replies

Tiny
JACOBANDNICKOLAS
  • MECHANIC
  • 108,289 POSTS
Welcome to 2CarPros.

Since the same issue happens after the service, then it shouldn't be a level issue. However, was the filter replaced or was the system just flushed?

Next, if the check engine light is on, you really should have the computer scanned to see if there are any diagnostic trouble codes related to the transmission.

Interestingly, you say if the RPM's are kept higher, the problem doesn't happen. To me that sounds like a pressure related issue. Now, the only way to determine if that is the case is to check transmission line pressure.

There is a line pressure control solenoid that could be going bad, but also I have seen issues where the transmission cooler has started plugging and causing crazy things to happen.

______________________________

I don't know if you want them, but here are the directions for testing line pressure. The attached pic correlates with the directions.

See Pic 1 for pressure gauge install.

Special Tools

J 21867 - Pressure Gauge

For equivalent regional tools, refer to Special Tools (See: Automatic Transmission/Transaxle > Electrical / Mechanical Repair > 6T70/6T75 - Automatic Transmission).

Warning

Keep the brakes applied at all times in order to prevent unexpected vehicle motion. Personal injury may result if the vehicle moves unexpectedly.

1. Install a scan tool.
2. Start the engine.
3. Inspect the transmission for the proper fluid level. Refer to Transmission Fluid Level and Condition Check (See: Automatic Transmission/Transaxle > Component Tests and General Diagnostics > Transmission Fluid Level and Condition Check).
4. Use the scan tool to inspect for any active or stored diagnostic trouble codes.
5. Inspect the manual linkage at the transmission for proper function.
6. Turn the engine OFF.
7. Remove the line pressure test hole plug.
8. Install the J 21867 - pressure gauge.
9. Access the Scan Tool Transmission Output Controls for the Line PC Solenoid.
10. Start the engine.

Note: In order to achieve accurate line pressure readings, the following procedure must be performed at least 3 times in order to gather uniform pressure readings.

The scan tool is only able to control the line PC solenoid in PARK and NEUTRAL with engine speeds below 1500 RPM. This protects the clutches from extreme high or low line pressures.

11. Use the scan tool to increase and decrease the Line PC Solenoid in increments of approximately 200 KPa (29 psi). The scan tool commands the increment values automatically.
12. Allow the pressure to stabilize between increments.
13. Compare the pressure readings on the J 21867 - pressure gauge to the actual pressure values in the solenoid valve pressure chart. Refer to Solenoid Valve Pressure (See: Automatic Transmission/Transaxle > Mechanical > Solenoid Valve Pressure).
14. If the pressure readings vary greatly, refer to Fluid Pressure High or Low (See: Automatic Transmission/Transaxle > Symptom Related Diagnostic Procedures > Fluid Pressure High or Low).
15. Turn the engine OFF.
16. Remove the J 21867 - pressure gauge.

Caution: Refer to Fastener Caution (See: Vehicle > Vehicle Damage Warnings > Fastener Caution).

17. Install the line pressure test hole plug and tighten to 12 Nm (106 lb in).

Let me know if you have other questions or what you find.

Take care,
Joe
Was this
answer
helpful?
Yes
No
Friday, October 11th, 2019 AT 7:16 PM
Tiny
CXL18421
  • MEMBER
  • 1 POST
I had the same problem with my 2010 Lacrosse CXLl. I serviced the fluid twice without success in fixing the problem. I found a video on youtube explaining what happens. After removing the valve body from the transmission there are 4 pressure switches on the backside of the valve body that 2 of the laminate discs had failed. I purchased from ebay a Sonnax pressure switch repair kit with tools for GM transmissions GT70,GL45,GL80 , GT75 Gen 1 for $43 and $30 of transmission fluid and the problem is now fixed. This is the link to the video. Hope this helps. https://youtu.be/OGKeVv4y1qc
Was this
answer
helpful?
Yes
No
Saturday, September 11th, 2021 AT 9:59 AM
Tiny
JACOBANDNICKOLAS
  • MECHANIC
  • 108,289 POSTS
AXL18429:

Thank you for that information. I watched the video and it is excellent. I know for sure it will help others.

Take care and again, thanks.

Joe
Was this
answer
helpful?
Yes
No
Saturday, September 11th, 2021 AT 9:03 PM

Please login or register to post a reply.

Sponsored links