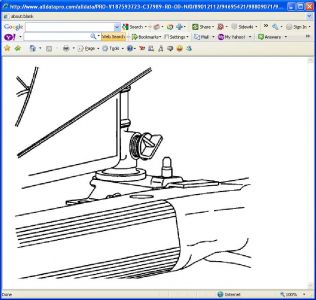
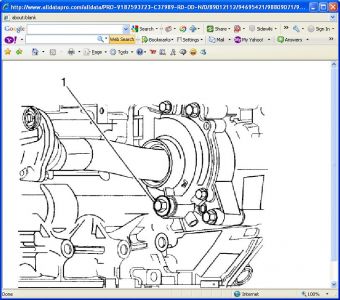
Draining and Filling Cooling System
Draining Procedure
Caution: To avoid being burned, do not remove the radiator cap or surge tank cap while the engine is hot. The cooling system will release scalding fluid and steam under pressure if radiator cap or surge tank cap is removed while the engine and radiator are still hot.
Remove the surge tank cap.
Raise and support the vehicle. Refer to Vehicle Lifting.
Place a drain pan under the right side lower radiator mount.
Open the radiator drain cock.
Drain the cooling system.
If a complete block drain is required, place a drain pan under the water pump drain.
Remove the water pump drain plug (1).
Drain the cooling system.
Inspect the appearance of the engine coolant for discoloration:
Discolored - follow the flush procedure.
Normal in appearance - follow the filling procedure.
Filling Procedure
Notice: The procedure below must be followed. Improper coolant level could result in a low or high coolant level condition, causing engine damage.
Close the radiator drain cock by hand.
Notice: Refer to Fastener Notice in Service Precautions.
Install the water pump drain plug (1) if removed during the draining process.
Tighten the plug to 22 Nm (16 inch lbs.) .
Lower the vehicle.
Important: Use a 50/50 mixture of DEX-COOL antifreeze and clean, drinkable water. It is necessary to maintain the coolant level near the cold fill line on the surge tank to insure all the air has been purged from the cooling system.
Slowly add a mixture of 50/50 DEX-COOL antifreeze and deionized water to the cooling system until the coolant level reaches and maintains slightly above the cold fill line on the surge tank.
Install surge tank cap.
Start the engine.
Run the engine at 2,000-2,500 RPM for 3 minutes.
Allow the engine to idle for 30 seconds.
Shut the engine off.
Top off the coolant as necessary.
Inspect the cooling system for leaks.
Rinse away any excess coolant from the engine and the engine compartment.
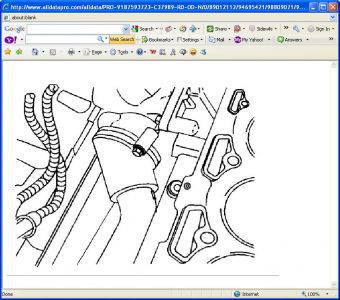
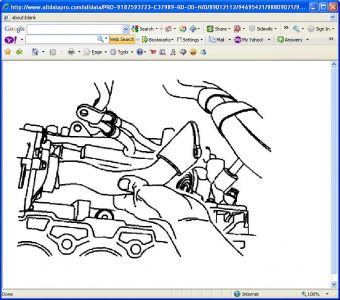
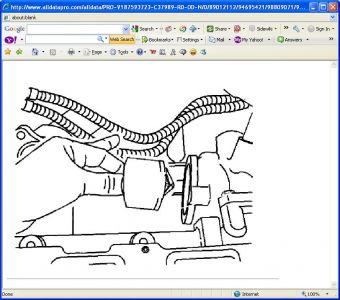
Thermostat Replacement
Removal Procedure
Drain the cooling system.
Remove the bolts that secure the thermostat housing to the water pump feed pipe.
Remove the feed pipe.
Remove the thermostat and retaining sleeve, noting the orientation for installation.
Installation Procedure
Install the thermostat and retaining sleeve with the dimple placed into the housing slot.
Important: Lubricate the O-ring with soapy water or coolant before installing the O-ring in the water pump.
Install the feed pipe that connects the thermostat housing to the water pump.
Notice: Refer to Fastener Notice in Service Precautions.
Install the bolt that secures the water pump feed pipe.
Tighten the bolt to 10 Nm (18 inch lbs.) .
Fill the cooling system.
There are the instruction's for changing the coolant and the thermostat with diagram's.If you have never replaced the coolant cap i would change that too.
Oct 27, 2010 at 4:35 AM