Rear Blend Door and Mode Actuators

Tiny
GUYGUTHRIE
  • MEMBER
  • 2010 CHEVROLET TAHOE
  • 5.3L
  • 6 CYL
  • 2WD
  • AUTOMATIC
  • 250,000 MILES
I have a problem where the A/C or heat only blows from the bottom vents in the rear and not the ceiling vents. I have changed the actuator on the front passenger side, so I am assuming that's the issue here. There appears to be two in the rear, one for the mode door and one for the blend. They are behind the blower. Any hints on how to change, and what the correct part numbers are for these units?
Monday, January 11th, 2021 AT 12:05 PM

6 Replies

Tiny
4DRTOM
  • MECHANIC
  • 467 POSTS
Hello,

Yes there are two a mode actuator and a temperature actuator for the rear. They are easy to get at you just need to remove the right rear inside quarter panel cover. Then the entire unit is accessible. The one in the back between the rear tire and the motor is the air temperature actuator and the one toward the front of the rear wheel is the mode actuator. As for the part numbers that will be different depending on where you get your parts, ie the dealer, a parts store or online. Here is a diagram #1 is the mode amd #3 is the temperature.
Let me know if this help or if you need more info.
Tom
Was this
answer
helpful?
Yes
No
Tuesday, January 12th, 2021 AT 1:35 AM
Tiny
GUYGUTHRIE
  • MEMBER
  • 4 POSTS
Thanks for the reply Tom.

My unit is slightly different that the one pictured in your diagram. I have attached a pic of mine. The two actuators are behind the blower housing.

I read on another blog, that you have to evacuate the system, and remove everything to get to the actuators. Another blog stated to remove the two 7mm screws at the top holding the system in place, and you can tip the unit to get to them.

If I tip the unit, I think I can get to them. They seem to be held in place with one screw each. Any idea what kind of screw that is, phillips, star, etc?
Was this
answer
helpful?
Yes
No
+1
Tuesday, January 12th, 2021 AT 5:49 AM
Tiny
4DRTOM
  • MECHANIC
  • 467 POSTS
I don't know it's probably Phillips or torqs though my data isn't showing it. I had two images also one for an extended rear and one for the short rear that's probably the difference. Either way your going to have to pull it away from the wall by taking out the bolts that hold the whole heater box out and pull it away. You can probably do it without disconnecting the fluid lines you just need to get it away enough that the plug can be undone.
Was this
answer
helpful?
Yes
No
+1
Tuesday, January 12th, 2021 AT 9:25 AM
Tiny
GUYGUTHRIE
  • MEMBER
  • 4 POSTS
I pulled the two 7mm and got it away from the wall far enough to get the 3 screws in each out and get them removed. Not easy but doable. I am only having problems with one but replacing both since I'm in there, since it's so hard to get to. They both have the same numbers. Pic below.

Thanks for the advice!
Was this
answer
helpful?
Yes
No
+1
Tuesday, January 12th, 2021 AT 10:12 AM
Tiny
GUYGUTHRIE
  • MEMBER
  • 4 POSTS
I have found the replacement part and they're on the way. Are there any special instructions about installing the new ones? How do they calibrate based on where the door is now? Any installation advice would be appreciated.
Was this
answer
helpful?
Yes
No
Tuesday, January 12th, 2021 AT 10:23 AM
Tiny
KEN L
  • MASTER CERTIFIED MECHANIC
  • 42,901 POSTS
It should be plug and play. If not here is how you can recalibrate the system. Actuator Recalibration

When replacing the HVAC control module it will be necessary to allow the HVAC control module to perform a calibration process. When installing the HVAC control module be sure to perform the following:

Important: Do not adjust any controls on the HVAC control module while the HVAC control module is self-calibrating. If interrupted, improper HVAC performance will result.

1. Place the ignition switch to the OFF position.
2. Disconnect the scan tool.
3. Install the HVAC control module.
4. Connect all previously disconnected components.
5. Start the vehicle.
6. Wait 40 seconds for the HVAC control module to self-calibrate.
7. Verify that no DTCs have set as current DTCs.

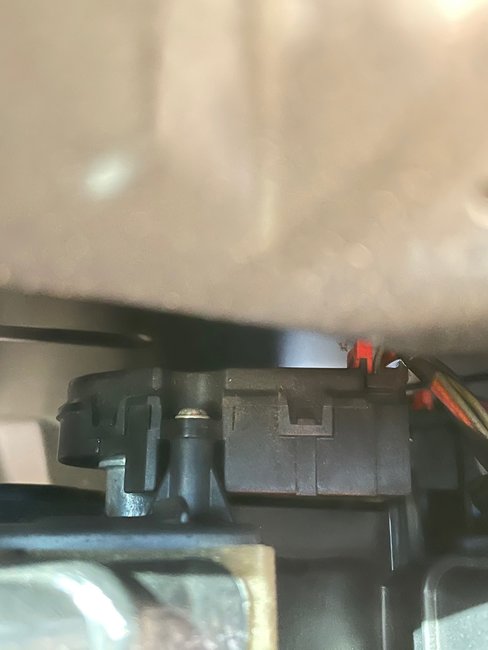
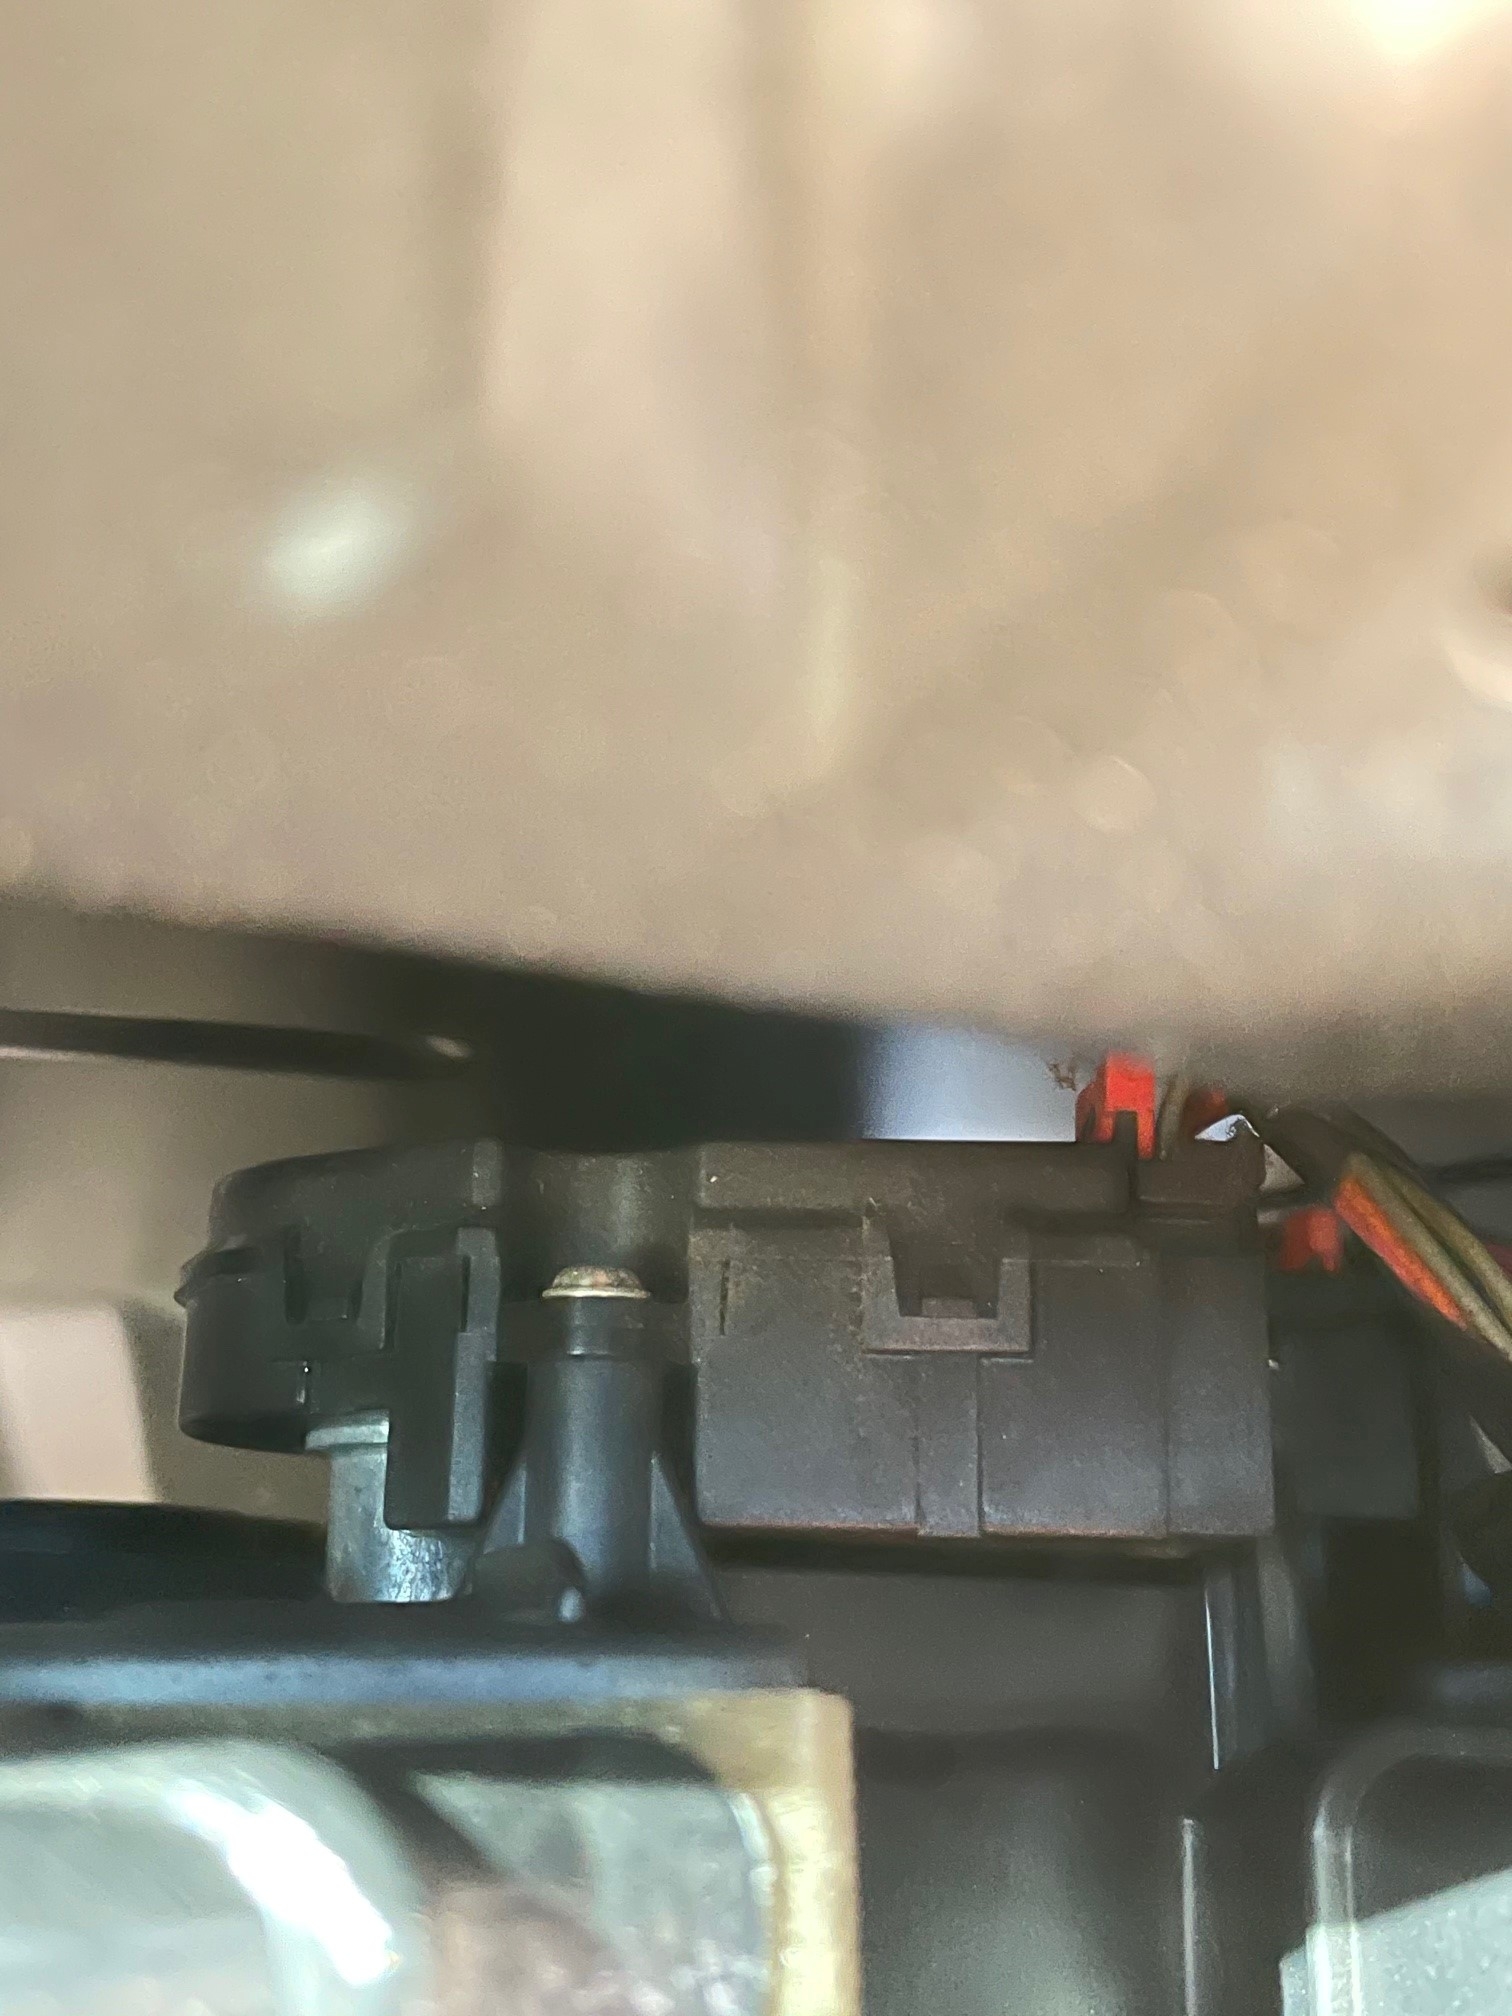
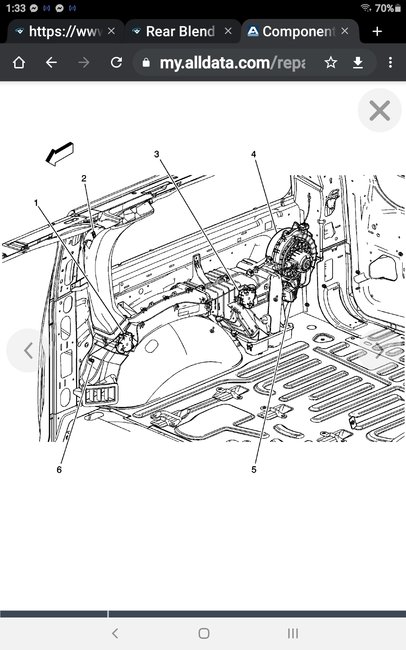
When replacing the HVAC actuator it will be necessary to allow the HVAC control module to perform a calibration process. When installing the HVAC actuator be sure to perform one of the following:

Important: Do not adjust any controls on the HVAC control module while the HVAC control module is self-calibrating. If interrupted, improper HVAC performance will result.

Preferred Method (w/Scan Tool)
1. Clear all DTCs.
2. Place the ignition switch in the OFF position.
3. Install the HVAC actuator.
4. Connect all previously disconnected components.
5. Start the vehicle.
6. With the scan tool, initiate the Motor Re-calibration feature of the Heating and Air Conditioning Special Functions menu.
7. Verify that no DTCs have set as current DTCs.

Important: Do not adjust any controls on the HVAC control module while the HVAC control module is self-calibrating. If interrupted, improper HVAC performance will result.

Alternate Method (w/o Scan Tool)
1. Clear all DTCs.
2. Place the ignition switch to the OFF position.
3. Install the HVAC actuator.
4. Connect all previously disconnected components.
5. Remove the HVAC/ECAS fuse for a minimum of 10 seconds.
6. Install the HVAC/ECAS fuse.
7. Start the vehicle.
8. Wait 40 seconds for the HVAC control module to self-calibrate.
9. Verify that no DTCs have set as current DTCs.
Was this
answer
helpful?
Yes
No
+1
Saturday, January 16th, 2021 AT 2:59 PM

Please login or register to post a reply.

Sponsored links