Good afternoon,
Depends on where the leak is located.
https://www.2carpros.com/articles/how-to-replace-a-car-radiator
https://www.2carpros.com/articles/car-is-leaking-coolant
Can you upload a picture for me of the area?
Roy
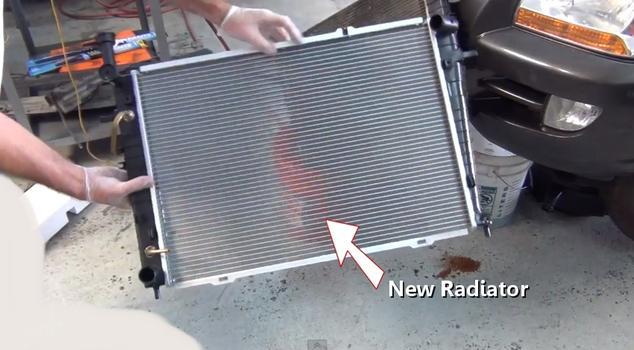
Radiator
imageOpen In New TabZoom/Print
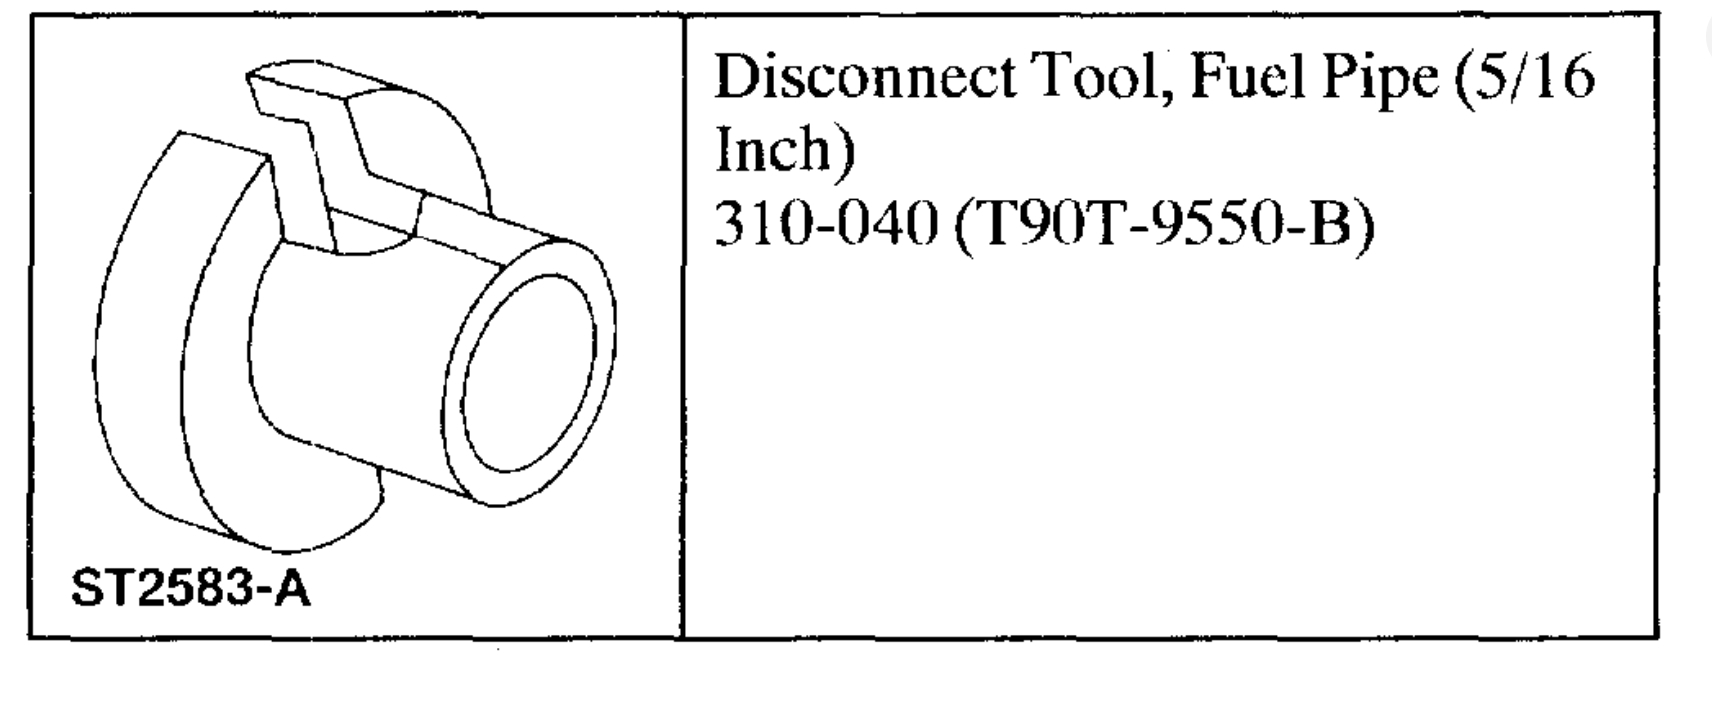
Special Tool(s)
Removal and Installation
1. Disconnect the battery ground cable.
2. Drain the cooling system.
imageOpen In New TabZoom/Print
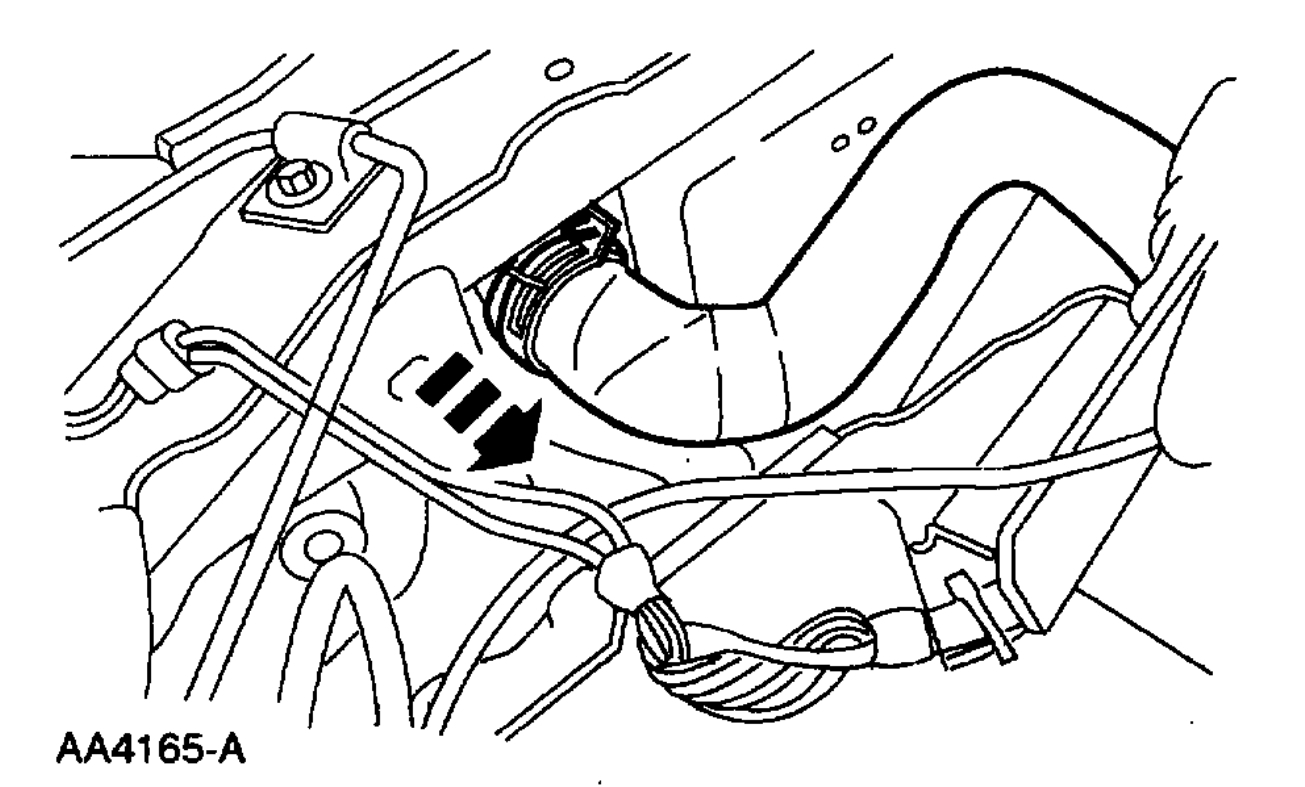
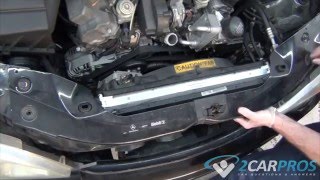
3. Disconnect the upper radiator hose from the radiator.
imageOpen In New TabZoom/Print
4. Disconnect the electrical connectors and the harness.
imageOpen In New TabZoom/Print
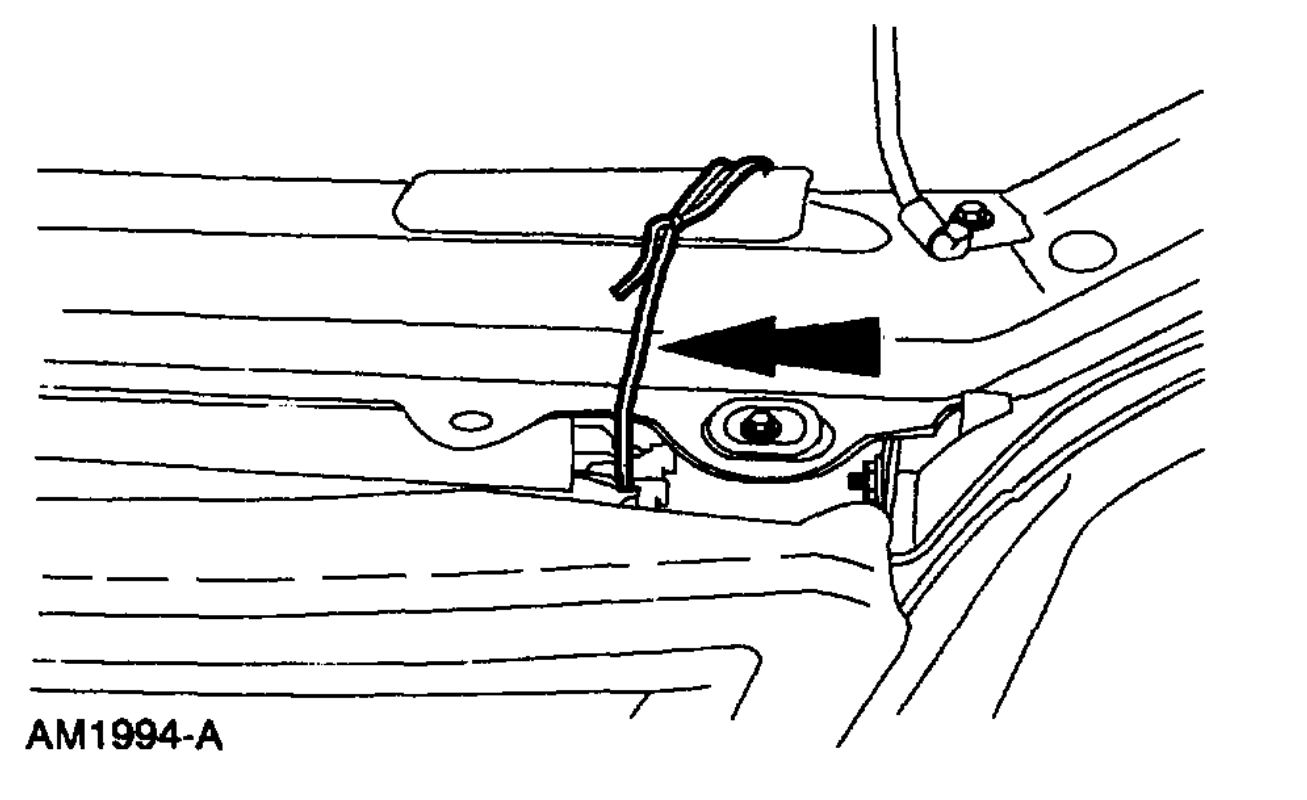
5. Disconnect the radiator vent hose from the radiator.
imageOpen In New TabZoom/Print
6. NOTE: A/C condenser must be secured.
Tie the A/C condenser to the upper radiator support.
7. Raise and support the vehicle.
imageOpen In New TabZoom/Print
8. Remove the five screws to access the A/C condenser bolts.
imageOpen In New TabZoom/Print
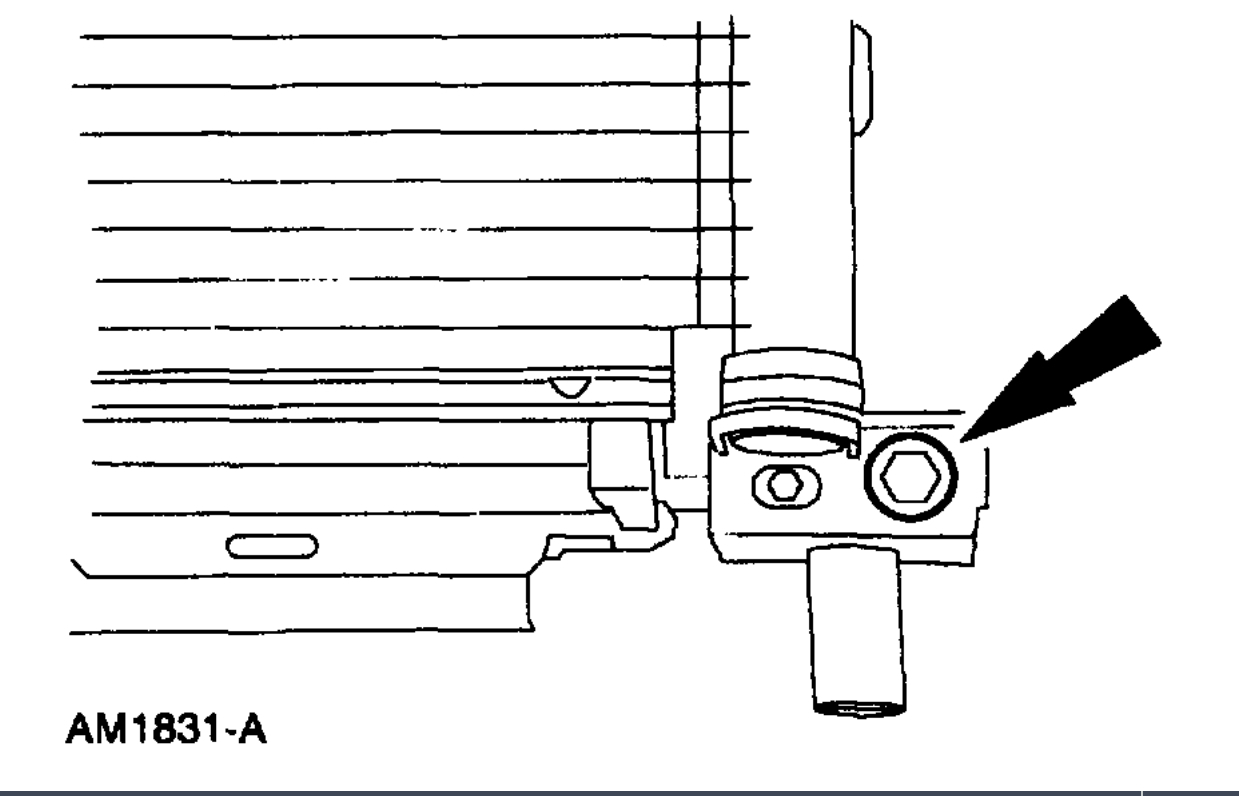
9. Remove the bolts from the A/C condenser.
imageOpen In New TabZoom/Print
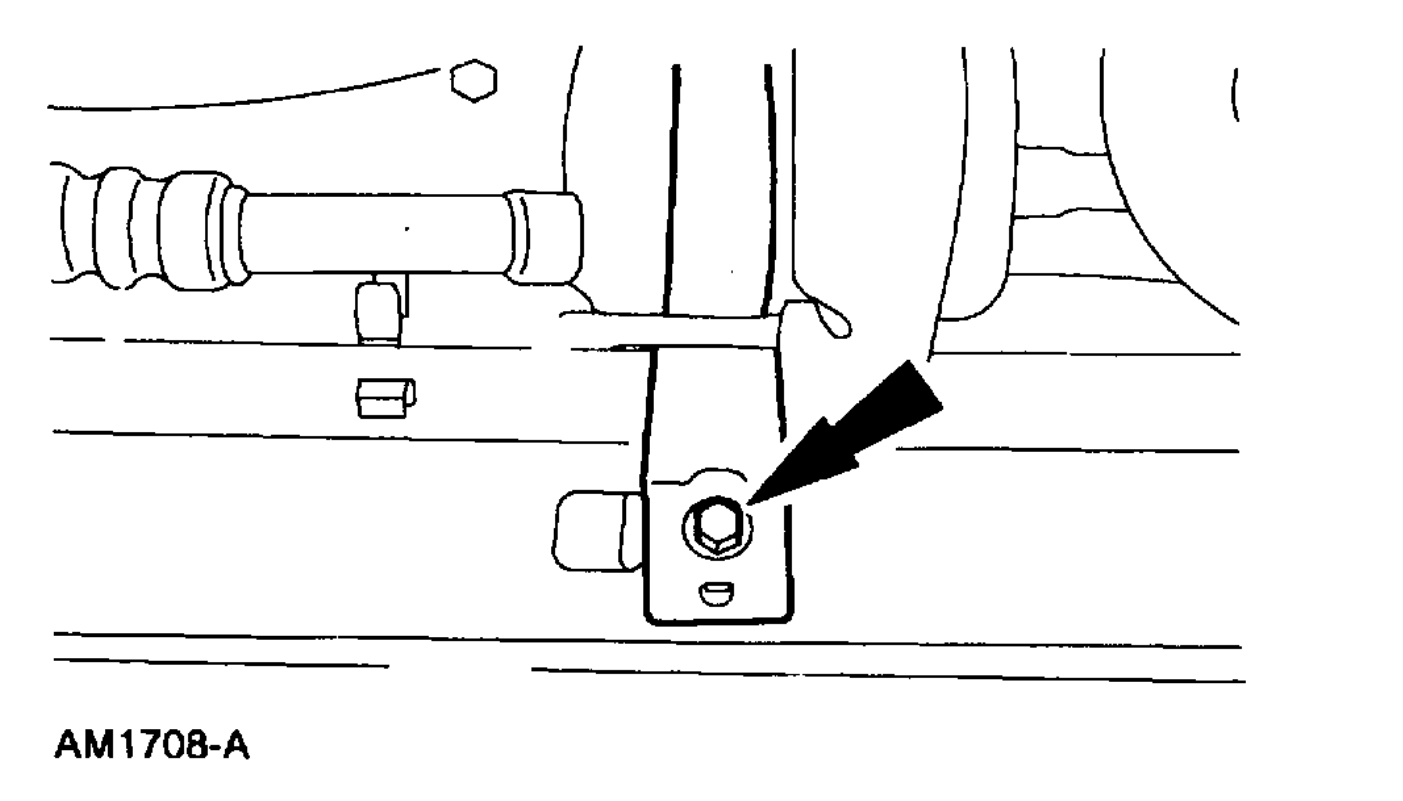
10. Remove the bolt and position the A/C muffler bracket out of the way.
imageOpen In New TabZoom/Print
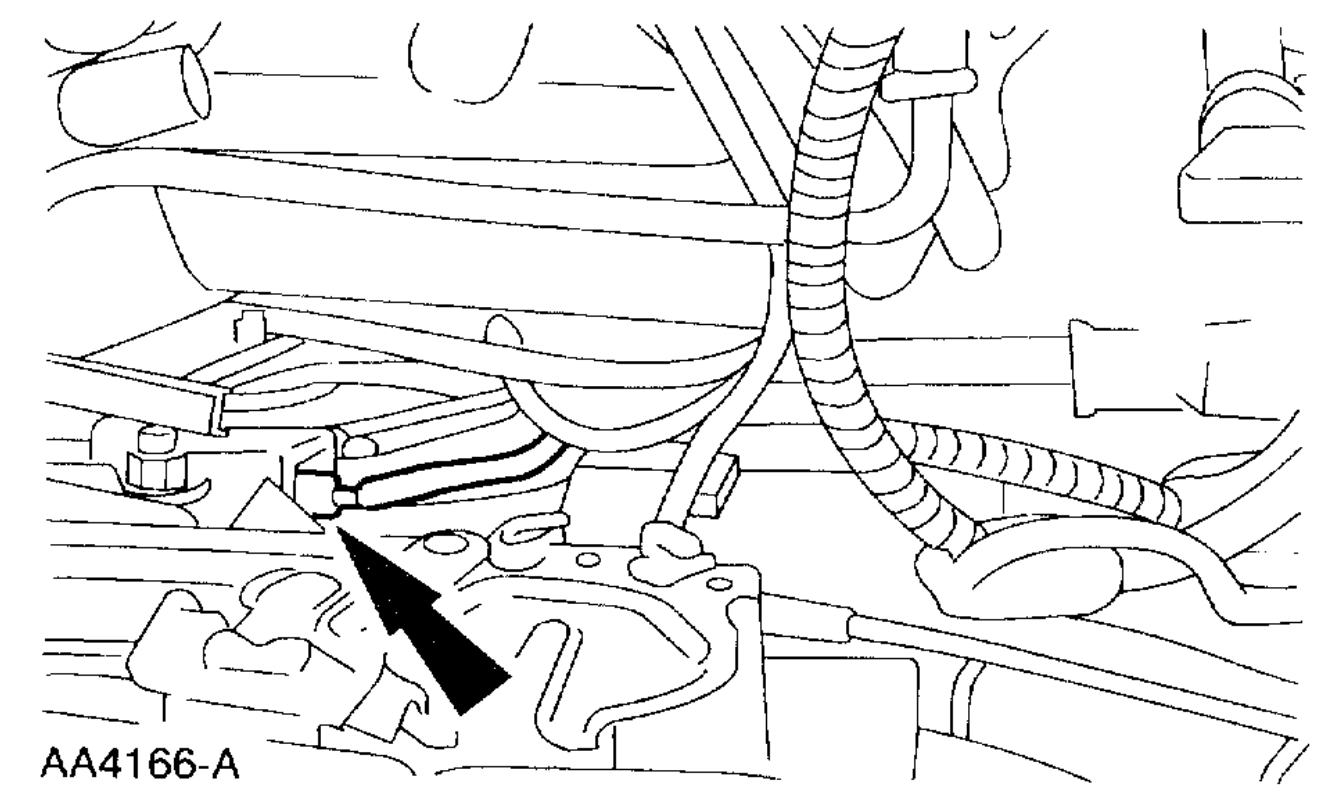
11. Disconnect the lower radiator hose and the degas bottle supply hose from the radiator.
imageOpen In New TabZoom/Print
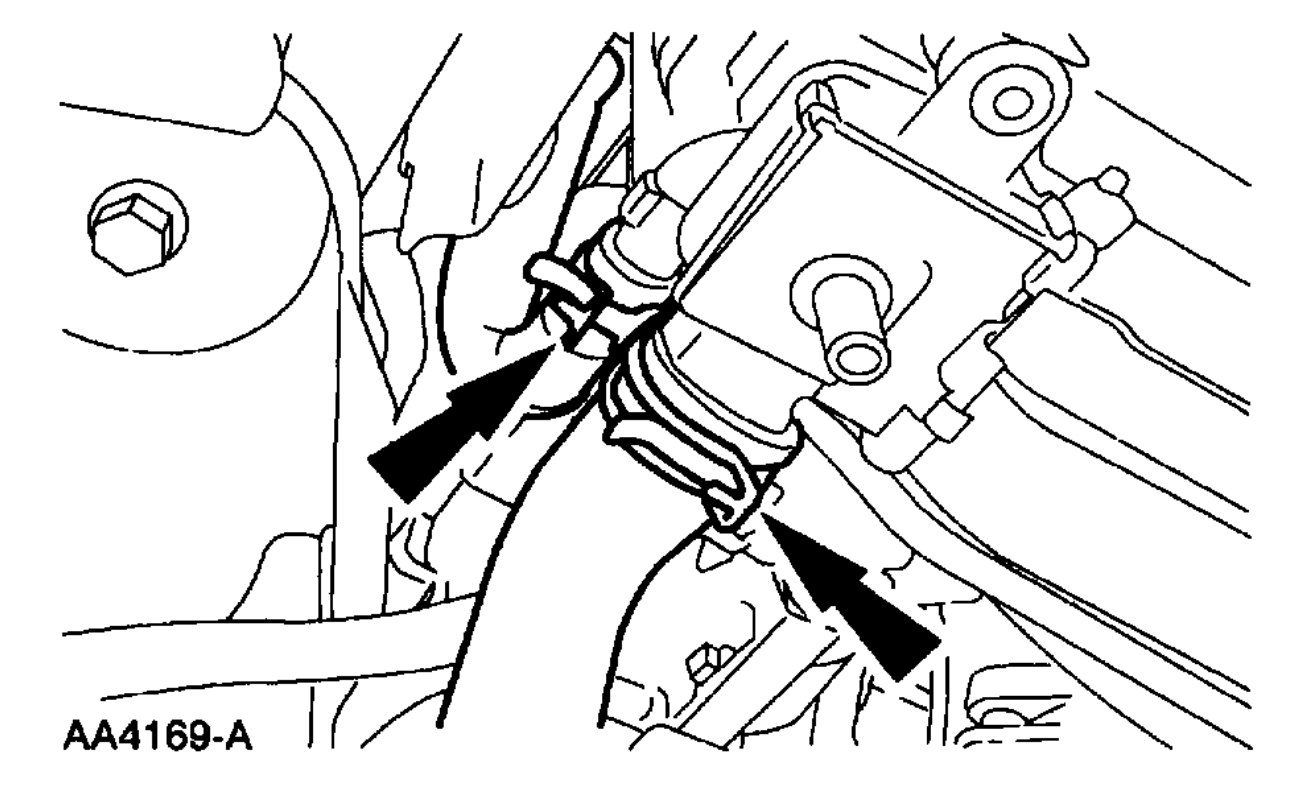
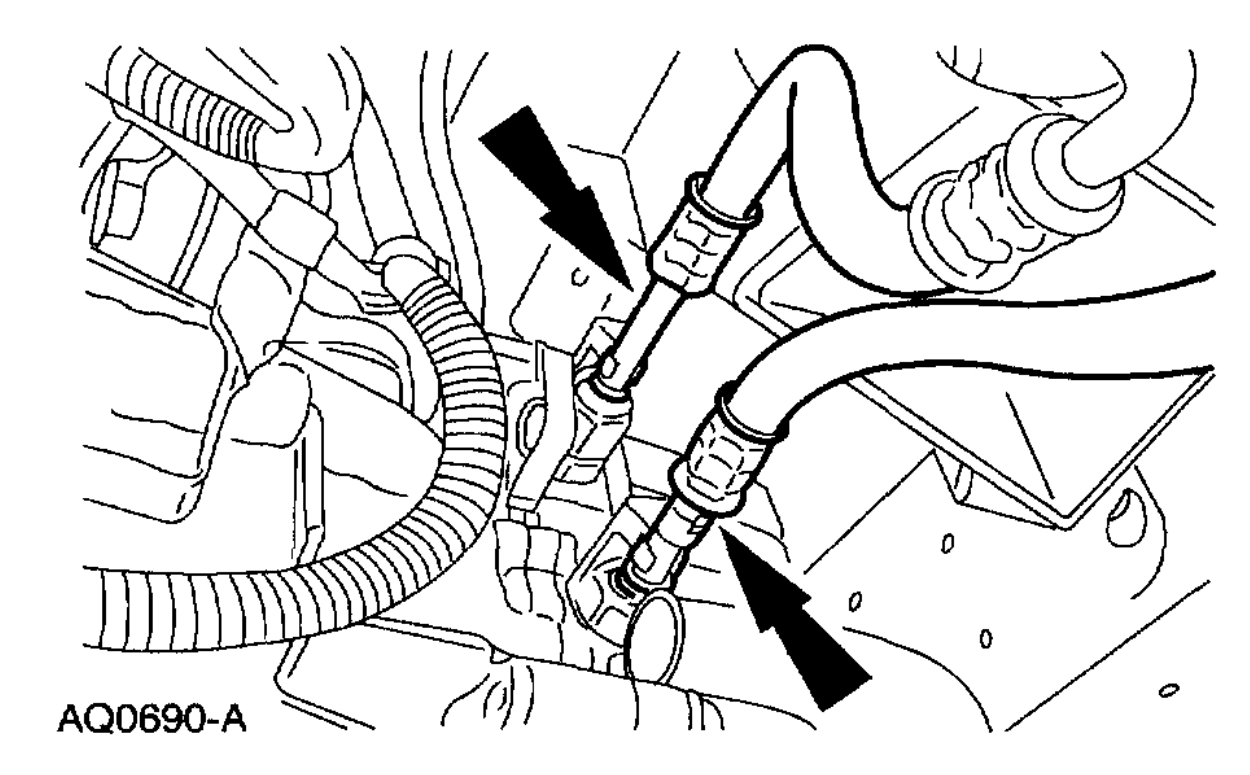
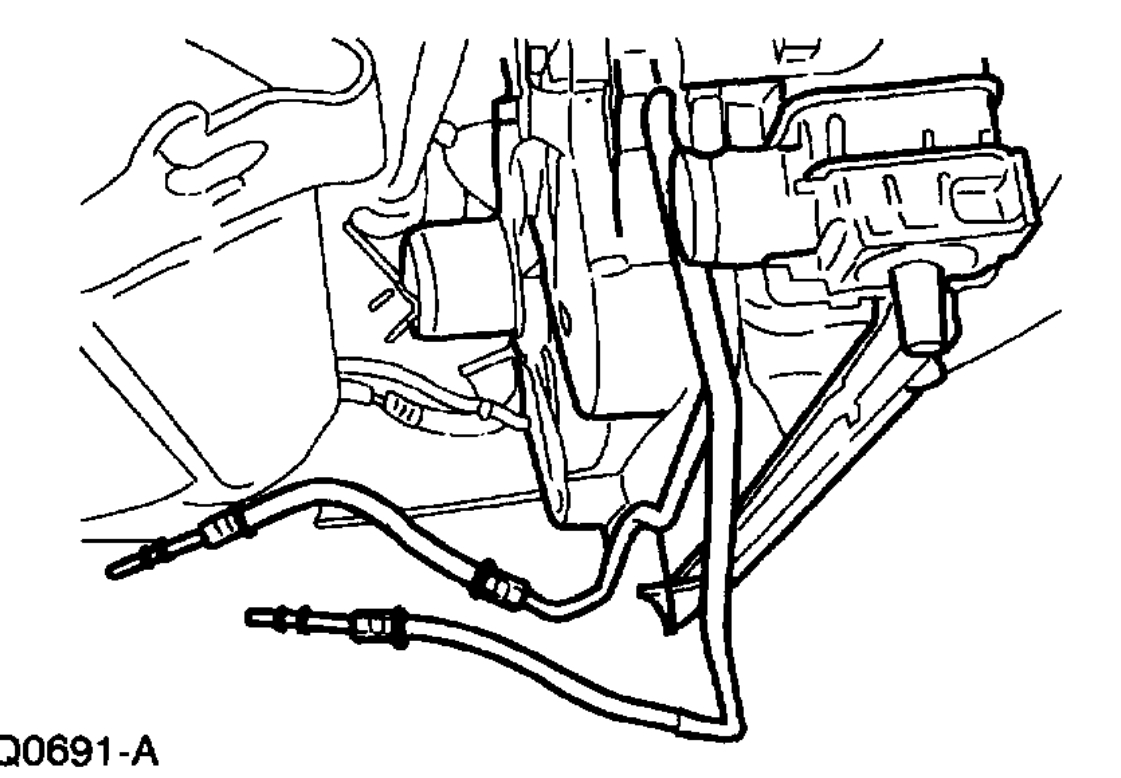
12. Using the special tool, disconnect the transmission cooler tubes from the transmission.
imageOpen In New TabZoom/Print
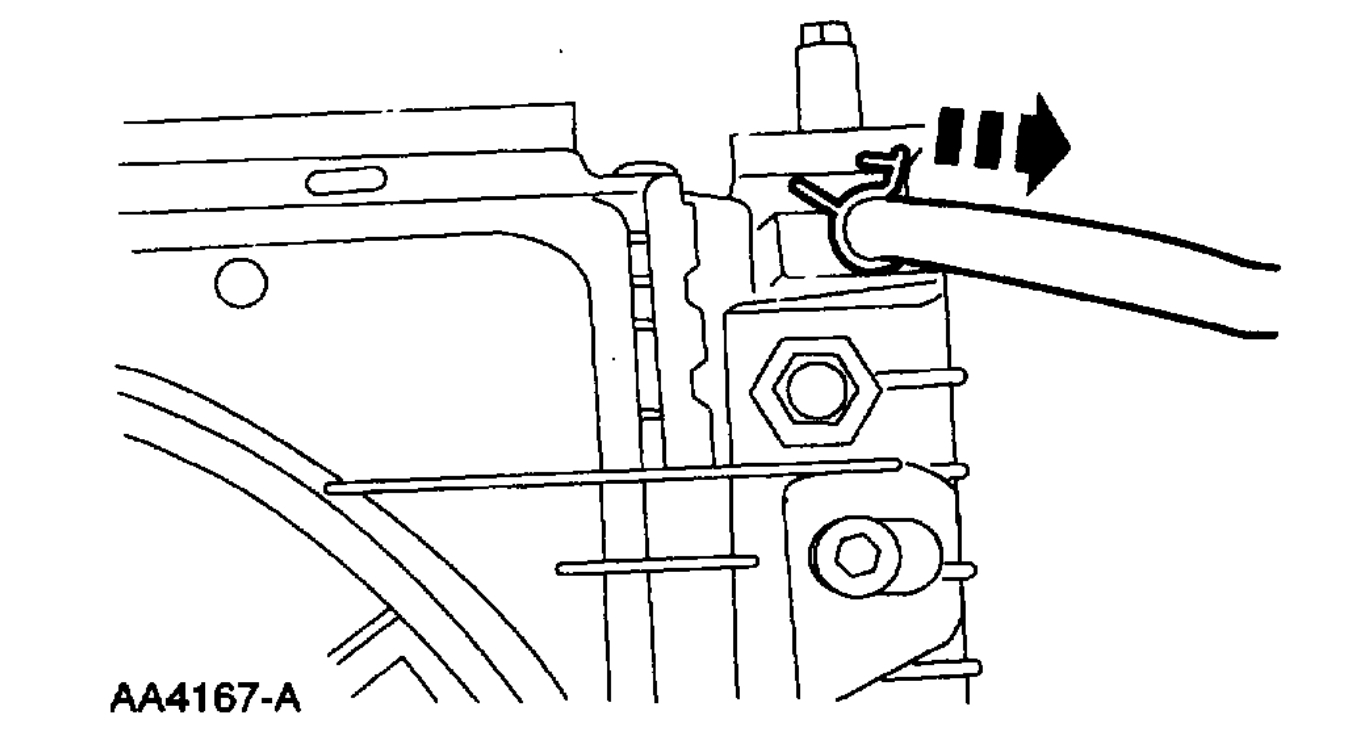
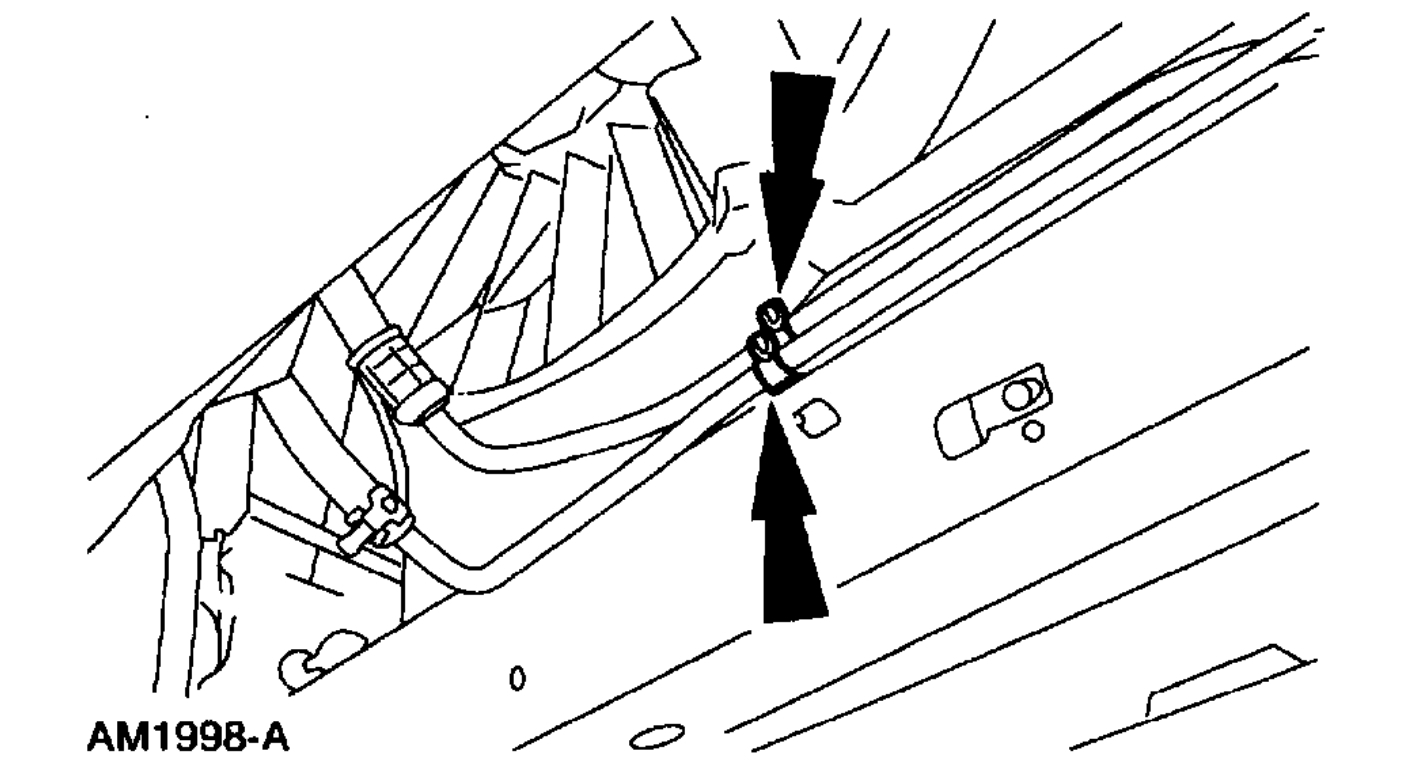
13. Unclip the transmission cooler tubes from the lower radiator support.
imageOpen In New TabZoom/Print
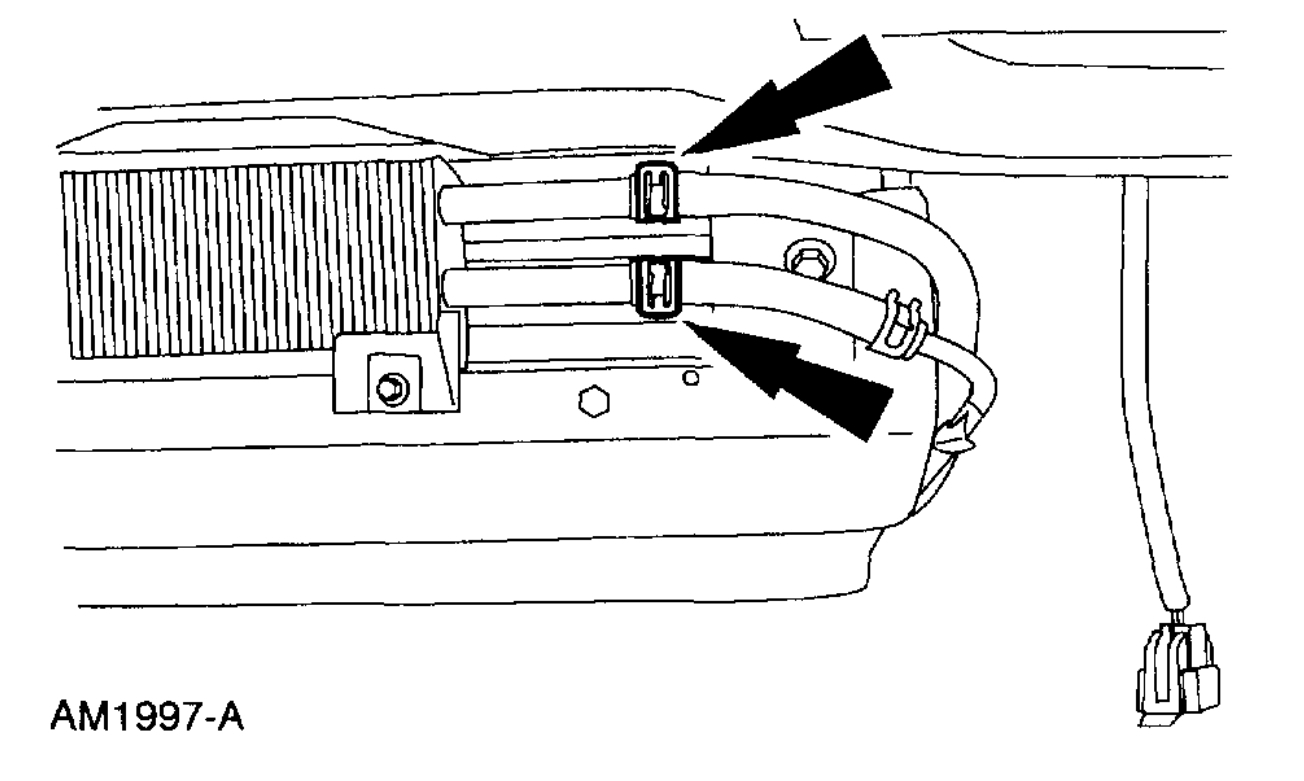
14. Disconnect the auxiliary cooler tubes.
imageOpen In New TabZoom/Print
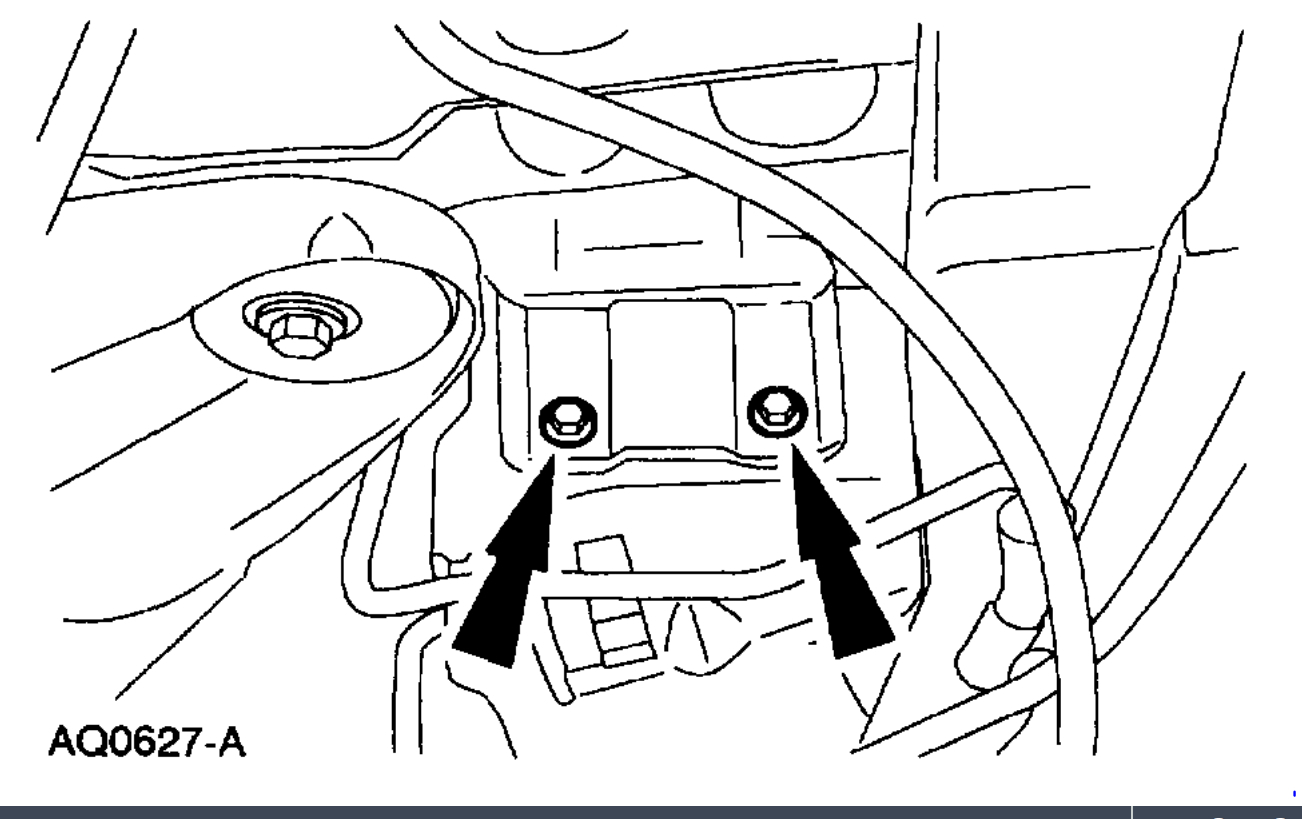
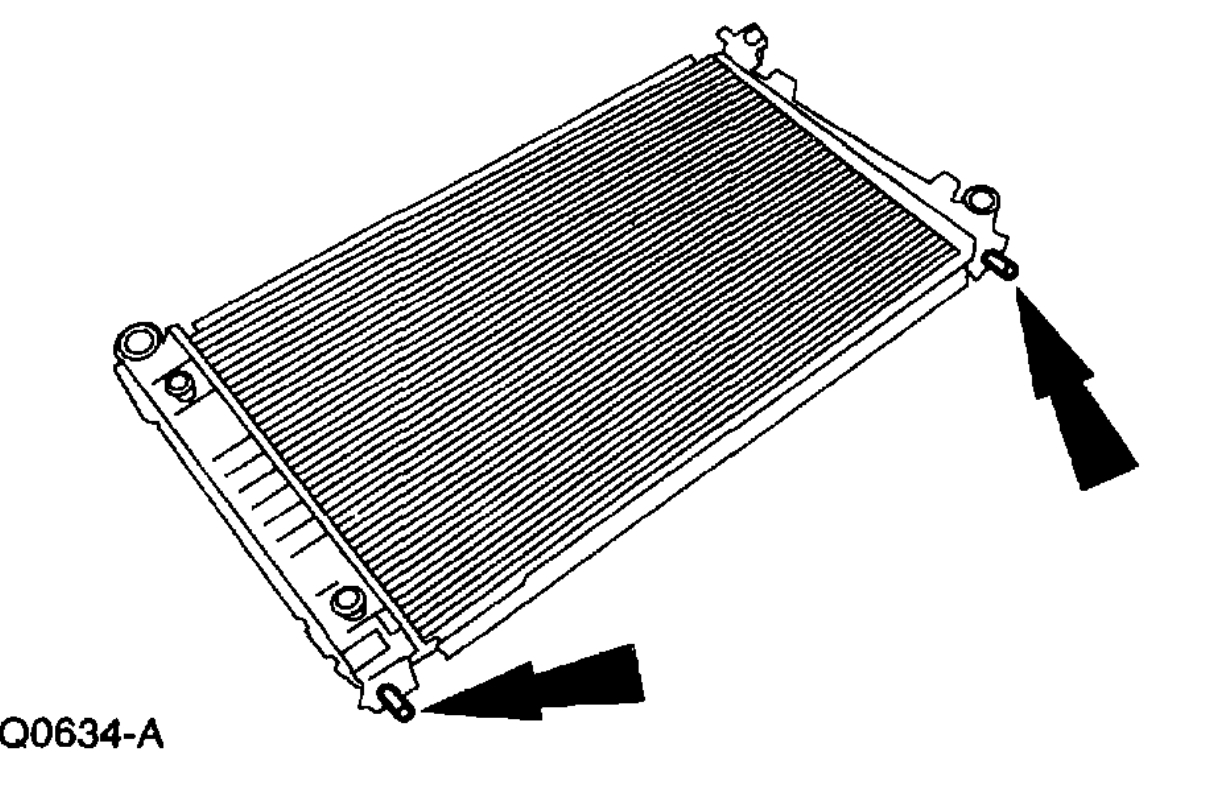
15. Remove the four bolts and the radiator support.
imageOpen In New TabZoom/Print
16. Remove the radiator, fan and fan shroud assembly.
imageOpen In New TabZoom/Print
17. Disconnect the transmission tubes from the radiator.
imageOpen In New TabZoom/Print
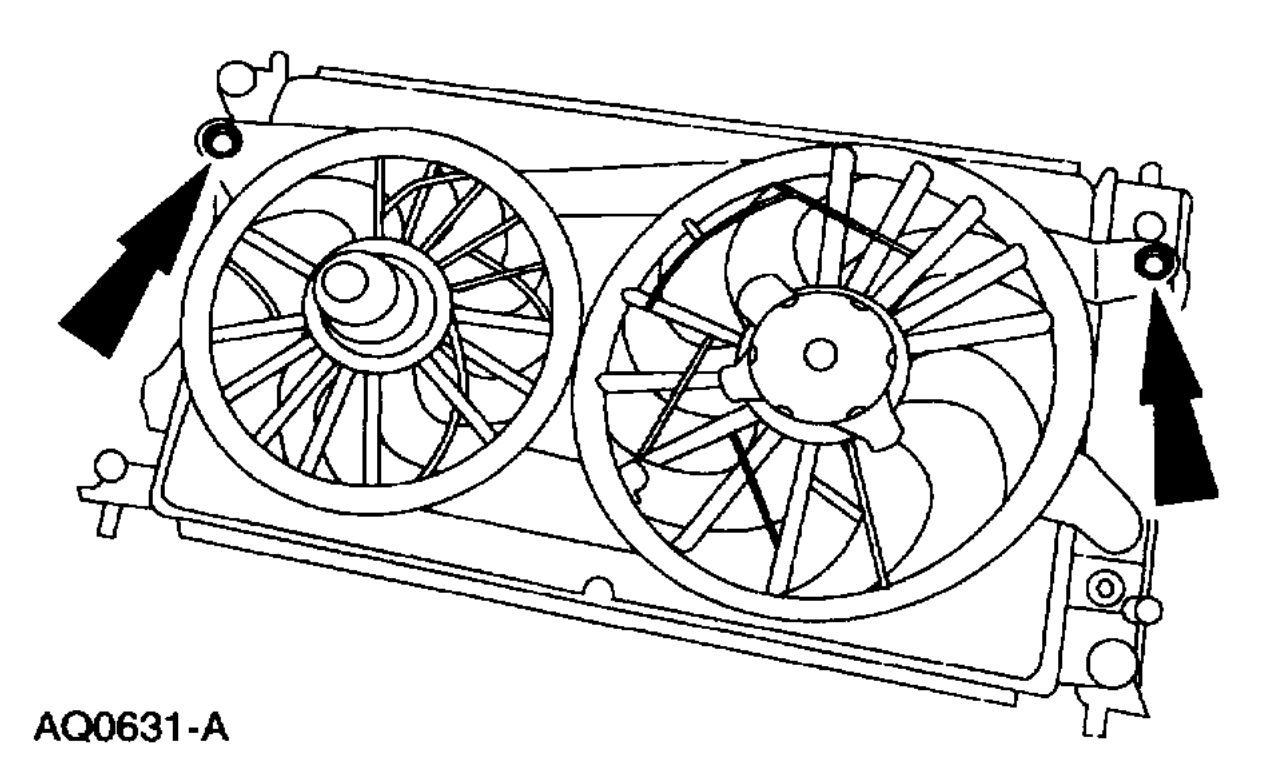
18. Remove the bolts the fan and the shroud assembly from the radiator.
imageOpen In New TabZoom/Print
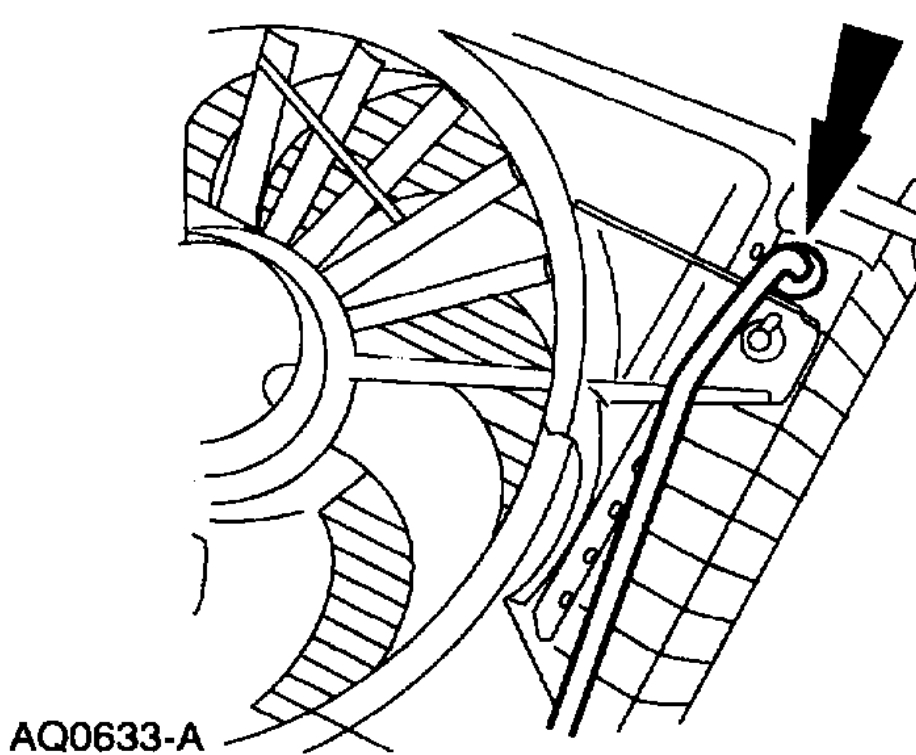
19. Remove the radiator guide pins.
imageOpen In New TabZoom/Print
20. To install, reverse the removal procedure.
21. Fill the cooling system.
Images (Click to make bigger)
Tuesday, February 9th, 2021 AT 1:02 PM