Hi,
I understand. Here is a set of interesting videos you may enjoy. It is the site owner's son rebuilding a 454. This link is part 1 only. They continue after that.
https://www.youtube.com/watch?v=8es2qK6MA_E
As far as the engine, here are the directions for removal and replacement. The attached pics correlate with the directions.
_________________________________
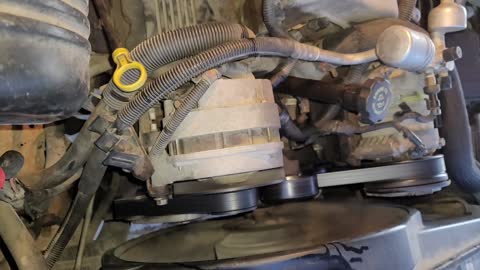
1998 Chevy Truck K 2500 Truck 4WD V8-454 7.4L VIN J SFI
Engine Removal and Installation
Vehicle Engine, Cooling and Exhaust Engine Service and Repair Procedures Engine Removal and Installation
ENGINE REMOVAL AND INSTALLATION
See pic 1
REMOVAL PROCEDURE
Tools Required
- J 36857 Engine Lift Brackets
1. Remove the hood.
2. Disconnect the battery negative cable from the battery.
CAUTION: Refer to Battery Disconnect Caution in Service Precautions.
3. Remove the air cleaner duct and resonator from the throttle body.
4. Remove the ignition coil from the intake manifold.
5. Remove the electrical connector at the distributor.
6. Remove the fuel supply lines from the fuel rail.
7. Drain the cooling system.
8. Remove the air conditioning compressor from the engine block.
9. Remove the radiator from the vehicle.
10. Disconnect the electrical connectors on the throttle body.
11. Remove the accelerator cable from the throttle body.
12. Remove the cruise control cables from the throttle body if equipped.
13. Remove the vacuum lines from the engine.
14. Remove the electrical connector from the EGR valve.
15. Remove the generator from the generator mounting bracket.
16. Remove the engine electrical harness and tie out of the way.
17. Raise the vehicle and support with safety stands.
18. Remove the hoses from the power steering pump.
19. Remove the front propeller shaft if equipped.
20. Remove the ground wires from the engine block.
21. Remove the starter motor from the engine block.
22. Remove the flywheel inspection cover from the transmission if equipped.
23. Remove the bolts from the torque convertor to the flywheel if equipped.
24. Remove the exhaust pipes from the exhaust manifolds.
25. Remove the bolts from the transmission to the engine block.
26. For the automatic transmission.
27. For the manual transmission.
28. Remove the engine auxiliary oil cooler lines from the engine block.
29. Lower the vehicle.
30. Support the transmission with a suitable jack.
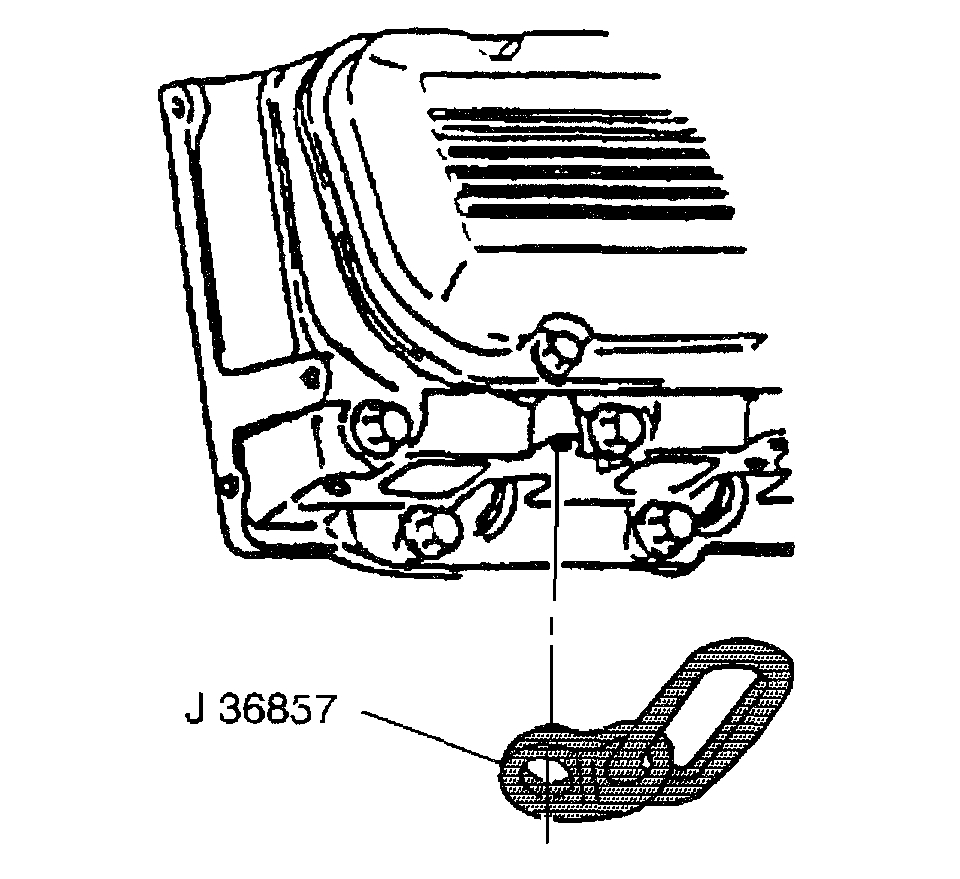
31. Attach J 36857 to the rear of the right cylinder head.
Install the attaching bolt and washer. Use GM P/N 9428217 with GM P/N 15650963.
Tighten the lift bracket bolts to 40 Nm (30 ft. lbs.).
NOTICE: Refer to Fastener Notice in Service Precautions.
32. Remove the front engine mount through bolts.
33. Remove the engine with a suitable lifting devise.
34. Remove the generator mounting bracket from the engine block.
35. Remove the air conditioning compressor/power steering mounting bracket from the cylinder head.
36. Remove the lift brackets from the cylinder head.
INSTALLATION PROCEDURE
see pic 2
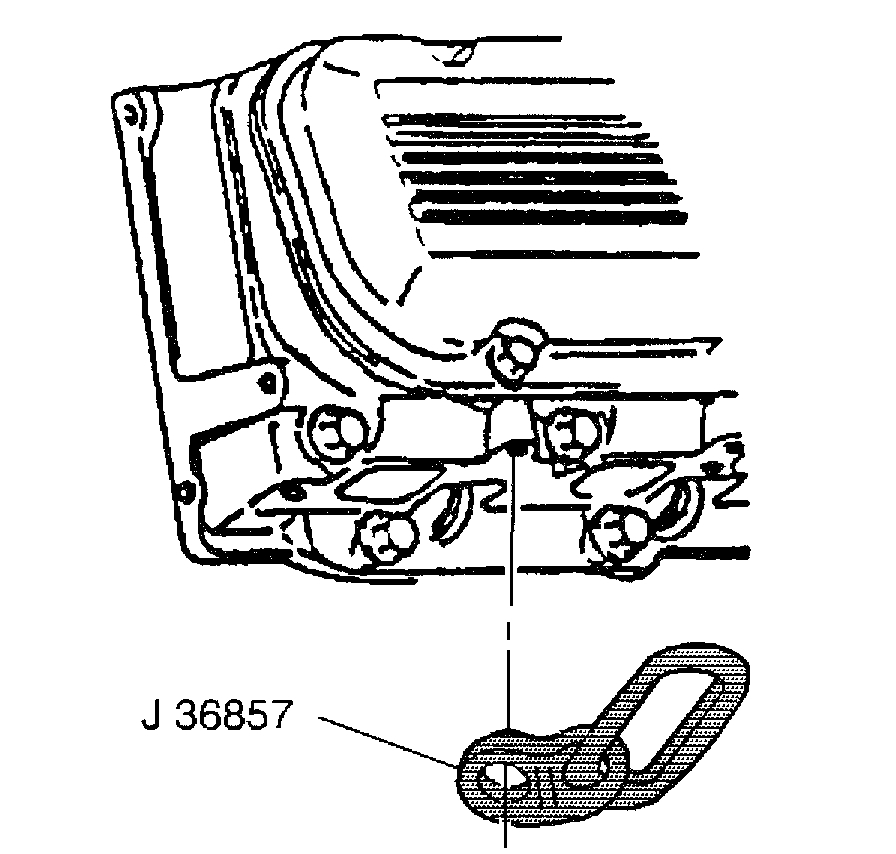
1. Attach J 36857 to the rear of the right cylinder head.
Install the attaching bolt and washer. Use GM P/N 9428217 with GM P/N 15650963.
Tighten the lift bracket bolts to 40 Nm (30 ft. lbs.).
NOTICE: Refer to Fastener Notice in Service Precautions.
see pic 3
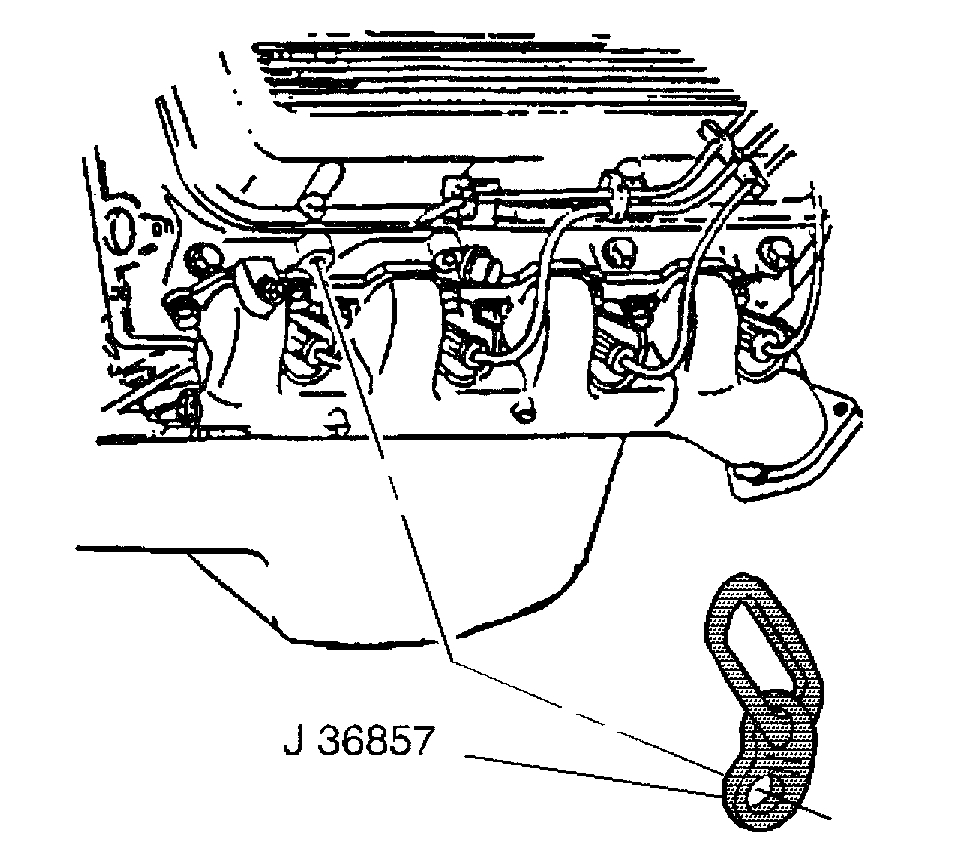
2. Attach J 36857 to the left front cylinder head.
Install the attaching bolt and washer. Use GM P/N 9428217 with GM P/N 15650963.
Tighten the lift bracket bolts to 40 Nm (30 ft. lbs.).
3. Install the engine into the vehicle.
4. Install the engine mounting through bolts.
5. Remove the engine lift hooks from the cylinder head.
6. Install the air compressor/power steering mounting bracket to the engine block.
7. Install the generator mounting bracket.
8. Raise the vehicle and support with safety stands.
9. Install the bolts from the transmission to the engine block.
10. Install the ground straps to the engine block.
11. Install the hoses to the power steering pump.
12. Install the torque converter bolts.
13. Install the convertor pan cover to the transmission.
14. Install the starter to the engine block.
15. Install the oil cooler lines to the engine block if equipped.
16. Install the exhaust pipes to the exhaust manifold.
17. Install the front propeller shaft (4WD).
18. Lower the vehicle.
19. Install the fuel lines to the fuel rail.
20. Install the ignition coil to the upper intake manifold.
21. Install the electrical connector to the distributor.
22. Install the electrical connector to the EGR valve.
23. Install the electrical connectors to the throttle body.
24. Install the accelerator cable to the Throttle Body.
25. Install the vacuum lines to the engine.
26. Install the generator to the generator mounting bracket.
27. Install the air conditioning compressor to the air conditioning/power steering mounting bracket.
28. Install the engine electrical wiring harness to the engine.
29. Install the radiator to the vehicle.
30. Install the Air Cleaner Duct and Resonator to the throttle body.
31. Fill the radiator with coolant.
32. Recharge the air conditioning system.
33. Connect the battery negative cable to the battery.
34. Close the hood.
_________________________________
That's a lot of engine, so make sure when you removing, it's secure.
Let me know if you have other questions or need help.
Take care,
Joe
Images (Click to make bigger)
Sunday, December 20th, 2020 AT 9:25 PM