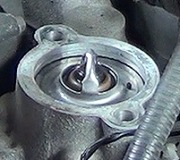
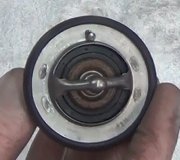
1997 Mercury Marquis Two Wheel Drive Automatic
Hi,
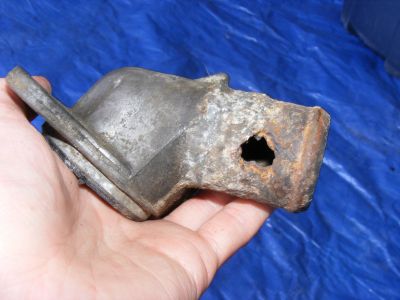
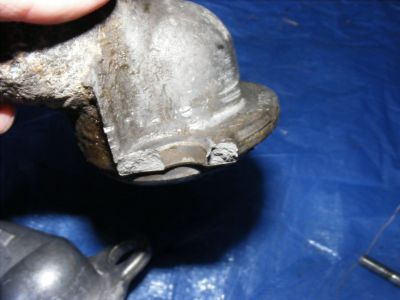
I had to replace a hose in my car and I noticed that my thermostat housing was corroded and falling apart so I got the replacement part at a local auto zone and installed it.
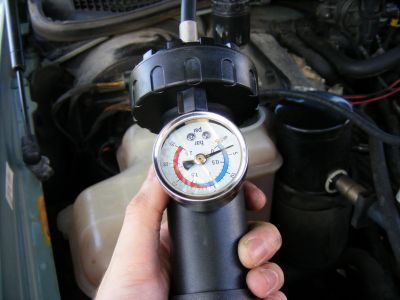
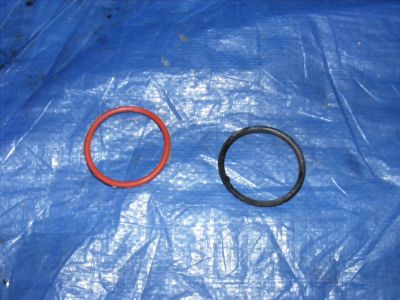
I picked up a pressure tester tool and made a soapy spray bottle and pumped a few pounds of pressure onto the system but the housing leaked air all around. I replaced the gasket that was on the thermostat with a new O-ring which I installed on the underside of the thermostat. I bolted it back on and tested again and I still leaked badly.
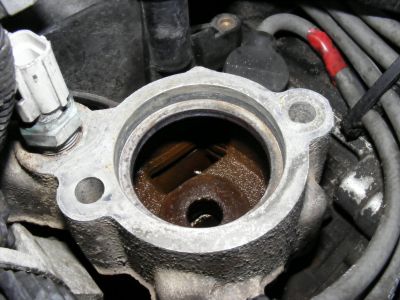
When I removed the original thermostat housing there was no gasket between it and the intake manifold, it was just metal to metal. If there was some kind of sealer used it was long gone.
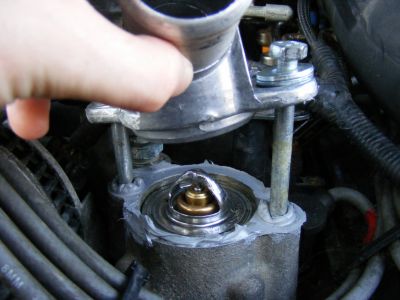
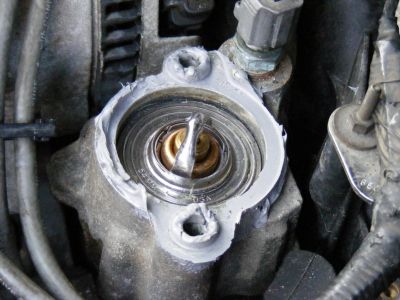
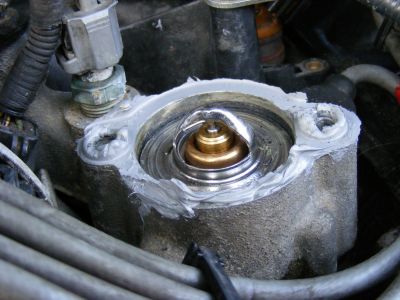
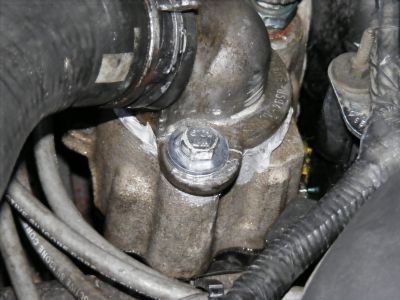
I followed the recommendation of one of the people at the parts store and tried applying a layer of rubber sealant and reinstalling the part. I waited for the sealant to cure for one day and tested again but it blew a small hole and leaked.
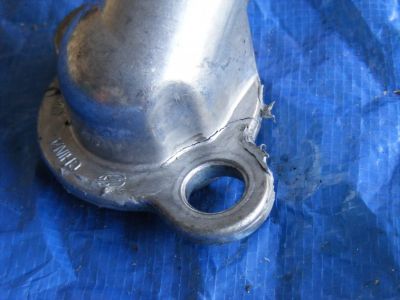
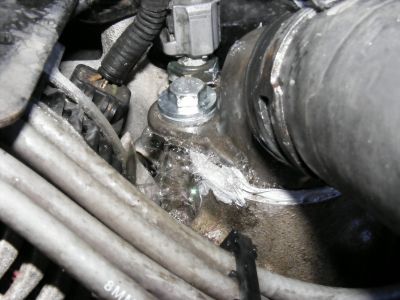
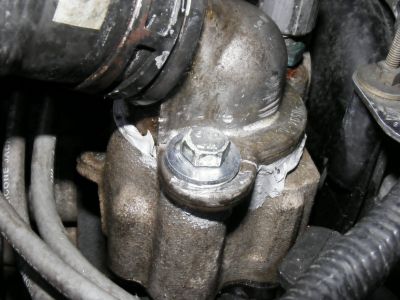
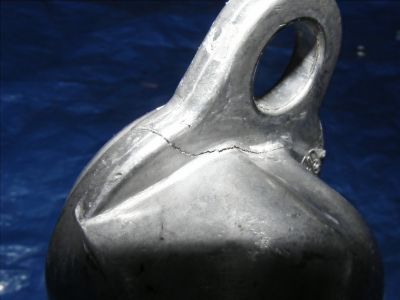
I scraped the whole thing clean and thoroughly cleaned the housing and reinstalled with a permatex RTV sealant indicated for water pumps and housings, but the thermostat housing cracked and leaked. I had tightened it to about 18 pounds according to the torque specs from the manual. I removed it and placed another which I tightened by hand but it also cracked. I put the original housing on and tried again but it cracked as well.
The problem is that this car doesnt seem to use a gasket between the thermostat housing and the intake manifold, so I assume that a layer of gasket sealer is used, because it IS necessary to seal the pieces together to prevent coolant from leaking. But I think maybe I have applied it incorrectly. The new gasket ring for the thermostat itself is round whereas the old one is a little flat, according to my research it should be installed between the intake and the thermostat (on the bottom edge of the thermostat) not above it.
I don't get it. I'm trying to get this part replaced and sealed so I can pressure test the whole system to verify the hose replacement is sound but it's just falling apart and failing on me.
Thanks for your help.
Update with some additional details:
When I first attempted to remove the housing the first bolt came out easily but the second one rounded. I didnt have any experience with bolt extraction so it was really difficult for me but I ended up getting it out by cutting the head off, removing the thermostat housing, and turning it out with a tap handle.
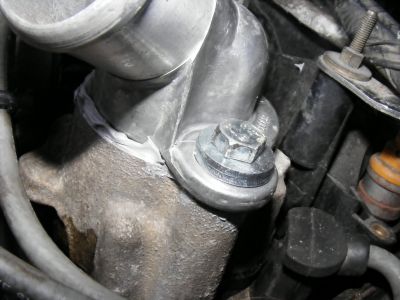
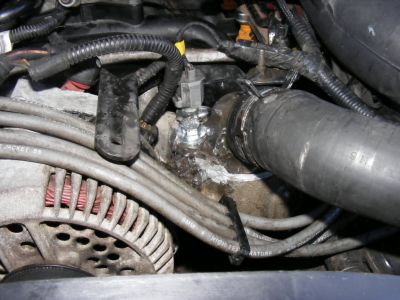
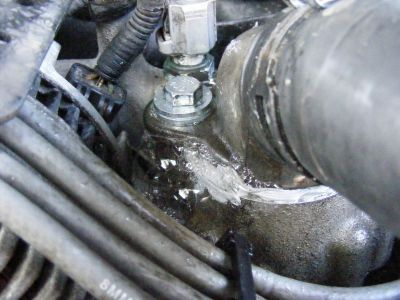
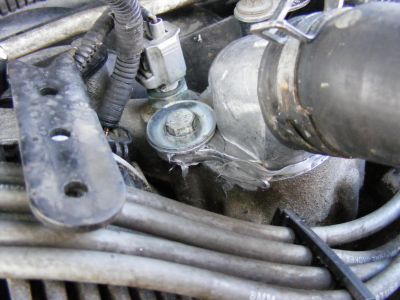
The original bolts were flanged and included a washer between the head and the start of the threads. It took me awhile to find some replacements and properly fitting washers (see pics). These are metric 8mm width by 100mm length by 1.25mm pitch.
The other point is that if I do not install the gasket in the manifold the thermostat housing will fit in face-to-face with the metal of the manifold. If I use the gasket however, there is a smalllll gap of a few millimeters maybe. It looks like when I tighten the bolts on the sides of the housing the gasket prevents the center of the housing from moving down, and the bolt heads pull the sides off. If you look at where they crack this makes a lot of sense.
I also think its correct to put the gasket above the thermostat rather than below. But I'm not sure what to do.
I could try to find a thinner gasket that fits better, or avoid over-torqing the bolts down and use the silicon RTV to do the sealing.
The original gasket is SLIGHTLY thinner than the new O-ring, but either one of them will displace the housing from the manifold slightly.
I think maybe the replacement gasket is a little too thick combined with poor quality on the replacement part. If I had to think about it the gasket should be sufficient to seal the housing to the manifold...
This repair began when the coolant hose that runs underneath the intake manifold from the waterpump to the heater core burst... I didnt think that replacing the thermostat housing would be the hard part of the job, hehe.
I hope to continue learning from this experience,
Thanks for your help.
Tuesday, May 25th, 2010 AT 7:57 PM
