Hi,
It could be external and you mentioned or in the fuel tank. Since you can't find it, I suspect it is in the tank.
Here are the directions for replacement. The attached pics correlate with the directions.
________________________________________
2007 Saturn ION L4-2.2L
Fuel Filter Replacement (With RPO Code NU6)
Vehicle Powertrain Management Fuel Delivery and Air Induction Fuel Filter Service and Repair Removal and Replacement Fuel Filter Replacement (With RPO Code NU6)
FUEL FILTER REPLACEMENT (WITH RPO CODE NU6)
Fuel Filter Replacement (RPO NU6)
Tools Required
J 39765 Fuel Sender Lock Nut Wrench
Removal Procedure
Caution: Refer to Gasoline/Gasoline Vapors Caution.
Caution: In order to reduce the risk of fire and personal injury that may result from a fuel leak, always replace the fuel sender gasket when reinstalling the fuel sender assembly.
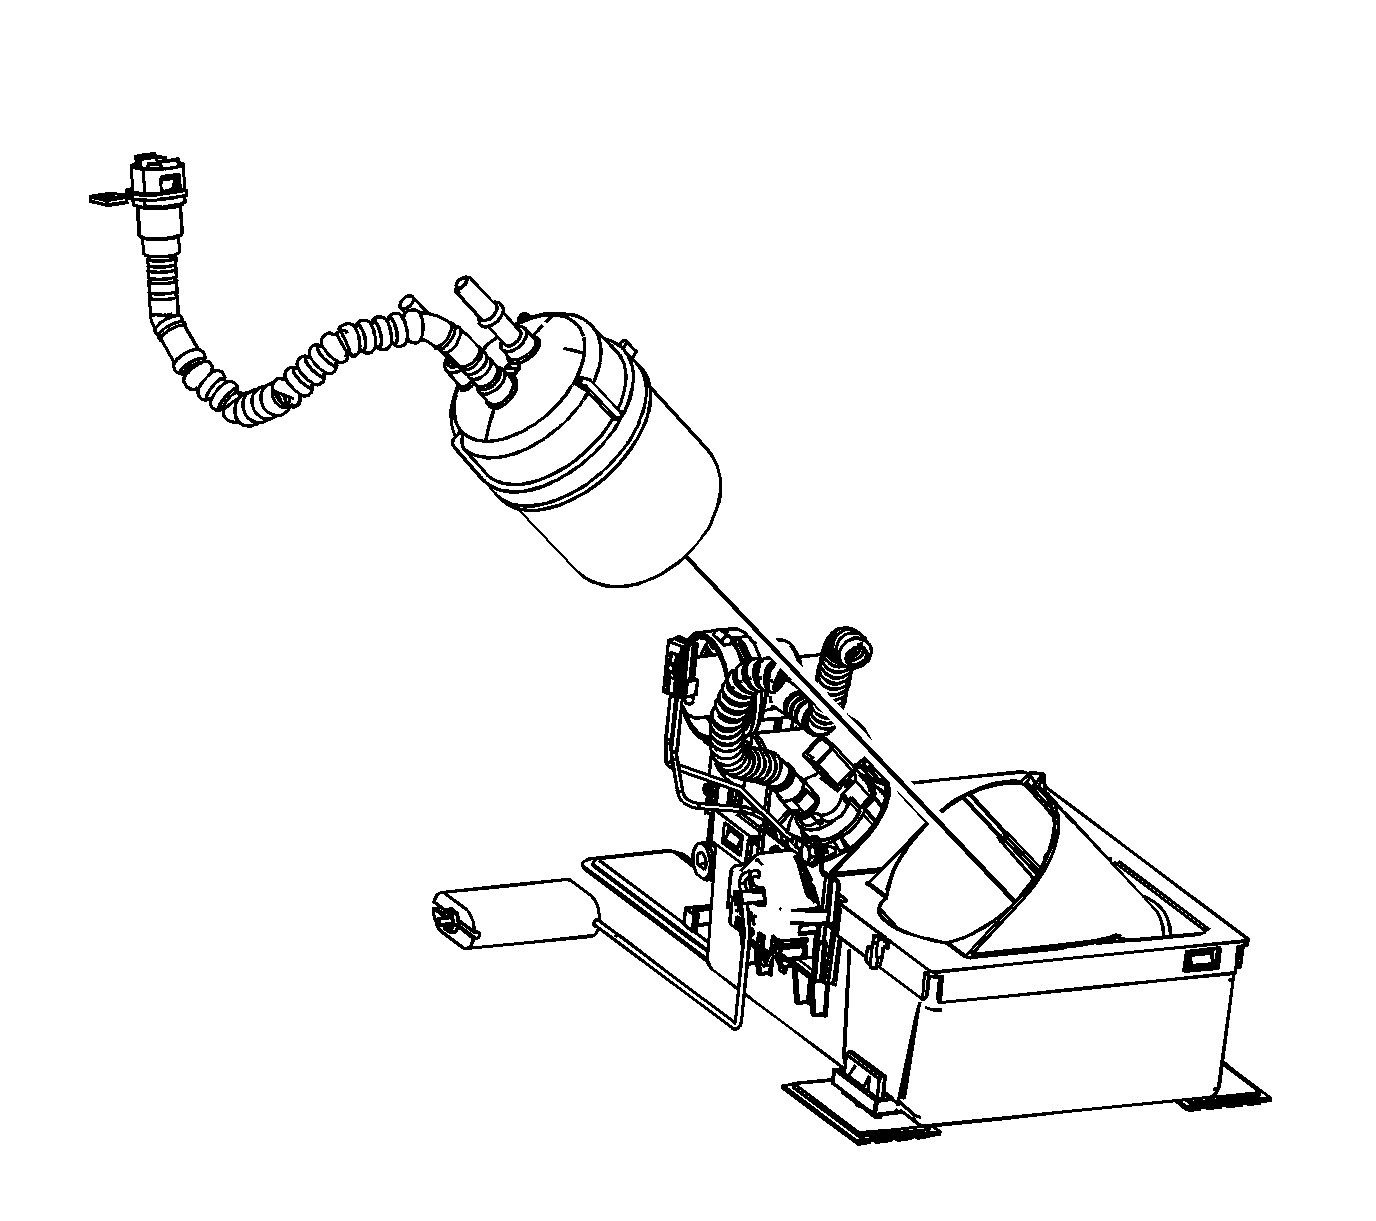
Pic 1
1. Remove the fuel tank.
2. Using the J 39765, unlock the fuel sender lock ring.
3. Slowly lift the fuel pump flange up until the quick connect fittings (1) and fuel level sensor electrical connector are just visible.
4. Disconnect the fuel level sensor electrical connector from the fuel pump flange.
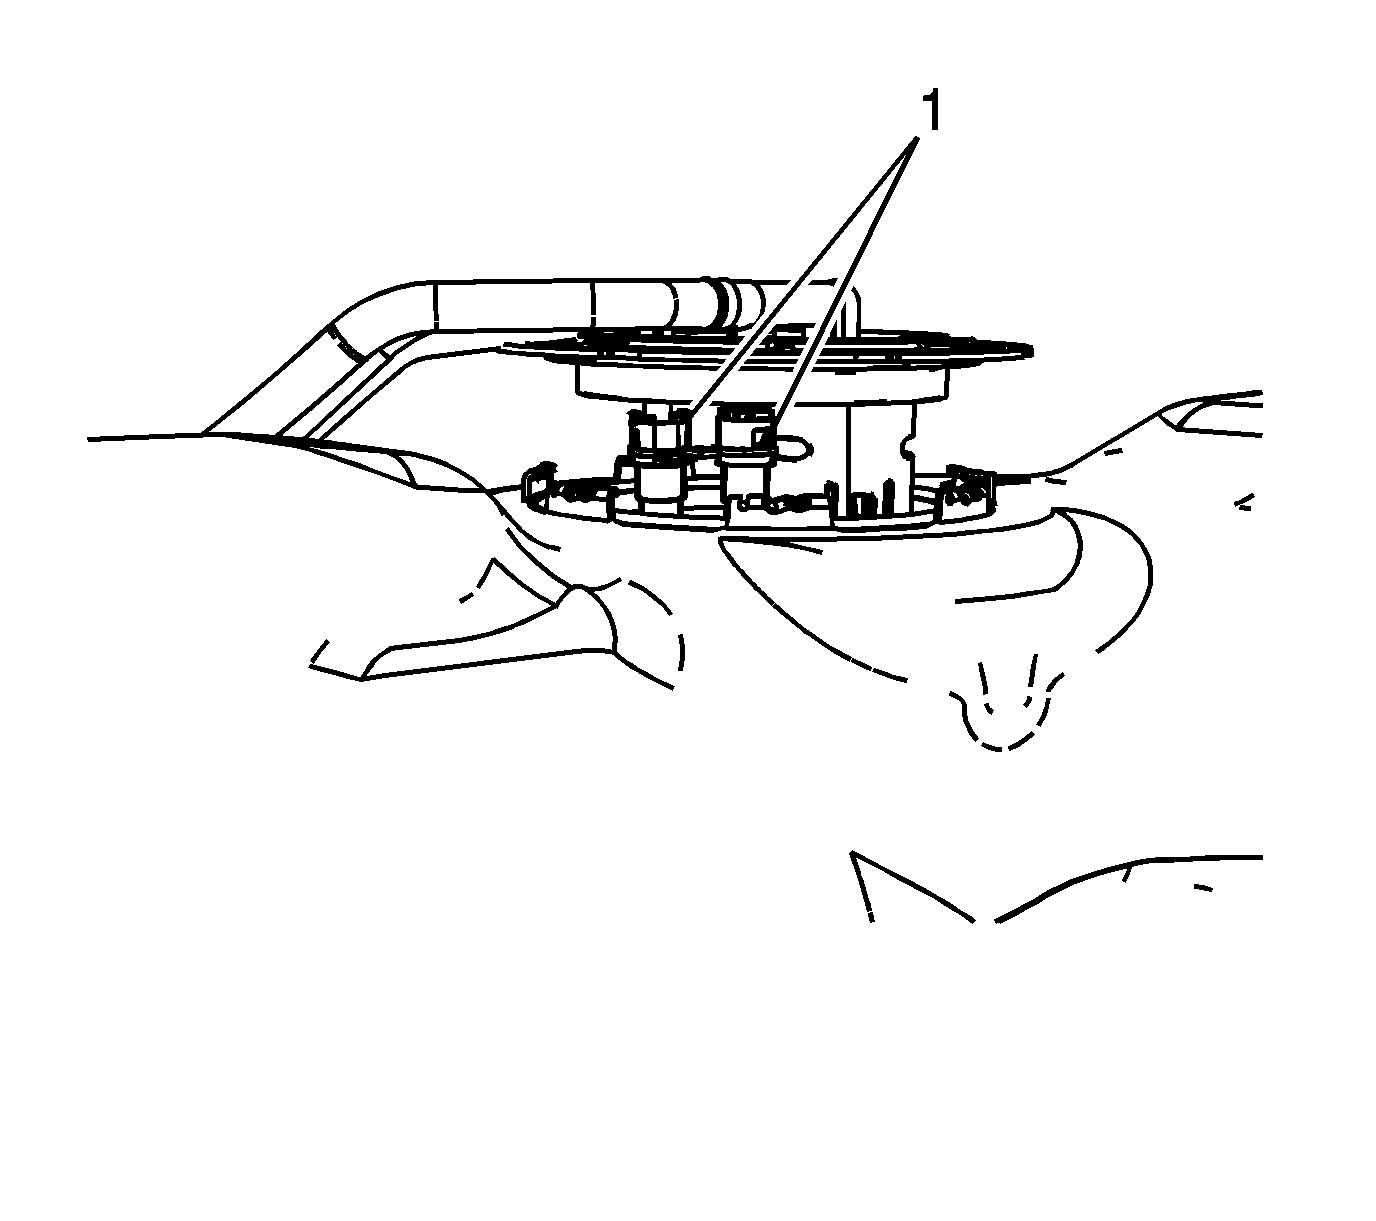
5. Disconnect the fuel tank vent valve and the fuel filter quick connect fittings (1) from the fuel pump flange.
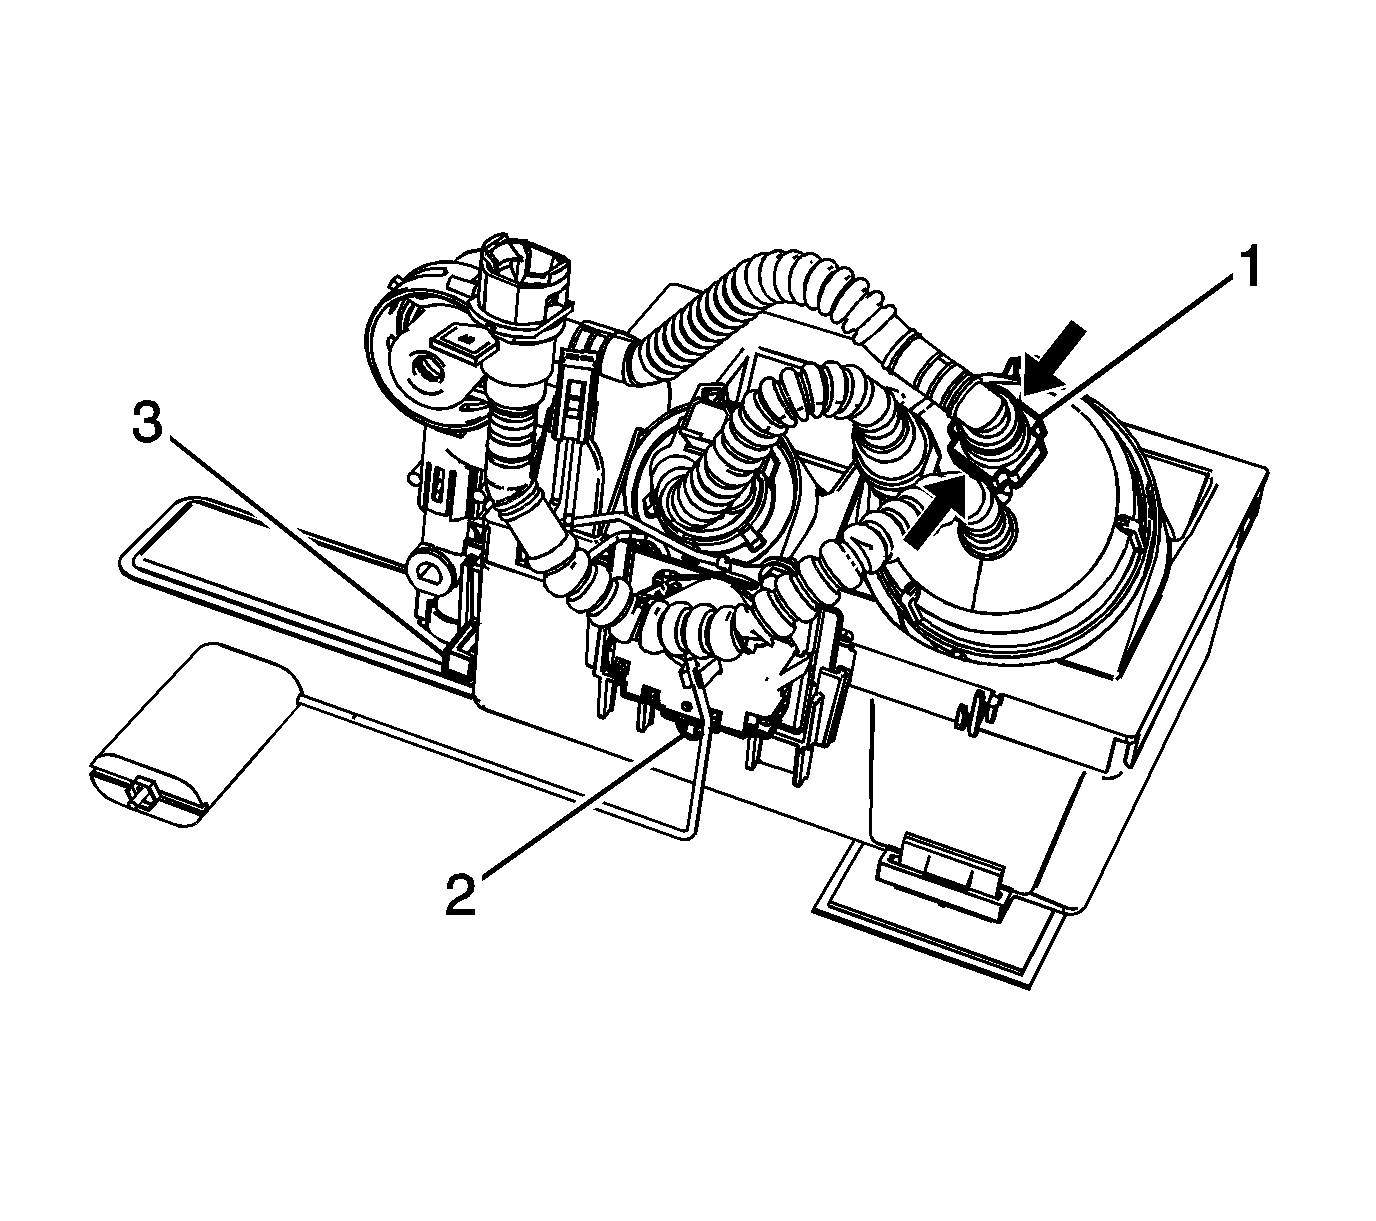
Pic 2
6. Remove the fuel pump flange lock ring (1) and fuel pump flange (2). If required, remove the lock ring from the flange.
7. Remove and discard the fuel pump flange seal (3).
Pic 3
8. Squeeze the sides of the fuel pump fuel reservoir pump fuel strainer quick connect fitting together (1) in order to remove the fitting from the fuel filter. Refer to Quick Connect Fitting Service - Plastic Collar.
9. Reposition the fuel pump fuel reservoir pump fuel strainer line.
Pic 4
10. Squeeze the fuel pump quick connect fitting retainer (3) together in order to remove the fitting from the fuel filter. Refer to Quick Connect Fitting Service - Plastic Collar.
11. Reposition the fuel pump line.
12. Rotate the fuel filter to the left until the tab (2) is aligned with the opening in the fuel pump module.
Pic 5
13. Remove the fuel filter from the fuel pump module.
Installation Procedure
pic 6
1. Align the fuel filter tab with the opening in the fuel pump module.
2. Install the fuel filter to the fuel pump module.
Pic 7
3. Rotate the fuel filter to the right until the tab (2) is locked into the fuel pump module.
4. Position the fuel pump line.
5. Install the fuel pump quick connect fitting (3) to the fuel filter.
Pic 8
6. Position the fuel pump fuel reservoir pump fuel strainer line.
7. Install the fuel pump fuel reservoir pump fuel strainer quick connect fitting (1) to the fuel filter.
Pic 9
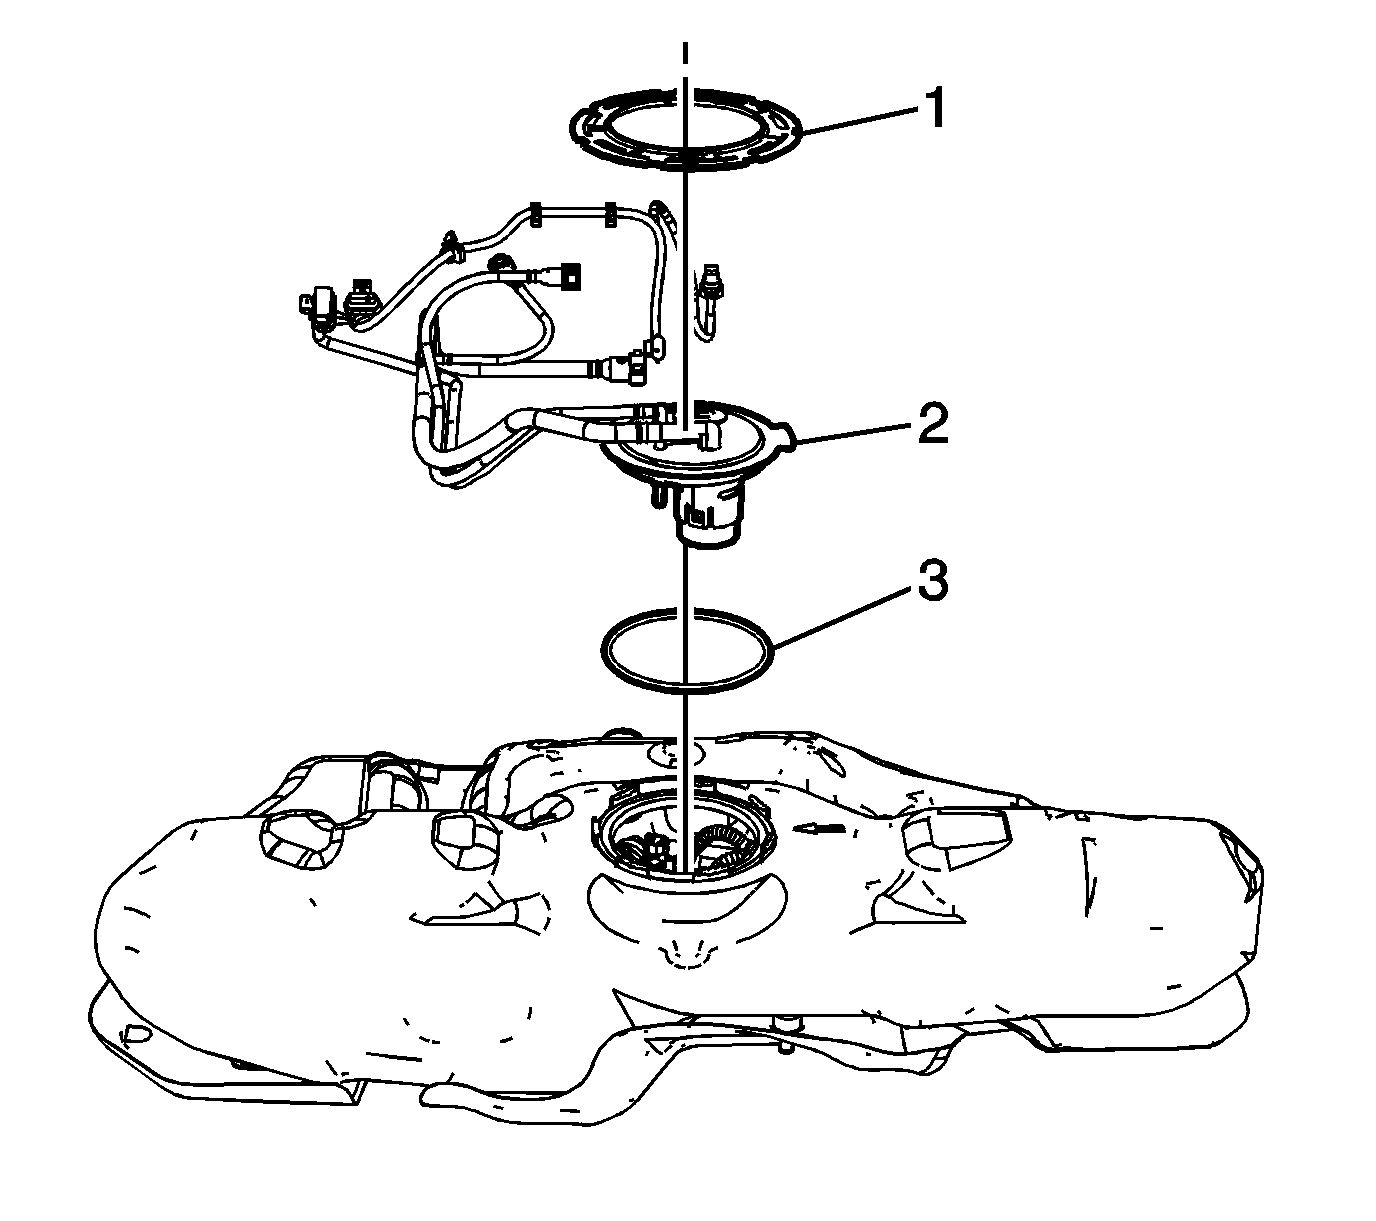
8. Position a NEW fuel pump flange seal (3) onto the fuel tank.
9. If required, install the lock ring onto the flange. Position the fuel pump flange (2) and lock ring (1) over the fuel tank opening.
10. Ensure that the fuel pump flange tab is aligned with the arrow on the fuel tank.
Pic 10
11. Connect the fuel tank vent valve and the fuel filter quick connect fittings (1) to the fuel pump flange.
12. Connect the fuel level sensor electrical connector to the fuel pump flange.
13. Slowly lower the fuel pump flange into the fuel tank.
14. Using the J 39765, lock the fuel sender lock ring.
15. Install the fuel tank.
______________________________________________
Let me know if this helps.
Take care and God bless,
Joe
Images (Click to make bigger)
Sunday, January 31st, 2021 AT 6:49 PM