This is common when the TIPM goes out but fear not it is easy to replace because it-self learns, here is the instructions on how to change it out in the images below.
REMOVAL
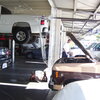
1. Open hood.
2. Disconnect and isolate the battery negative cable.
3. Release the Totally Integrated Power Module (TIPM) cover retaining clips and open the TIPM cover.
4. Remove the TIPM positive cable retaining nut and remove the cable from the stud.
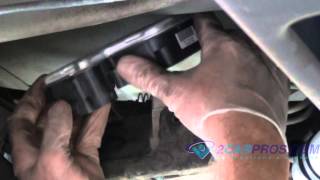
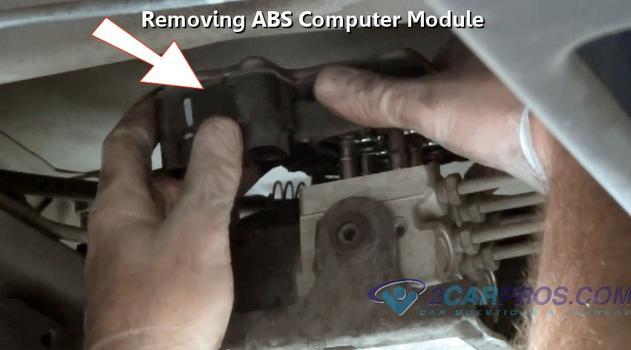
5. Depress the four mounting clips to disengage and remove the TIPM housing from its mounting bracket.
6. Disconnect each of the seven TIPM wire harness connectors.
7. Remove the TIPM from the vehicle.
INSTALLATION
CAUTION: The original Cabin Compartment Node (CCN) and Powertrain Control Module (PCM) must be installed and functioning properly prior to powering up the new Totally Integrated Power Module (TIPM). The TIPM receives vehicle configuration data from the CCN and Vehicle Identification Number (VIN) information from the PCM. If configuration information becomes lost or corrupted, the data can be obtained from Dealer CONNECT
1. Position the TIPM into the engine compartment.
2. Connect each of the seven TIPM wire harness connectors.
3. Position the TIPM onto the mounting bracket and push down until the mounting clips are fully seated.
4. Position the TIPM positive cable onto the mounting stud and install the retaining nut. Tighten the nut to 9 - 11 Nm (80 - 100 in. lbs.).
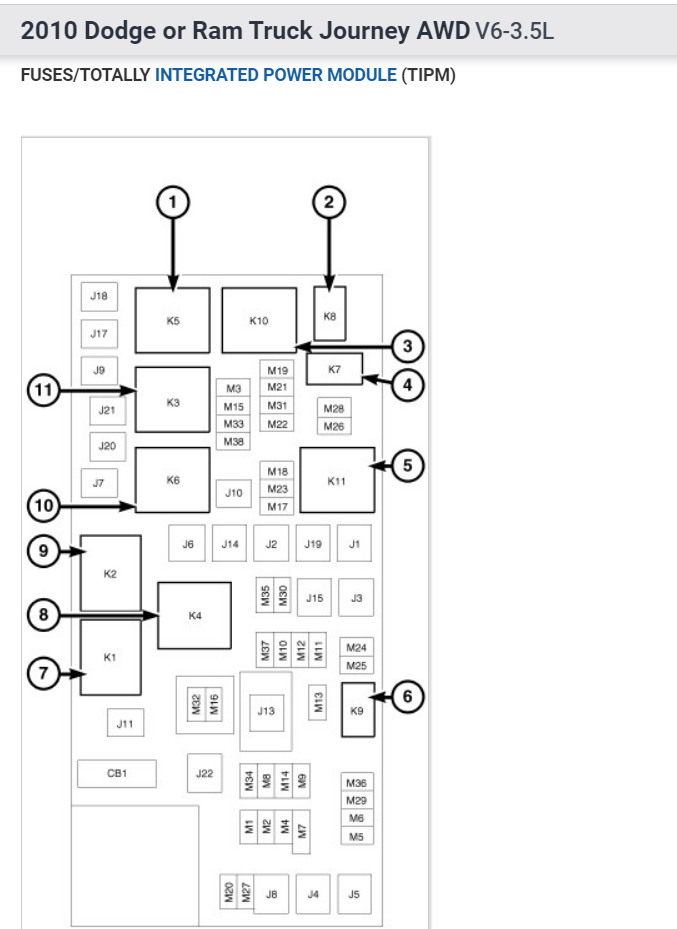
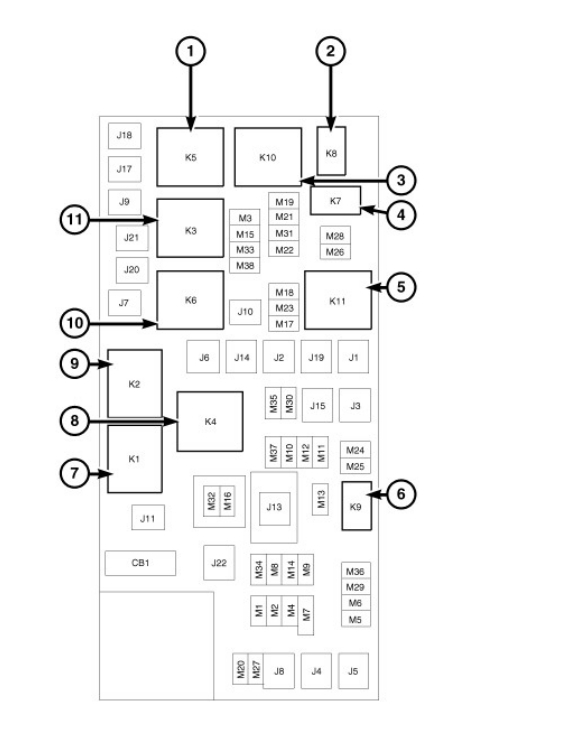
5. Open the TIPM cover and fully seat the airbag fuse holder (two fuses in one yellow carrier) and the Ignition Off Draw (IOD) fuse.
6. Connect the battery negative cable.
7. Close the hood.
8. Insert the ignition key and turn it to the RUN position and wait twelve seconds. The TIPM will collect the necessary vehicle configuration and VIN data from the CCN and PCM at this time. After twelve seconds turn the ignition key to the OFF position and then back to the ON position and verify proper vehicle systems operation.
To confirm the failure, you can do a CAN scan which is easy, you can get a CAN scanner (Controller Area Network) from Amazon for about $36.00.
Here is a video to show you how:
https://youtu.be/u-4syLc-ifQ
and
https://www.2carpros.com/articles/can-scan-controller-area-network-easy
Amazon CAN scanner link for about $35.00:
https://amzn.to/3R9lJ60
Check out the images (below). Please let us know if you need anything else to get the problem fixed.
Images (Click to make bigger)
Wednesday, October 12th, 2022 AT 3:03 PM