Good afternoon,
No, the engine does not have to be removed.
I attached the procedure with pictures for you of the replacement for the clutch.
https://www.2carpros.com/articles/how-to-replace-a-clutch
Roy
Transmission
Special Tool(s)/ General Equipment
imageOpen In New TabZoom/Print
1. Refer to: Jacking and Lifting - Overview See: Vehicle Lifting > Procedures > Jacking and Lifting (See Vehicle Jacking and Lifting See: Vehicle Lifting > Procedures > Jacking and Lifting, Description and Operation).
2. Remove the following items:
Refer to: Air Cleaner See: Air Filter Element > Removal and Replacement > Air Cleaner (303-12A Intake Air Distribution and Filtering - 2.0L Duratec-HE (125kW/170PS)- MI4, Removal and Installation).
Refer to: Battery Tray See: Battery Tray > Removal and Replacement > Battery Tray (414-01 Battery, Mounting and Cables, Removal and Installation).
Refer to: Cowl Panel Grille See: Cowl > Removal and Replacement > Cowl Panel Grille (501-02 Front End Body Panels, Removal and Installation).
3.
imageOpen In New TabZoom/Print
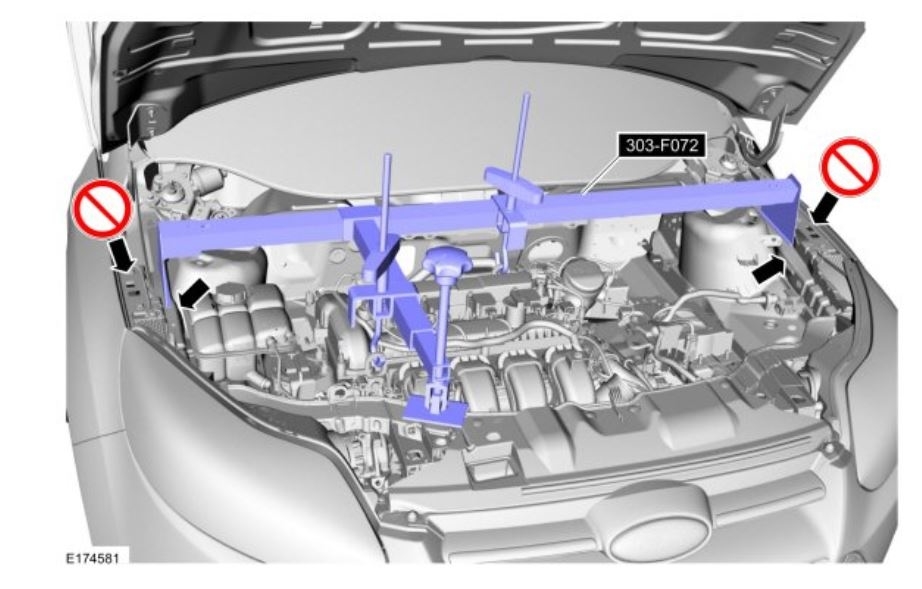
4. Use Special Service Tool: 303-F072 Support Bar, Engine.
imageOpen In New TabZoom/Print
5.
imageOpen In New TabZoom/Print
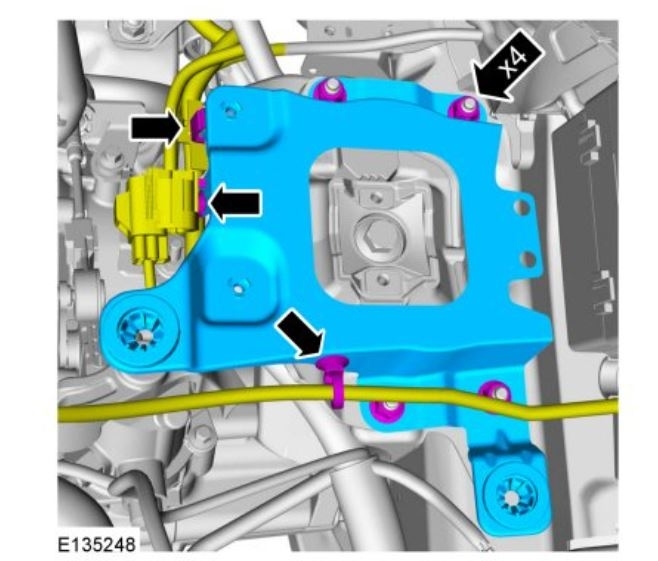
6.
imageOpen In New TabZoom/Print
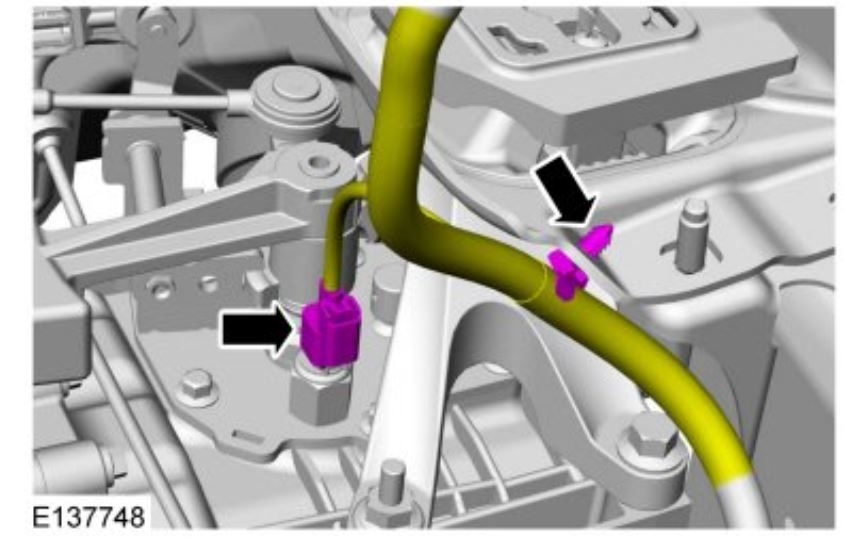
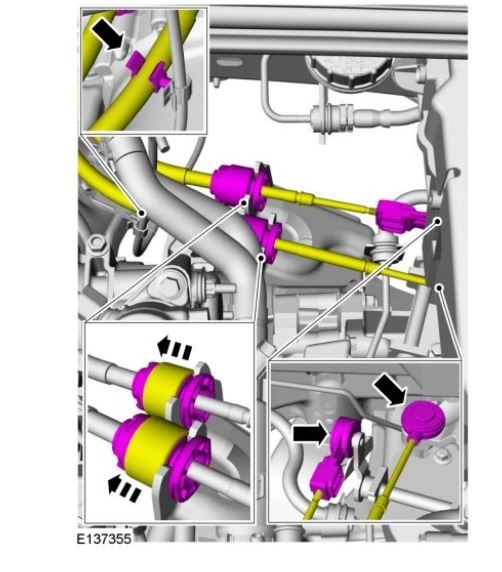
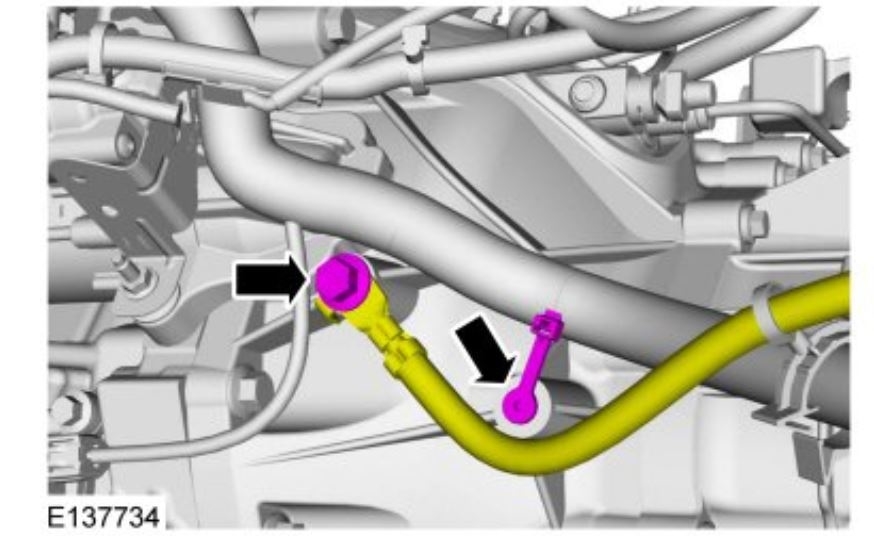
7.
imageOpen In New TabZoom/Print
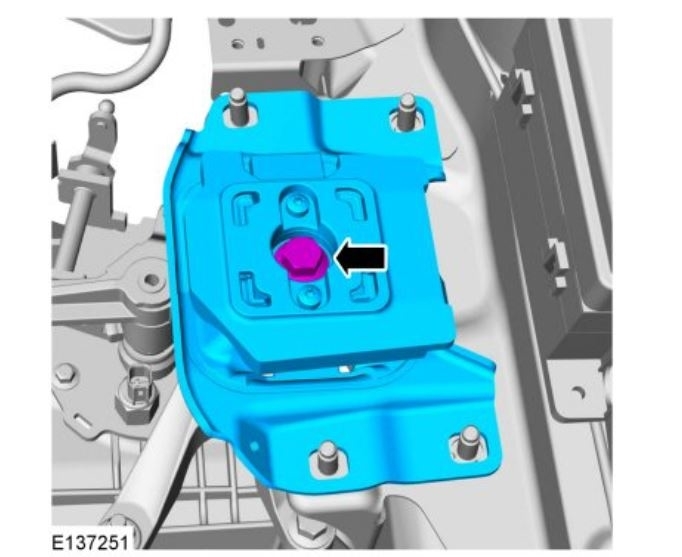
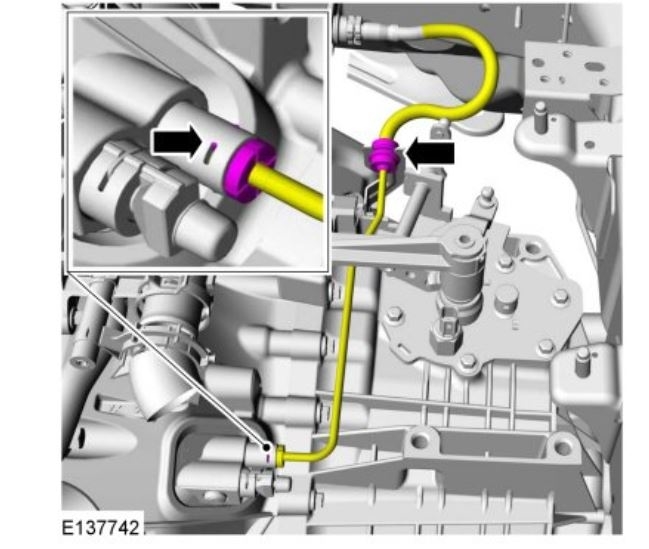
8.
imageOpen In New TabZoom/Print
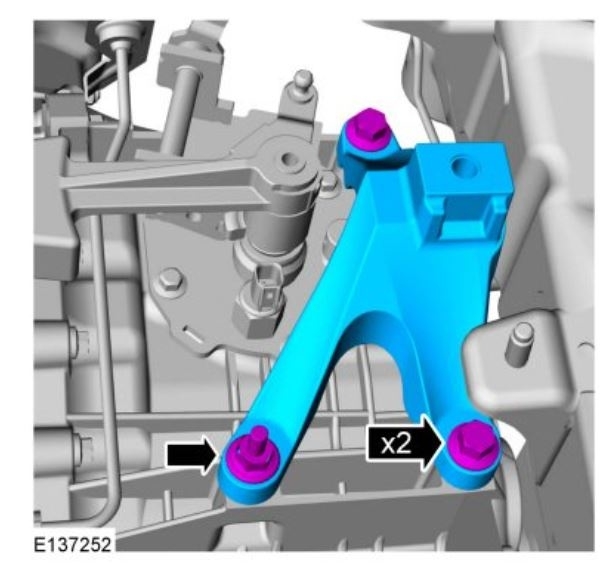
9.
imageOpen In New TabZoom/Print
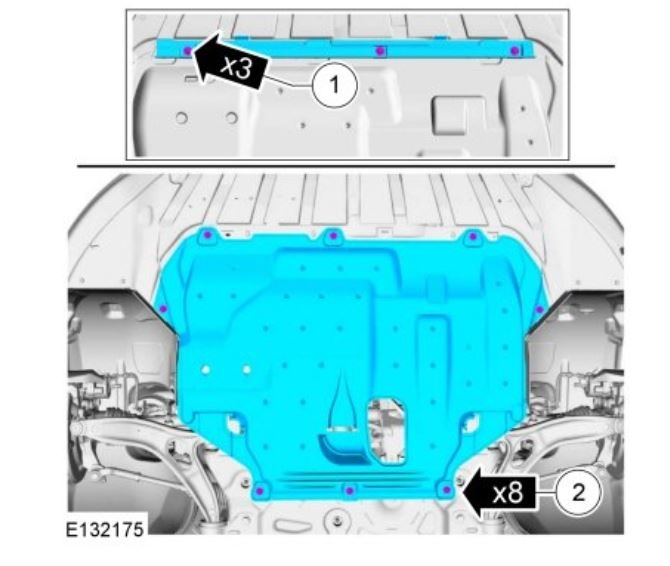
10. NOTICE: Make sure that all openings are sealed.
imageOpen In New TabZoom/Print
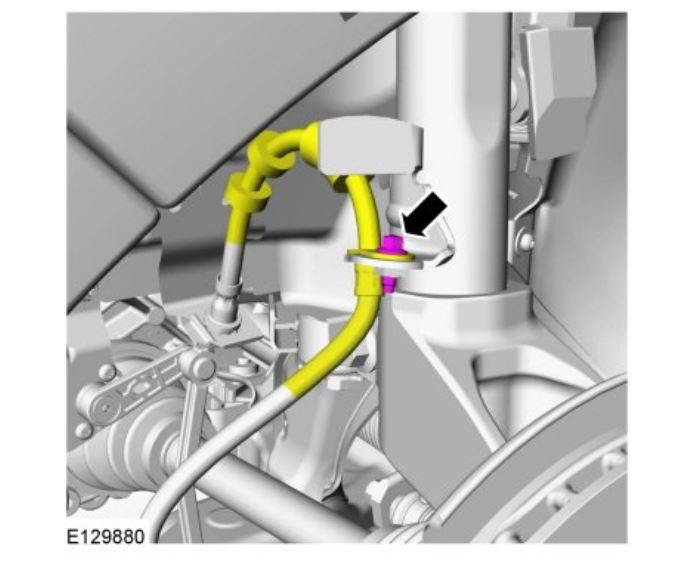
11.
imageOpen In New TabZoom/Print
12. If equipped.
imageOpen In New TabZoom/Print
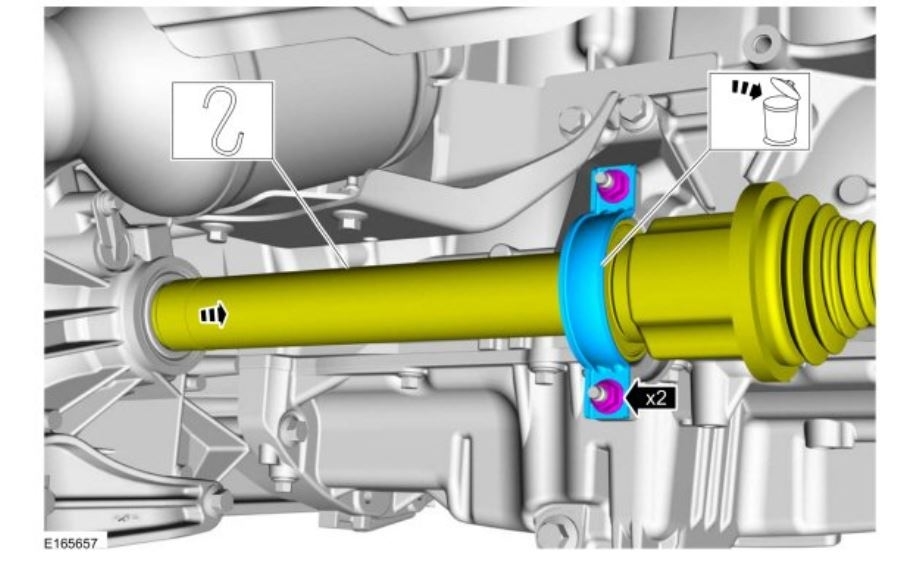
13.
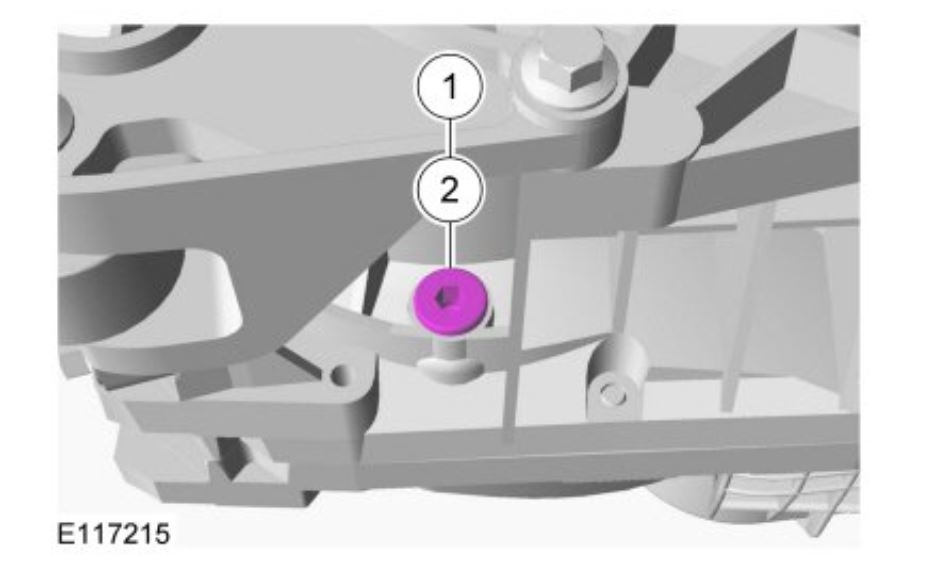
1. Drain the transmission fluid.
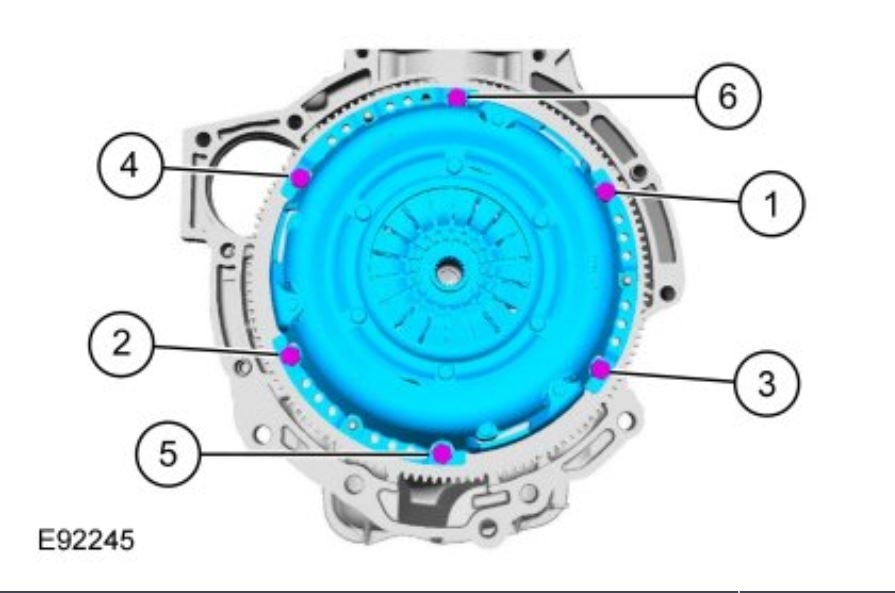
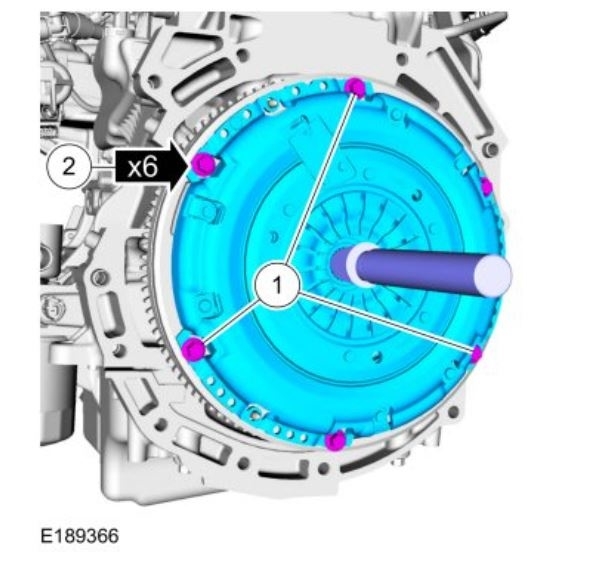
2. Torque : 26 lb.ft (35 Nm)
imageOpen In New TabZoom/Print
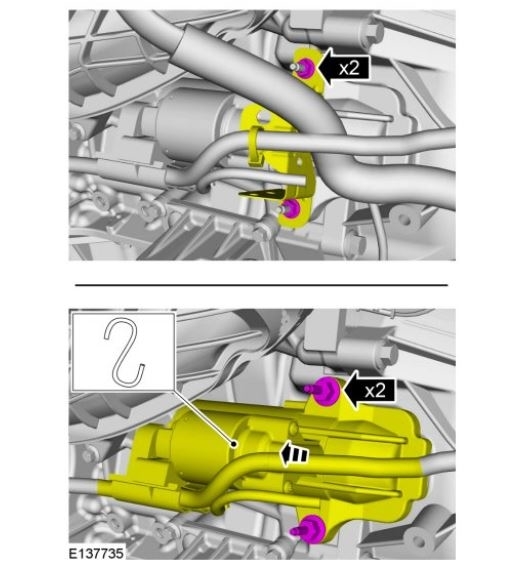
14.
image
15.
imageOpen In New TabZoom/Print
16. Remove the following items:
Refer to: Wheel and Tire See: Wheels and Tires > Removal and Replacement > Wheel and Tire (Wheels and Tires, Removal and Installation).
Refer to: Front Halfshaft LH See: Axle Shaft Assembly > Removal and Replacement > Front Halfshaft LH (See Front Drive Halfshafts, Removal and Installation).
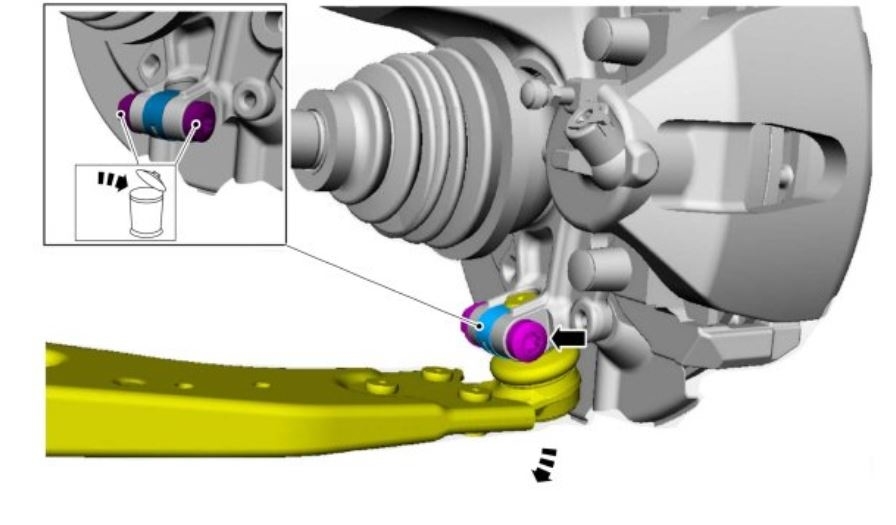
17. NOTICE: Do not use a prying device or separator fork between the ball joint and the wheel knuckle. Damage to the ball joint or ball joint seal may result. Only use the pry bar by inserting it into the lower arm body opening.
NOTICE: Use care when releasing the lower arm and wheel knuckle into the resting position or damage to the ball joint seal may occur.
imageOpen In New TabZoom/Print
18.
imageOpen In New TabZoom/Print
19. If equipped.
imageOpen In New TabZoom/Print
20. NOTICE: Do not bend the inner joint more than 18° and the outer joint more than 45°. Damage to the shaft will occur.
imageOpen In New TabZoom/Print
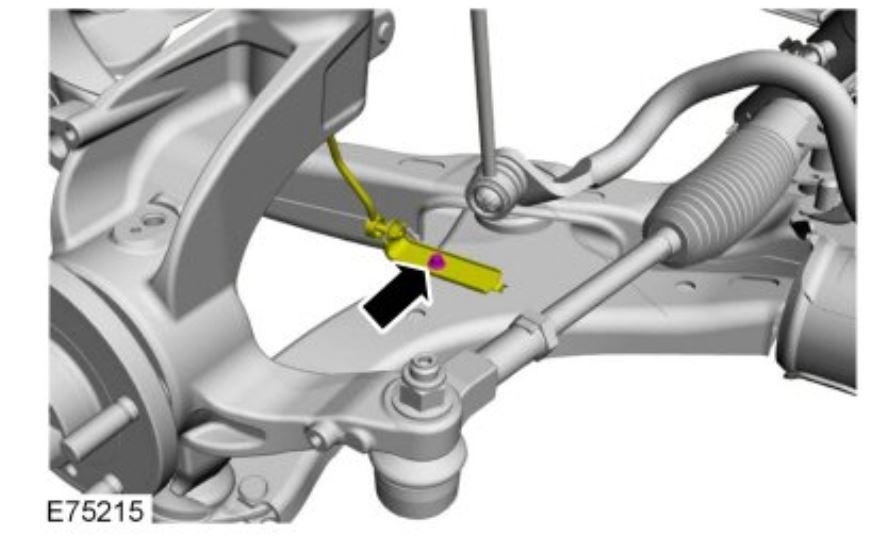
21.
imageOpen In New TabZoom/Print
22. NOTICE: Do not forcibly bend or twist the exhaust flexible pipe. Failure to follow these instructions may cause damage to the flexible pipe.
Images (Click to enlarge)
Jan 21, 2021 at 10:49 AM