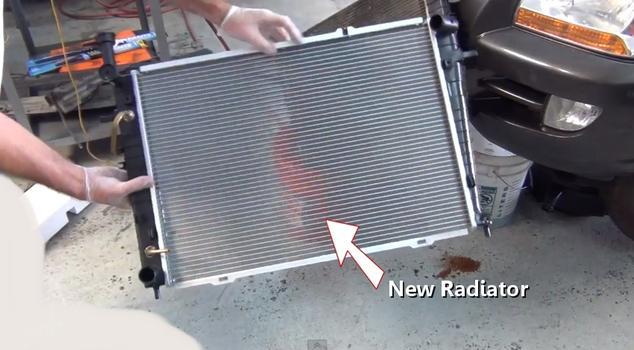
To assure a proper seal upon installation you will need NEW cooler line retaining clips for the transmission and engine oil cooler line fittings for this procedure.
REMOVAL:
Disconnect the negative battery cable for safety.
Place a catch pan under the radiator, open the drain cock and drain the cooling system.
Loosen the clamp, then remove the air cleaner assembly.
Remove the upper fan shroud retaining bolts, then remove the upper shroud from the vehicle.
Disconnect the radiator hoses and the coolant overflow hose from the radiator.
To disconnect the transmission or engine oil cooler lines, use a small pick-type tool or a small screwdriver to release one of retaining clip's open ends, then remove and discard the old clip.
Disconnect the transmission oil cooler lines from the radiator, then discard the old retaining clips.
Disconnect the engine oil cooler lines from the radiator, then discard the old retaining clips.
Carefully lift the radiator from the vehicle, keeping in mind that the coolant tank and the engine/transmission oil cooler tanks are still filled with a pretty significant amount of fluid. Take care or get wet.
INSTALLATION:
Carefully lower the radiator into the mounting insulators.
WARNING:
DO NOT attempt to reuse the existing retaining clips that were removed from the cooler line connector fittings. ALSO, take care to assure that each clip engages all 3 slots in the connector fittings. Old, damaged or improperly installed clips could cause the cooler lines to loosen in service, allowing for fluid leaks which could damage the engine or transmission.
Install the new retaining clips into the cooler line connector fittings. For each fitting, use your thumb and forefinger to insert a new clip into one of the 3 recesses in the connector fitting. With one end of the retaining clip engaged in the connector fitting slot, use your thumb to rotate the retaining clip around the connector fitting until it snaps into place.
Install the engine oil cooler lines to the radiator assembly. Make sure that your hear and/or feel a click as each line is snapped into place, then pull back sharply on the pipe to assure it is tightly fastened to the fitting.
Install the transmission cooler lines to the radiator assembly. Make sure that your hear and/or feel a click as each line is snapped into place, then pull back sharply on the pipe to assure it is tightly fastened to the fitting.
Connect the radiator and overflow hoses.
Install the upper shroud and secure using the retaining bolts.
Install the air cleaner assembly and tighten the clamp.
Connect the negative battery cable.
Properly refill and bleed the engine cooling system, then check for leaks.
Check the engine and transmission fluids and top-off, as necessary.
Sunday, September 27th, 2009 AT 6:40 PM


