Hi,
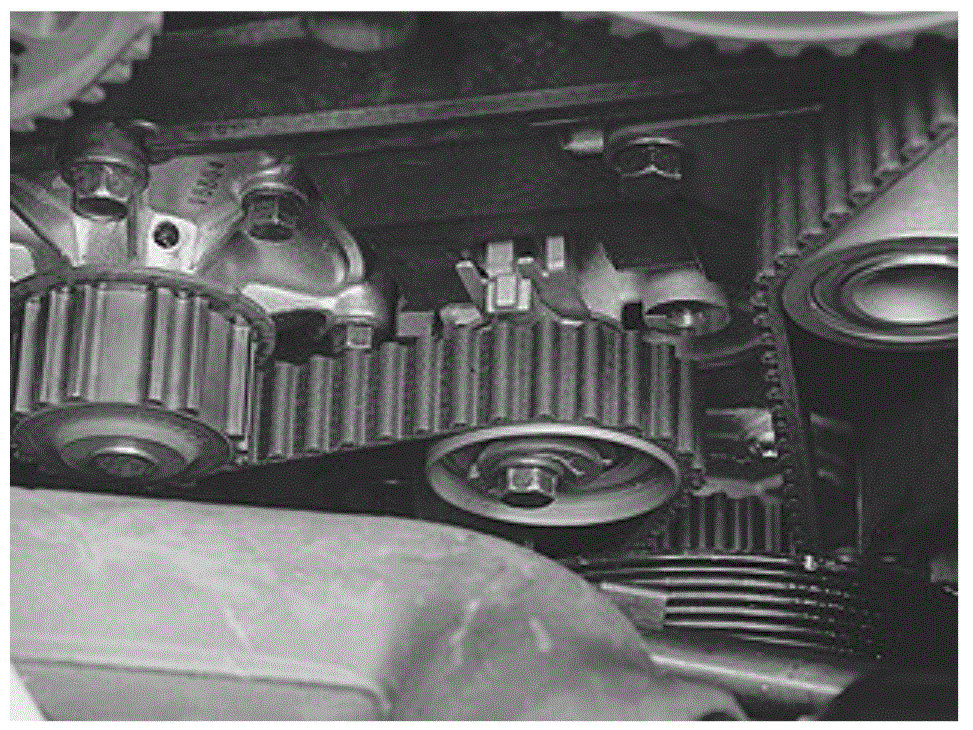
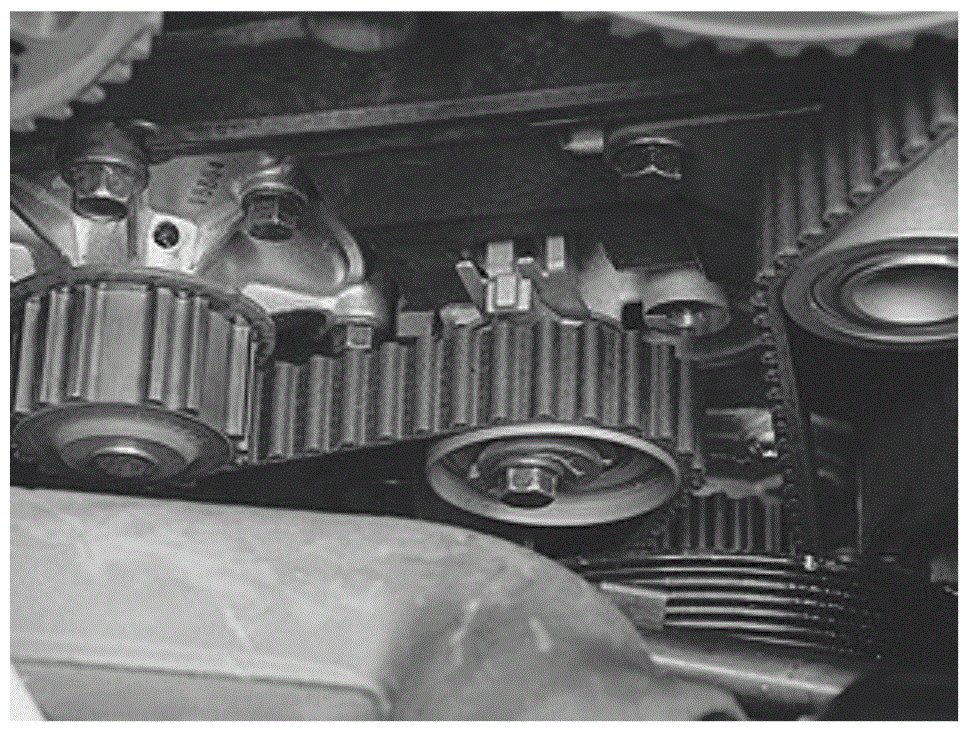
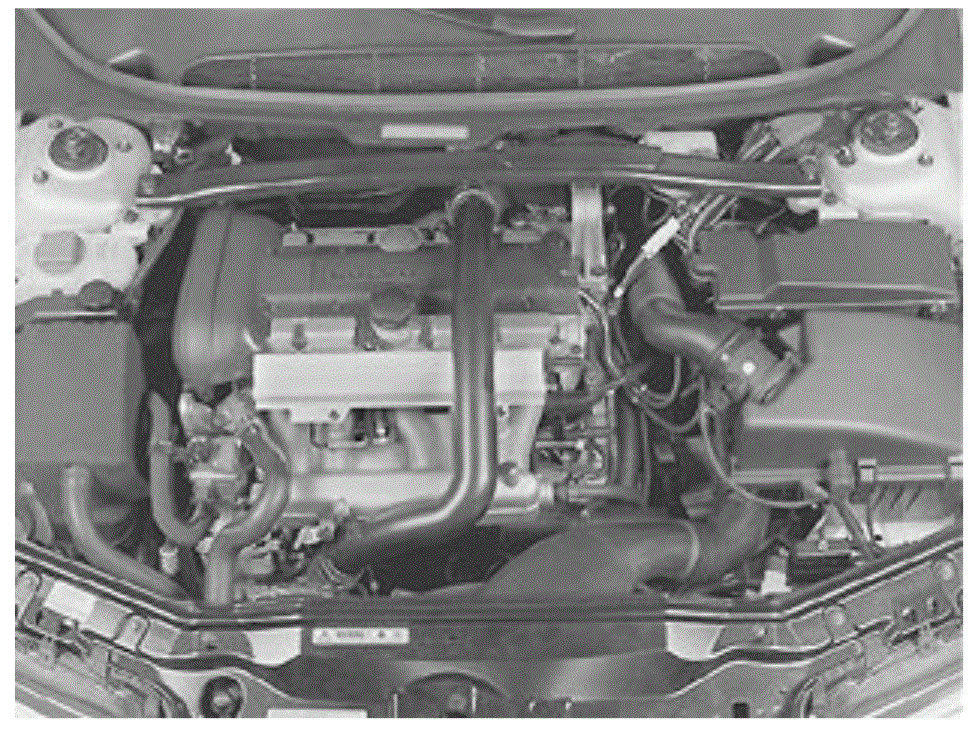
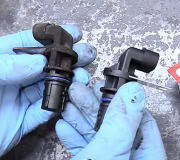
The lower (crankshaft pulley) needs to be on top dead center (TDC) to perform the timing. It sounds like that isn't what was done. If that is the case, it won't start. VInce, this isn't an easy one to do. However, I will provide you the directions for belt replacement. It explains how to remove and install a belt. Make sure you follow the directions. Also, I believe this to be an interference engine. Don't try starting it again until you confirm timing is correct. If the timing is far enough off, it can cause internal damage to the pistons and valves. The attache pics correlate with the directions.
________________________________________________
2001 Volvo S60 T5 L5-2.3L Turbo VIN 53 B5234T3
Timing Belt, Replacing
Vehicle Engine, Cooling and Exhaust Engine Timing Components Timing Belt Service and Repair Removal and Replacement Timing Belt, Replacing
TIMING BELT, REPLACING
Timing belt, replacing
Special tools:
999 5433 COUNTERHOLD See: Vehicle > Electrical / Mechanical Repair > 999 5433 Counterhold
Note! Since the illustrations in this service information are used for different model years and/or models, some variation may occur. However, the essential information is always correct.
Remove components
pic 1
Caution! Remove the ignition key.
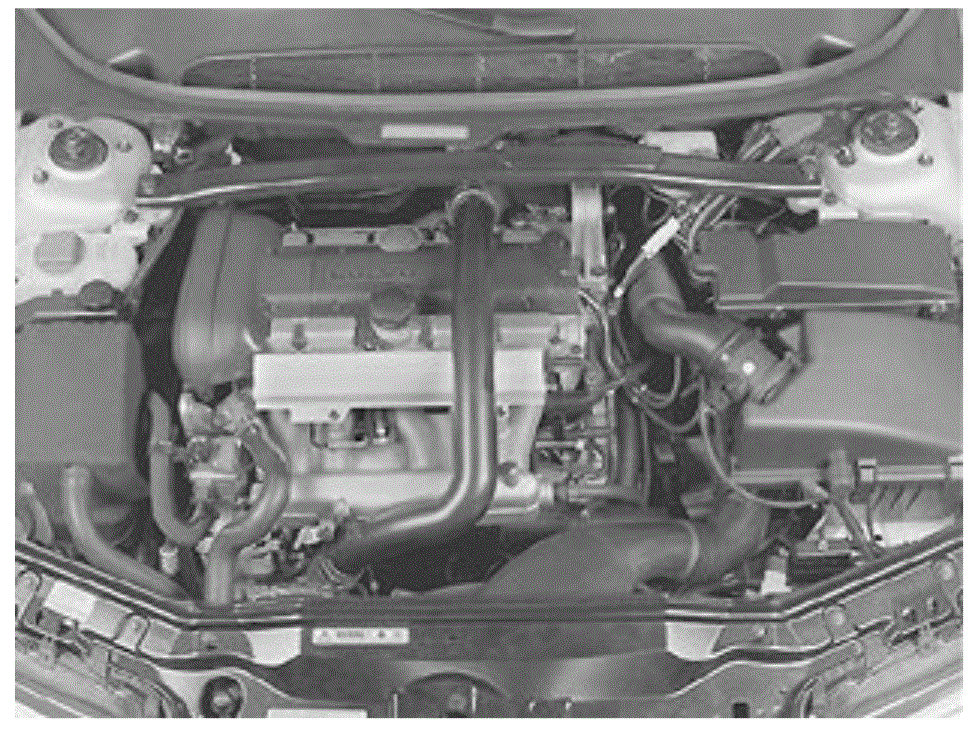
Remove:
- the cross stay between the suspension turrets
- the upper timing belt cover
- the servo reservoir and the expansion tank.
Lift up and place on top of the engine.
Warning! Make sure that no power steering fluid is spilled. Extremely flammable.
- the auxiliaries belt
- the front timing belt cover.
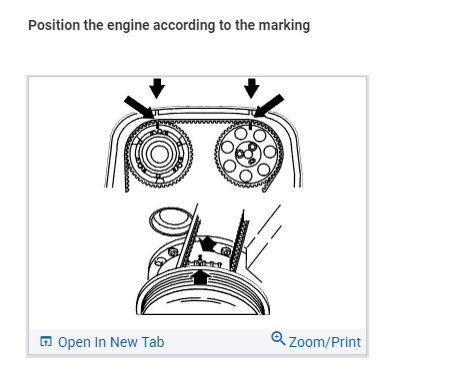
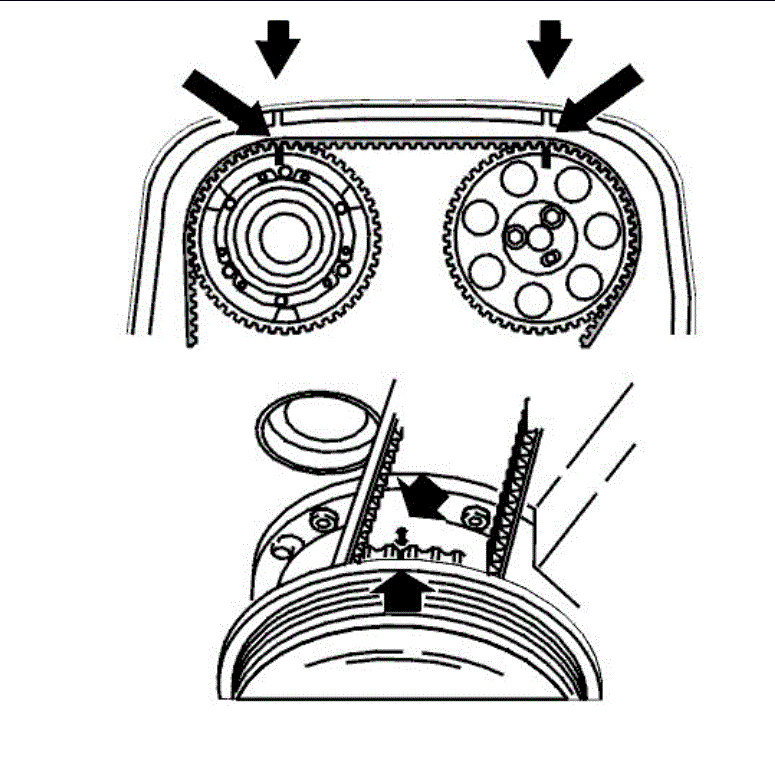
Position the engine according to the marking
pic 2
- Remove the right front wheel
- Remove the nut from the cover in the wing liner
- Install the upper timing belt cover
- Turn the crankshaft clockwise until the markings on the crankshaft and camshaft pulley correspond
- Turn the crankshaft a further 1/4 turn clockwise and then back again until the markings correspond.
The markings are illustrated
- Remove the upper timing belt cover.
Removing the timing belt
pic 3
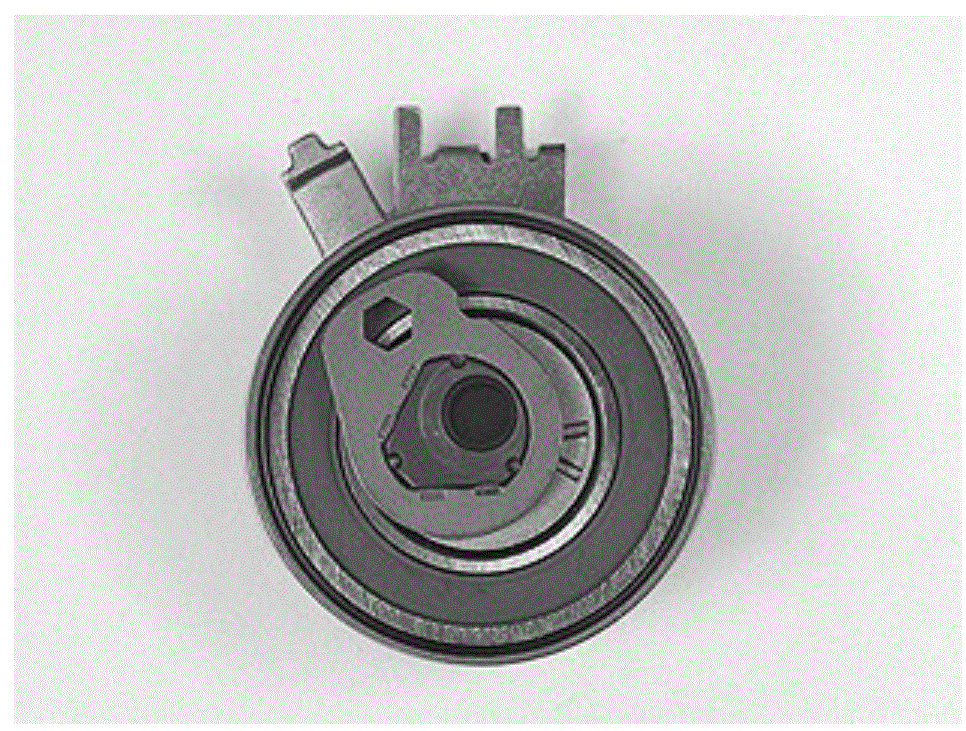
Slacken off the belt tensioner.
Slacken off the centre screw for the belt tensioner slightly.
Hold the centre screw still. Turn the tensioner eccentric clockwise using a 6 mm Allen key to 10 o'clock.
Remove the timing belt from the tension pulley, camshaft pulley and water pump.
Pic 4
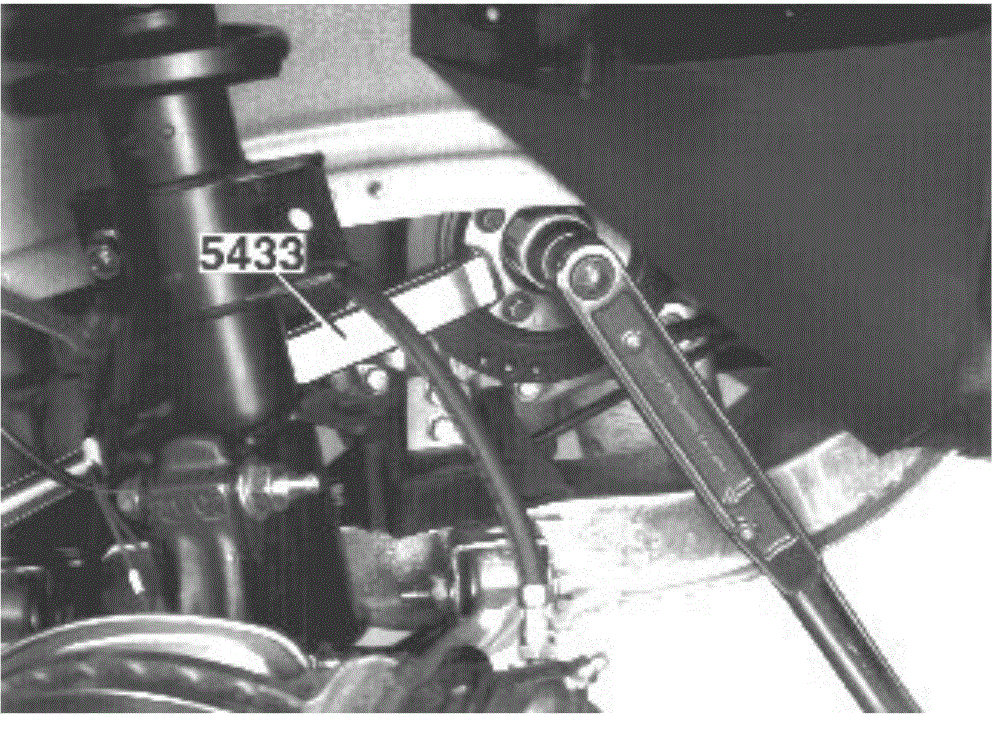
Remove the vibration damper.
Remove the oscillation damper. Use counterhold 999 5433 COUNTERHOLD See: Vehicle > Electrical / Mechanical Repair > 999 5433 Counterhold. Work the oscillation damper loose.
Remove the timing belt
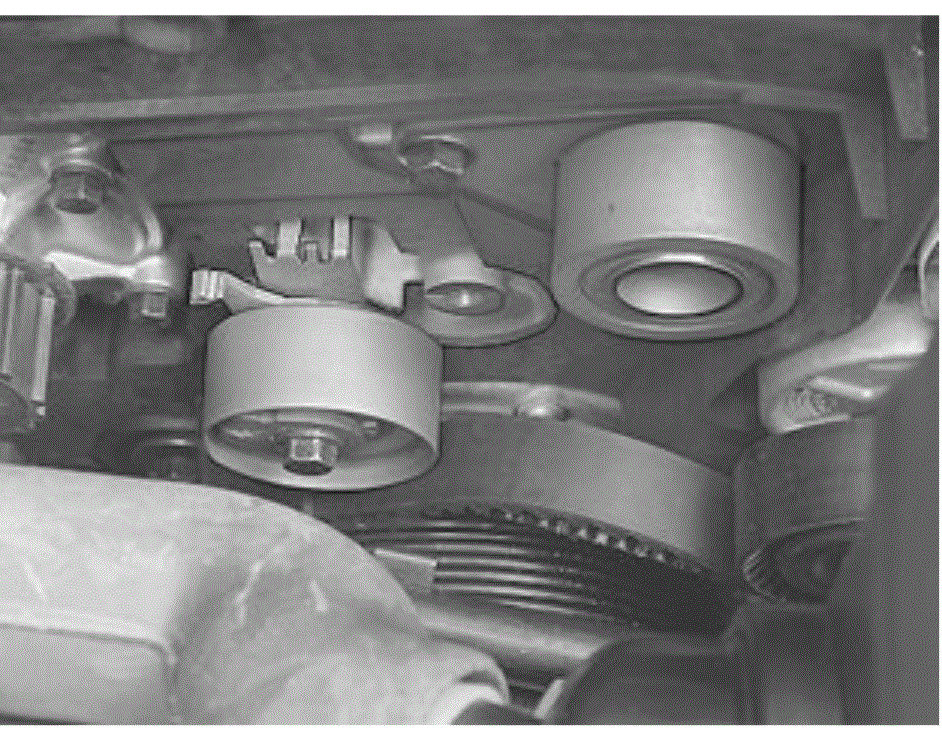
Checking the tensioner pulley and idler pulley
pic 5
Check bearing wear:
- spin the idler pulley and listen for noise.
If replacing with a new idler pulley, tighten to 24 Nm.
- spin the tension pulley and listen for noise.
When replacing, screw the tension pulley into place using the centre screw.
Screw in the centre screw by hand.
Ensure that the tensioner fork is centered over the cylinder block rib.
Ensure that the Allen hole on the eccentric is at "10 o'clock".
Installing the timing belt
pic 6
Note: For information regarding Variable Valve Timing see: Variable Valve Timing Actuator, Adjustments See: Variable Valve Timing Actuator > Adjustments
Also see Belt Drive, Assembly See: Timing Belt > Removal and Replacement > Belt Drive, Assembly
Install the timing belt over the pulley on the crankshaft.
Install the oscillation damper. Tighten the center nut to 180 Nm. Use counterhold 999 5433 COUNTERHOLD See: Vehicle > Electrical / Mechanical Repair > 999 5433 Counterhold.
Remove the counterhold and install new screws. Tighten the screws to 25 Nm. Angle-tighten 30°
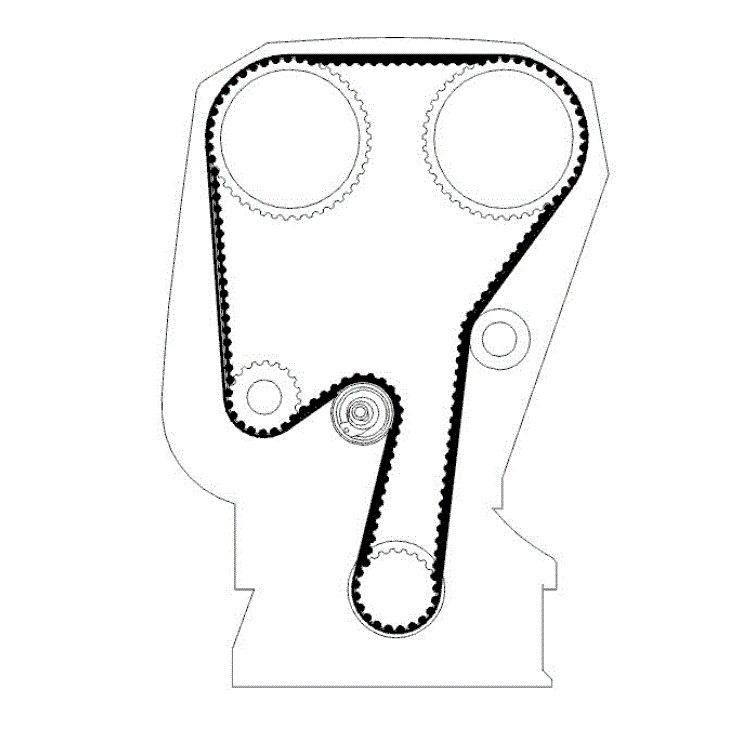
Install the new belt in the following order:
- crankshaft
- the idler pulley
- intake camshaft pulley
- exhaust camshaft pulley
- water pump
- belt tensioner.
Tighten the timing belt
pic 7
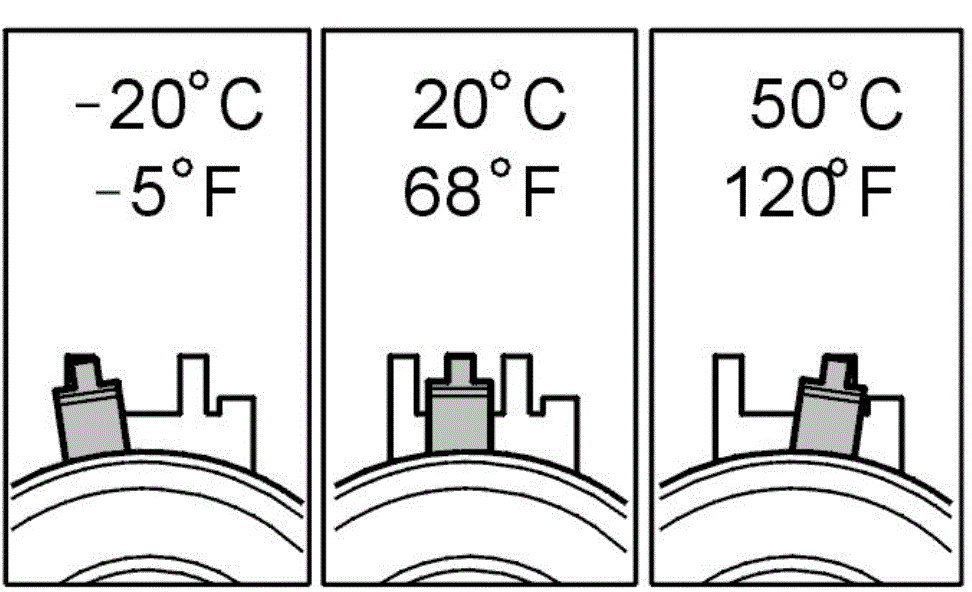
This adjustment is carried out on a cold engine. A suitable temperature is approximately 20°C/68°F.
At higher temperatures, for example with the engine at operating temperature or at higher ambient temperature, the needle is further to the right.
The illustration shows the position of the indicator when aligning the timing belt tensioner at different temperatures.
For engine serial no. Up to 3188688
pic 8
Tension the timing belt as follows:
- turn the crankshaft clockwise carefully until the timing belt is tensioned. The belt must be tensioned between the intake camshaft pulley, the idler pulley and the crankshaft
- hold the centre screw on the belt tensioner fixed. Turn the belt tensioner eccentric counter-clockwise until the tensioner indicator passes the marked position.
Then turn the eccentric back so that the indicator reaches the marked position in the centre of the window
- Secure the eccentric and tighten the center screw to 20 Nm.
Check that the indicator is in the correct position.
For engine serial no. From 3188689
pic 9
Tension the timing belt as follows:
- turn the crankshaft clockwise carefully until the timing belt is tensioned. The belt must be tensioned between the intake camshaft pulley, the idler pulley and the crankshaft
- hold the centre screw on the belt tensioner fixed. Turn the belt tensioner eccentric clockwise until the tensioner indicator passes the marked position.
Then turn the eccentric back so that the indicator reaches the marked position in the centre of the window
- Secure the eccentric and tighten the center screw to 20 Nm.
Check that the indicator is in the correct position.
Check
pic 10
Checking markings:
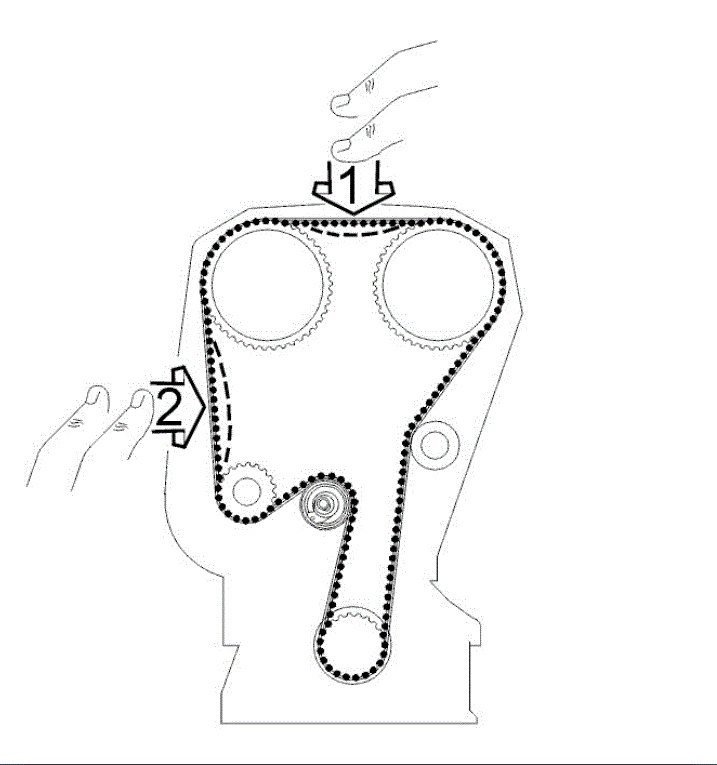
- press the belt to check that the indicator on the tensioner moves easily
- install the upper timing belt cover
- turn the crankshaft 2 turns. Check that the markings on the crankshaft and camshaft pulley correspond
- check that the indicator on the belt tensioner is within the marked area.
Reinstall
pic 11
Reinstall the removed components:
- the front timing belt cover.
Tighten to 12 Nm.
- the upper timing belt cover
- install the auxiliaries belt
- the servo reservoir
- the expansion tank.
Note! Make sure that the hoses are routed positioned.
- the cross member. Tighten the screws at the suspension turret to 50 Nm and the screw for the engine bracket to 80 Nm.
Wipe clean and check the engine compartment
- the cover in the wing liner
- the front wheel according to Installing wheels See: Wheels > Removal and Replacement.
Checking work
Function test:
- Test drive the engine.
________________________________
Please confirm this is a 2.3L turbo 5 cylinder before you start working on it.
Let me know if you have questions.
Take care,
Joe
Images (Click to make bigger)
Friday, March 20th, 2020 AT 7:01 PM
