Good morning,
You will need to bleed the system opening all the bleeders. Since air goes to the top, start at the bottom bleeder screws and then work up on each wheel.
https://www.2carpros.com/articles/how-to-bleed-or-flush-a-car-brake-system
I have attached the procedure and some pictures for you to view.
Roy
Bleeding With Bleeder Unit
Equipment: 998 5886-2 nipple, 998 5876-3 bleeder unit, 998 5884-7 adapter (front wheel) 11 mm, 998 5882-7 adapter (rear wheel) 8mm.
(It is not necessary to remove the wheels when bleeding the brake system.)
Jack up the vehicle. Top-up the brake fluid reservoir to MAX.
imageOpen In New TabZoom/Print
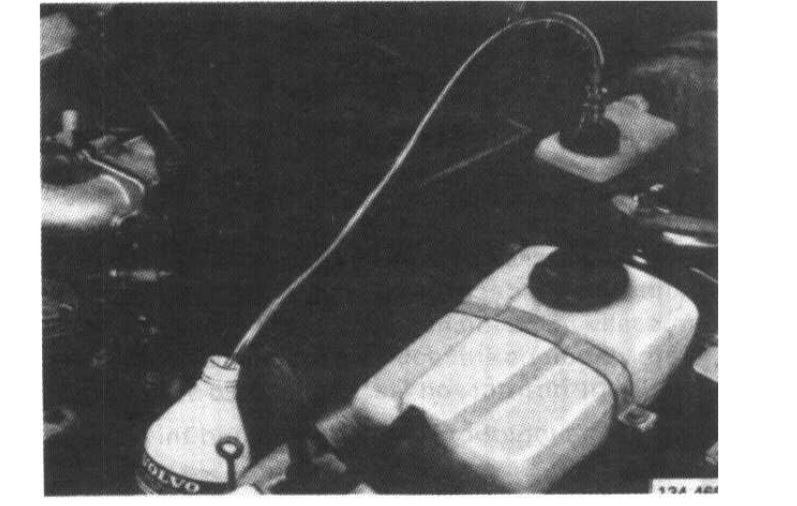
Exchange the reservoir cap for a modified cap with a tube and nipple. Submerge the free end of the tube in a small quantity of new brake fluid.
imageOpen In New TabZoom/Print
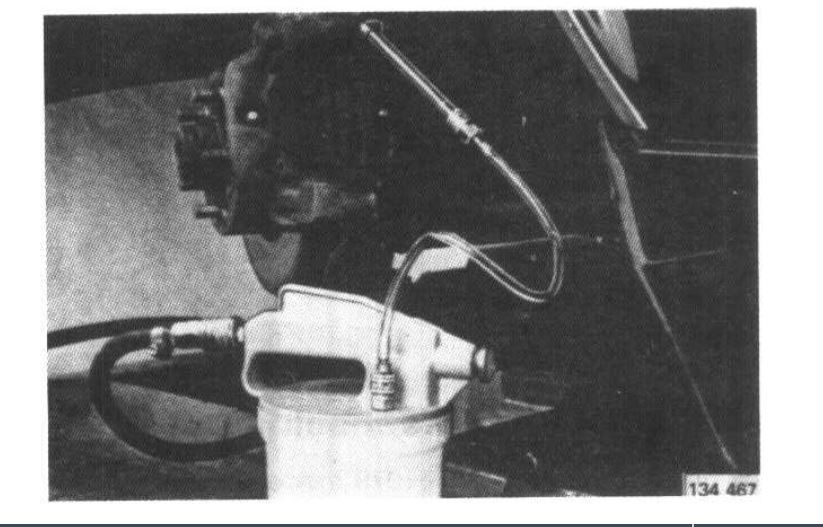
Starting at the front left-hand wheel, connect the adapter (P/N 998 5884-7) to one of the bleed screws and the bleeder unit. Connect an air hose to the other side of the bleeder unit.
When the unit has reached operating pressure unscrew the bleed screw and check to see if there are any air bubbles in the brake fluid. Re-tighten the screw. Connect the unit to the other bleed screw and repeat the procedure.
Repeat the above procedure in the following order:
front right-hand wheel
rear left-hand wheel
rear right-hand wheel
Note! The adapter (998 5882-1) is intended for the rear wheels.
Disconnect and remove all equipment.
Check to see if there is any air remaining in the system by depressing the brake pedal, using approximately 20 kg (45 lb.) force. (This is equivalent to a sudden, powerful braking). Note! The engine must be switched off.
The pedal travel must not exceed 60 mm (2.4"), nor must the warning light flash or come on.
The procedure must be repeated if air is found in the system.
Do not forget to replace the rubber caps on the bleed screws.
Lower the vehicle.
Bleeding Of Brake System Without Bleeder Unit
(It is not necessary to remove the wheels when bleeding the brake system.)
Jack up the vehicle. Top up the brake fluid reservoir to MAX.
imageOpen In New TabZoom/Print
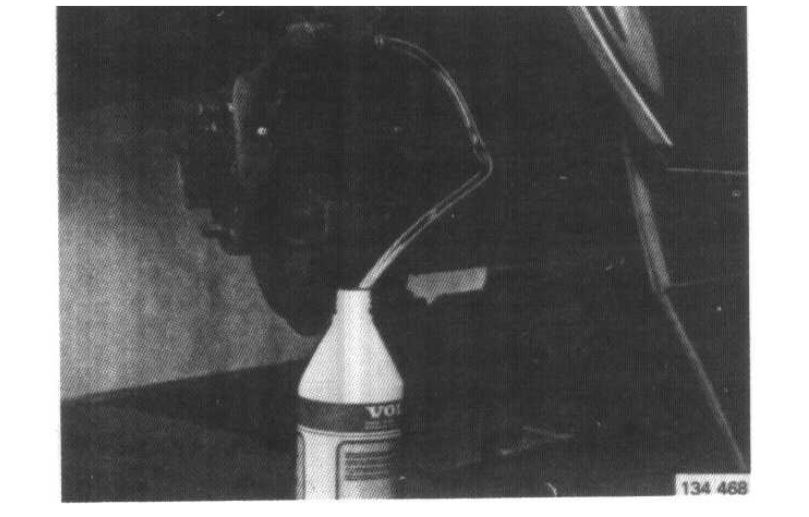
Starting at the front left wheel, connect bleeder tubes to both the bleed screws. Submerge the free ends of the tubes in a small quantity of brake fluid in a suitable vessel.
Unscrew the bleed screws and gently pump the brake pedal 5 times. Keep the pedal depressed and re-tighten the screws. Release the pedal and check the fluid level.
Repeat the above procedure in the following order:
front right-hand wheel
rear left-hand wheel
rear right-hand wheel
Disconnect the tubes and remove the vessel. Check to see if there is any air remaining in the system by depressing the brake pedal, using approximately 20kg (45 lbs) force. (This is equivalent to a sudden, powerful braking.) The pedal travel must not exceed 60 mm (2.4 in), nor must the warning light flash or come on.
The procedure must be repeated if air is found in the system.
Do not forget to replace the rubber caps on the bleed screws.
Images (Click to enlarge)
Apr 29, 2020 at 6:47 AM