Good morning,
The rear A/C is in the left rear inside the van behind the panels. The air door is there as well as the expansion valve.
Move the heat and cold back and forth and make sure the mode door is moving. If it is not, then it is the expansion valve.
Roy
TOOLS REQUIRED
J 39400-A Halogen Leak Detector
REMOVAL PROCEDURE
1. Recover the refrigerant.
2. Remove the left lower quarter trim panel.
3. Remove the foam wrap from the auxiliary TXV.
imageOpen In New TabZoom/Print
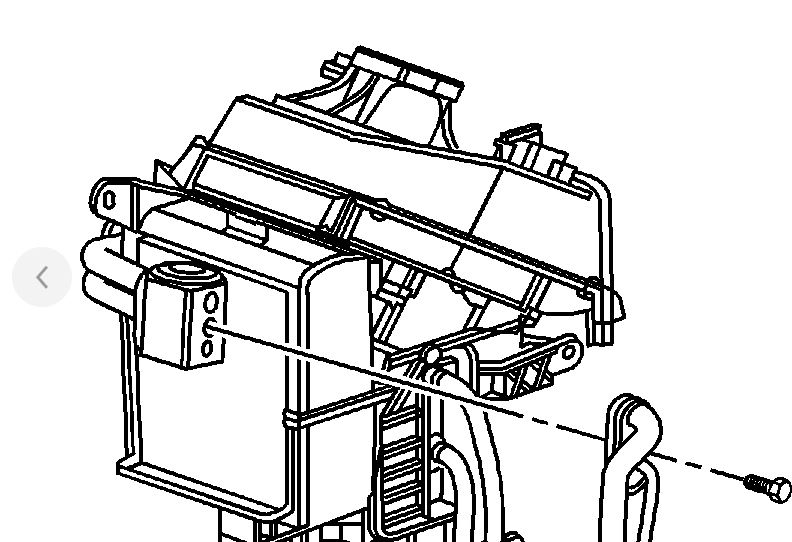
4. Remove the auxiliary TXV line clamp screws.
5. Remove the auxiliary TXV line clamp from the HVAC module assembly.
imageOpen In New TabZoom/Print
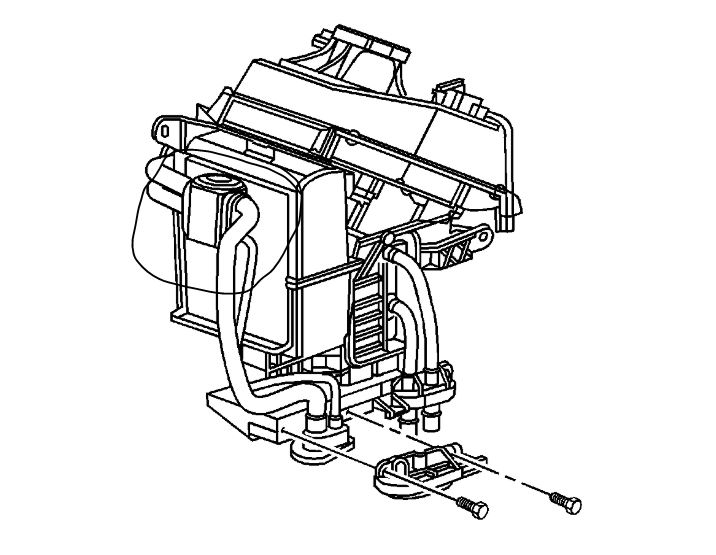
6. Remove the bolt from the auxiliary TXV line block fitting.
7. Remove the A/C lines from the auxiliary TXV.
8. Remove and discard the sealing washers.
9. Cap or tape the A/C lines.
IMPORTANT: Cap or tape the open A/C refrigerant lines immediately to prevent contamination of the refrigerant system.
imageOpen In New TabZoom/Print
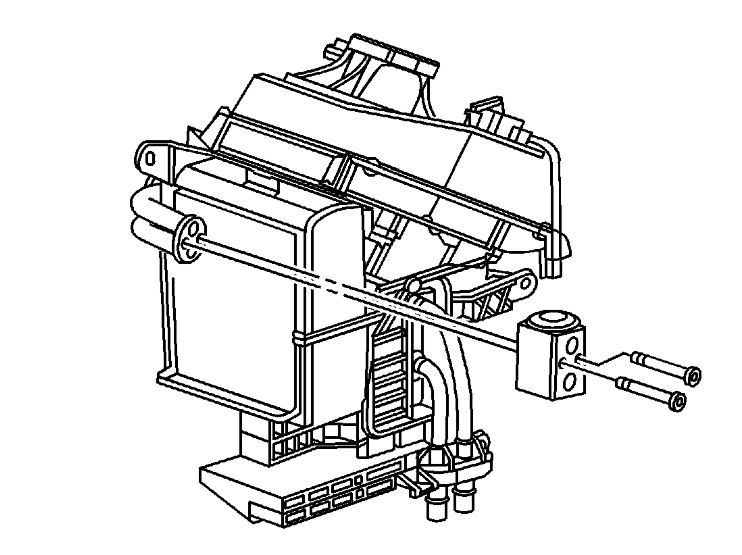
10. Remove the auxiliary TXV to evaporator core bolts.
11. Remove the auxiliary TXV from the evaporator core.
12. Cap or tape off the evaporator core lines.
13. Remove and discard the sealing washers.
INSTALLATION PROCEDURE
1. Remove the cap or tape from the evaporator lines.
2. Install the new sealing washers onto the evaporator lines.
imageOpen In New TabZoom/Print
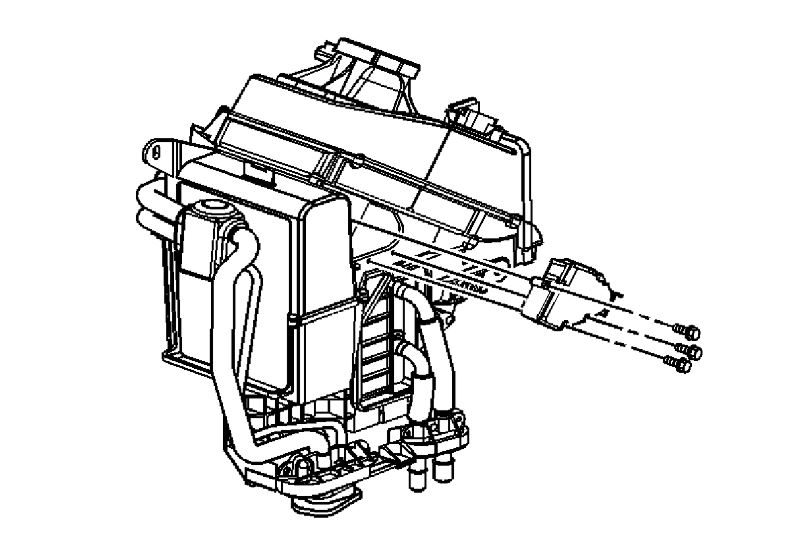
3. Install the auxiliary TXV to the evaporator core.
4. Install the auxiliary TXV to the evaporator core mounting bolts.
NOTE: Refer to Fastener Notice in Service Precautions.
See: Heating and Air Conditioning > Vehicle Damage Warnings > Fastener Notice
Tighten
Tighten the bolts to.....3.5 N.m (31 lb in).
5. Remove the cap or tape from the A/C lines.
6. Install the new sealing washers onto the A/C line.
7. Install the A/C lines to the auxiliary TXV.
imageOpen In New TabZoom/Print
8. Install the auxiliary TXV line block fitting retaining bolt.
Tighten
Tighten the nut to.....11 N.m (97 lb in).
imageOpen In New TabZoom/Print
9. Install the auxiliary TXV line clamp to the HVAC module assembly.
10. Install the auxiliary TXV line clamp screw.
Tighten
Tighten the screw to 1.6 N.m (14 lb in).
11. Install a new foam wrap to the auxiliary TXV.
12. Evacuate and recharge the A/C system.
13. Leak test the fittings of the component using J 39400-A.
14. Install the left lower quarter trim panel.
Images (Click to enlarge)
Jul 16, 2019 at 4:43 AM