You may need to remove the engine mounts and jack the engine up to gain clearance use wood blocks to hold the engine up.
1.Disconnect the battery negative cable. Refer to Battery Cable Replacement (Positive/Negative) in Starting and Charging.
2.Raise the vehicle. Refer to Vehicle Lifting.
3.Remove the oil pan drain plug and drain the engine oil into a suitable container.
4.Remove the oil filter.
5.Remove the oil pan skid plate.
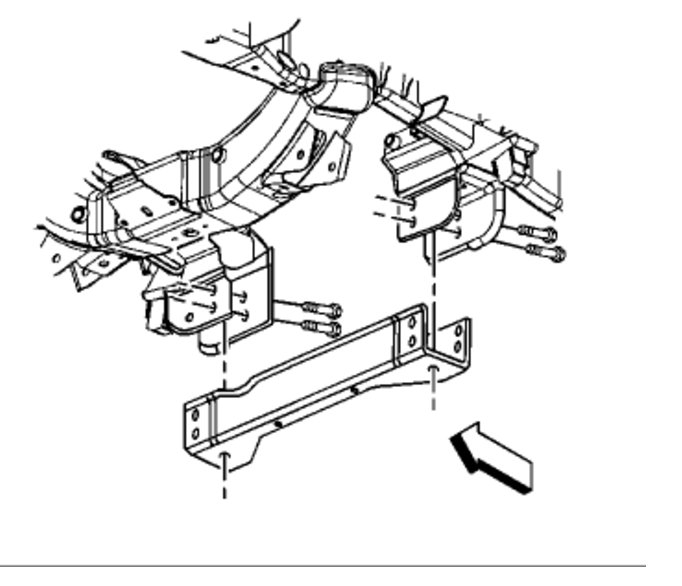
6.Remove the crossbar.
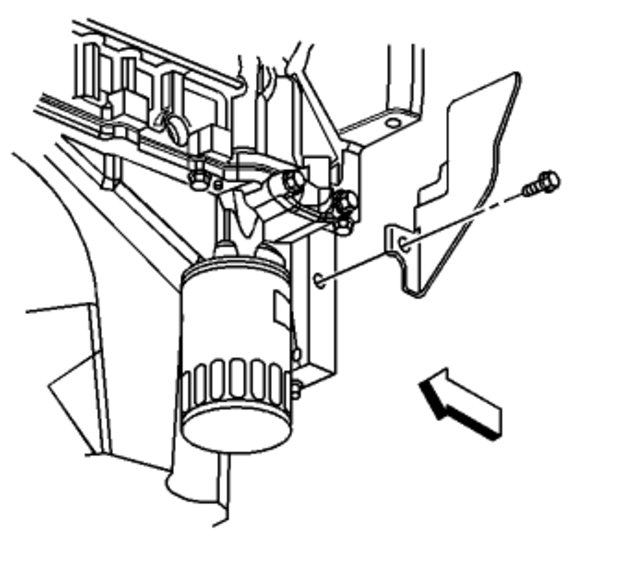
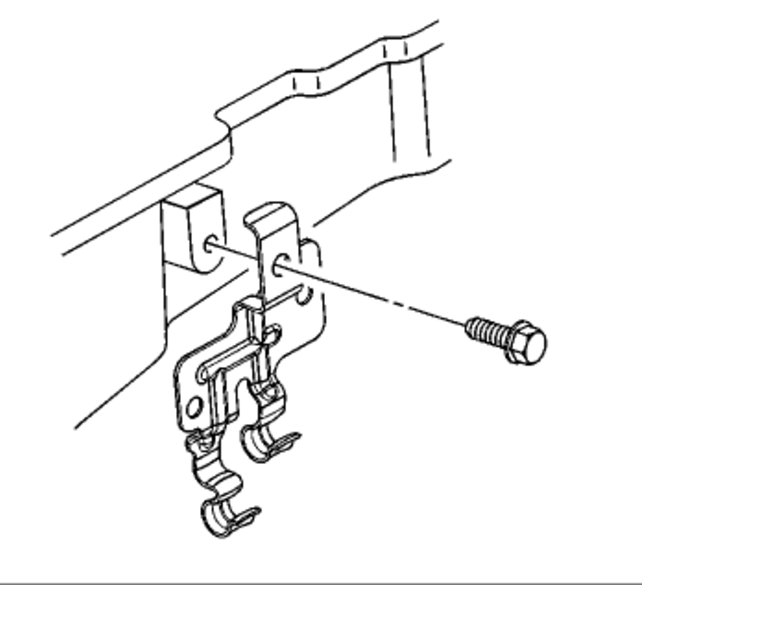
7.Remove the bolts holding the battery cable brackets to the oil pan.
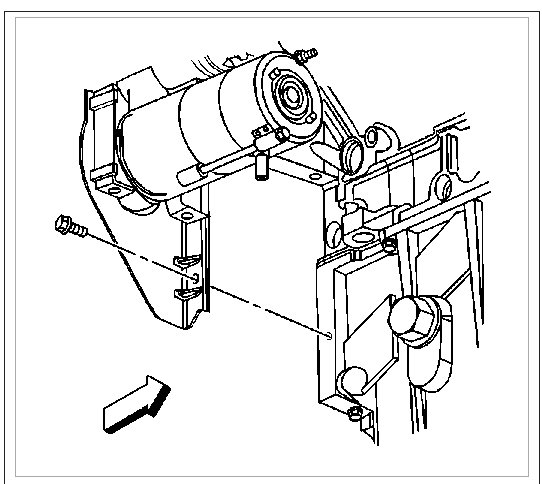
8.Remove the starter and move aside. Refer to Starter Motor Replacement in Starting and Charging.
9.Remove the transmission cover.
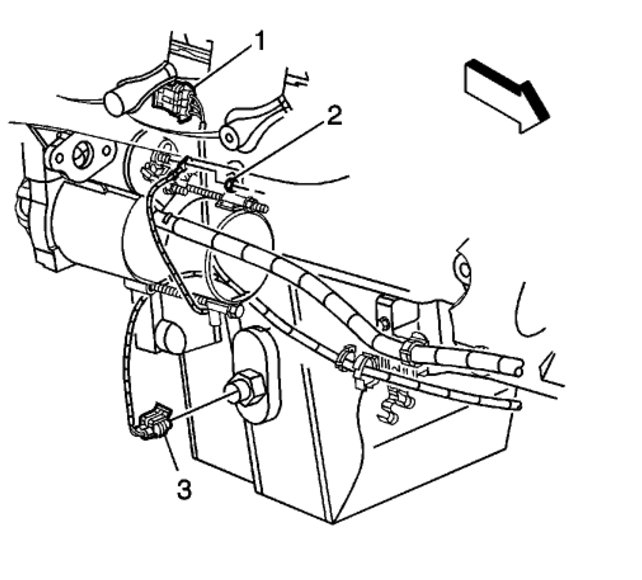
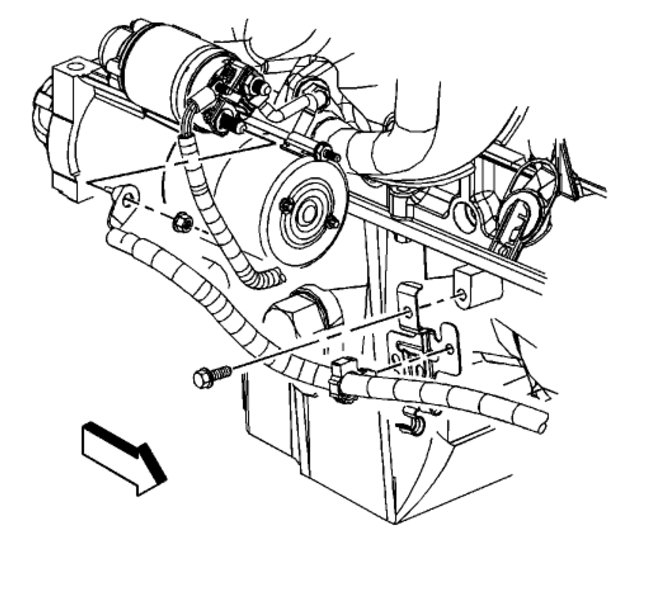
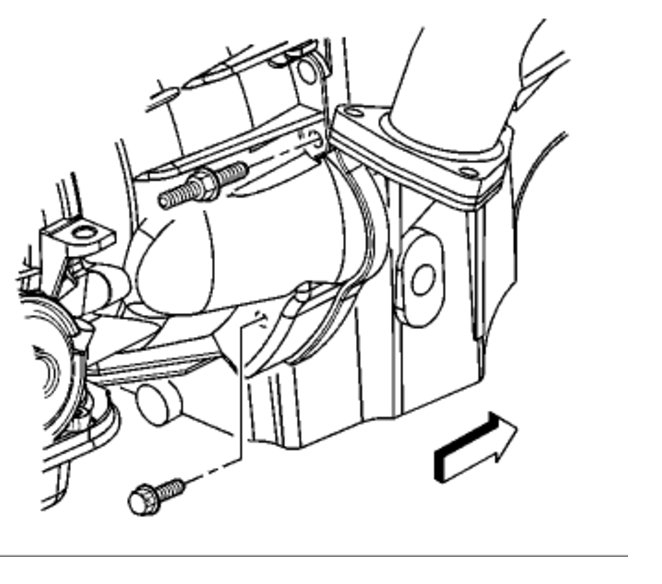
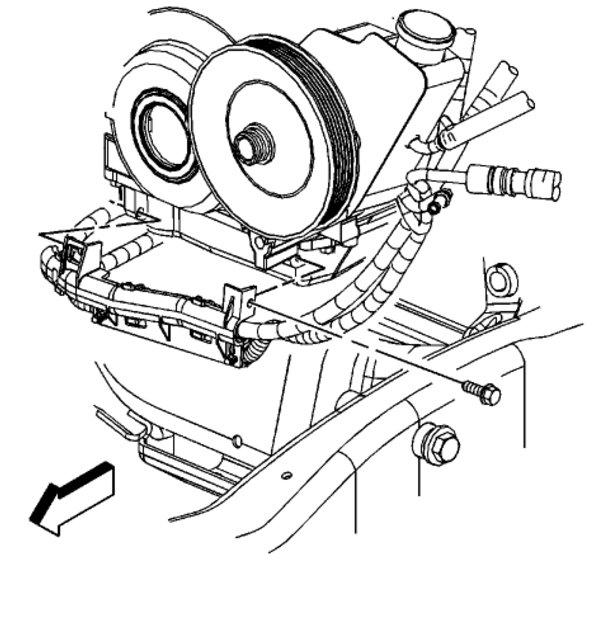
10.Remove the bracket for the starter positive cable and the transmission cooler lines form the side of the oil pan.
11.Disconnect the low oil level sensor electrical connector.
12.Remove the access plugs for the oil pan rear nuts.
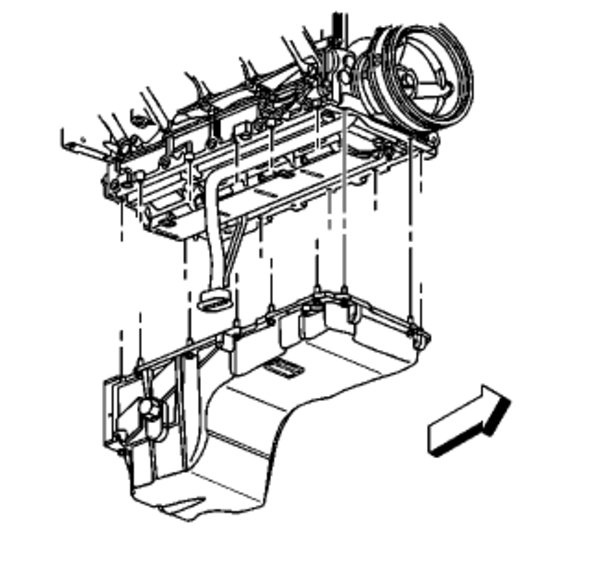
13.Remove the following oil pan fasteners:
13.1. Remove the oil pan bolts.
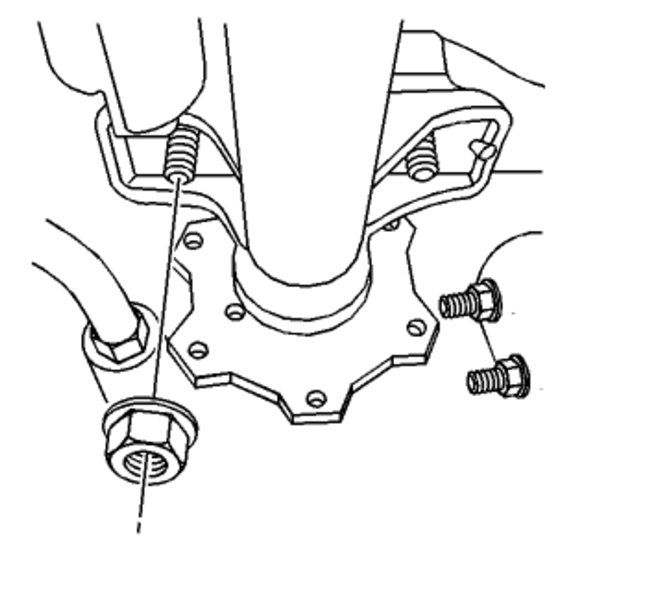
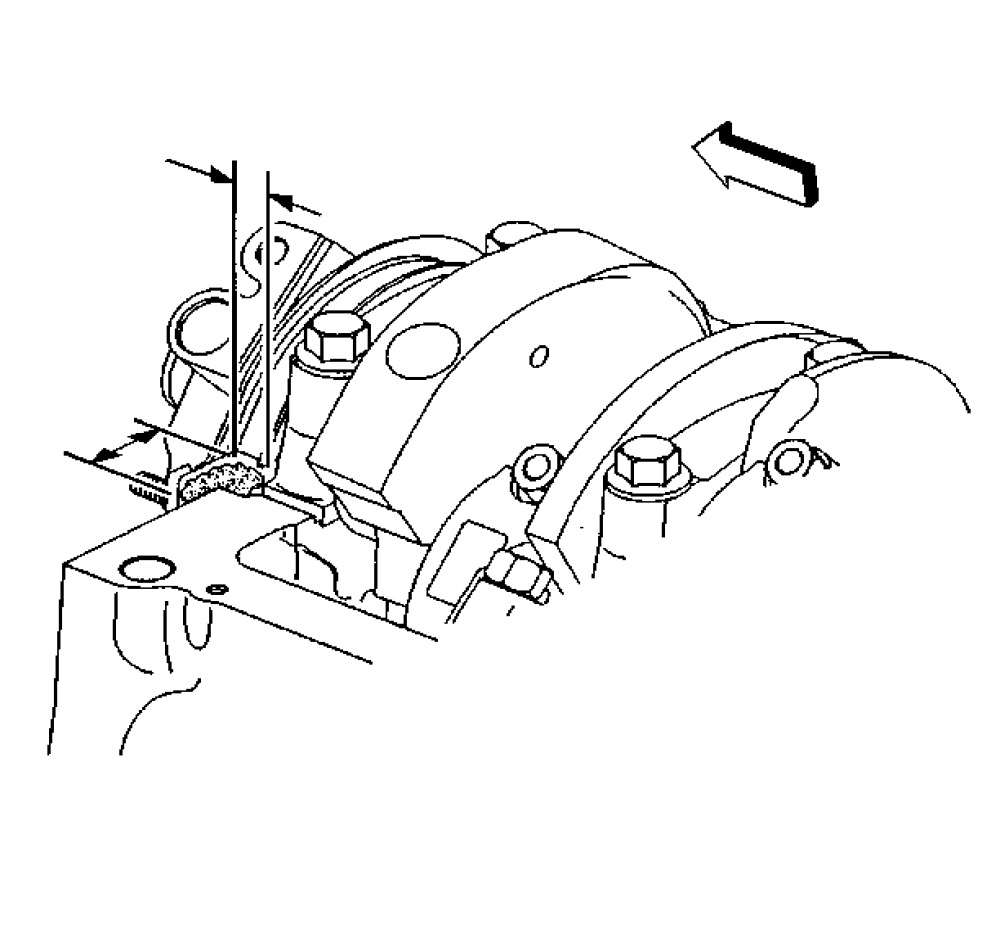
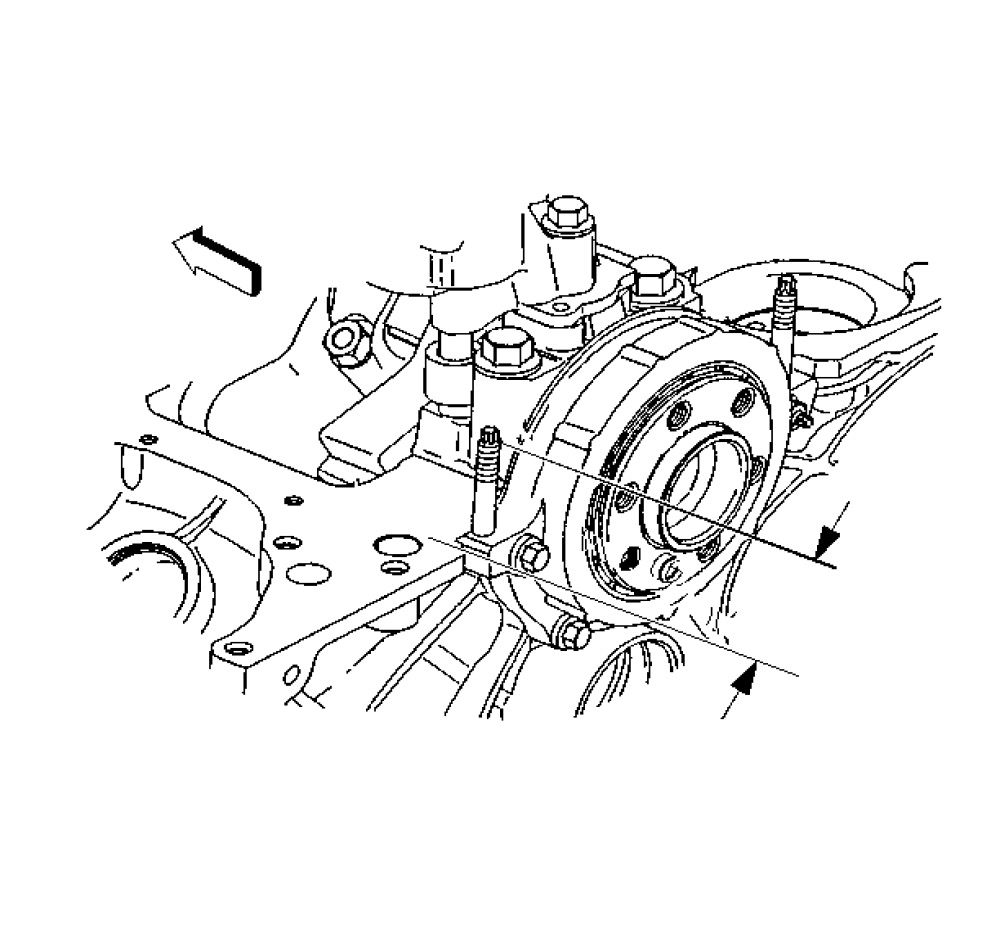
13.2. Remove the two nuts at the crankshaft rear oil seal housing.
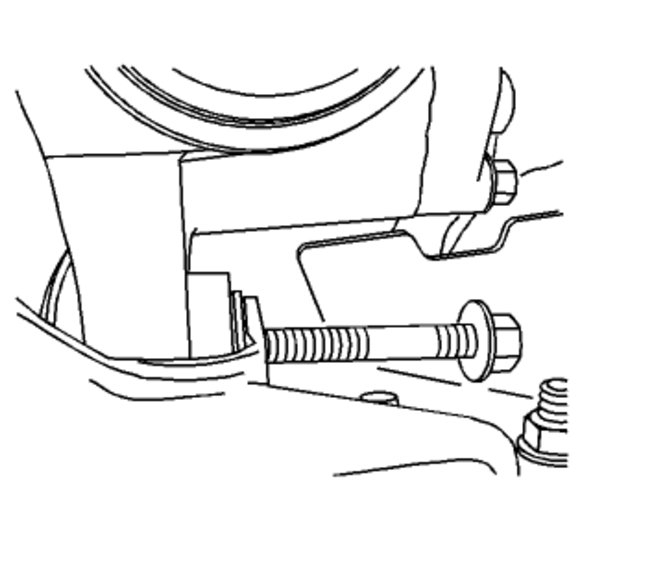
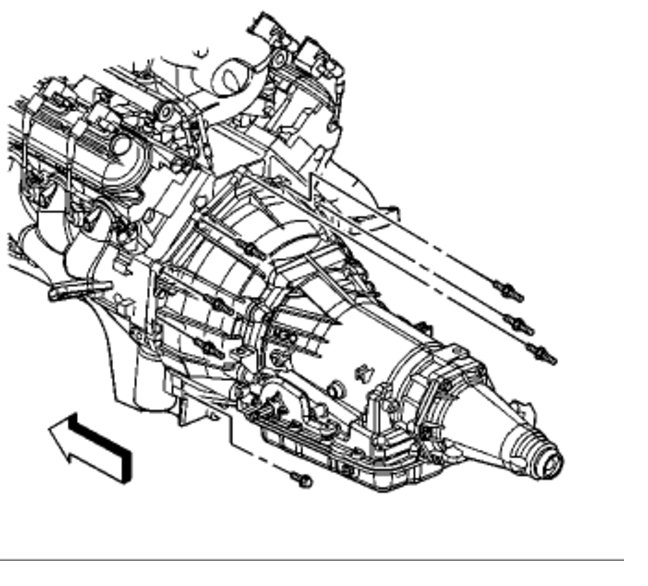
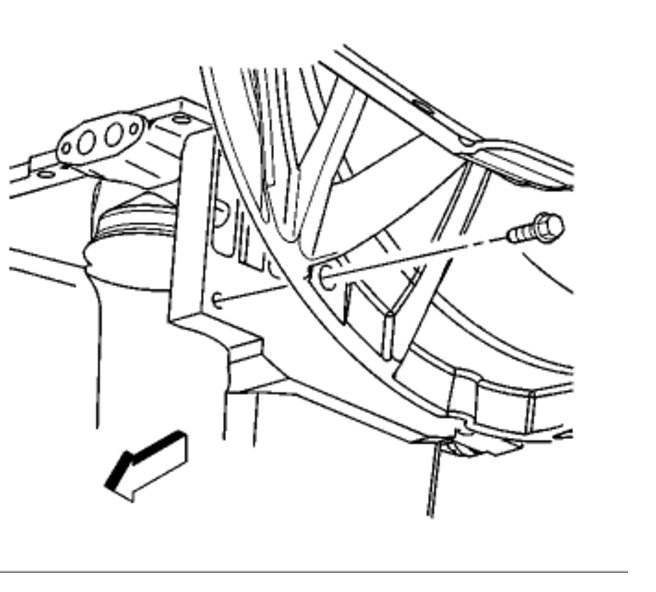
13.3. Remove the transmission to oil pan bolts.
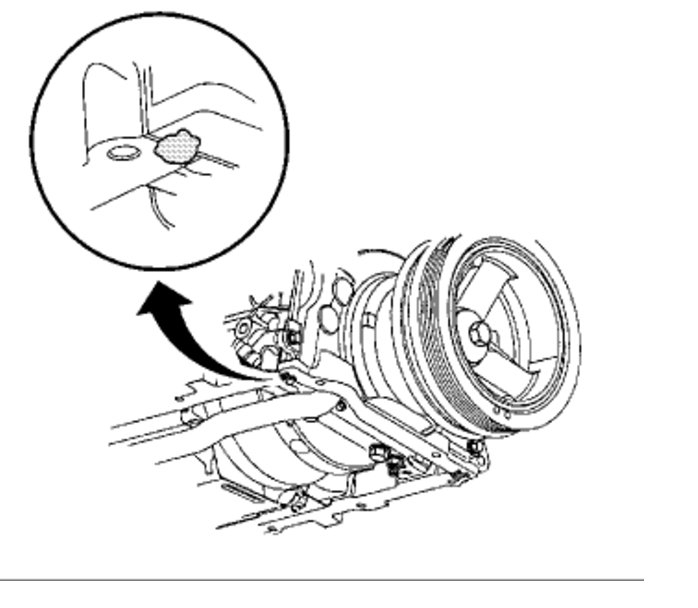
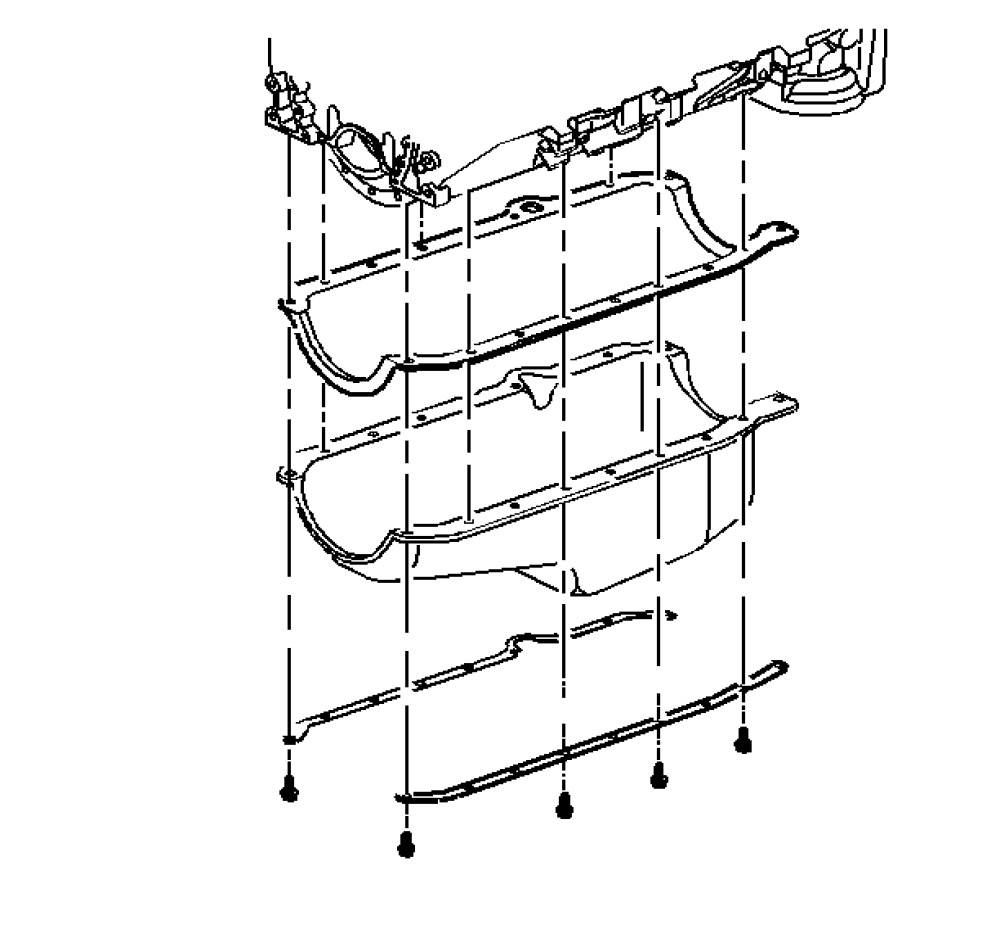
14.Remove the oil pan and the gasket. Refer to Oil Pan Removal.
IMPORTANT: The low oil level sensor is not reusable. Use a NEW low oil sensor.
15.Remove the low oil level sensor, if required.
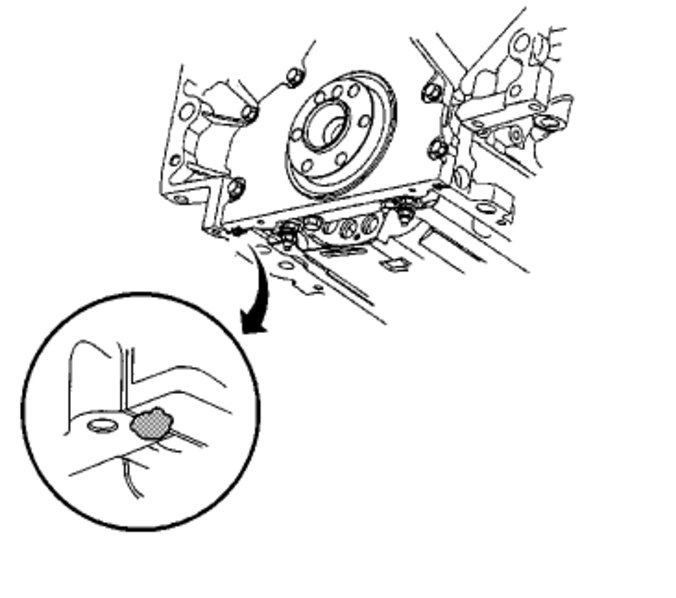
16.Clean all sealing surfaces on the engine and the oil pan. Refer to Oil Pan Clean and Inspect.
INSTALLATION PROCEDURE
NOTICE: Refer to Fastener Notice in Service Precautions.
IMPORTANT: The low oil level sensor is not reusable. Use a NEW low oil sensor.
1.Install a NEW low oil level sensor, if removed.
Tighten the sensor to 20 Nm (15 ft. lbs) .
NOTICE: Any time the transmission and the engine oil pan are off of the engine at the same time, install the transmission before the oil pan. This is to allow for the proper measurement of the oil pan tolerance. Failure to achieve the correct clearance can result in premature transmission failure.
2.Install the oil pan. Refer to Oil Pan Installation.
3.Install the transmission to oil pan bolts and nuts.
Tighten the bolts to 47 Nm (35 ft. lbs.) .
4.Install the access plugs for the oil pan rear nuts,
5.Install the bracket for the starter positive cable and the transmission cooler lines to the side of the oil pan.
Tighten the bolts to 12 Nm (106 inch lbs) .
6.Connect the low oil level sensor electrical connector.
7.Install the transmission cover.
Tighten the bolts to 12 Nm (106 inch lbs) .
8.Install the starter. Refer to Starter Motor Replacement in Starting and Charging.
9.Install the bolts holding the battery cable brackets to the oil pan.
Tighten the bolts to 12 Nm (106 inch lbs) .
10.Install the crossbar.
Tighten the bolts to 100 Nm (74 ft. lbs.) .
11.Install the oil pan skid plate.
Tighten the bolts to 20 Nm (15 ft. lbs) .
12.Install the oil filter and the oil pan drain plug. Refer to Engine Oil and Oil Filter Replacement
13.Lower the vehicle.
14.Fill the engine with oil. Refer to Engine Oil and Oil Filter Replacement
15.Connect the battery negative cable. Refer to Battery Cable Replacement (Positive/Negative) in Starting and Charging.
Check out the diagrams (Below)
Please let us know what you find.
Cheers
Images (Click to enlarge)
Mar 2, 2013 at 4:53 PM