Disconnect the negative battery cable. Drain the engine coolant from the radiator and block drains into a suitable clean container.
Remove the air intake ducts and disconnect the temperature sensor connector, then remove the air cleaner housing.
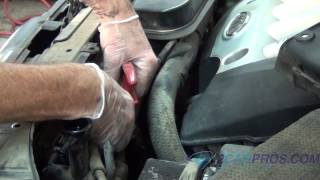
Loosen the clamp and disconnect the upper hose from the radiator. If equipped with an automatic transaxle, disconnect the upper transaxle fluid cooler line. Plug the openings to prevent transaxle fluid contamination or loss.
Remove the electric cooling fan assembly.
Loosen the clamp and disconnect lower hose from the radiator.
Raise and support the front of the vehicle safely using suitable jackstands.
Disconnect the fasteners, the carefully lower the splash shield from the vehicle to gain access below the radiator.
If equipped with an automatic transaxle, disconnect and plug the lower transaxle cooler line.
Remove the 2 condenser bracket-to-radiator bolts from either side of the radiator. Wire the condenser to the frame assembly to keep it in place, then remove the supports and carefully lower the vehicle.
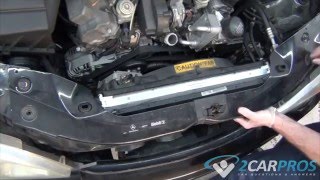
Remove the upper radiator nuts and brackets. On air conditioning equipped vehicles, remove the upper radiator seal.
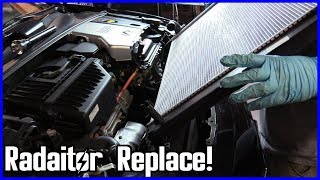
Carefully lift the radiator from the vehicle. If necessary, squeeze the drain housing tabs and withdraw it from the bottom of the radiator.
To install:
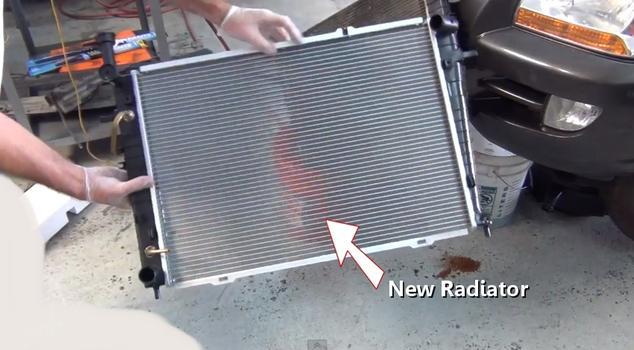
If installing a new radiator on 1991-93 models, make sure the drain housing is in position. If the replacement did not come with a drain housing, insert the old drain housing into the radiator and press until it snaps into position. Be careful not to press the housing through the hole and into the radiator tank.
Install the radiator into the vehicle. Install the upper seal, if applicable, then install the brackets and retaining nuts. Tighten the retaining nuts to 89 inch lbs. (10 Nm). Be sure the L-shaped brackets do not pinch the radiator locating pins and that the radiator moves freely in the grommets.
Raise the front of the vehicle and safely support using jackstands.
Install the condenser bracket bolts, then if applicable, remove the plugs and install the lower automatic transaxle cooler line. Tighten the condenser bracket bolts to 53 inch lbs. (6 Nm) and the lower transaxle oil cooler line to 20 ft. Lbs. (27 Nm).
Install the splash shield, remove the supports and lower the vehicle.
Install the lower radiator hose with the clamp tangs positioned at 11 o'clock.
Install the cooling fan assembly.
For 1991 vehicles with an automatic transaxle, connect the upper transaxle cooler line and tighten. For 1992-98 vehicles with an automatic transaxle, connect the upper transaxle cooler line at a 35 degree angle inward from vertical and hold while tightening. Tighten the lower transaxle oil cooler line to 20 ft. Lbs. (27 Nm).
Install the upper radiator hose with the clamp tangs at 1 o'clock. Tighten the hose clamp to 31 inch lbs. (3.5 Nm).
Install the air cleaner housing.
Install the intake air ducts and connect the air temperature sensor plug.
Close the radiator drain plug and install the cylinder block drain plug. Tighten the block plug to 26 ft. Lbs. (35 Nm).
Connect the negative battery cable and properly fill the engine cooling system.
Start and run the engine to check for coolant leaks.
SPONSORED LINKS
Sunday, January 10th, 2010 AT 2:13 PM