Hello -
To better assist you is your model a S or SE. Also what is your engine size in liter?
For now I am attaching the info I have on radiator removal for the S model. On your question is it the oil or transmission cooler pipe you are talking about?
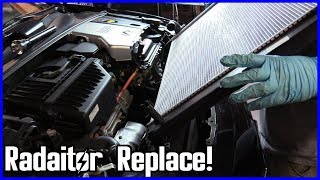
RADIATOR
Removal
1. On turbo models, remove the charge air cooler (intercooler).
2. On all models, remove the grille.
CAUTION: Be careful not to damage the hoses.
3. Release the engine oil cooler (if equipped) and hang out of way.
4. Remove the A/C condenser from the radiator.
5. Disconnect and remove the battery. Remove the battery shelf (SENSONIC). See Fig. 1 .
6. Open the drain plug and drain the coolant. Remove the cap on the expansion tank to speed up the draining.
7. On turbo models, remove the bypass hose together with the intake hose.
8. On all models, undo the upper radiator hoses from the radiator. (The top one must be removed on both B258i models.)
9. Separate the radiator fan's electrical connections.
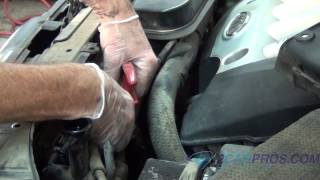
10. Release the servo pump's oil pipe and the clips for the radiator's breather hose from the radiator crossmember and turn the oil pipe to one side.
11. Remove the 2 screws securing the radiator fan cover and lift it up.
12. On A/T models, remove the transmission cooler oil pipes by the oil cooler, remove the screw which holds the pipes to the radiator and plug the connections.
13. Remove the lower radiator hose from the radiator. Remove the clamps which hold the radiator to the radiator crossmember. Pull up the radiator from the rubber securing points so that the clips for the A/C compressor's wiring harness can be undone.
14. Lift out the radiator.
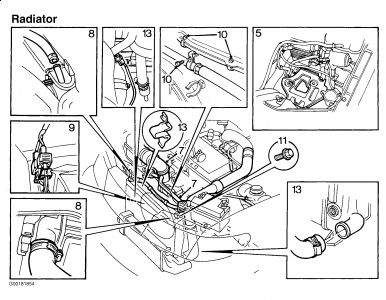
Fig. 1: Removing Radiator
Installation
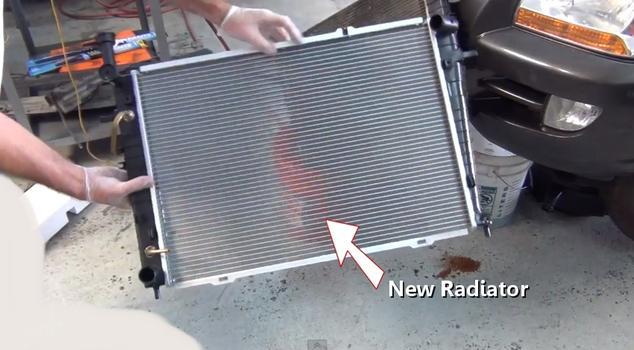
1. Spread some vaseline on the radiator's rubber bushings.
2. Push down the radiator and install the clamps. Install the clips for the A/C compressor. See Fig. 2 .
3. On A/T models, install the transmission cooler oil pipes to the oil cooler. Do not forget the screw which secures the pipes to the radiator. Tighten to specification. See TORQUE SPECIFICATIONS .
4. On all models, check that the radiator's drain plug is tightened. Install the lower radiator hose to the radiator.
5. Install the radiator fan cover over the radiator and tighten the two screws.
6. Reconnect the radiator fan and install the upper radiator hoses.
7. Install the clips for the radiator's breather hose to the radiator crossmember. Install and tighten the screw to the servo pump's oil pipe.
8. On turbo models, install the bypass hose together with the intake hose and the pressure pipe between the charge air cooler and the throttle body.
9. On all models, fill up with coolant and check that the system does not leak.
10. Install the battery shelf (SENSONIC). Install and reconnect the battery.
11. On A/T, check the oil level in the transmission and top it up if necessary.
12. On all models, install the A/C condenser.
13. Install the engine oil cooler (if equipped).
14. Install the grille.
15. On turbo models, install the charge air cooler.
16. Bleed the system as follows:
Fill the system to the MAX level, install the pressure cap. Start the engine and run until warm, preferably at varying speeds, until the radiator fan starts. Remove the pressure cap and fill up to MAX again. Install the pressure cap and let the engine run at varying speeds until the radiator fan has started a further three times. Switch off the engine and fill up to MAX again if necessary.
Fig. 2: Installing Radiator
Courtesy of SAAB-SCANIA OF AMERICA, INC.

SPONSORED LINKS
Wednesday, June 3rd, 2009 AT 10:33 PM