REMOVAL AND INSTALLATION
Thermostat Housing - 3.0L
Removal
Drain the engine cooling system. For additional information, see COOLING SYSTEM DRAINING, FILLING AND BLEEDING.
Remove the air cleaner outlet tube.
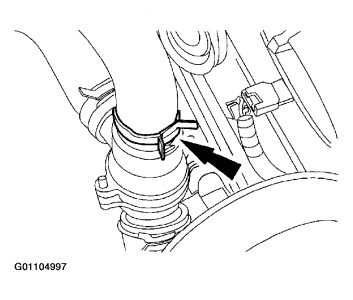
Disconnect the hose.
Fig. 36: Disconnecting Hose
Courtesy of FORD MOTOR CO.
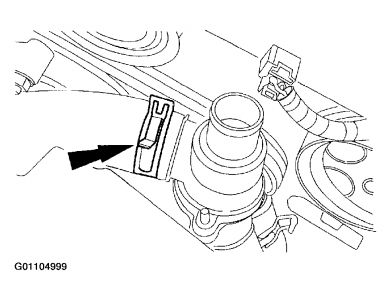
Disconnect the hose.
Fig. 37: Disconnecting Hose
Courtesy of FORD MOTOR CO.
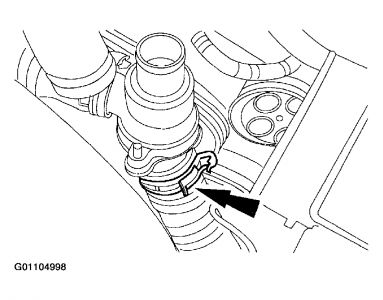
Disconnect the hose and remove the thermostat housing assembly.
Fig. 38: Disconnecting Hose
Courtesy of FORD MOTOR CO.
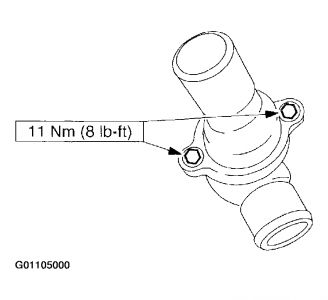
Remove the bolts, separate the housing and remove the thermostat and seal.
Fig. 39: Separating Housing
Courtesy of FORD MOTOR CO.
Installation
NOTE:Clean all the sealing surfaces and inspect the O-ring seals thoroughly.
To install, reverse the removal procedure.
Thermostat Housing - 3.9L
Removal
Drain the engine cooling system. For additional information, see COOLING SYSTEM DRAINING, FILLING AND BLEEDING.
Remove the intake manifold. For additional information, see INTAKE MANIFOLD .
Remove the nuts and remove the bracket.
Fig. 40: Removing Bracket
Courtesy of FORD MOTOR CO.
Remove the stud bolts.
Fig. 41: Removing Stud Bolts
Courtesy of FORD MOTOR CO.
Disconnect the lower radiator hose from the thermostat housing.
Fig. 42: Disconnecting Lower Radiator Hose
Courtesy of FORD MOTOR CO.
Remove the bolts.
Fig. 43: Removing Bolts
Courtesy of FORD MOTOR CO.
Remove the thermostat housing cover.
Fig. 44: Removing Thermostat Housing Cover
Courtesy of FORD MOTOR CO.
Disconnect the hoses.
Fig. 45: Disconnecting Hoses
Courtesy of FORD MOTOR CO.
Remove the coolant outlet pipe. For additional information, see COOLANT OUTLET PIPE - 3.9L.
Remove the four bolts and the thermostat housing.
Fig. 46: Removing Thermostat Housing
Courtesy of FORD MOTOR CO.
Installation
NOTE:Clean all the sealing surfaces, and inspect the O-ring seals thoroughly.
To install, reverse the removal procedure.
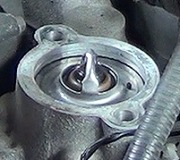
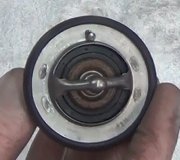
Thermostat - 3.9L
Removal & Installation
Remove thermostat housing cover. For additional information, see THERMOSTAT HOUSING - 3.9L.
Remove Thermostat and O-ring.
Fig. 47: Removing Thermostat
Courtesy of FORD MOTOR CO.
NOTE:Clean and inspect the O-ring seal thoroughly.
To install, reverse the removal procedure
SPONSORED LINKS
Tuesday, November 18th, 2008 AT 9:42 AM