This procedure requires the use of special tools.
Raise and support the front end on jackstands.
Disconnect the front driveshaft from the carrier and wire it up out of the way.
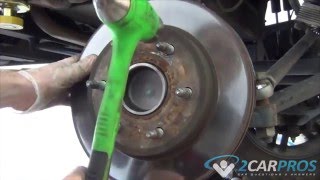
Remove the left and right axle shafts and both spindles.
Support the carrier with a floor jack and unbolt the carrier from the support arm.
Place a drain pan under the carrier, separate the carrier from the support arm and drain the carrier.
Remove the carrier from the truck.
Place the carrier in holding fixture T57L-500-B with adapters T80T-4000-B.
Rotate the slip yoke and shaft assembly from the carrier.
Using a slide hammer/puller remove the caged needle bearing and oil seal as a unit. Discard the oil seal and bearing.
To install:
Clean the bearing bore thoroughly and make sure that it is free of nicks and burrs.
Insert a new bearing in its bore with the printing facing outward. Drive it into place with driver T83T-1244-A, or its equivalent. Install a new bearing seal with the lip facing away from the bearing. Coat the bearing and seal with waterproof wheel bearing grease.
Install the slip yoke and shaft assembly into the carrier so that the groove in the shaft is visible in the differential case.
Install the snapring in the groove in the shaft. It may be necessary to force the snapring into place with a small prybar. Don't strike the snapring!
Remove the carrier from the holding fixture.
Clean all traces of sealant from the carrier and support arm. Make sure the mating surfaces are clean. Apply a 1/4 in. (6mm) wide bead of RTV sealant to the mating surface of the carrier. The bead must be continuous and should not pass through or outside of the holes. Install the carrier with 5 minutes of applying the sealer.
Position the carrier on the jack and raise it into position using guide pins to align it if you'd like. Install and hand-tighten the bolts. Tighten the bolts in a circular pattern to 30-40 ft. Lbs. (41-54 Nm).
Install the support arm tab bolts and tighten them to 85-100 ft. Lbs. (115-136 Nm).
Install all other parts in reverse order of removal.
Thanks for using 2CarPros. Com!
SPONSORED LINKS
Monday, May 17th, 2021 AT 2:32 PM