Hi and thanks for using 2CarPros.
Honestly, it sounds like a bad crankshaft position sensor. Take a look through this link:
https://www.2carpros.com/articles/symptoms-of-a-bad-crankshaft-sensor
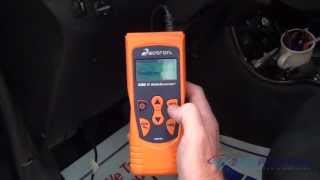
With that in mind, what really needs done is to check for an RPM signal when the vehicle won't start. That is done with a live data scanner. If there is no signal, then replace the crankshaft position sensor.
Here is a general description of replacing one:
https://www.2carpros.com/articles/crankshaft-angle-sensor-replacement
Here are the specific directions for your vehicle:
Procedures
Vehicle Powertrain Management Sensors and Switches - Powertrain Management Sensors and Switches - Computers and Control Systems Crankshaft Position Sensor Service and Repair Procedures
PROCEDURES
Fig. 5 Crankshaft Position Sensor
See Picture 1
Removal
1. Disconnect sensor electrical connector (Fig. 5).
2. Remove sensor retaining bolt.
3. Pull sensor straight up, and out of the transaxle housing.
Installation
Notes:
If the sensor is to be reused, a new paper spacer must be used. Be sure to remove the old spacer from the sensor face completely, before attaching new spacer.
If the sensor is being replaced, confirm that there is a paper spacer attached to the face of the new sensor (Fig. 5).
1. Install sensor in transaxle and push sensor down until contact is made with the drive plate.
2. While holding the sensor in this position, install and tighten the retaining bolt to 11.9 Nm (105 in-lbs) torque.
3. Connect sensor electrical connector.
Let me know if this helps or if you have other questions.
Take care,
Joe
Image (Click to make bigger)
SPONSORED LINKS
Wednesday, January 30th, 2019 AT 9:04 AM