Removing and reinstalling an exhaust manifold and gasket is a critical task in automotive maintenance. This guide will take you through the step-by-step process, ensuring a safe and efficient removal and reinstallation of your car's exhaust manifold and gasket.
Tools and Materials Needed
- Socket set (including a ratchet and extension)
- Wrench set
- Penetrating oil
- New gaskets
- Torque wrench
- Work gloves and safety glasses
- Gasket scraper/cleaner
- Shop Towels
Step 1: Safety Precautions
Before you begin, ensure the vehicle is parked on a flat surface, the engine is cool, and the battery is disconnected. Wear safety glasses and gloves to protect yourself from potential hazards.
Step 2: Accessing the Manifold
Open the hood and locate the exhaust manifold. In most cars, it's attached to the engine's cylinder head while connecting to the exhaust head pipe. Some exhaust manifolds will have a heat shield they may need to be removed before the manifold.
SPONSORED LINKS
Step 3: Removing Components Blocking Access
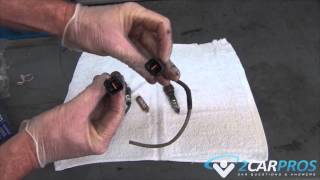
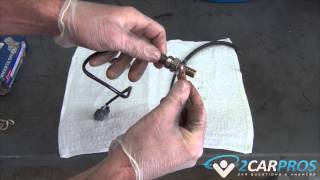
Remove any components that may block access to the exhaust manifold such as support brackets or engine accessories. This might include the air intake system, engine covers, air injection pipes, oxygen sensors or other adjacent parts.
Step 4: Spraying Penetrating Oil
Apply penetrating oil to the bolts and nuts that secure the manifold. Allow it to soak for at least an hour or more to loosen rusted or seized fasteners.
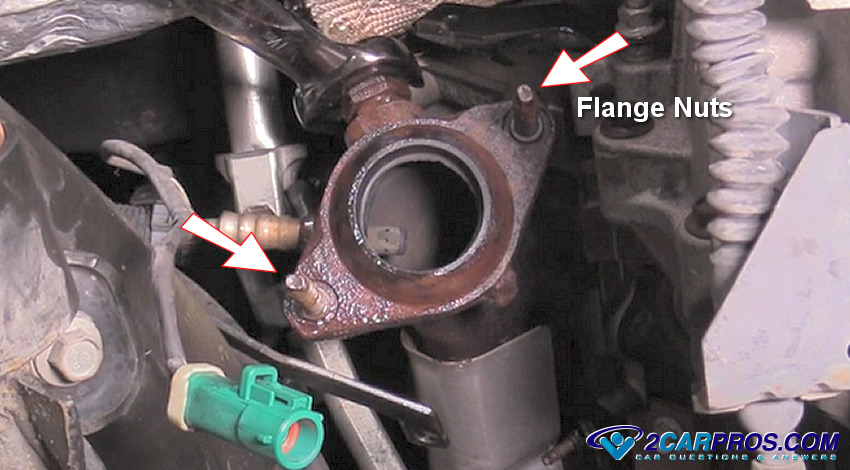
Step 5: Remove Flange Nuts
At the rear of the exhaust manifold are flange studs with nuts, this is where the exhaust of the engine is expelled into the catalytic and muffler system. Make sure these are coated with penetrating oil, and then remove, you might need to use a breaker bar to help with the removal. The image below shows the nuts and head pipe removed.
SPONSORED LINKS
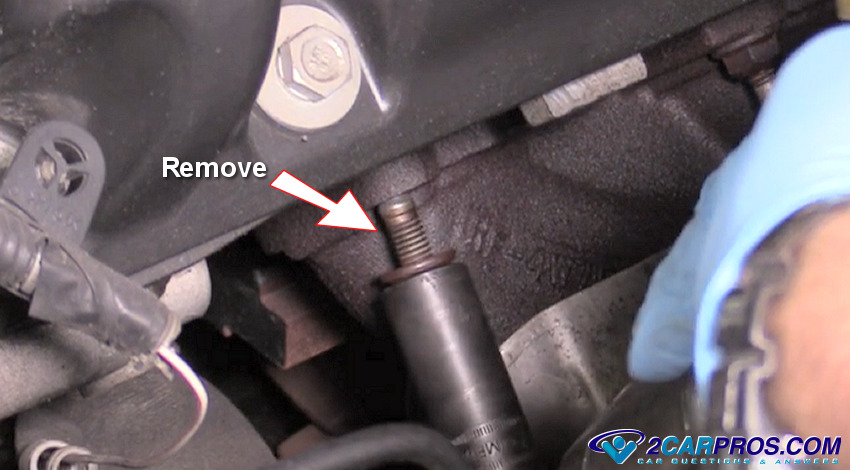
Step 6: Unbolting the Manifold
Using a socket and wrench, carefully remove the bolts or nuts holding the manifold to the cylinder head. Start from the outer bolts and work your way inwards. If you come across a broken bolt which is common you will need to remove it before reassembly.
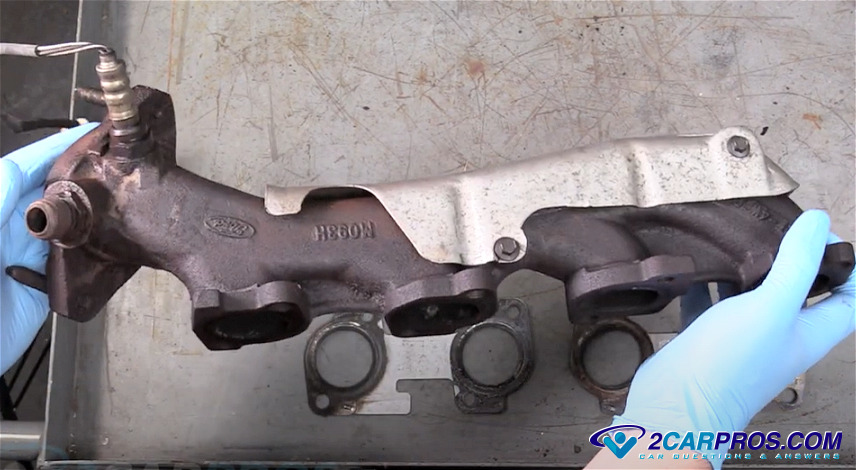
Step 7: Detaching the Exhaust Manifold
Gently detach the manifold from the engine. Be cautious of any gaskets or seals that may stick to either the manifold or the engine block.
Step 8: Cleaning and Inspection
Clean the surface on the engine block where the manifold was attached. Inspect for any signs of damage or wear on the manifold and the engine block. Also, exhaust manifold are known to crack in which the manifold will need to be replaced. Clean the gasket surface on the manifold thoroughly as well.

SPONSORED LINKS
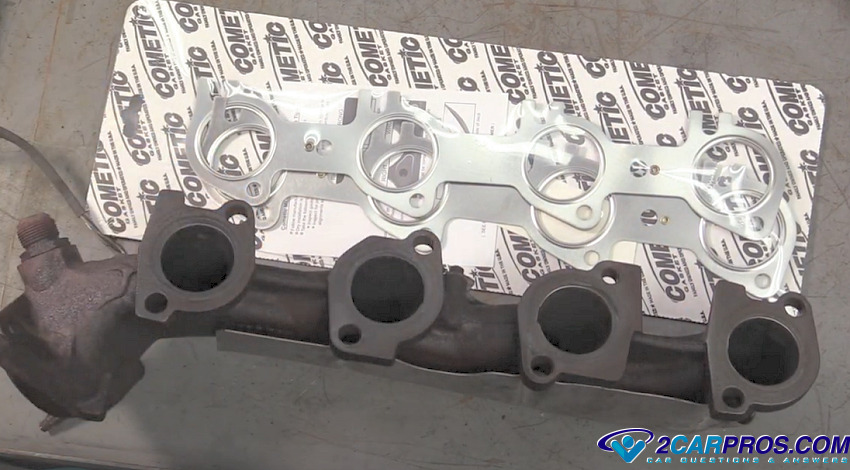
Step 9: Preparing for Reassembly
Prepare the new gasket by ensuring it matches the manifold's shape and port layout. Apply any recommended sealant if specified by the gasket manufacturer.
Step 10: Reinstalling the Exhaust Manifold
Place the new gasket on the engine block and carefully align the manifold over it. Secure the manifold by hand-tightening the bolts in a crisscross pattern starting from the center.
Step 11: Torque Specifications
Use a torque wrench to tighten the bolts to the manufacturer's specifications. Typical torque specs range from 15-30 ft-lbs (20-40 Nm), but always refer to your vehicle’s repair manual for exact figures or ask one of our experts.
Step 12: Reassembling Remaining Components
Reattach any components you removed earlier, ensuring everything is securely fastened.
Step 13: Final Checks and Testing
Reconnect the battery, start the engine, and check for any leaks or unusual noises. Ensure the manifold is properly sealed and functioning. It is a good idea to recheck the manifold bolts after a few miles to retighten, this will keep the new gasket from leaking.
SPONSORED LINKS
Conclusion
Removing and reinstalling an exhaust manifold is a demanding but rewarding task. By following these steps and adhering to safety protocols, you can successfully perform this maintenance on your vehicle.
Watch the Video!
Please watch this video of the job being done to glean additional helpful information.
Credits
Guide knowledge base was created by the 2CarPros Team, overseen by Ken Lavacot: Automobile repair shop owner and ASE certified master automobile technician of over 30 years.
If you have question or need help please ask one of our experts we are happy to help.
Article published 2024-01-29
SPONSORED LINKS
Oxygen Sensor Replacement Dodge
Oxygen Sensor Replacement

