An oxygen or lambda sensor is used to determine the engine exhaust mixture which can then be controlled by the computer. These sensors are equipped with a heater that can fail causing the check engine light to illuminate. To be sure the sensor is a problem visit how to test an oxygen sensor, a multi-sensor system will be able to monitor the exhaust gasses before and after the catalytic converter.
Most sensors are designed with a heater element to aid the sensors functionality when operating cold. Failure of this element is common and will warrant sensor replacement and trigger a check engine or service engine soon light in most cases. Once the failed oxygen sensor has been located, simply replace the sensor. When an O2 sensor fails it can cause the engine to run lean or rich depending on the failure.
Tools and Supplies Needed
- 7/8 or 22mm Wrench with large size sockets
- Shop Towels
- Anti-Rust penetrating oil such as WD40
- Replacement Oxygen Sensor
- Wire Brush
Best Practices
- Use an anti rust treatment to help in the removal of the old sensor.
- A specially designed socket or wrench can be used to aid in the removal of hard to access sensors.
Let's Jump In!
Before beginning, park the car on level ground and allow to cool, block
the tires to prevent the vehicle from moving.
Lift the car with a floor jack
in the manufacturers recommend position, use jack stands to secure the car. Oxygen
sensors are located in the exhaust system so be careful of hot components, wear
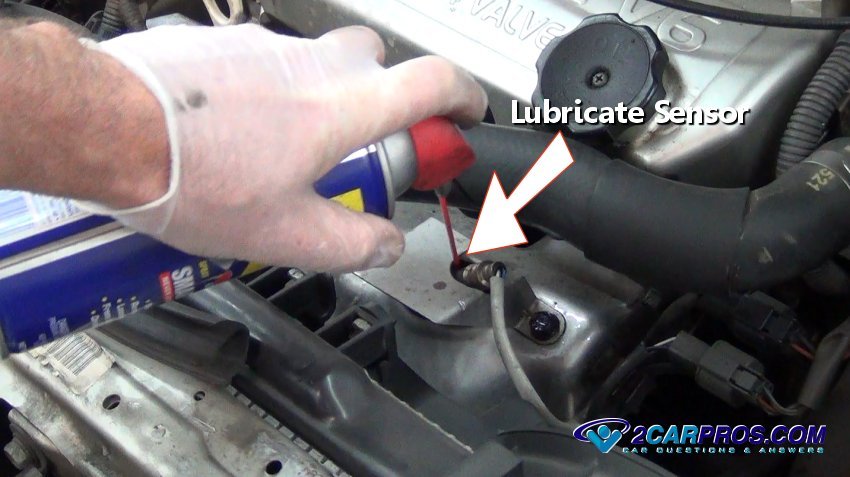
protective clothing, gloves and eye wear. Before the oxygen sensor should be removed
apply a light penetrating oil such as WD40 to help prevent thread and sensor damage.
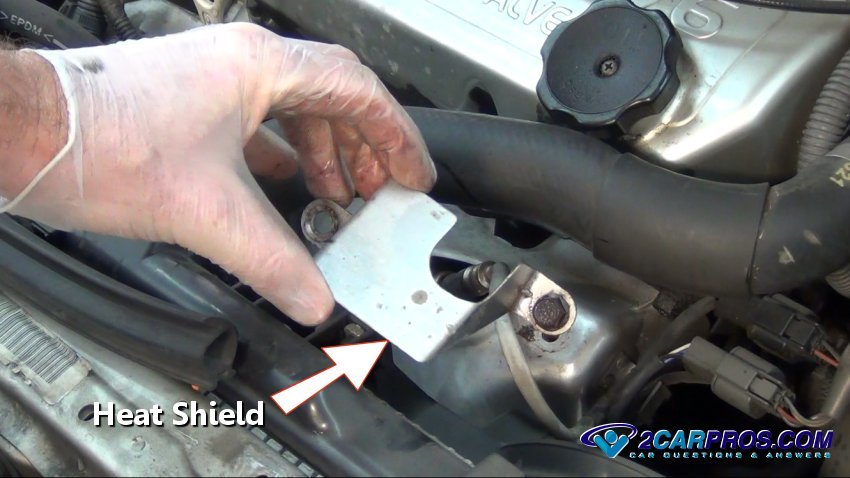
Some sensors are equipped with a heat shield that must be removed before the
sensor removal, this is performed by removing any mounting bolts.
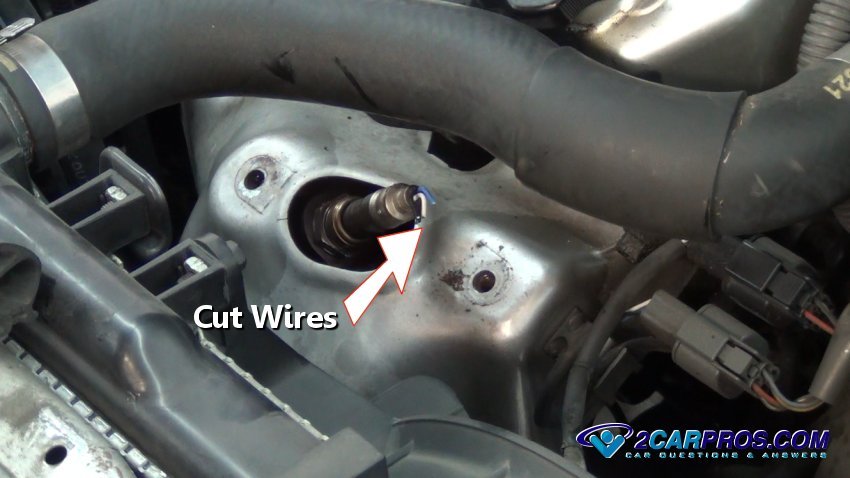
Because most of us do not have a sensor removal tool, cut the sensor wires to
ease the removal, a regular wrench will also work if the wires need to be left intact.
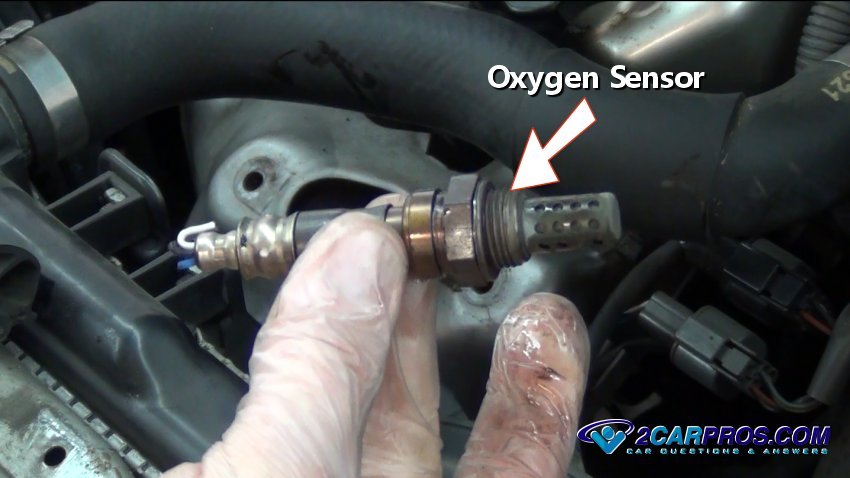
By using a regular socket it minimizes potential damage to the sensor body and
the threads, this technique helps avoid stripping the old sensor upon removal.

Once the old sensor has been removed, inspect the threads for damage which is
common with these sensors.
Locate and disconnect the wiring connector, this step should be done before removing
the sensor if the wiring is still attached.

Watch the Video!
Please watch this video of the job being done, then continue down the guide to glean additional helpful information.
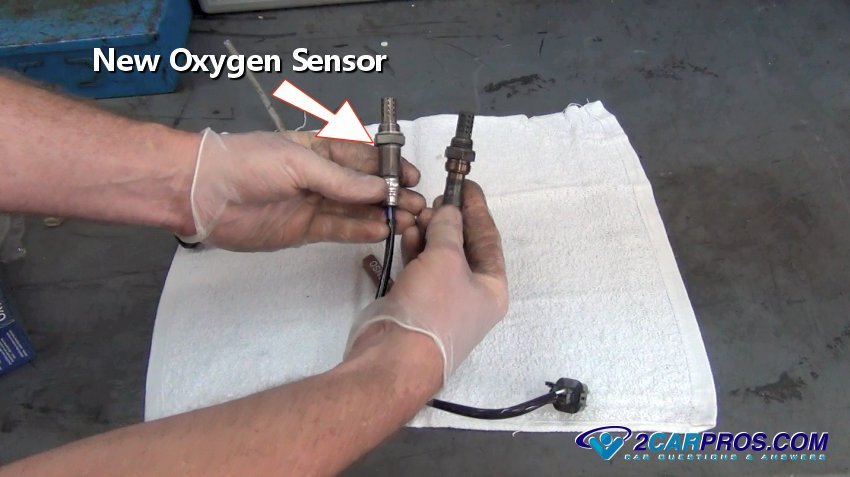
Its important that the wiring harness connectors are exactly the same, each sensor
is unique to it's position and is located in the system by its connector configuration.
Some replacement sensors have a universal electrical connector that must be configured
to the wiring of the old sensor.

Compare the new sensor to the old sensor to ensure a proper installation.
Most new oxygen sensor manufacturer's include a small amount of anti-seize lubricant
to help condition the mounting threads.
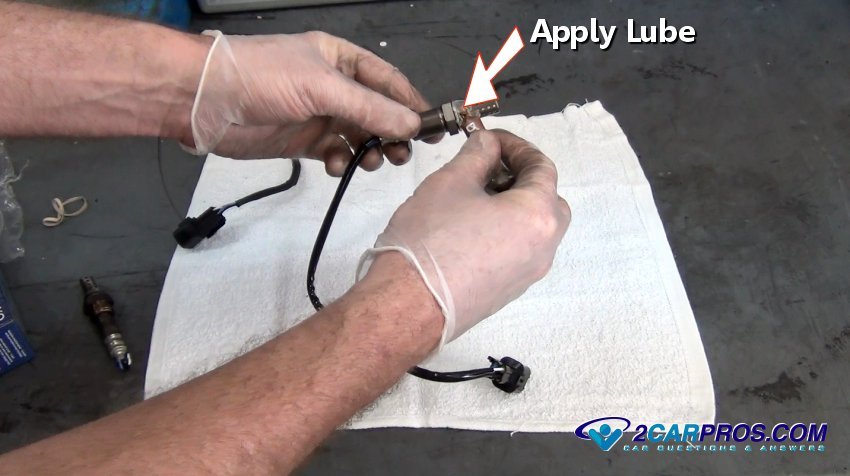
After lubricating the threads and comparing the wiring harness connector the
sensor is ready for installation.

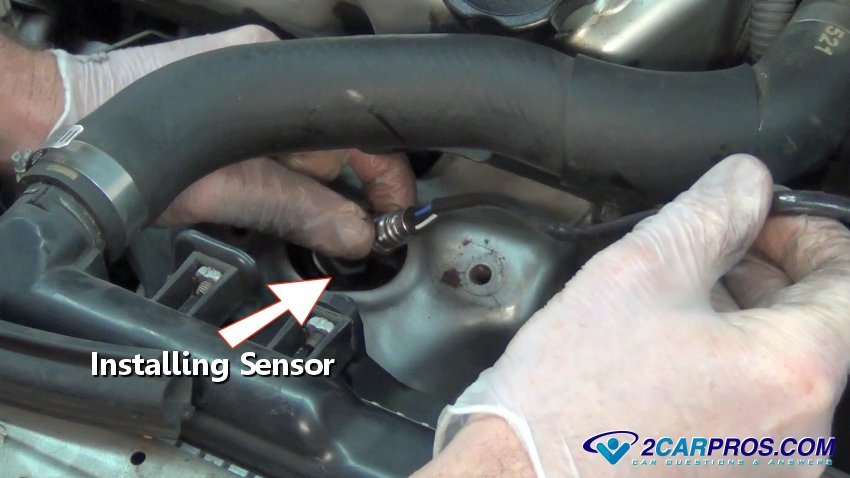
Use a small wire brush to help clean the threaded port to ensure a proper seal
of the new sensor. Gently install the new oxygen sensor by hand while keeping the
wiring and connector free from bends.
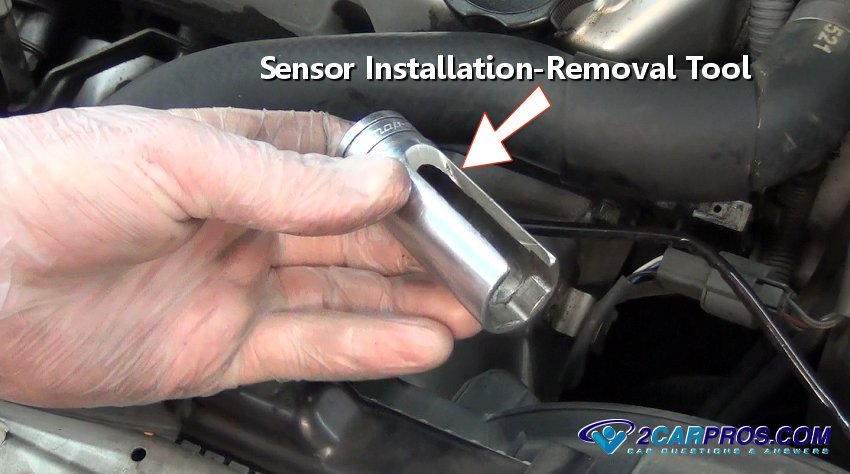
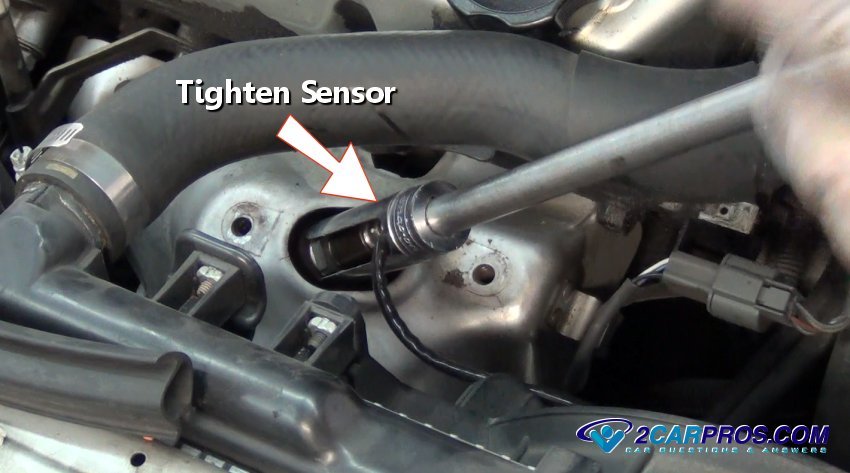
Most sensor installations can be performed by using a normal 7/8 wrench, but
when the sensor is obstructed by a heat shield etc. it helps to have the installation-removal
tool.
Gently tighten the sensor while keeping wiring free from damage, these sensors
need to be fairly snug to avoid leakage.
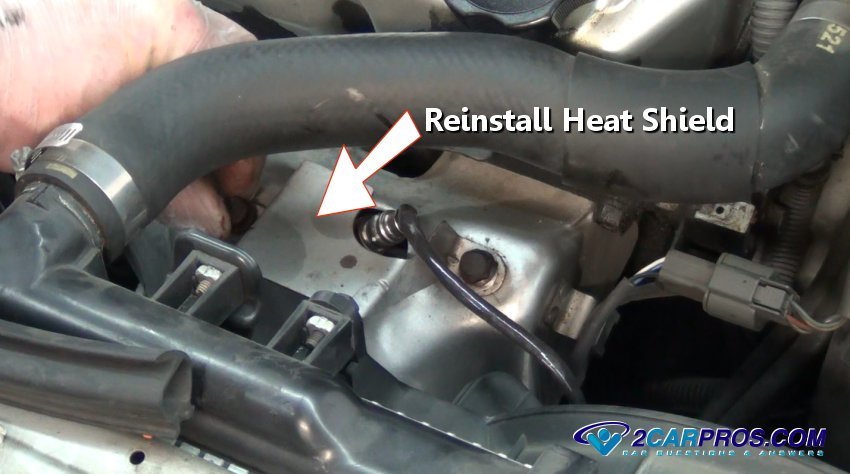
Once the sensor is tightened, reinstall any heat shields or bracing that had
to be removed.
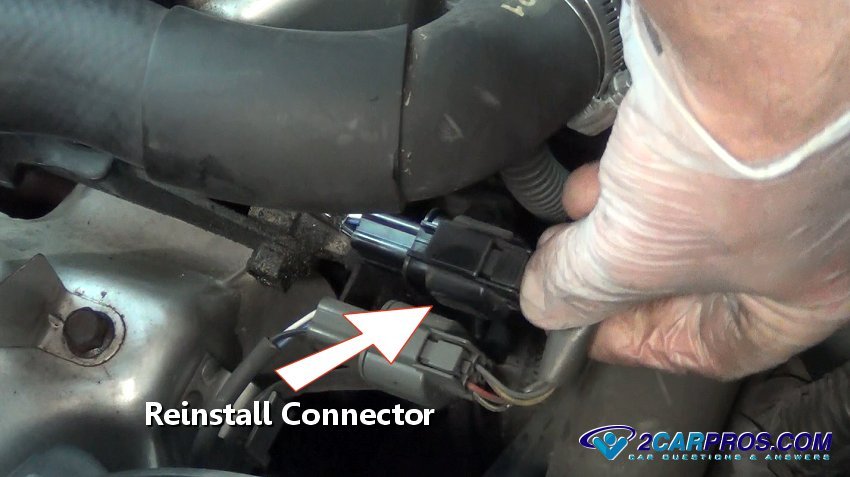
After the heat shield has been reinstalled, mount the connector to it's holder
and reattach the connector back onto the wiring harness. If the car has diagnostic
trouble codes, they will need to be cleared.
Questions?
Our certified technicians are ready to answer oxygen sensor replacement questions for free. We hope you saved money and learned from this guide. We are creating a full set of car repair guides. Please subscribe to our 2CarPros YouTube channel and check back often for new videos which are uploaded regularly.
Article published 2022-03-10

How to Read Codes

Is it Safe to Drive Check Engine Light?

Code Read Retrieval/Clear Honda