Thanks for visiting 2CarPros.
The parking brake release will give you clearance then the drum presses off with two 8mm bolts. I'll post the procedure below.
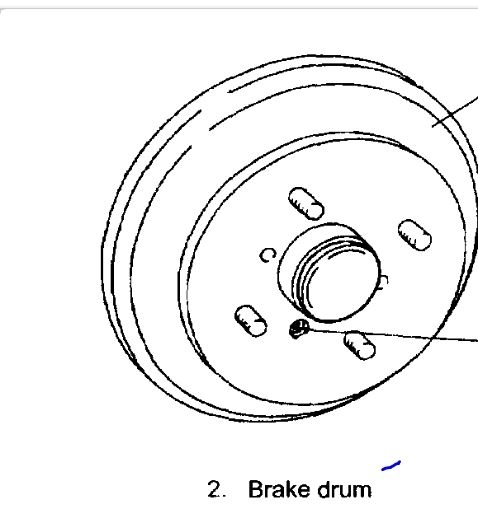
Removal
1. Hoist vehicle and remove wheel.
2. Remove brake drum screw (1).
3. Release parking brake lever.
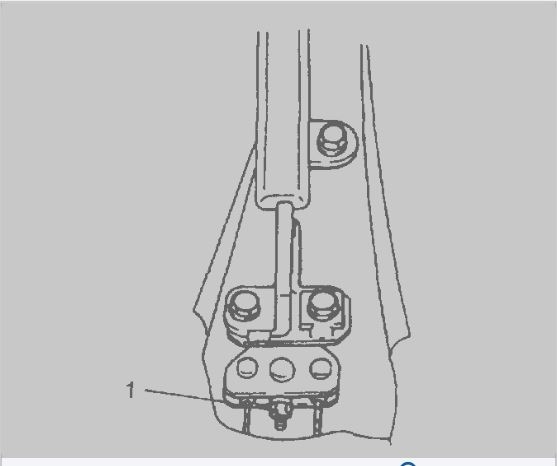
4. Remove console box and loosen parking brake cable locking nut (1).
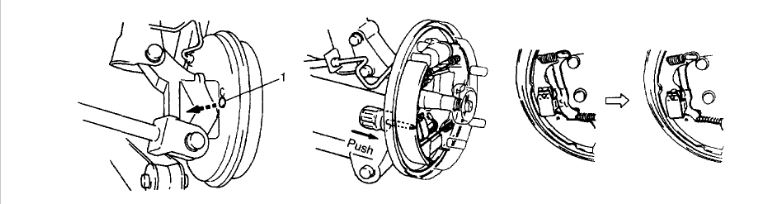
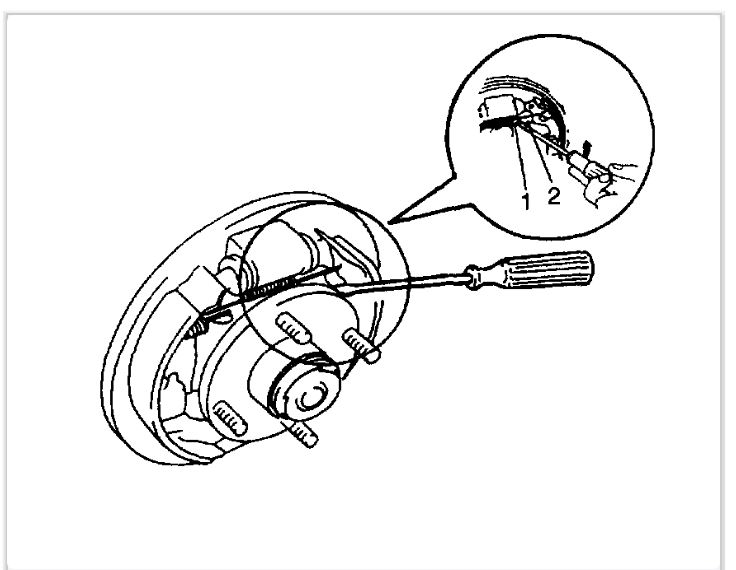
5. Remove back plate plug (1) attached to the back side of brake back plate so as to increase clearance between brake shoe and brake drum.
Insert a screwdriver into plug hole till its tip contacts shoe hold down spring and push screwdriver in the arrow direction.
With this push, hold down spring is pushed up and releases parking shoe lever from hold down spring, resulting in larger clearance.
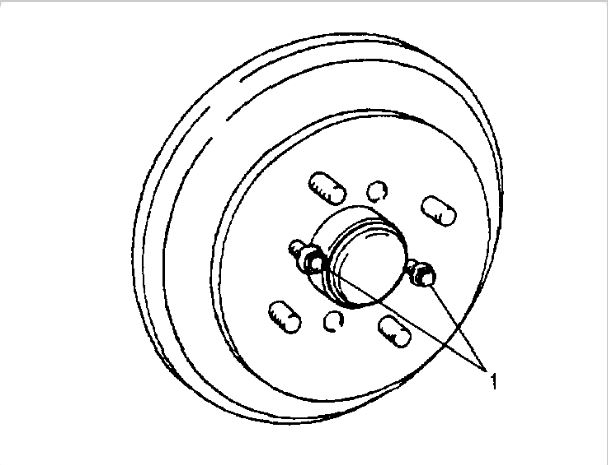
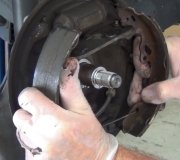
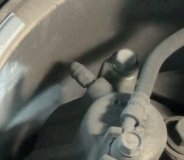
6. Pull brake drum off by using 8 mm bolts (1) (2 pieces).
Installation
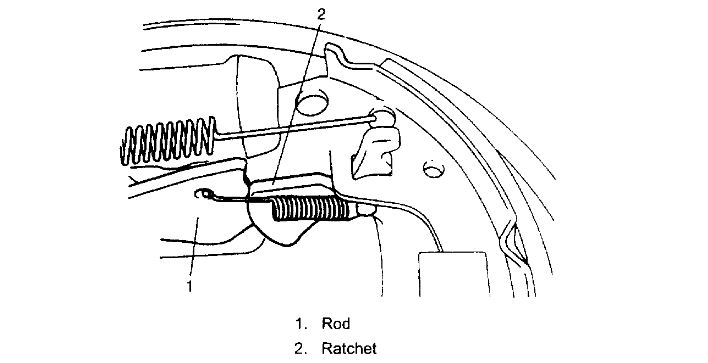
1. Before installing brake drum, to maximize brake shoe-to-drum clearance, put screwdriver between rod (1) and ratchet(2) and push down ratchet as shown in figure.
NOTE: The figure show ratchet position where brake shoe-to-drum clearance is maximum.
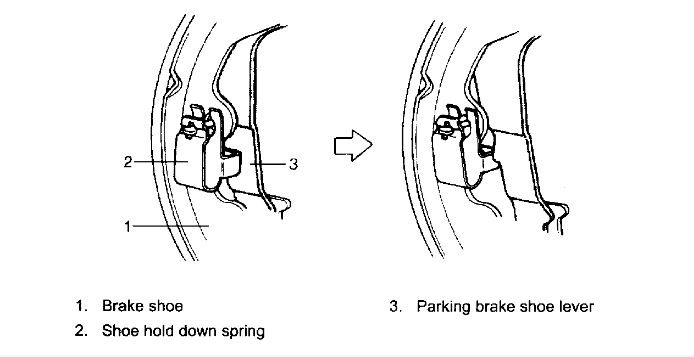
2. Put brake shoe hold down spring back to its original position as shown. (Put shoe hold down spring in place by moving shoe lever so that shoe lever comes to the side of shoe hold down spring.)
3. Install brake drum after making sure that inside of brake drum and brake shoes are free from dirt and oil.
4. Tighten brake drum screws.
5. Upon completion of all jobs, depress brake pedal with about 300 N (30 kg, 66 lbs) load three to five times so as to obtain proper drum-to-shoe clearance. Adjust parking brake cable.
6. Install console box.
7. Install wheel and tighten wheel nuts to specified torque.
Tightening torque
(a): 85 Nm (8.5 kgf-m, 61.5 ft. Lbs.)
8. Check to ensure that brake drum is free from dragging and proper braking is obtained. Then remove vehicle from hoist and perform brake test (foot brake and parking brake).
Inspection
Brake Drum
Inspect brake drum for wear.
If limit value of drum inner diameter is exceeded or uneven or stepped wear is excessive, replace drum.
Drum inner diameter "a"
Standard: 200 mm (7.87 inch)
Limit: 202 mm (7.95 inch)
Cracked, Scored or Grooved Drum
A cracked drum is unsafe for further service and must be replaced. Do not attempt to weld a cracked drum.
Smooth up any slight scores. Heavy or extensive scoring will cause excessive brake lining wear and it will probably be necessary to resurface drum braking surface.
If brake linings are slightly worn and drum is grooved, drum should be polished with fine emery cloth but should not be turned.
NOTE: When drum is removed, visually inspect wheel cylinder for brake fluid leakage. Correct leaky point, if any.
Brake Shoe
Measure thickness of brake shoe (1). Also, check surface of lining for hardening, excessive wear and oil.
Brake shoe thickness (lining + shoe rim)
Standard: 6.1 mm (0.24 inch)
Limit: 2.6 mm (0.10 inch)
CAUTION: Never polish lining with sandpaper. If lining is polished with sandpaper, hard particles of sandpaper will be deposited in lining and may damage drum. When it is required to correct lining, replace it with a new one.
Images (Click to make bigger)
Tuesday, May 21st, 2019 AT 3:03 PM