Radiator heating

Tiny
DANSANTA
  • MEMBER
  • 1998 TOYOTA CAMRY
  • 2.2L
  • 4 CYL
  • 2WD
  • AUTOMATIC
  • 135,000 MILES
Initial story:
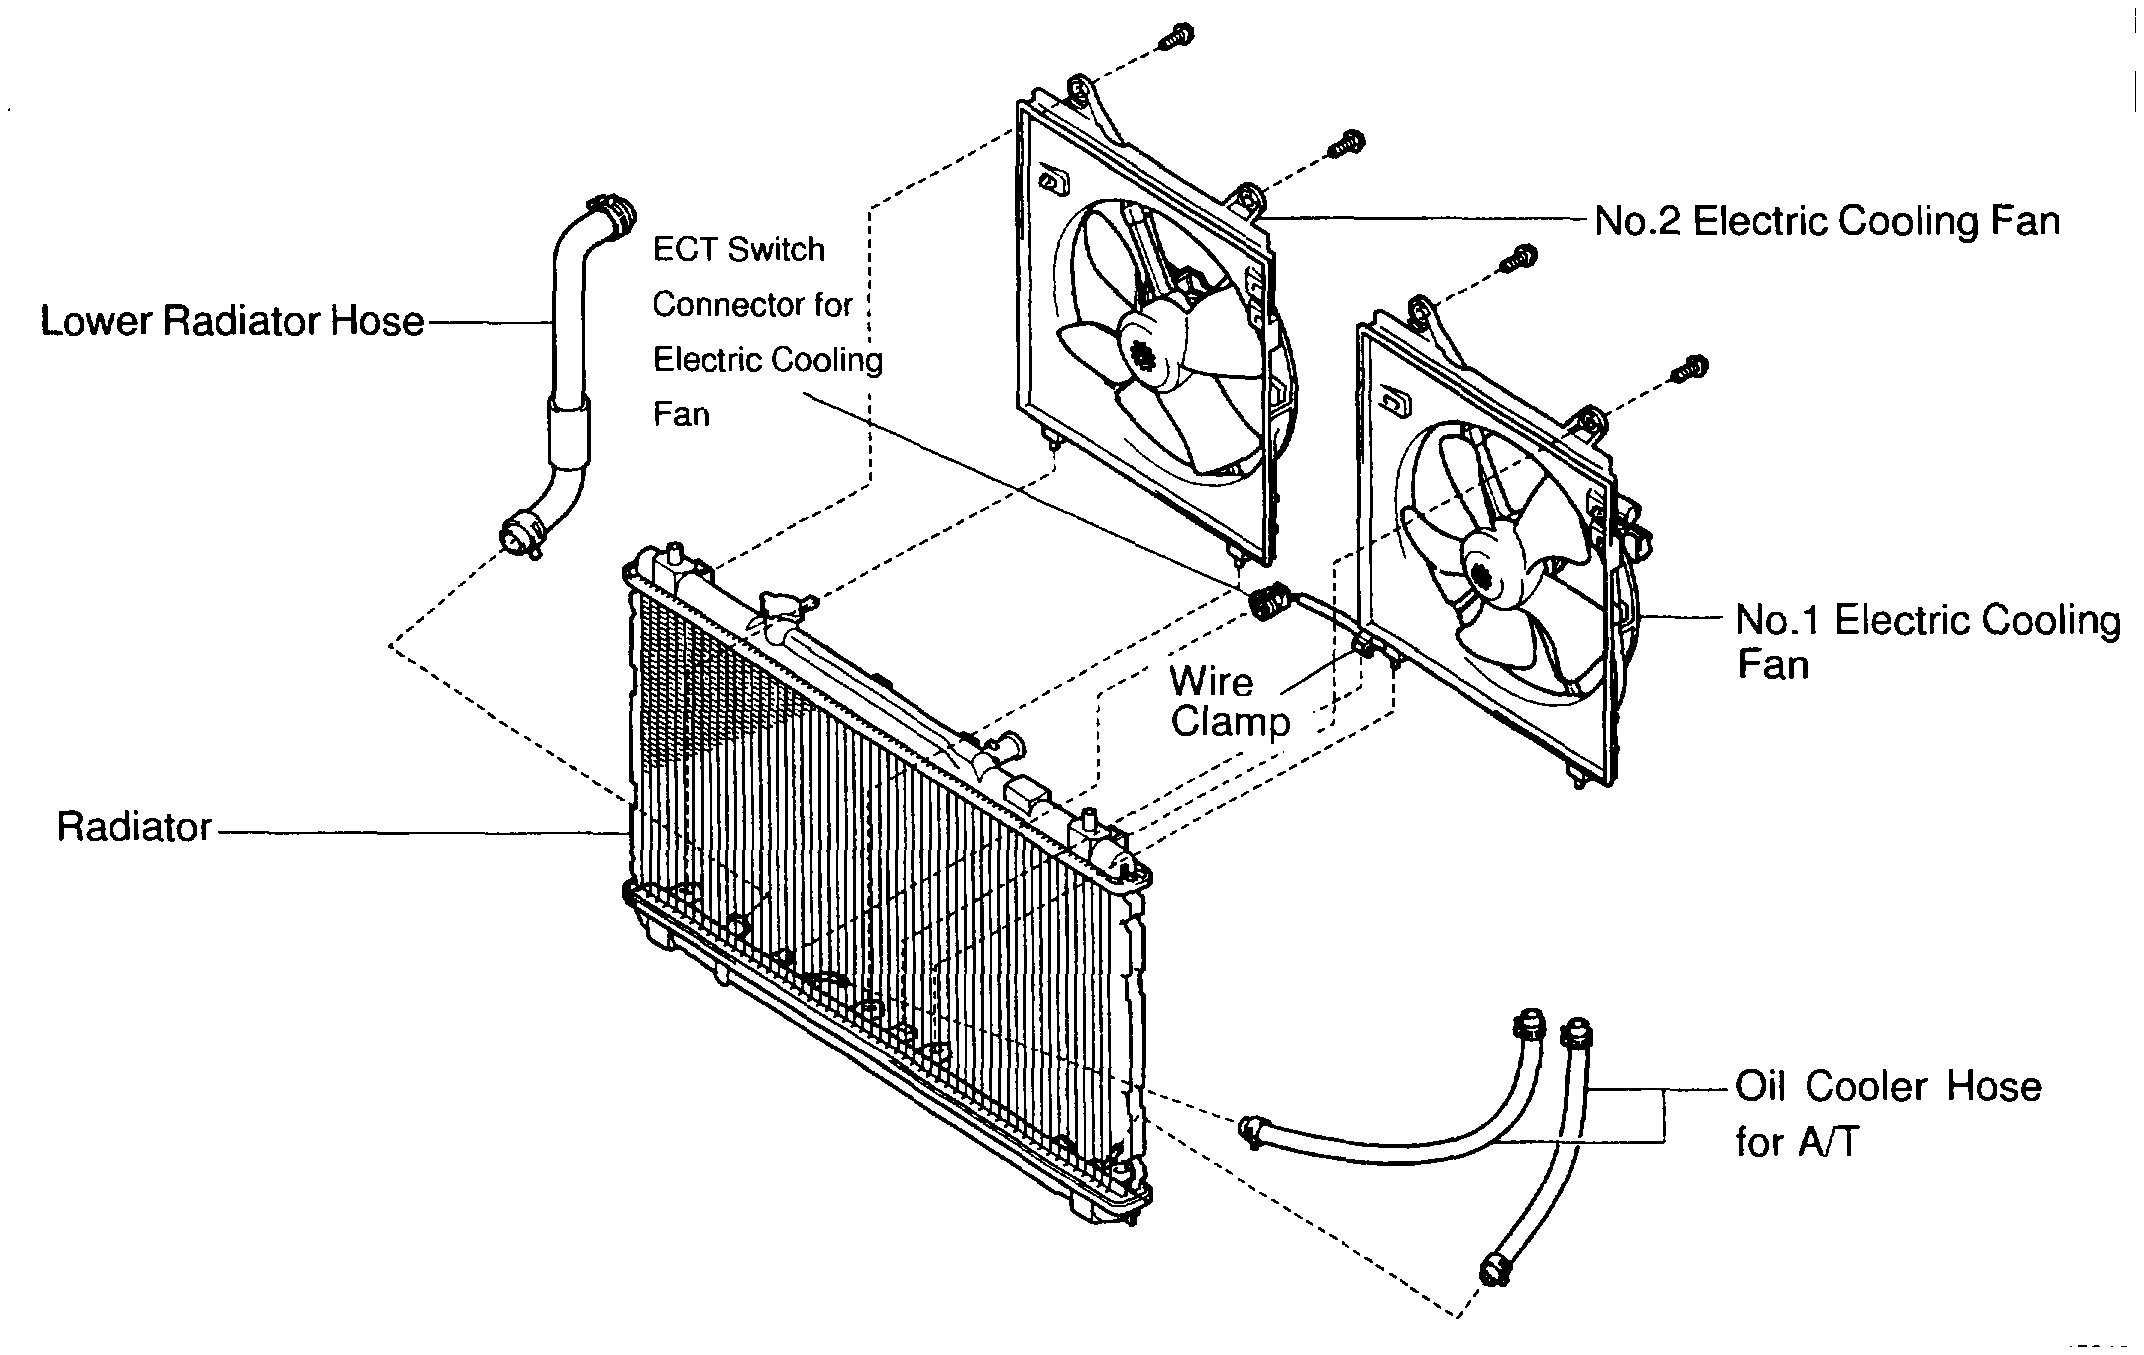
- noticed a fan (driver side) was loose. Motor axle stuck, overheated, melted the interior of the fan until the fan fell off. Fuse was blown. Replaced the fan, replaced the fuse. To test I a) turned on the AC - they both go and b) unplugged the radiator sensor: they both went full speed. Thus relays+fuses and motors and radiator temp sensor work.
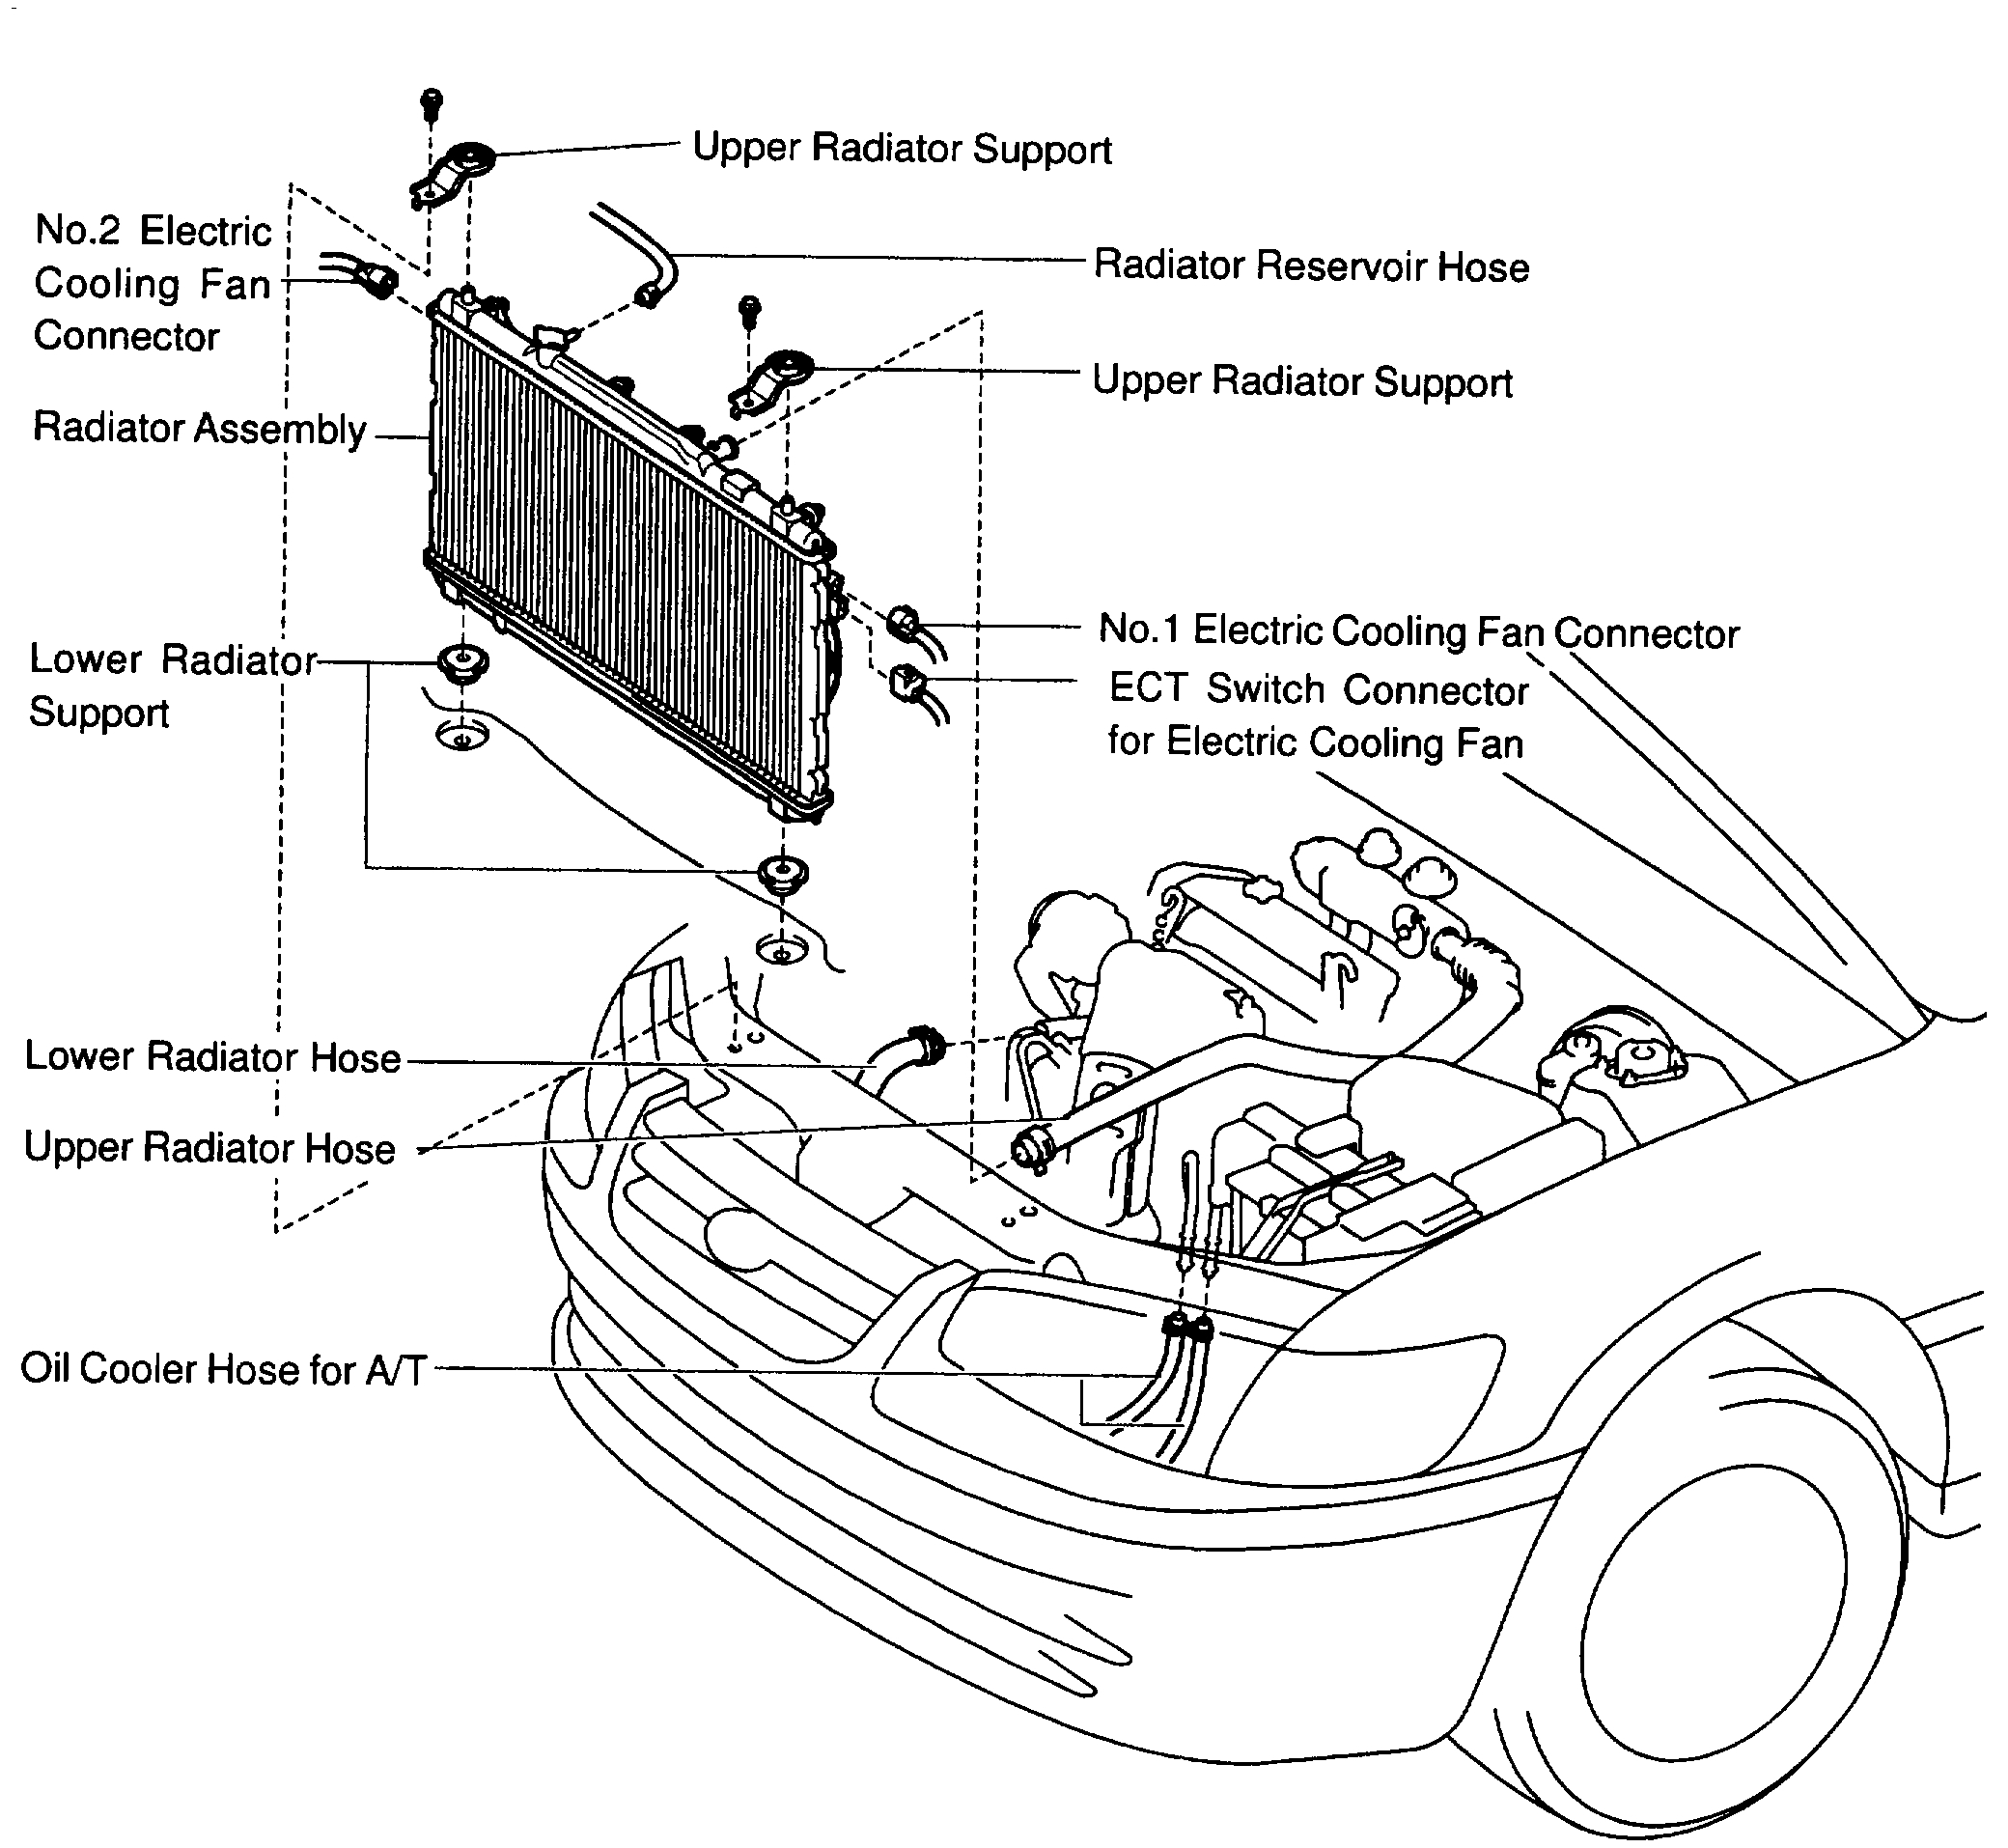
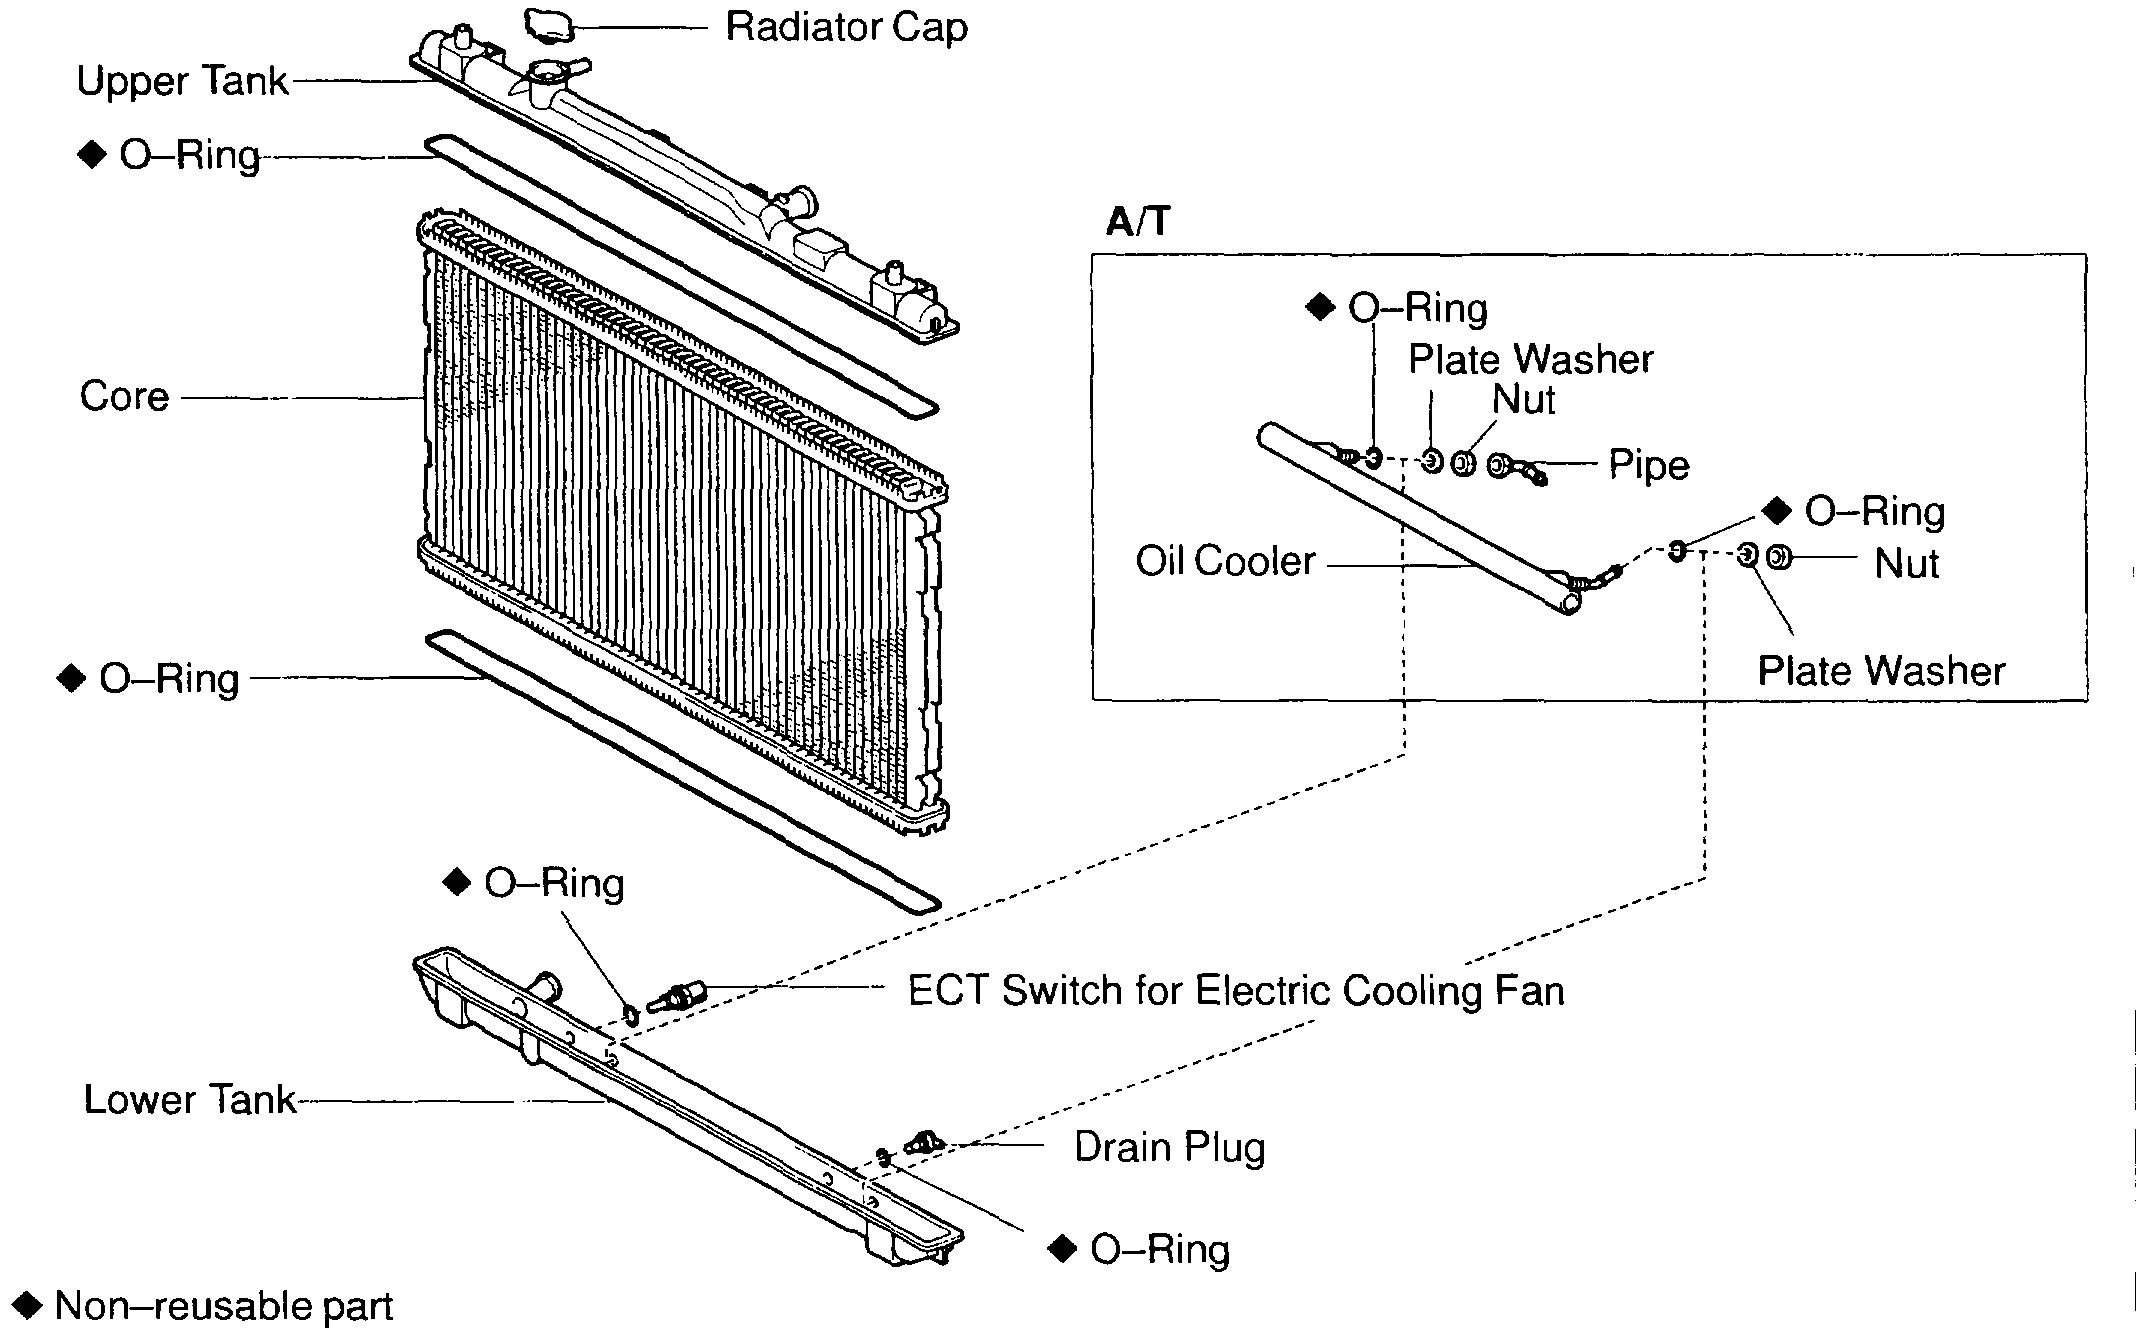
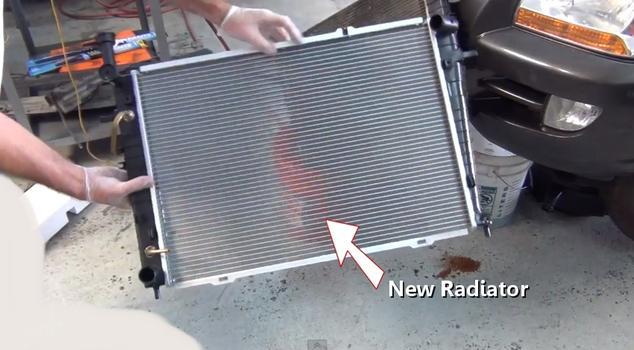
- then noticed a small crack on the radiator plastic top side, horizontally, right along the angle. It was looking as a wear or an old crack. Started steaming but not too much. It seems it has been there because all that pressure and heat (I thought it was because fan was dead). Started to lose just a little bit of coolant through evaporation. Ordered one new from rockauto, changed it. I did not checked for the flow though, it was brand new.

Current situation:
- there is no coolant circulation, there's no fans kicking in. Bottom left hose is cold; upper right hose is hot as hell, plastic part of radiator as well. Half of radiator is cold, the other one is hot. New radiator, I mention this again.
- changed the thermostat, the older one looks alright. No change.
- a friend started the motor and turned on the heat full blast; motor started to heat, temp gauge inside was rising (thus motor temp sensor working fine), went to the red area, fans not kicking in. Upper hose not having at all liquid, full of air. Test: removed the cap, squeeze both hoses, saw how the coolant go up and down.
- I never saw temperature gauge rising before the heat test above. If I run the car for thirty minutes to an hour (I did not drive it more) I never see the temperature gauge going up, it is always in the middle. Motor is not heating up. But the radiator does. A few days ago I noticed some liquid in the upper hose. Still hot, the other one still cold. Really cold.

Best short description:
- fans and coolant circulation not kicking in when they should, though everything looks okay; only thing that I did not checked is the water pump.

Beliefs:
- I think the fan melting it's not related.
- There is no leaks of coolant anywhere (near the water pump, for example), so I feel the pump is okay - replacing it will require taking off the timing belt.
- I am driving the car around; it is just a matter of time until this cheap after-market radiator will crack at the plastic part because of the pressure and heat.

Suggestions?
Sunday, October 28th, 2018 AT 2:03 PM

1 Reply

Tiny
JACOBANDNICKOLAS
  • MECHANIC
  • 108,300 POSTS
Hi and thanks for using 2CarPros. Com.

When you say there is no coolant in the upper hose, it sounds like the system is low. Can you explain? Also, was the thermostat replaced?

Also, here are the directions specific to your vehicle for replacing the radiator. Read through them to see if there is anything you may have missed. All attached pictures correlate with these directions.

Removal and Installation
Vehicle Engine, Cooling and Exhaust Cooling System Radiator Service and Repair Procedures Removal and Installation
REMOVAL AND INSTALLATION

REMOVAL
1. Drain engine coolant.
2. Remove radiator assembly.
A. Disconnect these connectors and hoses:
- No.1electric cooling fan connector
- No.2 electric cooling fan connector
- ECT switch connector for electric cooling fan
- Upper radiator hose from radiator
- Lower radiator hose from water inlet
- Radiator reservoir hose from radiator
- A/T: 2 oil cooler hoses from oil cooler pipes

b. Remove the 2 bolts and 2 upper radiator supports.
C. Remove the radiator assembly.
D. Remove the 2 lower radiator supports.
E. Remove these hoses from the radiator:
- Lower radiator hose
- A/T: 2 oil cooler hoses

3. Remove No.1 electric cooling fan from radiator.
A. Disconnect the Engine Coolant Temperature (ECT) switch connector for the cooling fan.
B. Disconnect the ECT switch wire clamp for the cooling fan, from the bracket of the radiator.
C. Remove the 2 bolts and cooling fan.
4. Remove No.2 electric cooling fan from radiator.
Remove the 2 bolts and cooling fan.

INSTALLATION
1. Install No.1 electric cooling fan to radiator.
A. Attach the lower side of the cooling fan to the bracket of the radiator.
B. Install the cooling fan with the 2 bolts.
C. Connect the Engine Coolant Temperature (ECT) switch connector for the cooling fan.
D. Install the ECT switch wire clamp for the cooling fan to the bracket of the radiator.

Torque: 5.0 Nm (44 inch lbs.)

2. Install No.2 electric cooling fan to radiator.
A. Attach the lower side of the cooling fan to the bracket of the radiator.
B. Install the cooling fan with the 2 bolts.

Torque: 5.0 Nm (44 inch lbs.)

3. Install radiator assembly.
A. Install these hoses:
- Lower radiator hose
- A/T: 2 oil cooler hoses

b. Install the 2 lower radiator supports to the radiator.
C. Attach the 2 lower radiator supports on the radiator to the body brackets.

D. Install the 2 upper radiator supports with the 2 bolts.

Torque: 12.8 Nm (9 ft. Lbs.)

e. Connect these hoses and connectors:
- Upper radiator hose to radiator
- Lower radiator hose to water inlet
- Radiator reservoir hose to radiator
- A/T: 2 oil cooler hoses to oil cooler pipes
- No.1 electric cooling fan connector
- No.2 electric cooling fan connector
- ECT switch connector for electric cooling fan

4. Fill with engine coolant.
5. Start engine and check for coolant leaks

_________________________

Let me know if any of this helps as well as the clarification regarding upper hose.

Take care,
Joe
Was this
answer
helpful?
Yes
No
Monday, October 29th, 2018 AT 5:47 PM

Please login or register to post a reply.

Sponsored links