Welcome to 2CarPros.
Here is everything I have. Let me know if it helps. The attached pics correlate with the directions.
________________________
Removal
1. Disconnect the battery ground cable.
2. Raise the vehicle.
3. Remove the engine splash shields.
pic 1
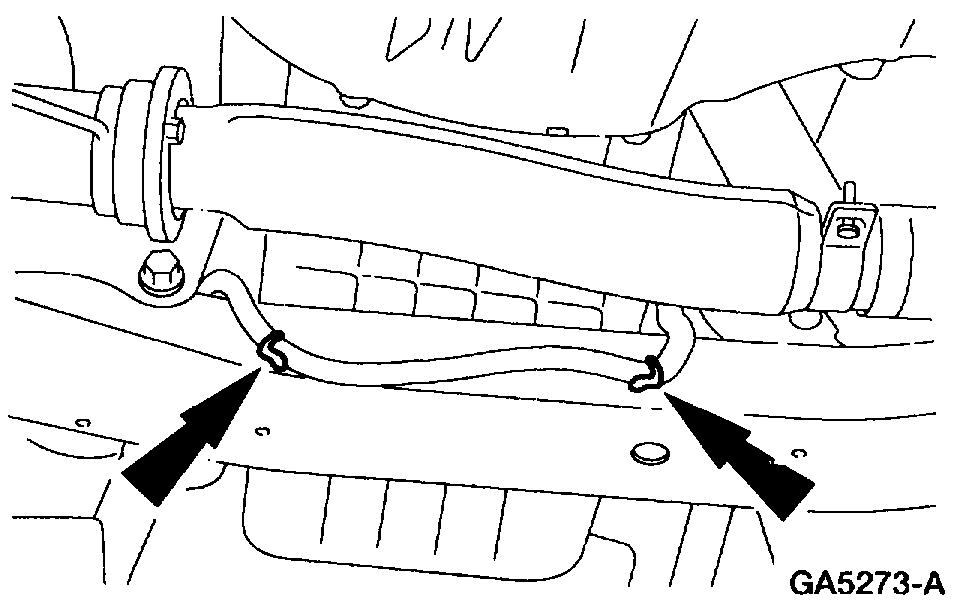
4. Unclip the Heated Oxygen Sensor (HO2S) wire harness.
pic 2
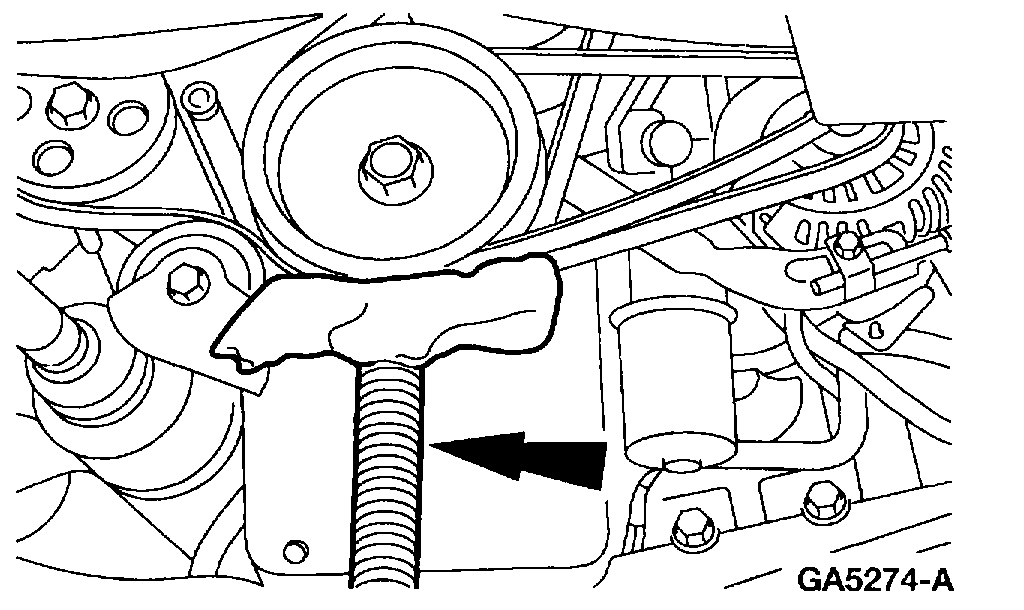
5. CAUTION: Cover the screw-type jack with a shop rag to prevent damage to the crankshaft pulley.
Position a screw-type jack under the crankshaft pulley.
pic 3
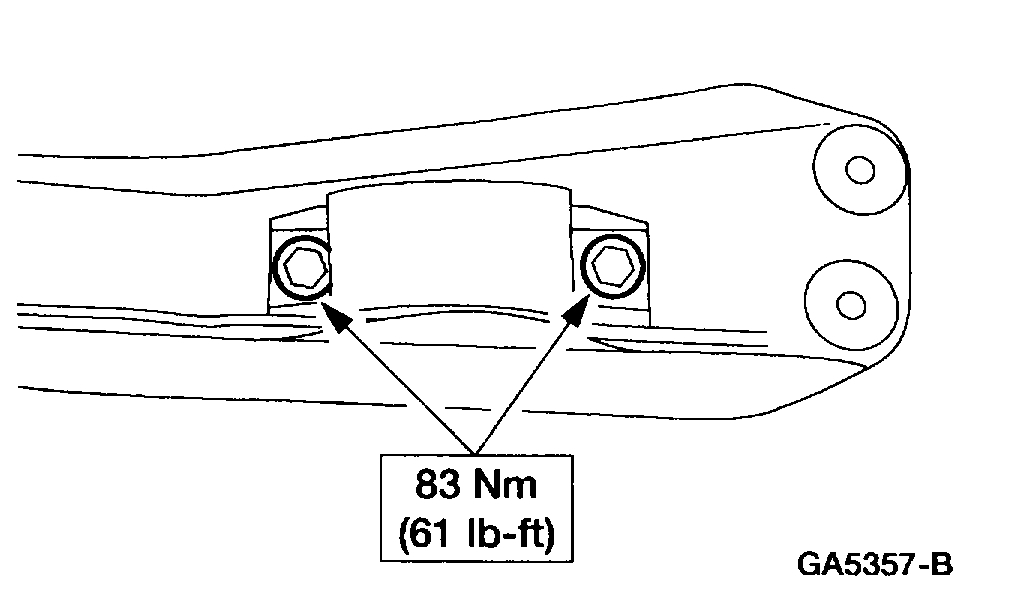
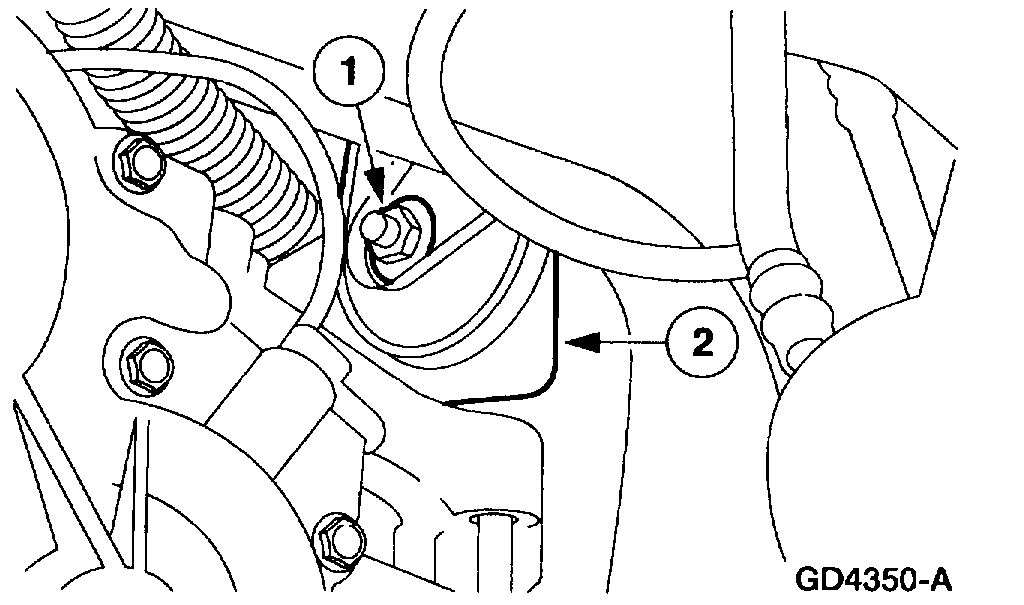
6. Remove the RH engine support insulator through bolt and nut.
pic 4
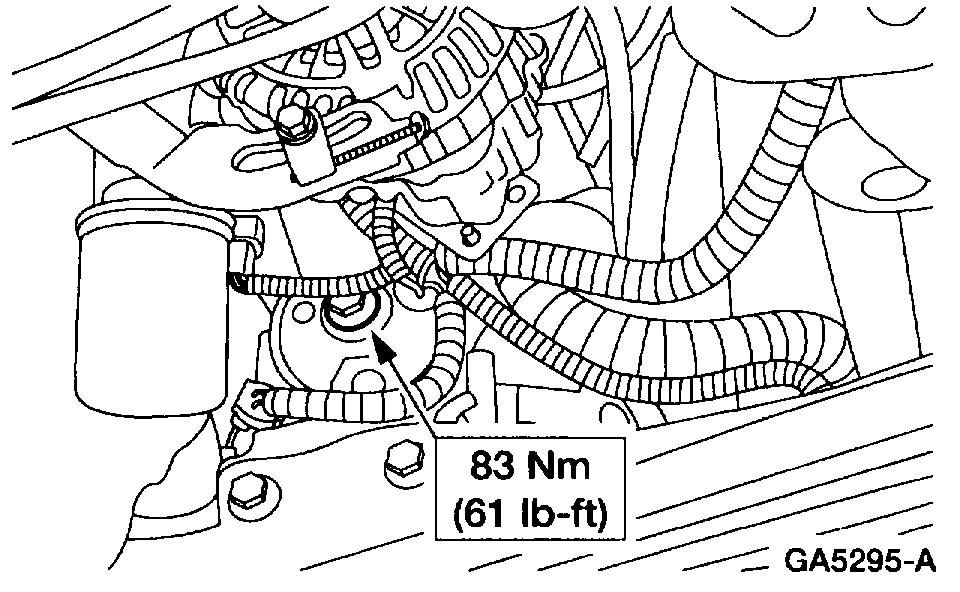
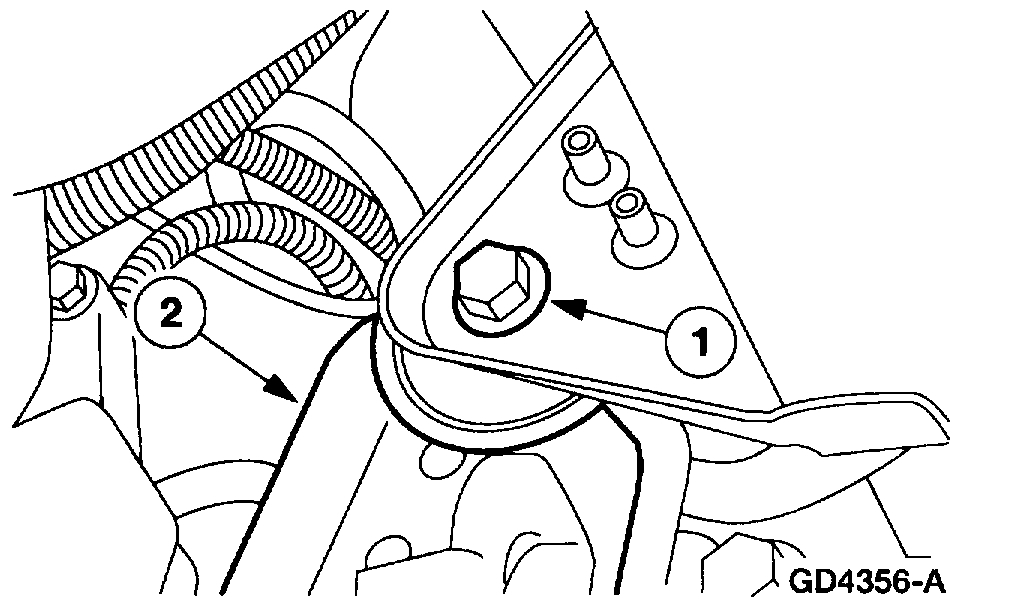
7. Remove the LH engine support insulator through bolt.
pic 5
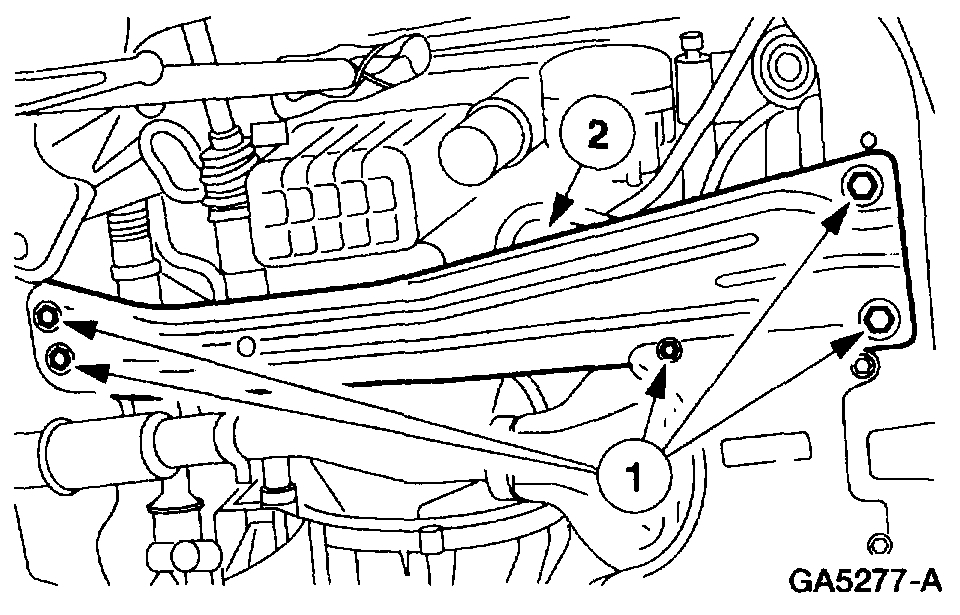
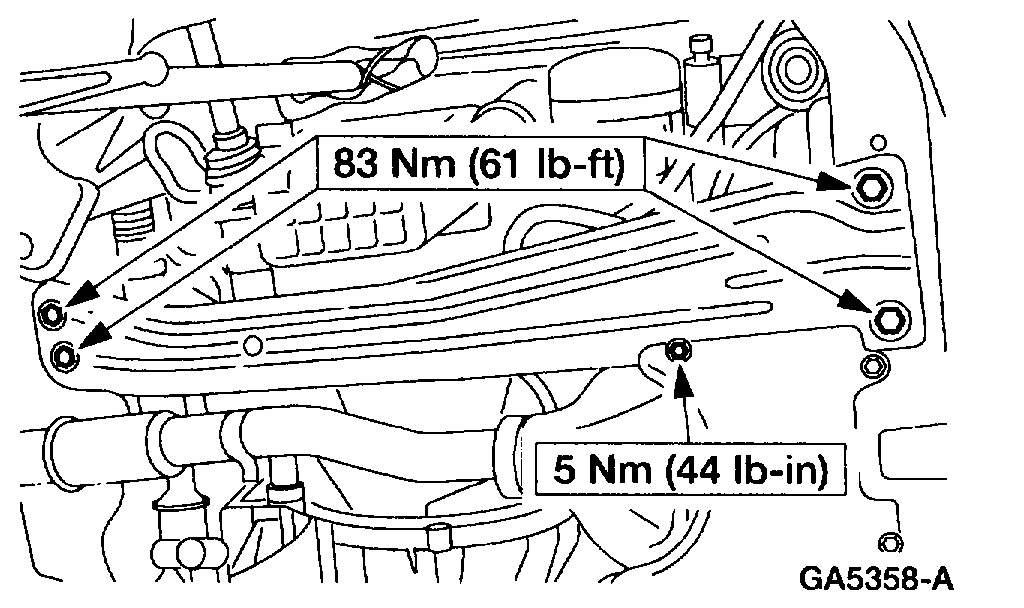
8. Remove the transverse member.
1 Remove the bolts.
2 Remove the transverse member.
pic 6
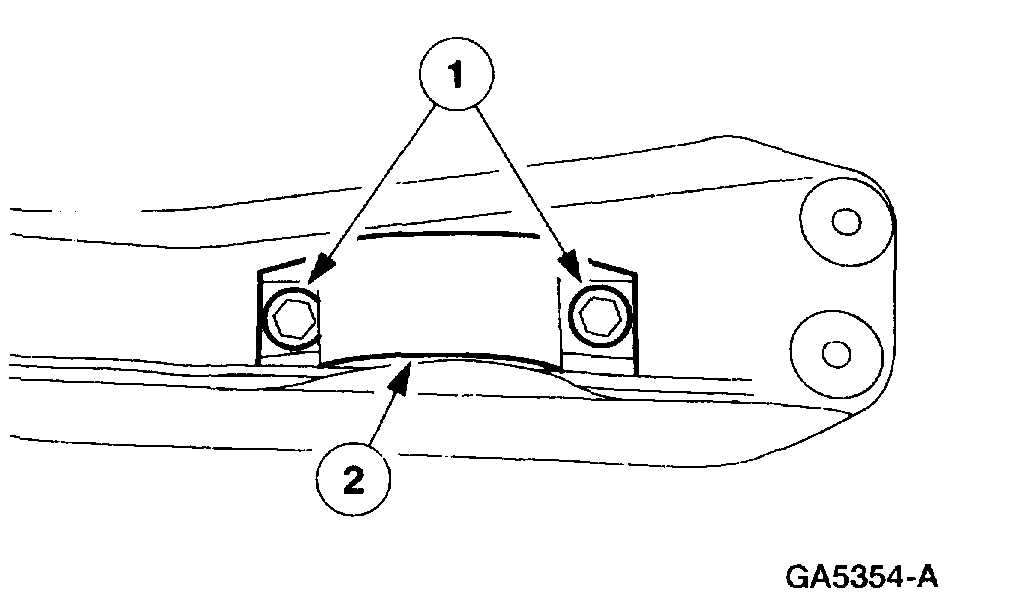
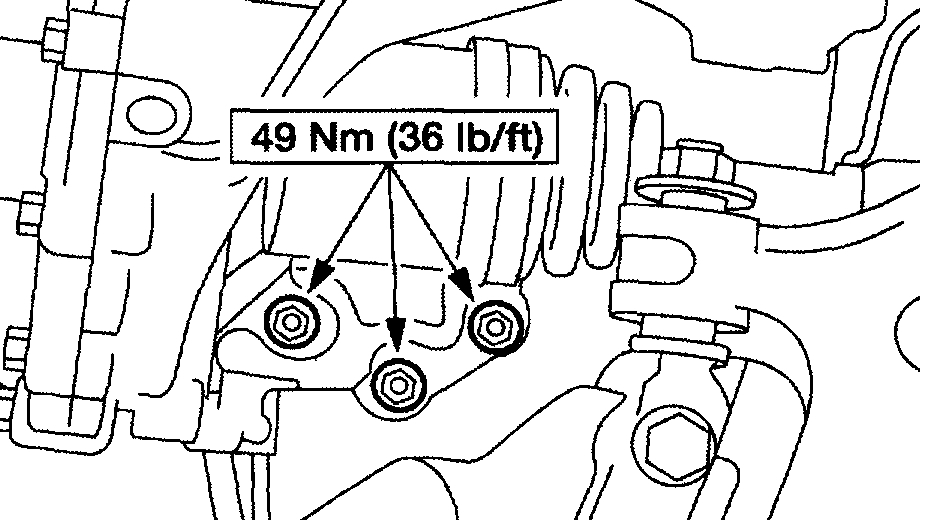
9. If removing the RH engine support insulator, remove the RH engine support insulator.
1 Remove the bolts.
2 Remove the RH engine support insulator.
pic7
10. If removing the LH engine support insulator, remove the LH engine support insulator.
1 Remove the nuts and bolts.
2 Remove the LH engine support insulator.
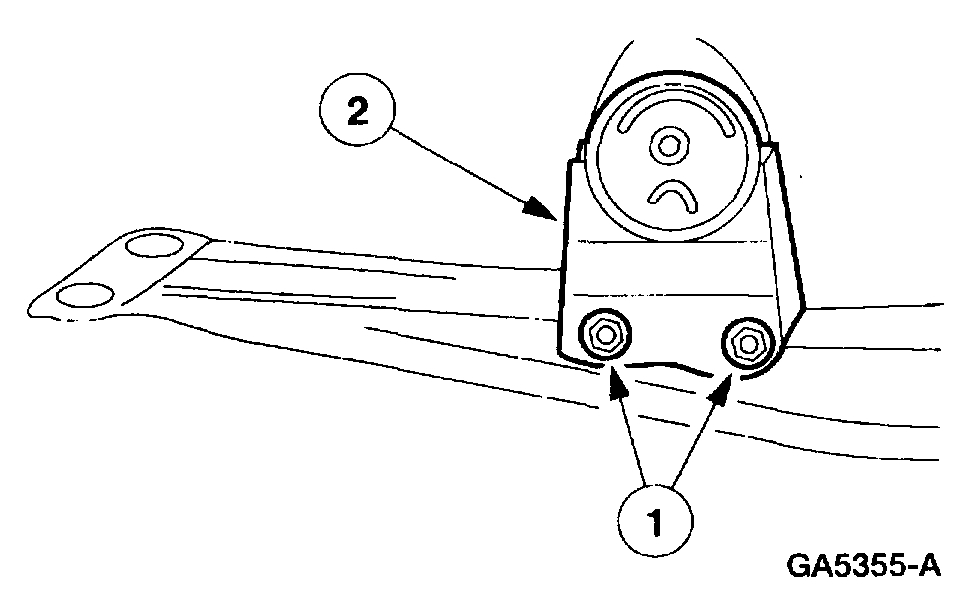
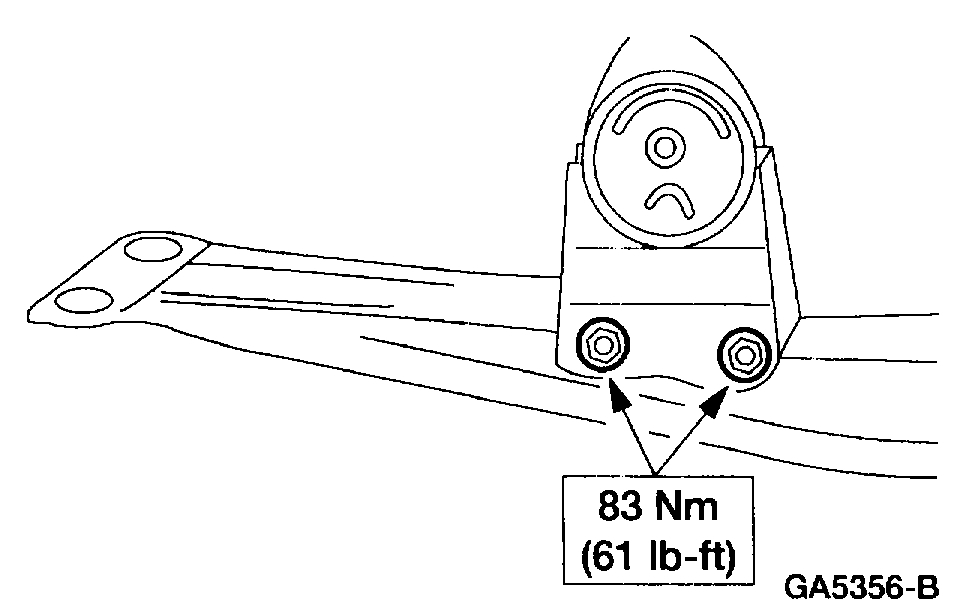
Installation
pic 8
pic 9
pic 10
pic 11
pic 12
1. To install, reverse the removal procedure.
_______________________________________
Rear trans mount
REAR
Removal
1. Raise and support the vehicle.
2. Support the transaxle using a suitable jack.
pic 13
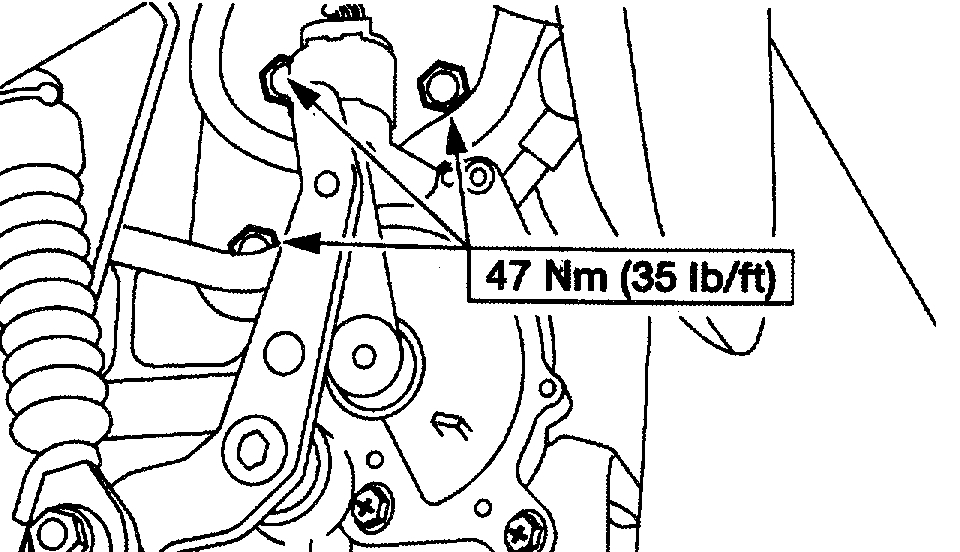
3. Remove the lower rear transaxle support insulator nuts.
pic 14
4. Note: The transaxle may have to be lowered to gain clearance to remove the support insulator.
Remove the lower rear transaxle support insulator.
1. Remove the through bolt.
2. Remove the insulator.
Installation
pic 15
1. Note: The transaxle may have to be lowered to gain clearance to install the insulator.
Install the lower rear transaxle support insulator.
1. Install the insulator.
2. Install the through bolt.
pic 16
2. Install the lower rear transaxle support insulator mount nuts.
3. Remove the jack.
_________________________________
Front Trans Mount
FRONT
Removal
1. Raise and support the vehicle.
2. Remove the engine splash shield.
3. Support the transaxle using a suitable jack.
pic 17
4. Remove the transaxle support insulator bolts.
pic18
5. Note: The transaxle may need to be slightly lowered to remove the support insulator.
Remove the front transaxle support insulator.
1. Remove the through bolt.
2. Remove the support insulator.
Installation
pic 19
1. Note: The transaxle may need to be slightly lowered to install the support insulator.
Install the support insulator.
1. Install the support insulator.
2. Install the through bolt.
pic 20
2. Install the front transaxle support insulator bolts.
3. Remove the jack.
4. Install the engine splash shield.
_______________________________
Let me know if this helps.
Take care,
Joe
Images (Click to enlarge)
Jun 20, 2019 at 6:59 PM