The C121D code: The Anti-Lock Brake System (ABS) Module monitors the Brake Pressure Sensor. Is the brake fluid full? This sensor is inside the ABS module so to fix the issue is to replace the ABS module. here is the location and how to do the job, so you know what you are in for during this repair.
REMOVAL
CAUTION:
When removing ABM from HCU, be sure to completely separate the two components (approximately 38 mm (1.5 in.) before removing ABM. Otherwise, damage to the pressure sensor or Pump Motor connection may result requiring HCU replacement. Do not to touch the sensor terminals on the HCU side or the contact pads on the ABM side as this may result in contamination and issues in the future.
Remove the negative battery cable from the battery.
Pull up on the ABM harness connector release and remove connector.
Remove the ABM mounting bolts .
Remove the pump connector from the ABM.
Remove the ABM from the HCU .
INSTALLATION
CAUTION:
When removing ABM from HCU, be sure to completely separate the two components (approximately 38 mm (1.5 in.) before removing ABM. Otherwise, damage to the pressure sensor or Pump Motor connection may result requiring HCU replacement. Do not to touch the sensor terminals on the HCU side or the contact pads on the ABM side as this may result in contamination and issues in the future.
NOTE:
If the ABM is being replaced with a new ABM must be reprogrammed with the use of a scan tool.
Install ABM to the HCU.
Install the pump connector to the ABM.
Install mounting bolts. Tighten to 2 N·m (16 in. lbs.).
Install the wiring harness connector to the ABM and push down on the release to secure the connector.
Install negative battery cable to the battery.
Connect the scan tool and initialize the ABM by performing the ABS Verification Test (Refer to 28 - DTC-Based Diagnostics/MODULE, Antilock Brake (ABS) - Standard Procedure).
REPLACING THE ANTILOCK BRAKE MODULE
NOTE: It may be necessary to call STAR to order a new ABS module.
NOTE: Failure to properly program the ABS module will result in an illuminated or blinking ABS indicator.
Turn the ignition off.
Replace the Anti-lock Brake Module in accordance with the Service Information.
With the scan tool, perform the module configuration procedures as necessary in accordance with the Service Information.
Road test the vehicle above 40 m.p.h. for at least two minutes.
With the scan tool, select View DTCs in the Anti-Lock Brake Module.
Are there any DTCs present?
Yes
Perform the appropriate diagnostic procedure(s).
No
Test Complete
Perform ABS VERIFICATION TEST. (Refer to 28 - DTC-Based Diagnostics/MODULE, Antilock Brake (ABS) - Standard Procedure)
ABS VERIFICATION TEST
ABS VERIFICATION TEST
WARNING:
To avoid possible serious or fatal injury, check brake capability is available before road testing.
NOTE: If the Anti-Lock Brake System (ABS) Module, Steering Angle Sensor (SAS), or the Dynamics Sensor was replaced, it must be initialized using the scan tool. If not initialized, the ABS indicator will flash continuously with no DTCs. To initialize the ABS Module and clear offsets have wheels pointing straight ahead and follow the directions on the scan tool. The drive test requires a 90° turn. If the Dynamics Sensor was replaced, test drive the vehicle by turning the vehicle left or right in a curving manner at a velocity between 10 and 25 km/h (6 and 15 mph).
Turn the ignition off.
Connect all previously disconnected components and connectors.
Verify all accessories are turned off and the battery is fully charged.
Verify that the ignition is on, with the scan tool, erase all Diagnostic Trouble Codes (DTCs) from All modules. Start the engine and allow it to run for two minutes and fully operate the system that was indicating the failure.
Turn the ignition off and wait five seconds. Turn the ignition on and using the scan tool, read DTCs from all modules.
If any Diagnostic Trouble Codes are present, (Refer to 28 - DTC-Based Diagnostics/MODULE, Antilock Brake (ABS) - Diagnosis and Testing) and perform the diagnostic procedure.
NOTE: For Sensor Signal and Pump Motor faults, the ABS Module must sense all 4 wheels at 12 km/h (7.5 mph) before it will extinguish the ABS indicator.
If there are no DTCs present after turning ignition on, road test the vehicle for at least five minutes. Perform several anti-lock braking stops.
Again, with the scan tool read DTCs. If any DTCs are present, (Refer to 28 - DTC-Based Diagnostics/MODULE, Antilock Brake (ABS) - Diagnosis and Testing) for the diagnostic procedure and troubleshoot the new or recurring DTC.
If there are no Diagnostic Trouble Codes (DTCs) present, and the customer's concern can no longer be duplicated, the repair is complete.
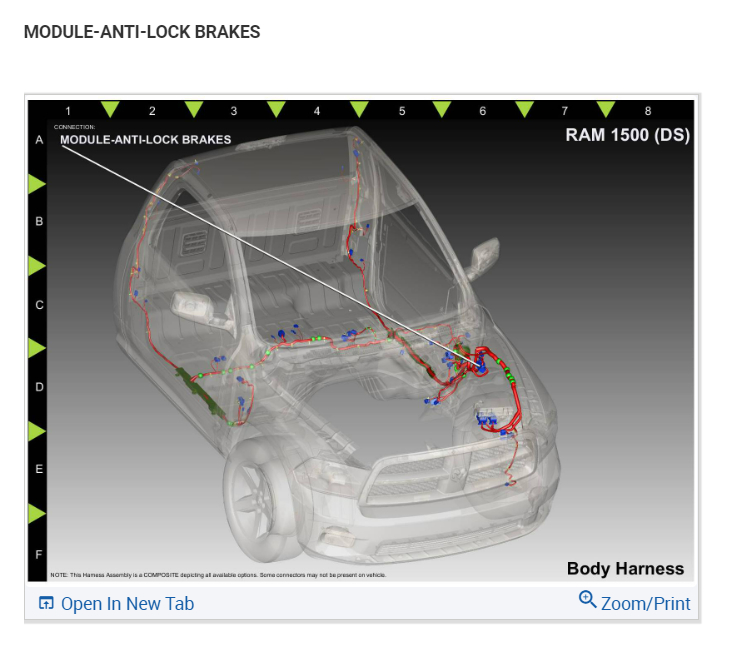
Check out the images (below). Please let us know what happens.
Sep 14, 2022 at 12:10 PM