Procedure
Instrument Panel
1. Remove the driver seat.
2. Remove the floor console. For additional information, refer to Console - Floor See: Console > Removal and Replacement > Console - Floor.
3. Remove the steering wheel.
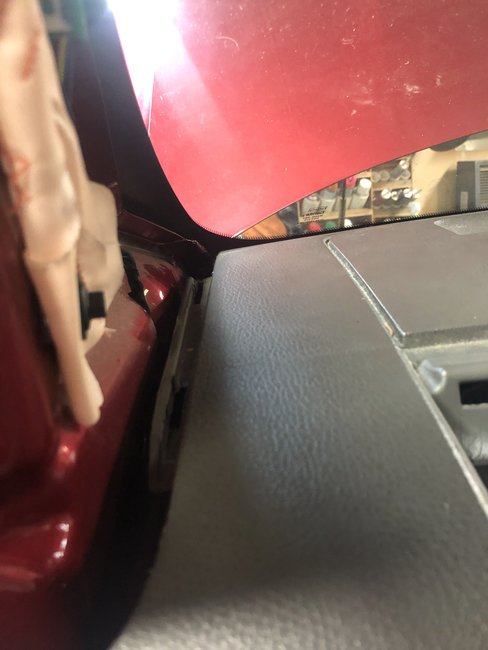
4. Remove the weatherstripping from the front door openings near the instrument panel.
5. Remove the LH and RH instrument panel side trim panels.
6. Remove the LH and RH A-pillar trim panels.
7. Remove the LH and RH cowl panels.
8. Remove the steering column opening trim panel.
- Remove the 2 steering column opening trim panel screws.
- Disengage the steering column opening trim panel from the retaining clips.
- Disconnect the electrical connector and hose, if equipped.
imageOpen In New TabZoom/Print
9. Remove the bolt and the hood opening handle.
- Position the handle aside.
imageOpen In New TabZoom/Print
10. Disconnect the LH bulkhead electrical connector from under the steering column.
imageOpen In New TabZoom/Print
11. Disconnect the RH bulkhead electrical connector from under the steering column.
imageOpen In New TabZoom/Print
12. Disconnect the 2 electrical connectors from the left cowl panel side.
imageOpen In New TabZoom/Print
13. Disconnect the electrical connectors and the antenna lead-in cable from the right cowl panel side.
- Remove the harness from the retainers.
imageOpen In New TabZoom/Print
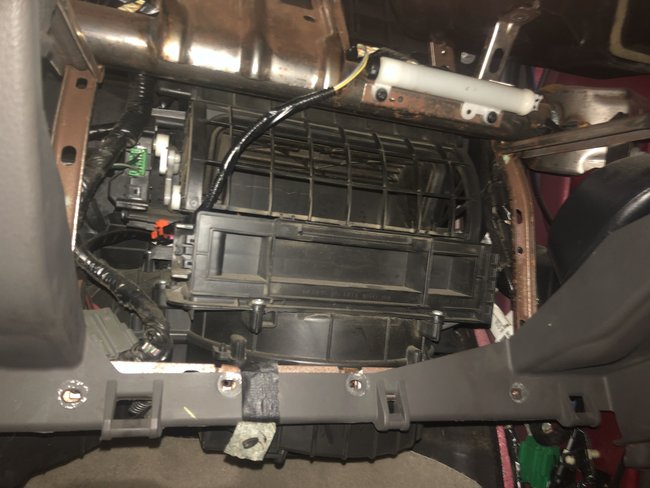
14. Disconnect the 2 A/C electrical connectors from inside the glove compartment.
imageOpen In New TabZoom/Print
15. Disconnect the selector lever cable from the ball stud on the selector lever.
imageOpen In New TabZoom/Print
16. Remove the selector lever cable from the retaining clips.
imageOpen In New TabZoom/Print
17. Remove the 4 screws (2 each side) from the inner floor console support.
image
18. Remove the screws from the front inner floor console support-to-instrument panel.
imageOpen In New TabZoom/Print
19. Disconnect the electrical connectors from the front inner floor console.
imageOpen In New TabZoom/Print
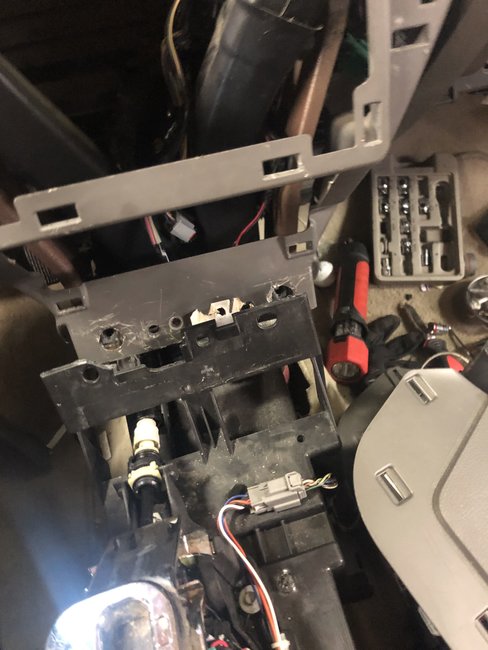
20. Remove the inner floor console support.
21. Disconnect the small Restraints Control Module (RCM) electrical connector.
imageOpen In New TabZoom/Print
22. Remove the LH pushpin retainer and position the carpet aside.
imageOpen In New TabZoom/Print
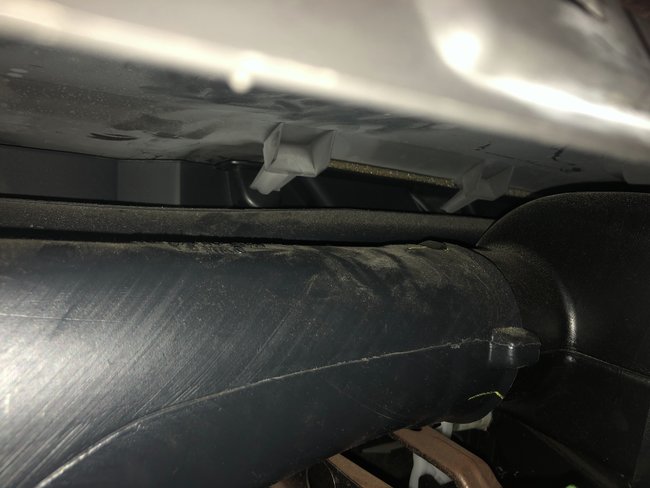
23. Remove the LH pushpin retainer from the instrument panel-to-A/C duct.
imageOpen In New TabZoom/Print
24. Remove the 2 LH instrument panel-to-floor bolts.
- To install, tighten to 22 Nm (16 lb-ft).
25. Remove the RH pushpin retainer and position the carpet aside.
imageOpen In New TabZoom/Print
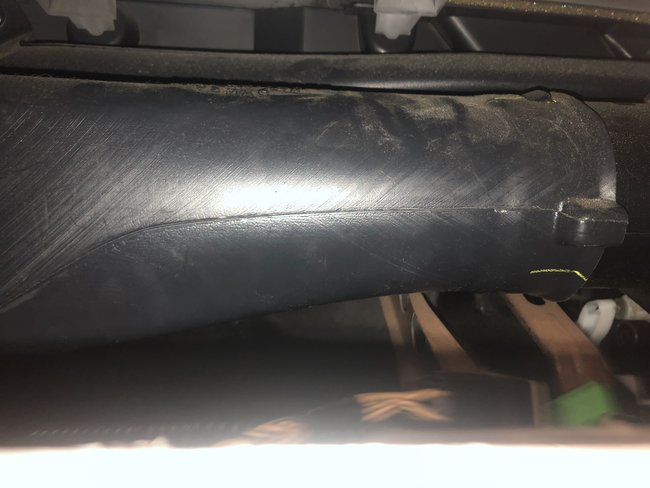
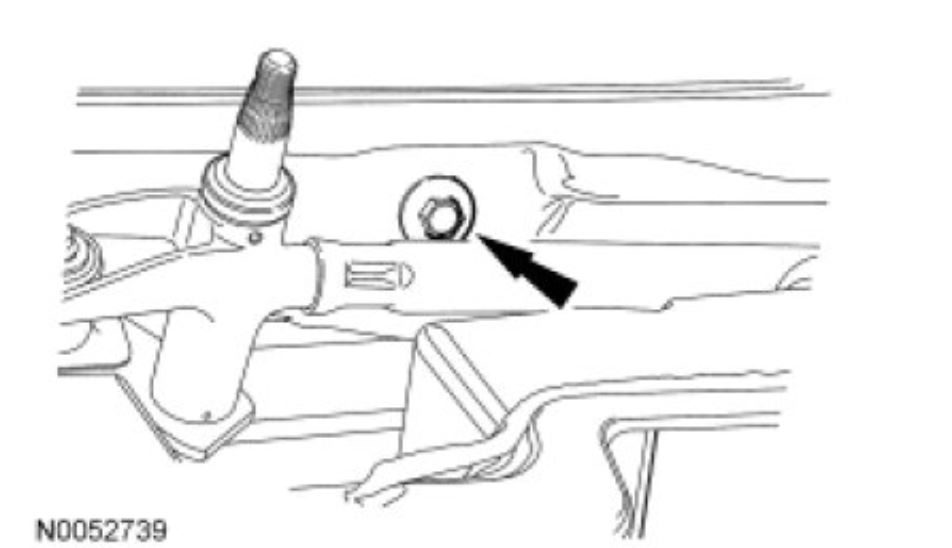
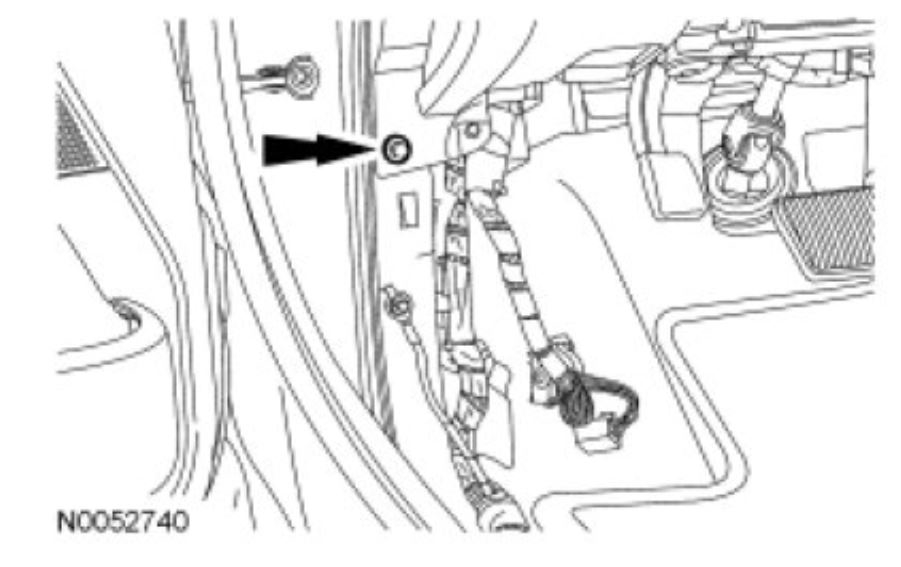
26. Remove the screw from the RH instrument panel brace-to-A/C duct.
imageOpen In New TabZoom/Print
27. Remove the RH instrument panel-to-floor bolt.
- To install, tighten to 22 Nm (16 lb-ft).
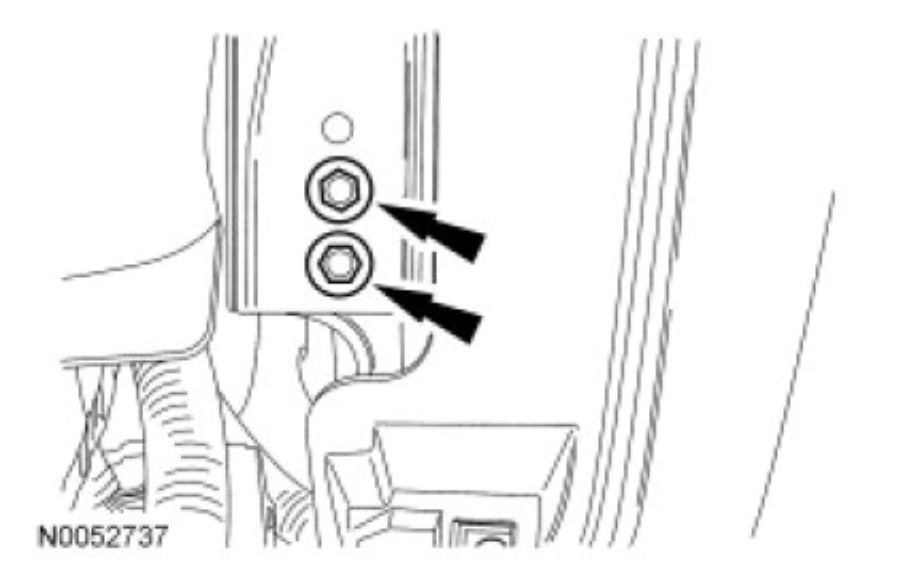
28. Remove the 2 nuts and the LH instrument panel brace-to-A/C duct.
imageOpen In New TabZoom/Print
29. Remove and discard the steering column shaft-to-steering column bolt.
- To install, use a new steering column pinch bolt and tighten to 23 Nm (17 lb-ft).
30. Detach the steering column shaft from the steering column.
31. Remove the upper cowl panel grille.
32. Remove the bolt from the front of dash.
- To install, tighten to 20 Nm (177 lb-in).
imageOpen In New TabZoom/Print
33. NOTE: The Torx head bolt is not completely removed. The bolt is pulled outward far enough to allow for clearance when removing the instrument panel.
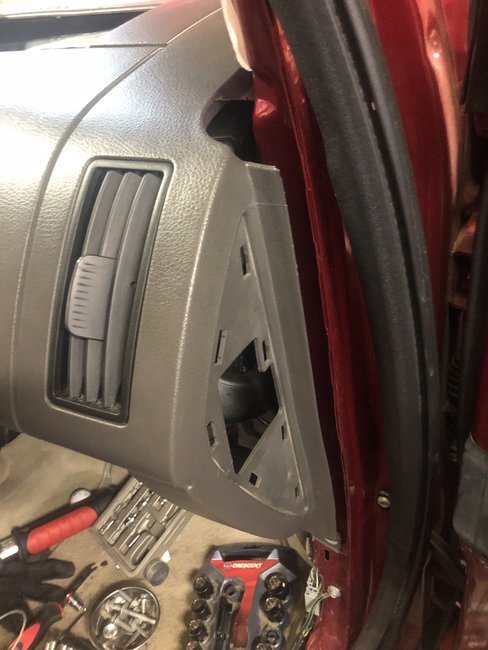
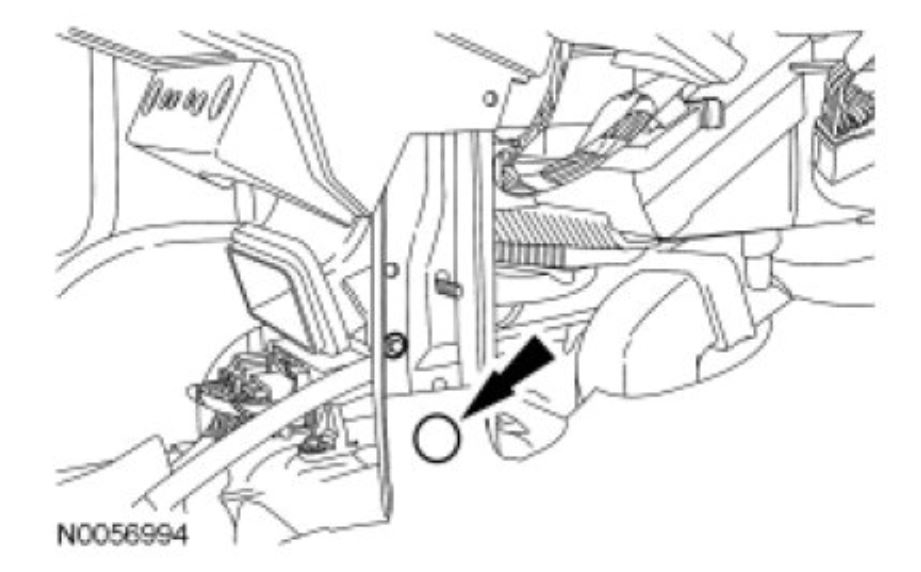
Completely loosen the Torx head bolt from inside the LH door opening.
- To install, tighten to 30 Nm (22 lb-ft).
imageOpen In New TabZoom/Print
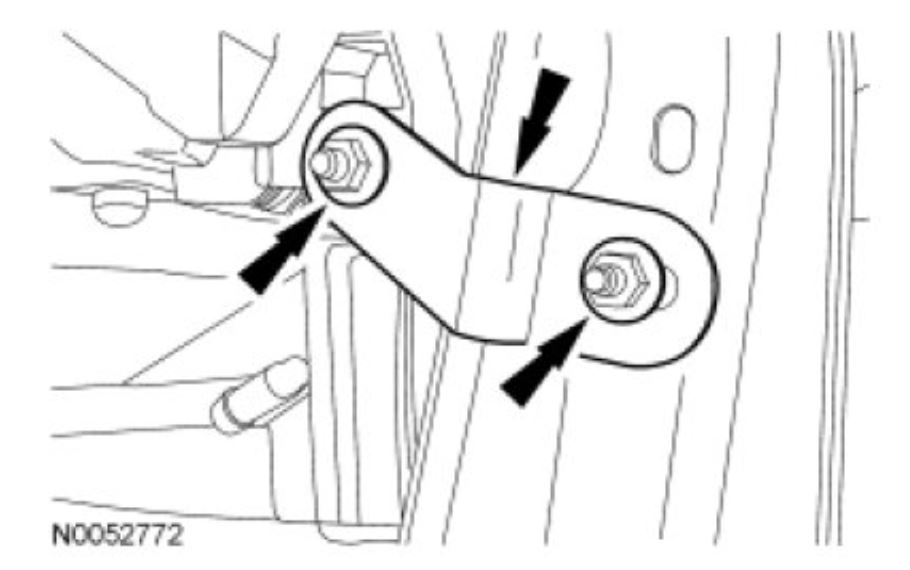
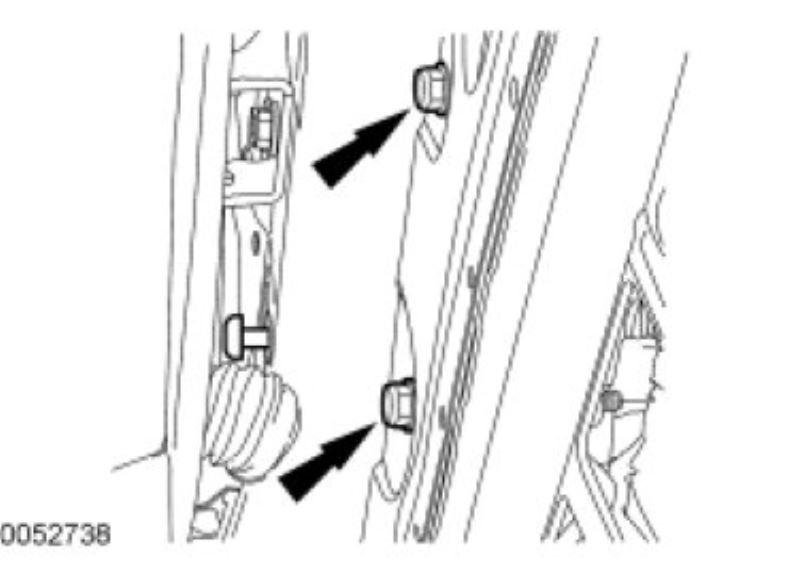
34. Remove the 2 LH instrument panel bolts from inside the LH door opening.
- To install, tighten to 20 Nm (177 lb-in).
imageOpen In New TabZoom/Print
35. Remove the 2 instrument panel-to-steering column bracket bolts from the bracket under the steering column.
- To install, tighten to 22 Nm (16 lb-ft).
imageOpen In New TabZoom/Print
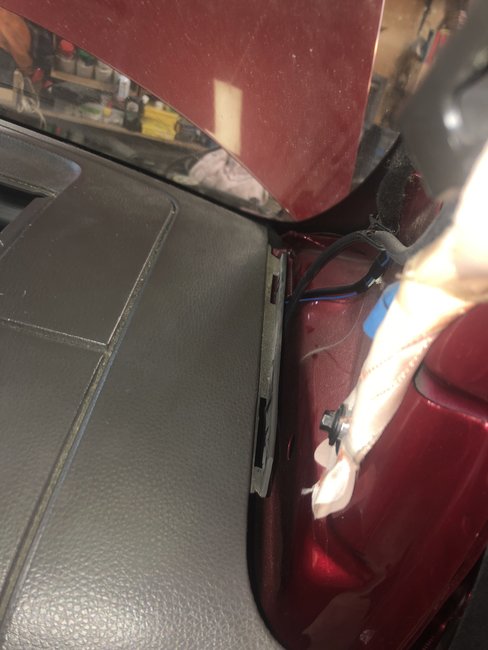
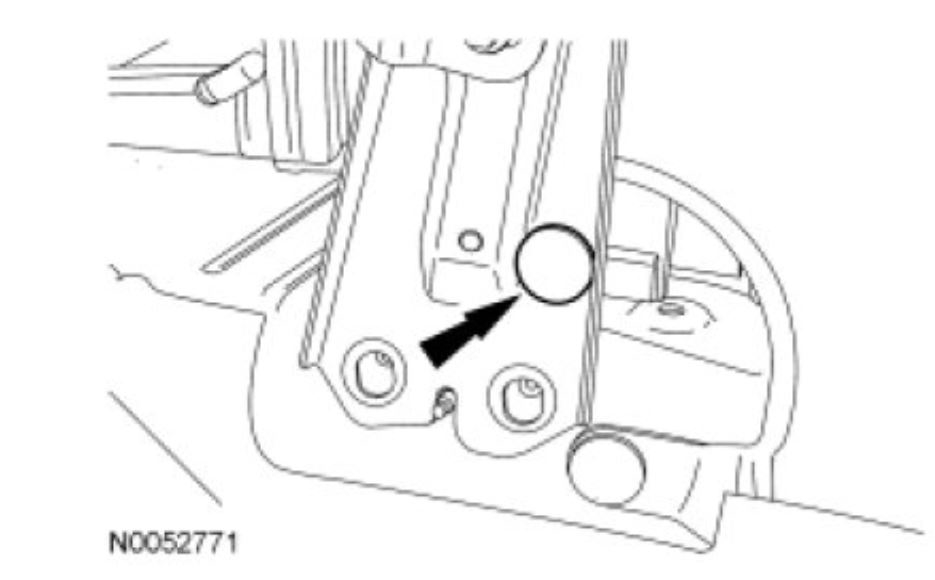
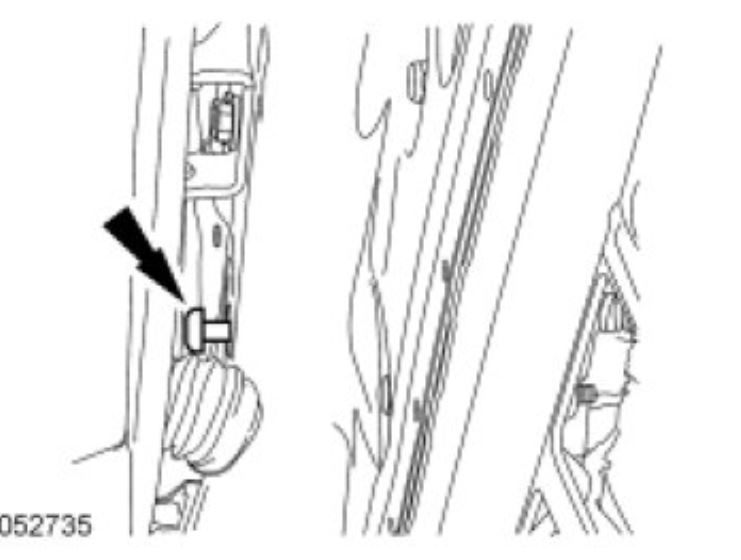
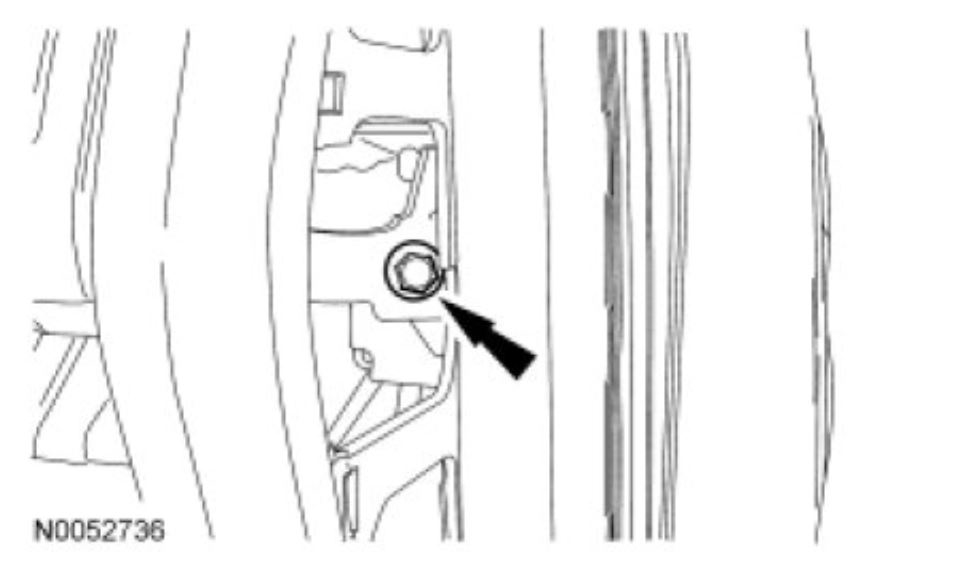
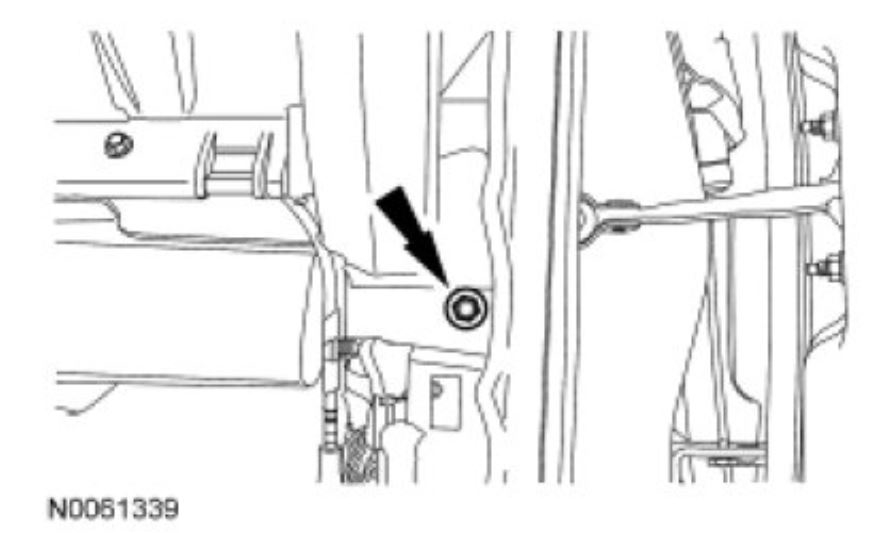
36. Remove the LH instrument panel-to-body bolt.
- To install, tighten to 7 Nm (62 lb-in).
imageOpen In New TabZoom/Print
37. Remove the bolt from the RH instrument panel.
- To install, tighten to 22 Nm (16 lb-ft).
imageOpen In New TabZoom/Print
38. Remove the RH instrument panel-to-body bolt.
- To install, tighten to 7 Nm (62 lb-in).
imageOpen In New TabZoom/Print
39. NOTICE: To avoid damage to the instrument panel, this step requires the help of an assistant.
NOTICE: Make sure that all electrical connectors and wiring are not hindered before removing the instrument panel or damage to the components may occur.
NOTE: Rotate the instrument panel as necessary to remove the instrument panel from the vehicle.
Remove the instrument panel.
40. NOTICE: To avoid damaging the instrument panel, the aid of an assistant is required when positioning the instrument panel to the vehicle.
NOTICE: Make sure that all electrical connectors and wiring are correctly routed when installing the instrument panel or damage to the components may occur.
To install, reverse the removal procedure.
Nov 29, 2018 at 11:24 AM