Welcome to 2CarPros.
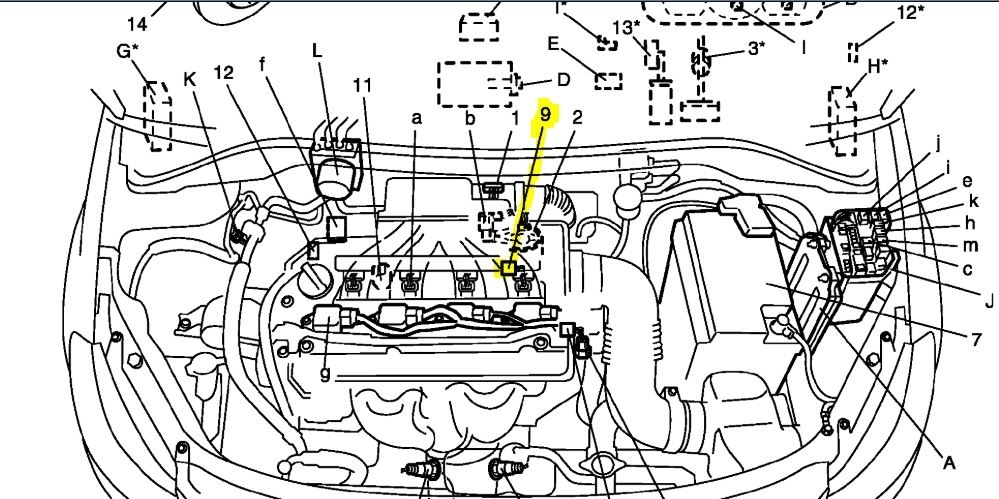
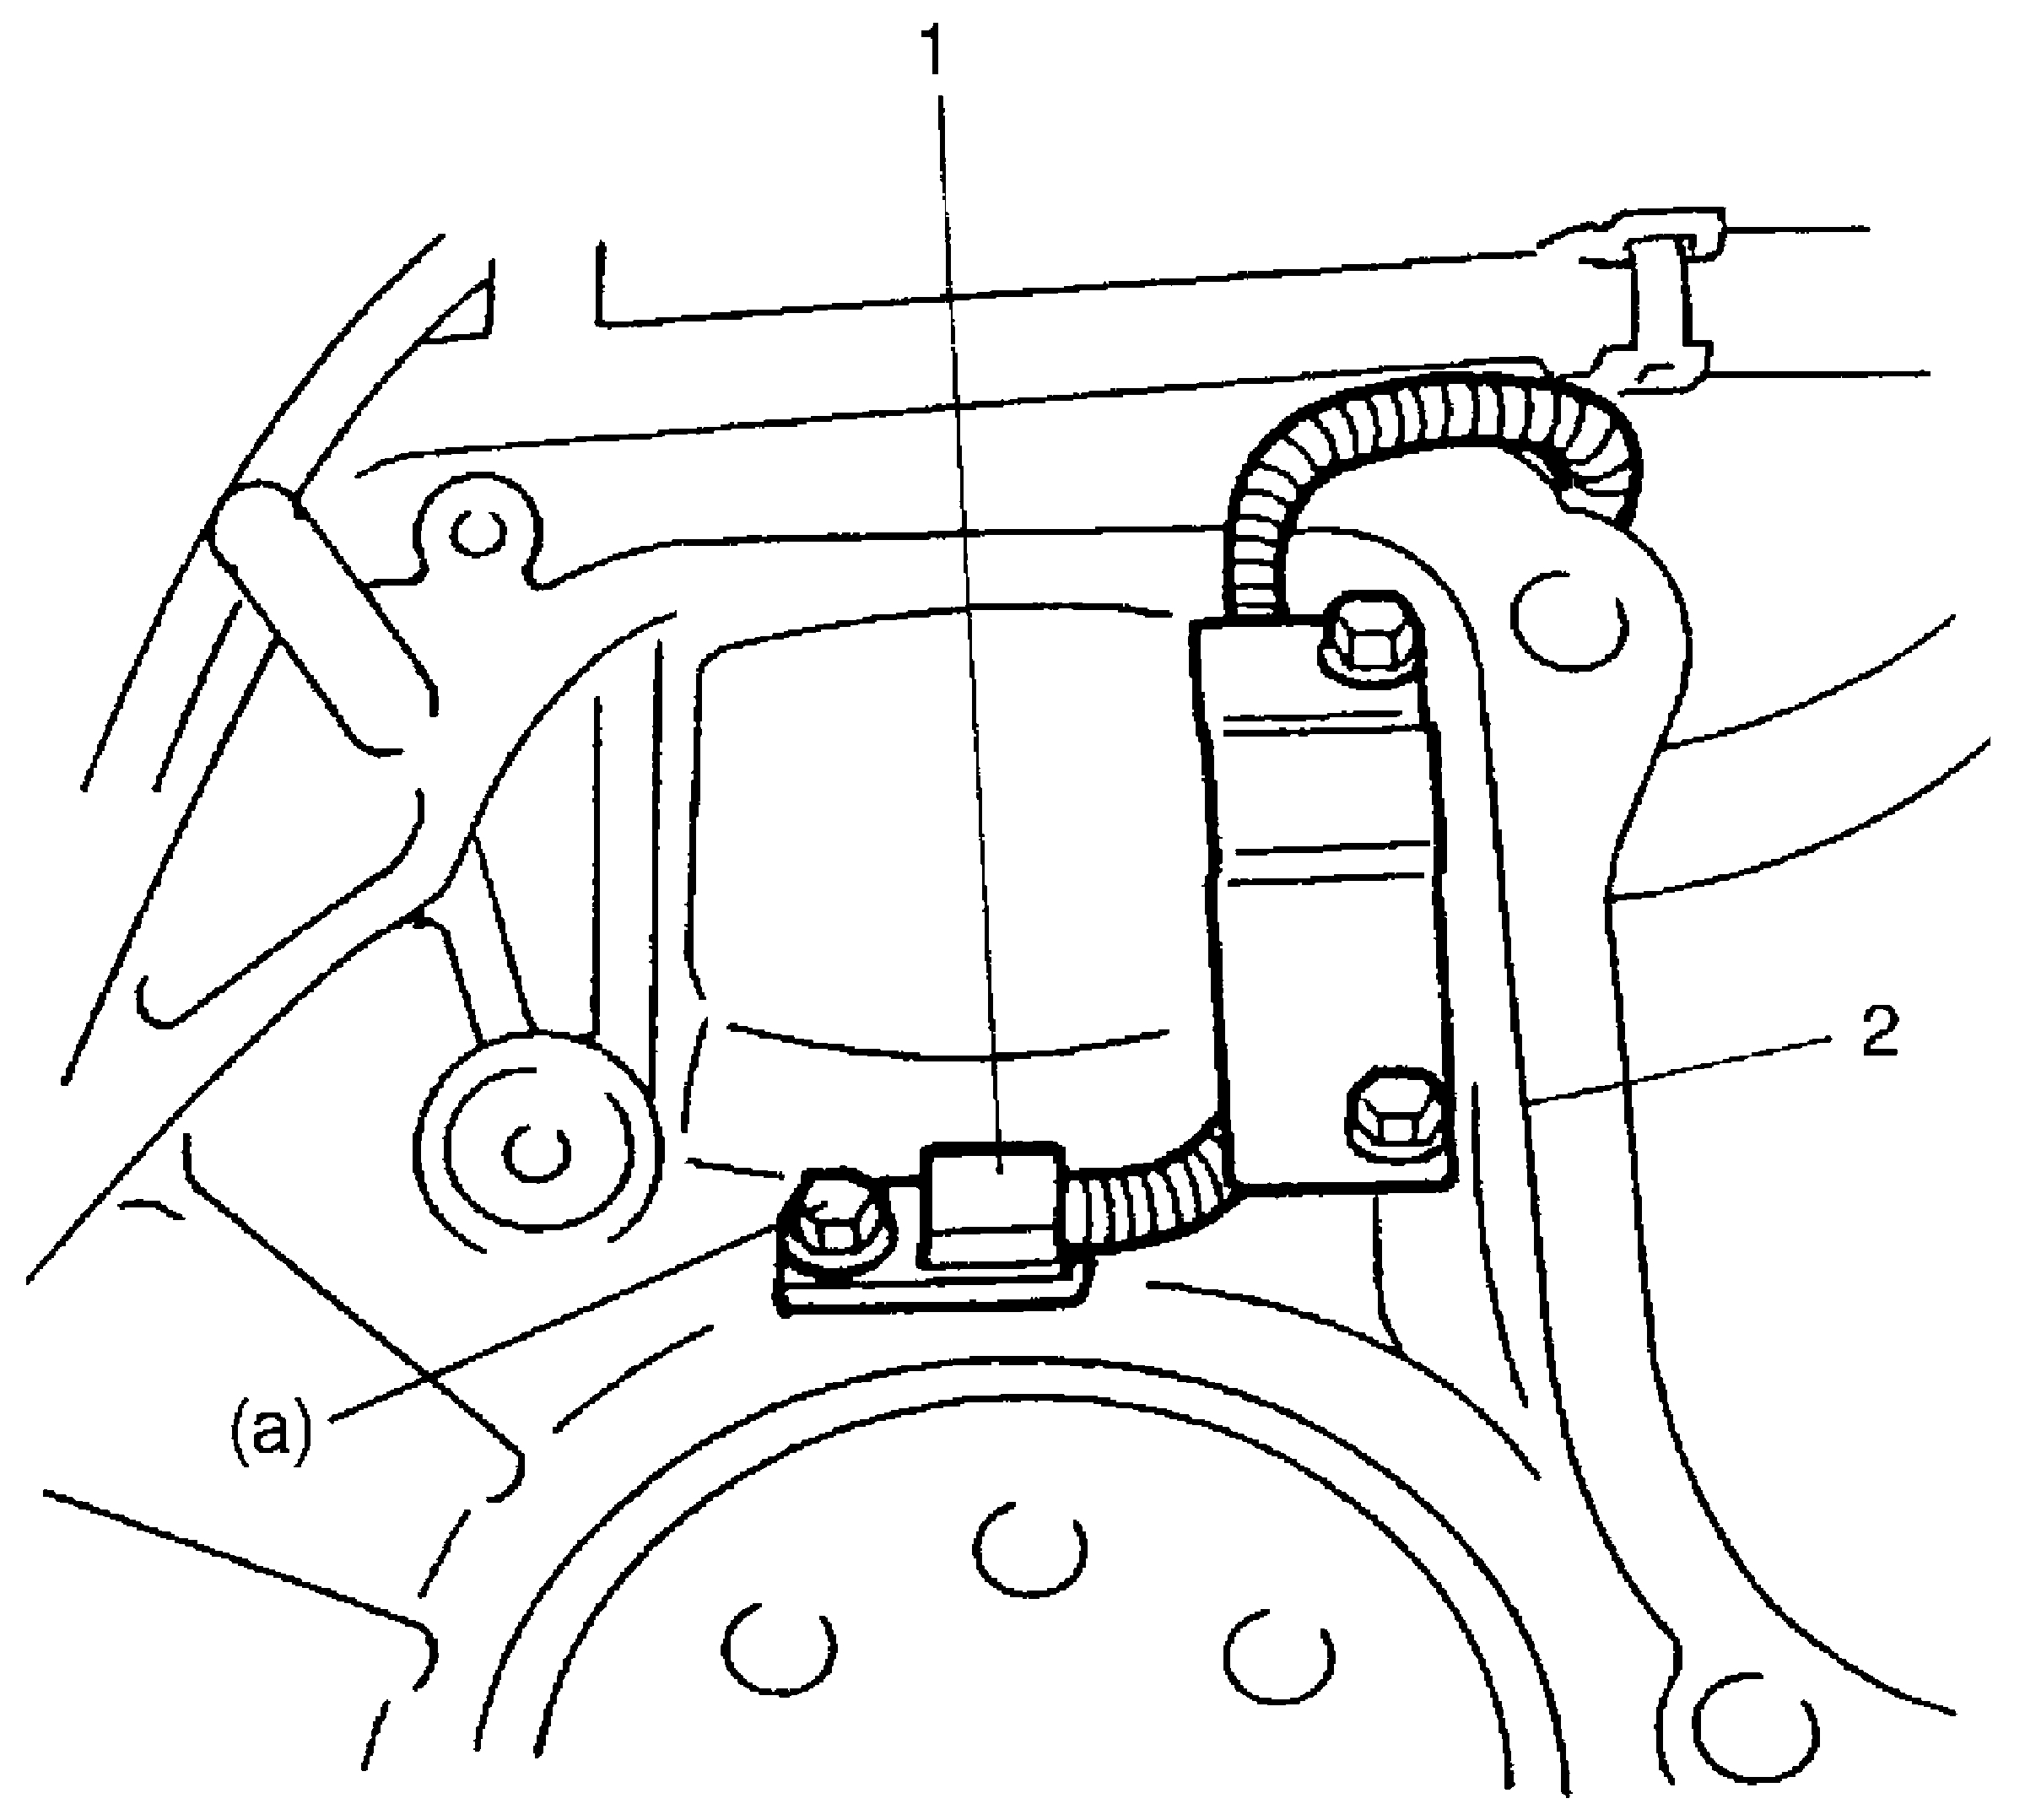
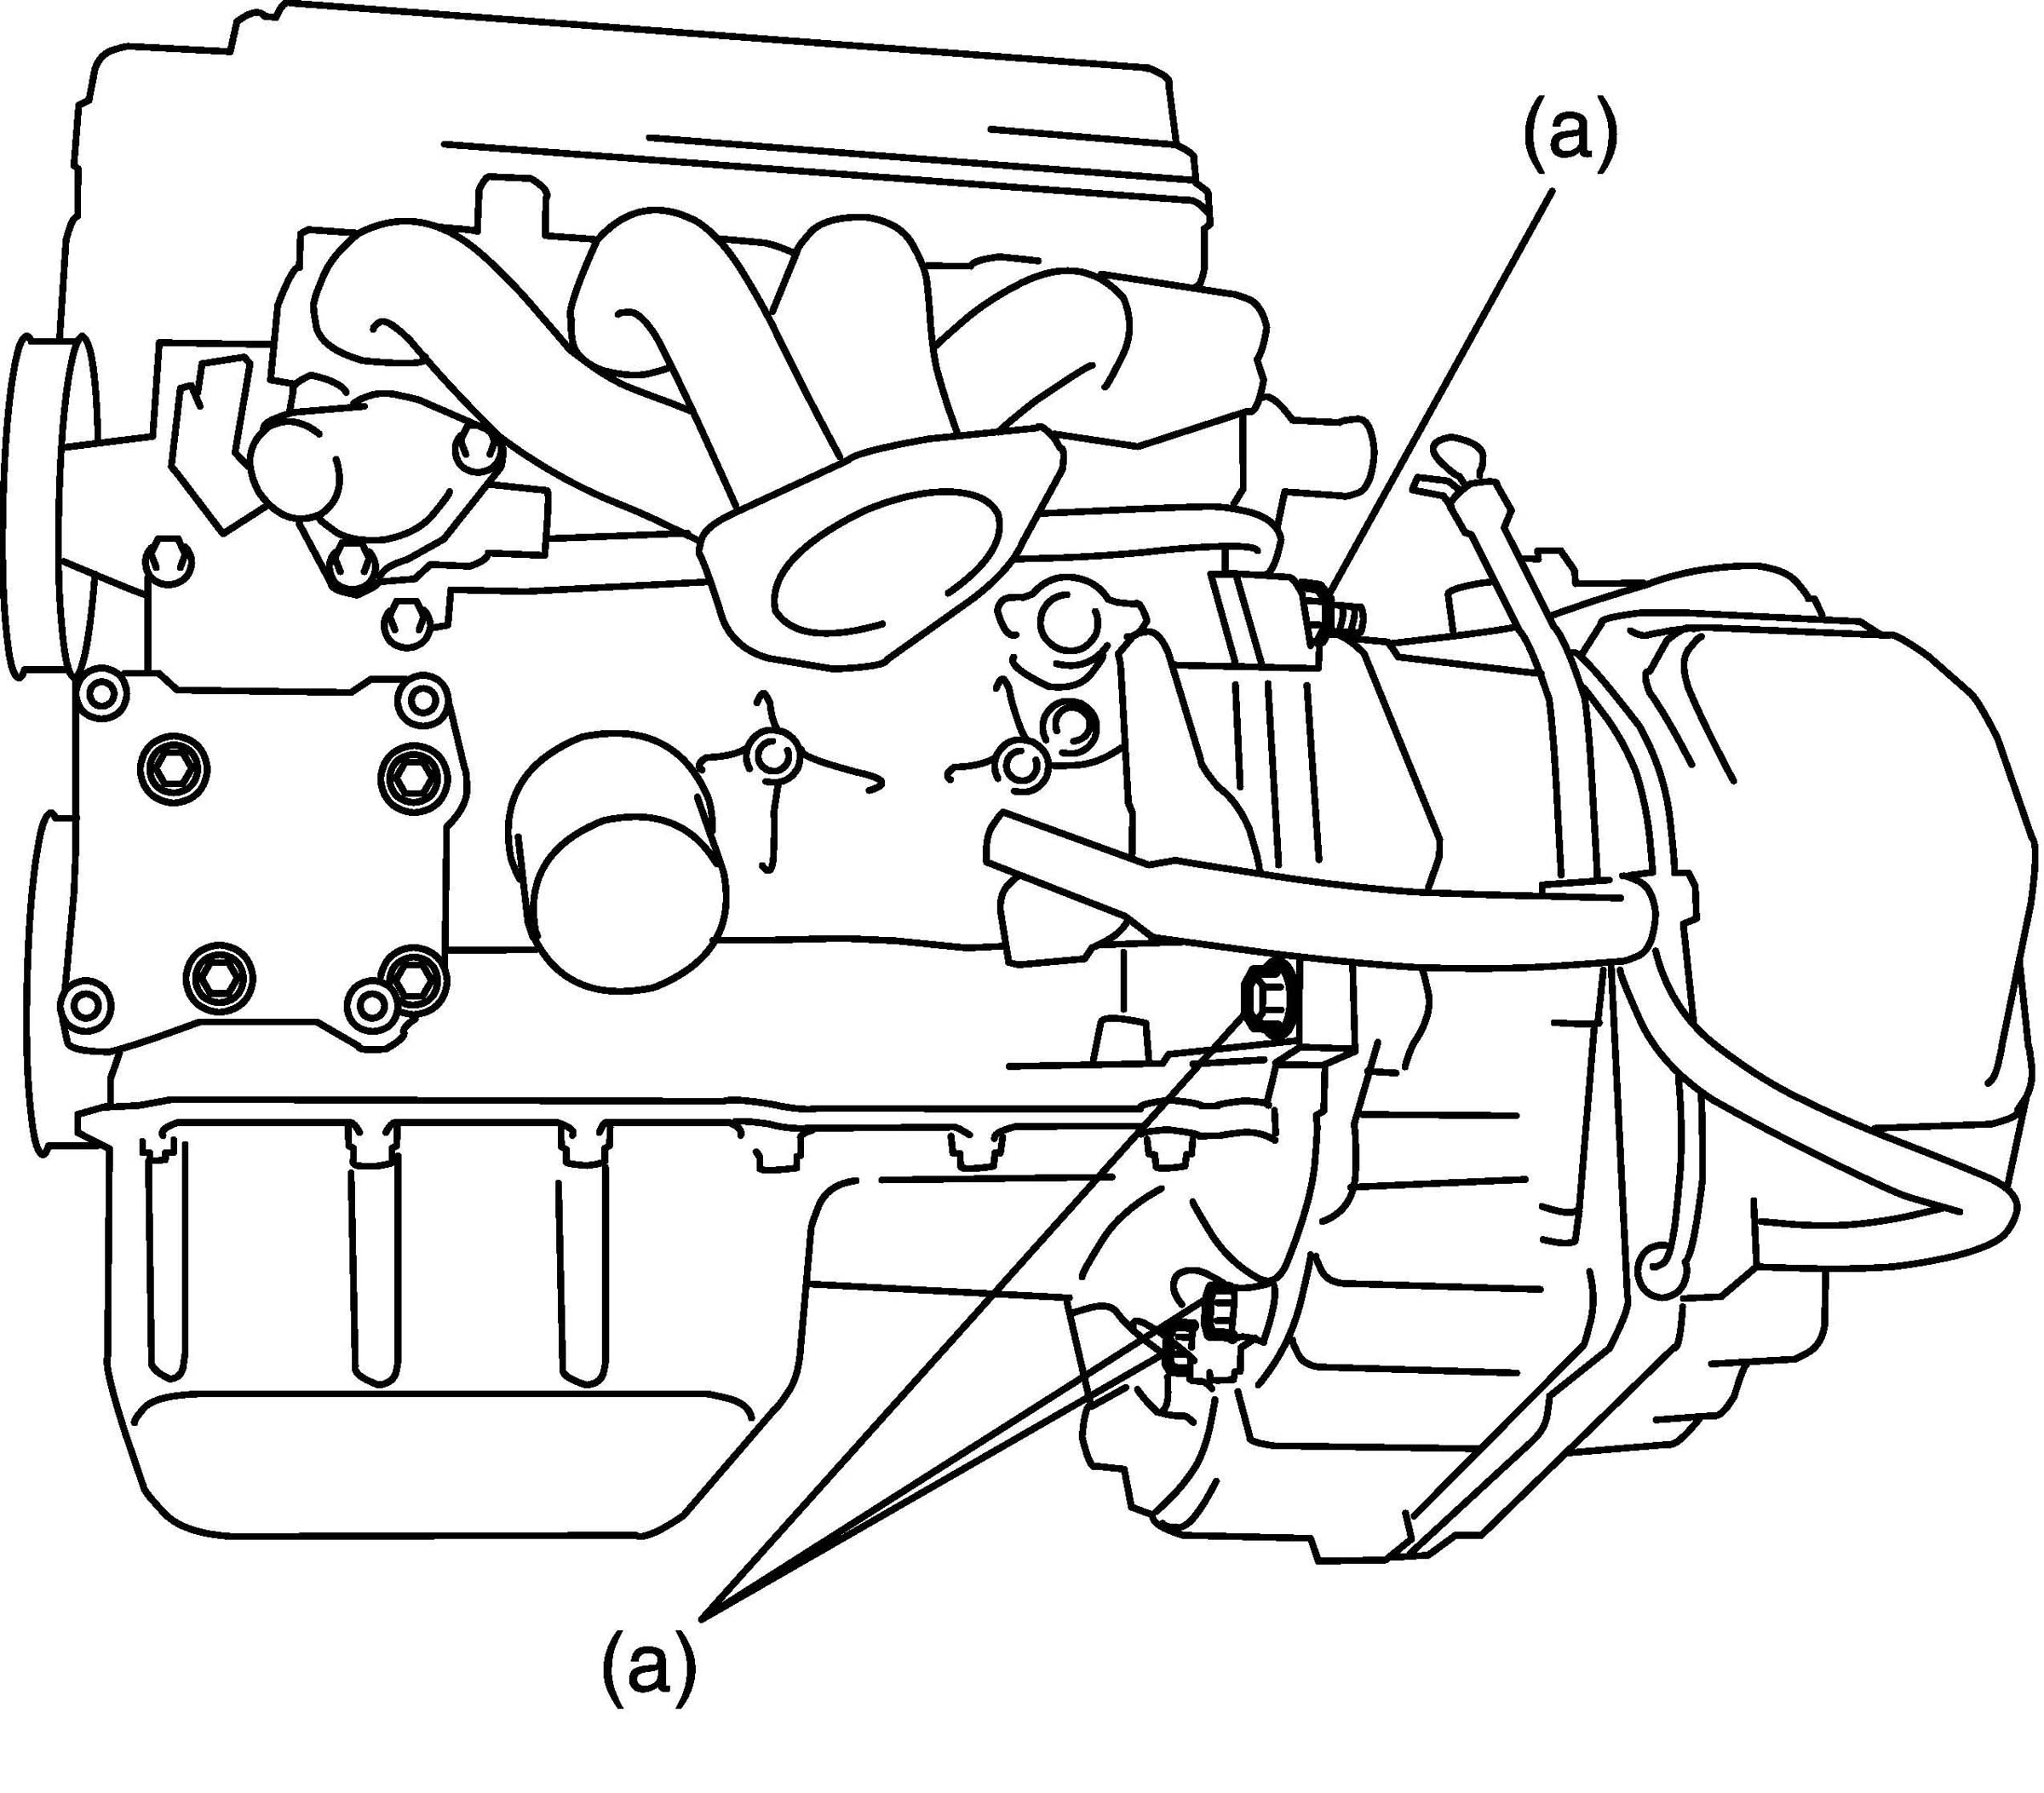
If you look at picture 1, it shows location of the sensor. Here are the directions for replacement. Picture 2 correlates with the directions. I hate to say this, but the first thing indicated in the directions is to remove the transmission
_______________________
2007 Suzuki SX4 4WD L4-2.0L
Crankshaft Position (CKP) Sensor Removal and Installation
Vehicle Powertrain Management Sensors and Switches - Powertrain Management Sensors and Switches
CRANKSHAFT POSITION (CKP) SENSOR REMOVAL AND INSTALLATION
Removal
1. Remove transmission assembly from vehicle referring to Automatic Transaxle Unit Dismounting and Remounting or Manual Transaxle Assembly Disassembly and Reassembly.
2. Remove drive plate or flywheel from crankshaft.
3. Disconnect connector from crankshaft position sensor.
4. Remove CKP sensor (1) from cylinder block (2).
Installation
Reverse removal procedure noting the following.
^ Apply engine oil to O-ring of sensor.
^ Tighten CKP sensor bolt to specified torque.
imageOpen In New TabZoom/Print
Tightening torque
CKP sensor bolt a: 11 Nm (1.1 kg.m, 8.0 ft. lbs.)
^ Connect connector and fix wire harness with clamp securely.
++++++++++++++++++++++++++++++
Here are the directions to access the sensor. I have no idea why they put these things in hidden places. Normally it takes about 30 minutes to replace a crank sensor. This one is a major undertaking. It calls for 6.4 hours labor.
AUTOMATIC TRANSAXLE UNIT DISMOUNTING AND REMOUNTING
Automatic Transaxle Unit Dismounting and Remounting
Dismounting
1. Take down transaxle with engine.
2. Remove engine rear mounting No. 1 bracket and engine rear mounting No. 2 bracket with stiffener (for 2WD vehicle).
3. Remove transfer.
4. Remove center bearing support bolts (3) and remove center bearing support (2) with center shaft (1) from differential side gear (for 2WD vehicle).
pic 3
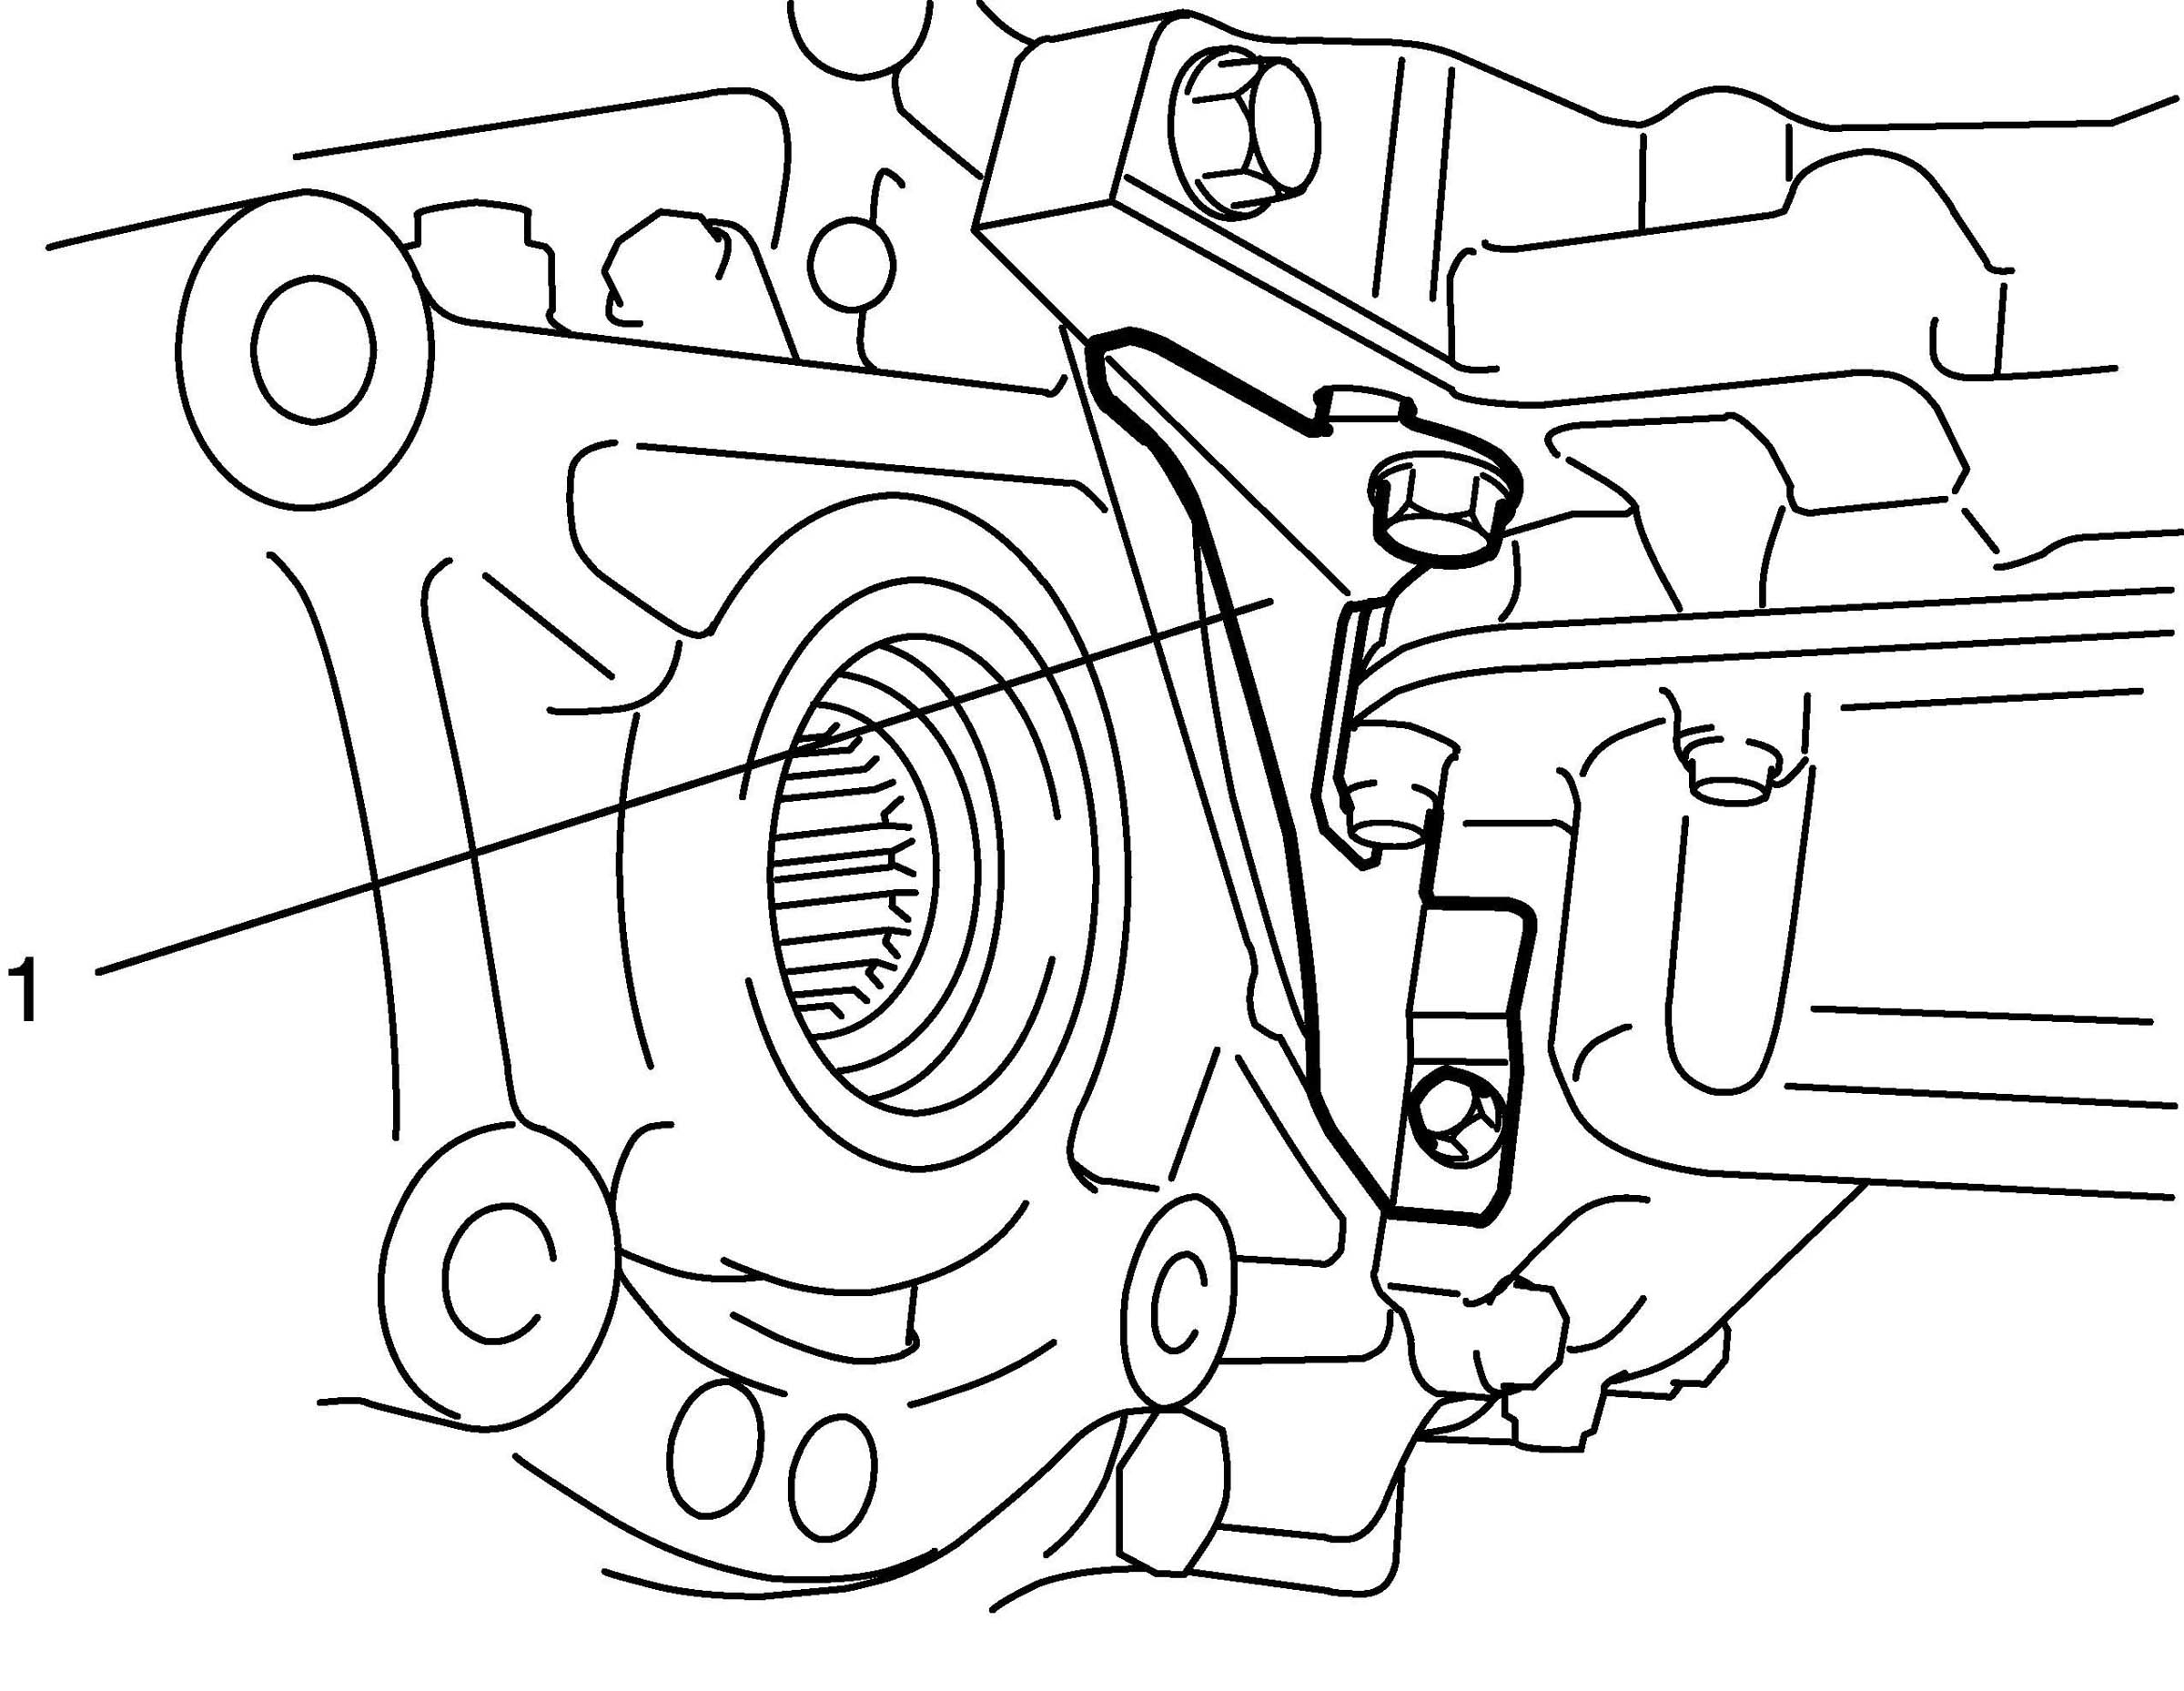
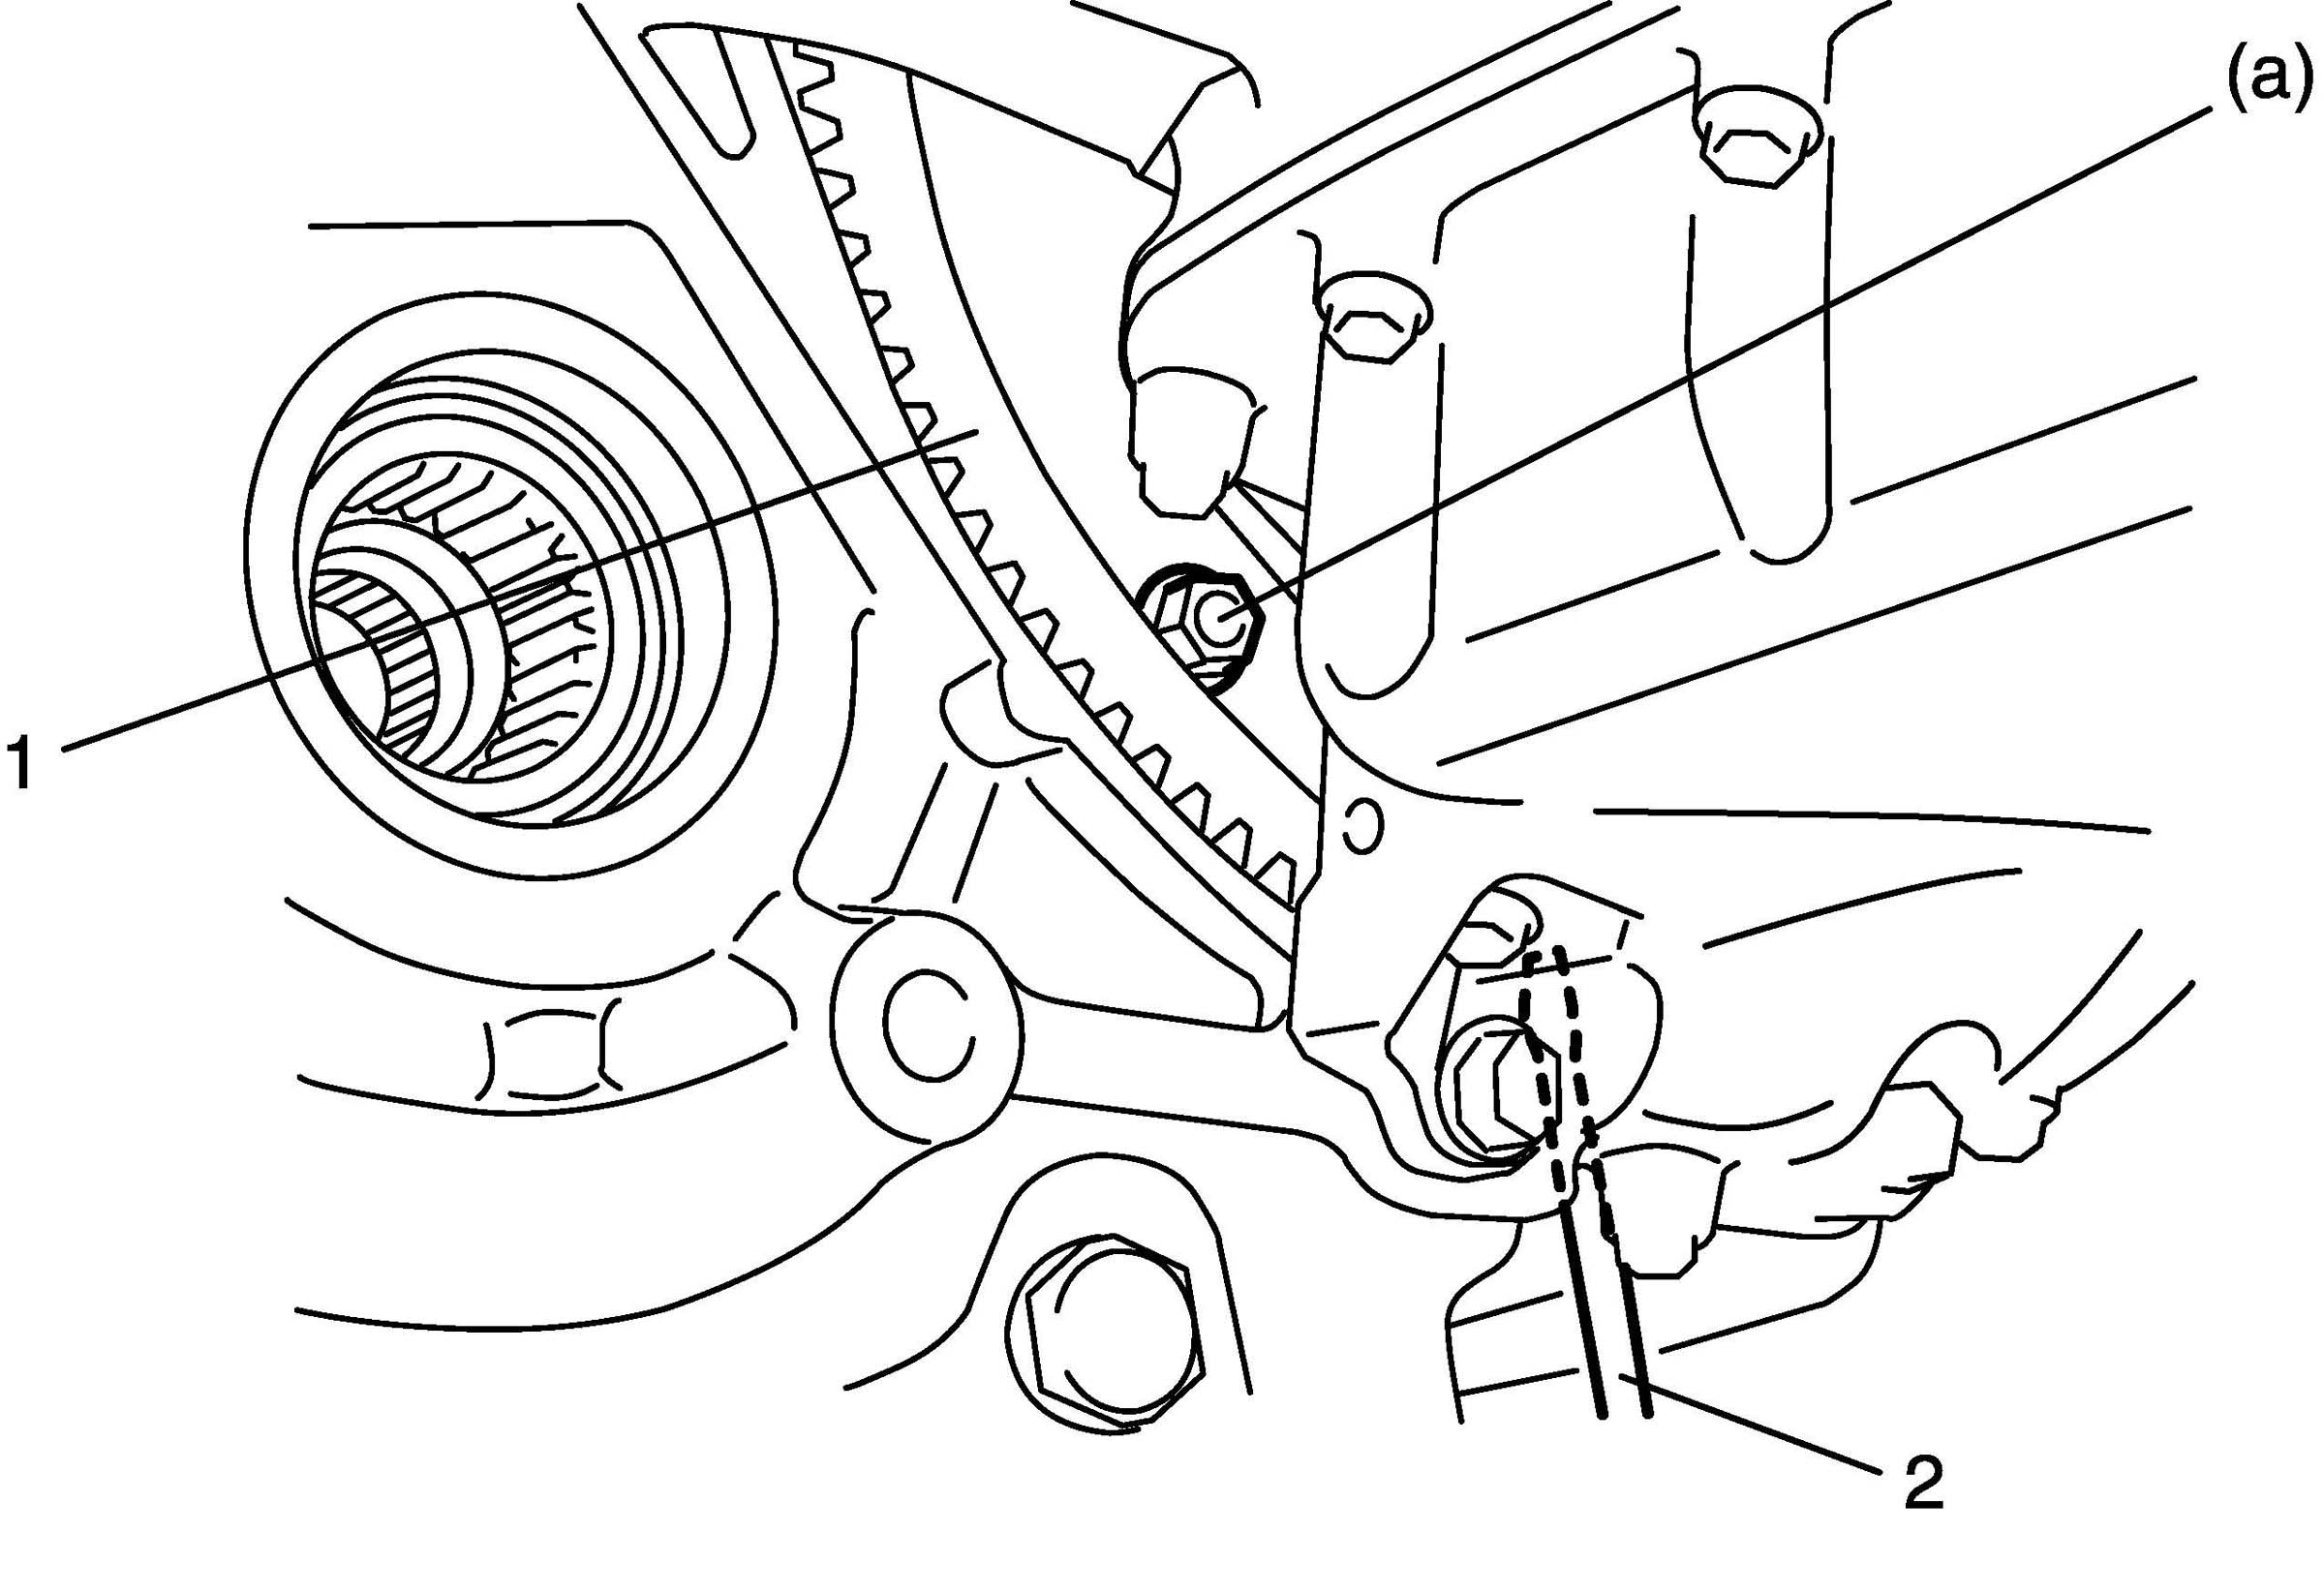
5. Remove clutch housing plate (1).
pic 4
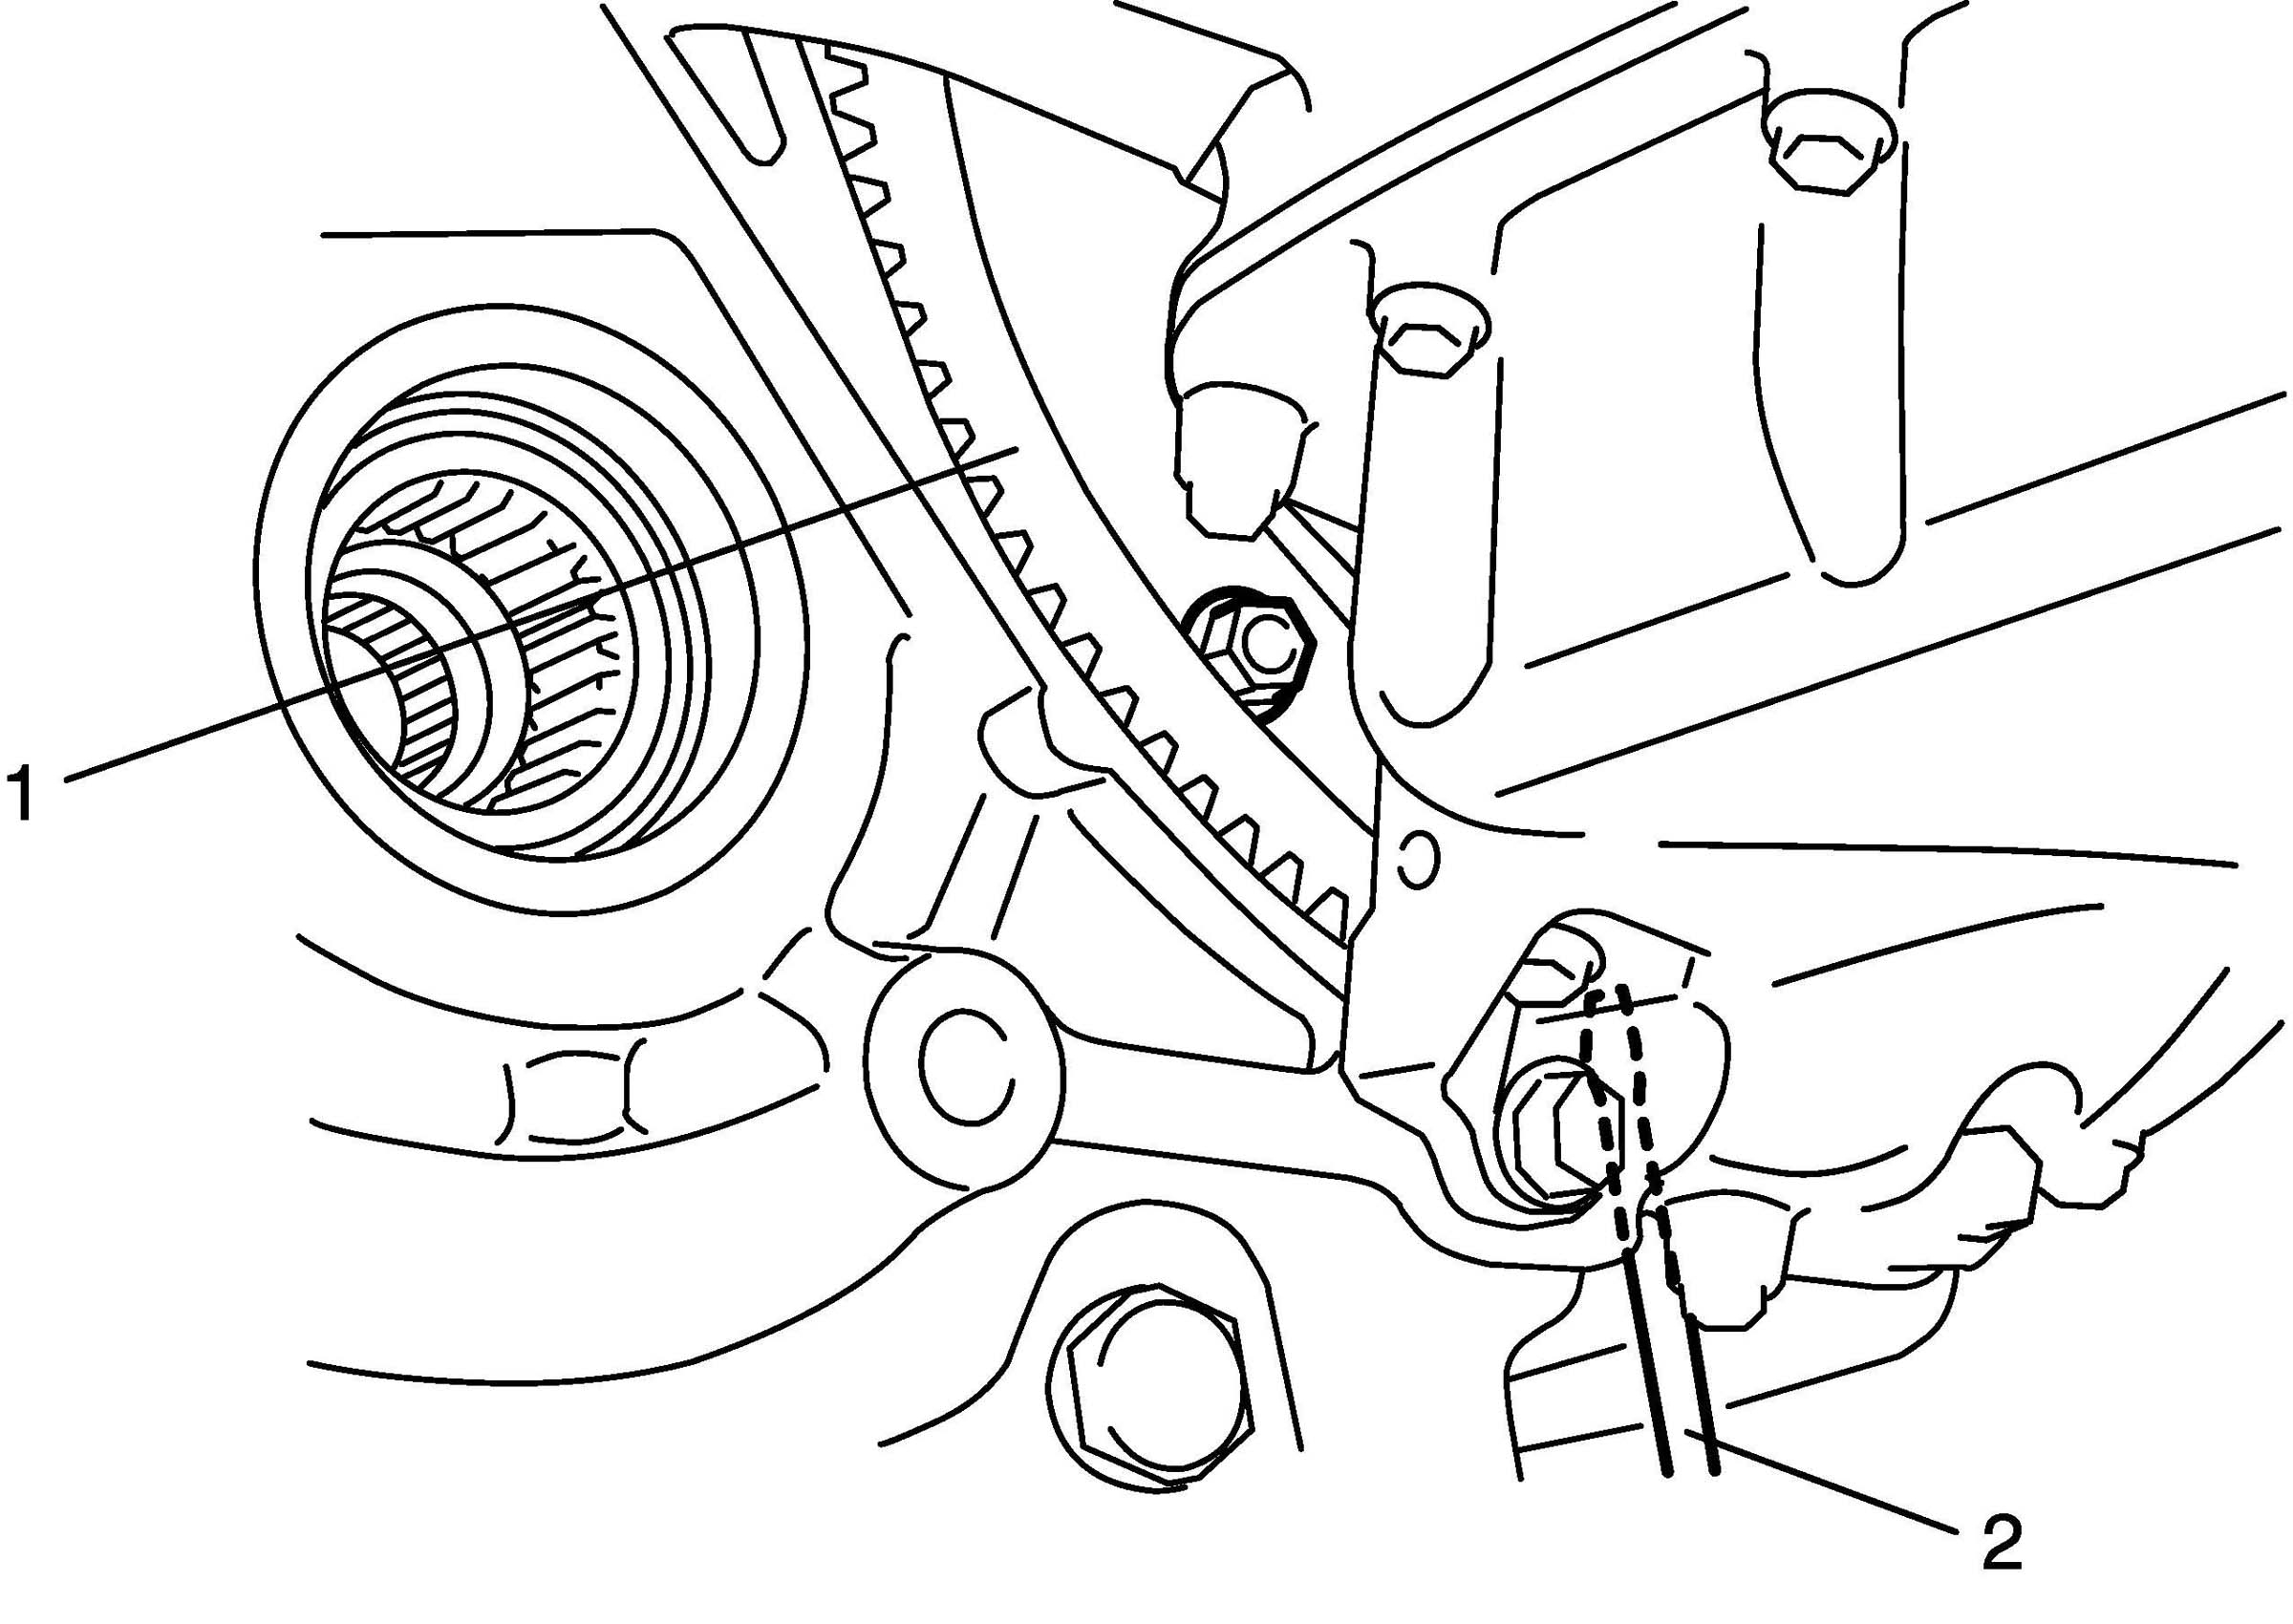
6. Remove torque converter bolts.
To lock drive plate (1), engage a flat head rod or the like (2) with drive plate gear.
pic 5
7. Remove starting motor.
8. Remove bolts and nut fastening engine and transaxle, then detach transaxle from engine.
NOTE: When detaching transaxle from engine, move it in parallel with crankshaft and use care so as not to apply excessive force to drive plate and torque converter.
WARNING: Be sure to keep transaxle with torque converter horizontal or facing up throughout the work. Should it be tilted with torque converter down, converter may fall off and cause personal injury.
Remounting
1. Make sure that torque converter is installed correctly to transaxle.
2. Attach transaxle to engine.
Tightening torque
Transaxle to engine bolts and nut a: 85 Nm (8.5 kgf-m, 61.5 ft. lbs.)
WARNING: Be sure to keep transaxle with torque converter horizontal or facing up throughout the work. Should it be tilted with torque converter down, converter may fall off and cause personal injury.
pic 6
3. Tighten drive plate-torque converter bolts.
Align drive plate bolt hole and torque converter through then tighten bolts through torque converter housing lower plate opening.
Lock drive plate (1) by engaging a flat head rod or the like (2) with drive plate gear.
Tightening torque
Drive plate to torque converter bolts a: 23 Nm (2.3 kgf-m, 16.5 ft. lbs.)
pic 7
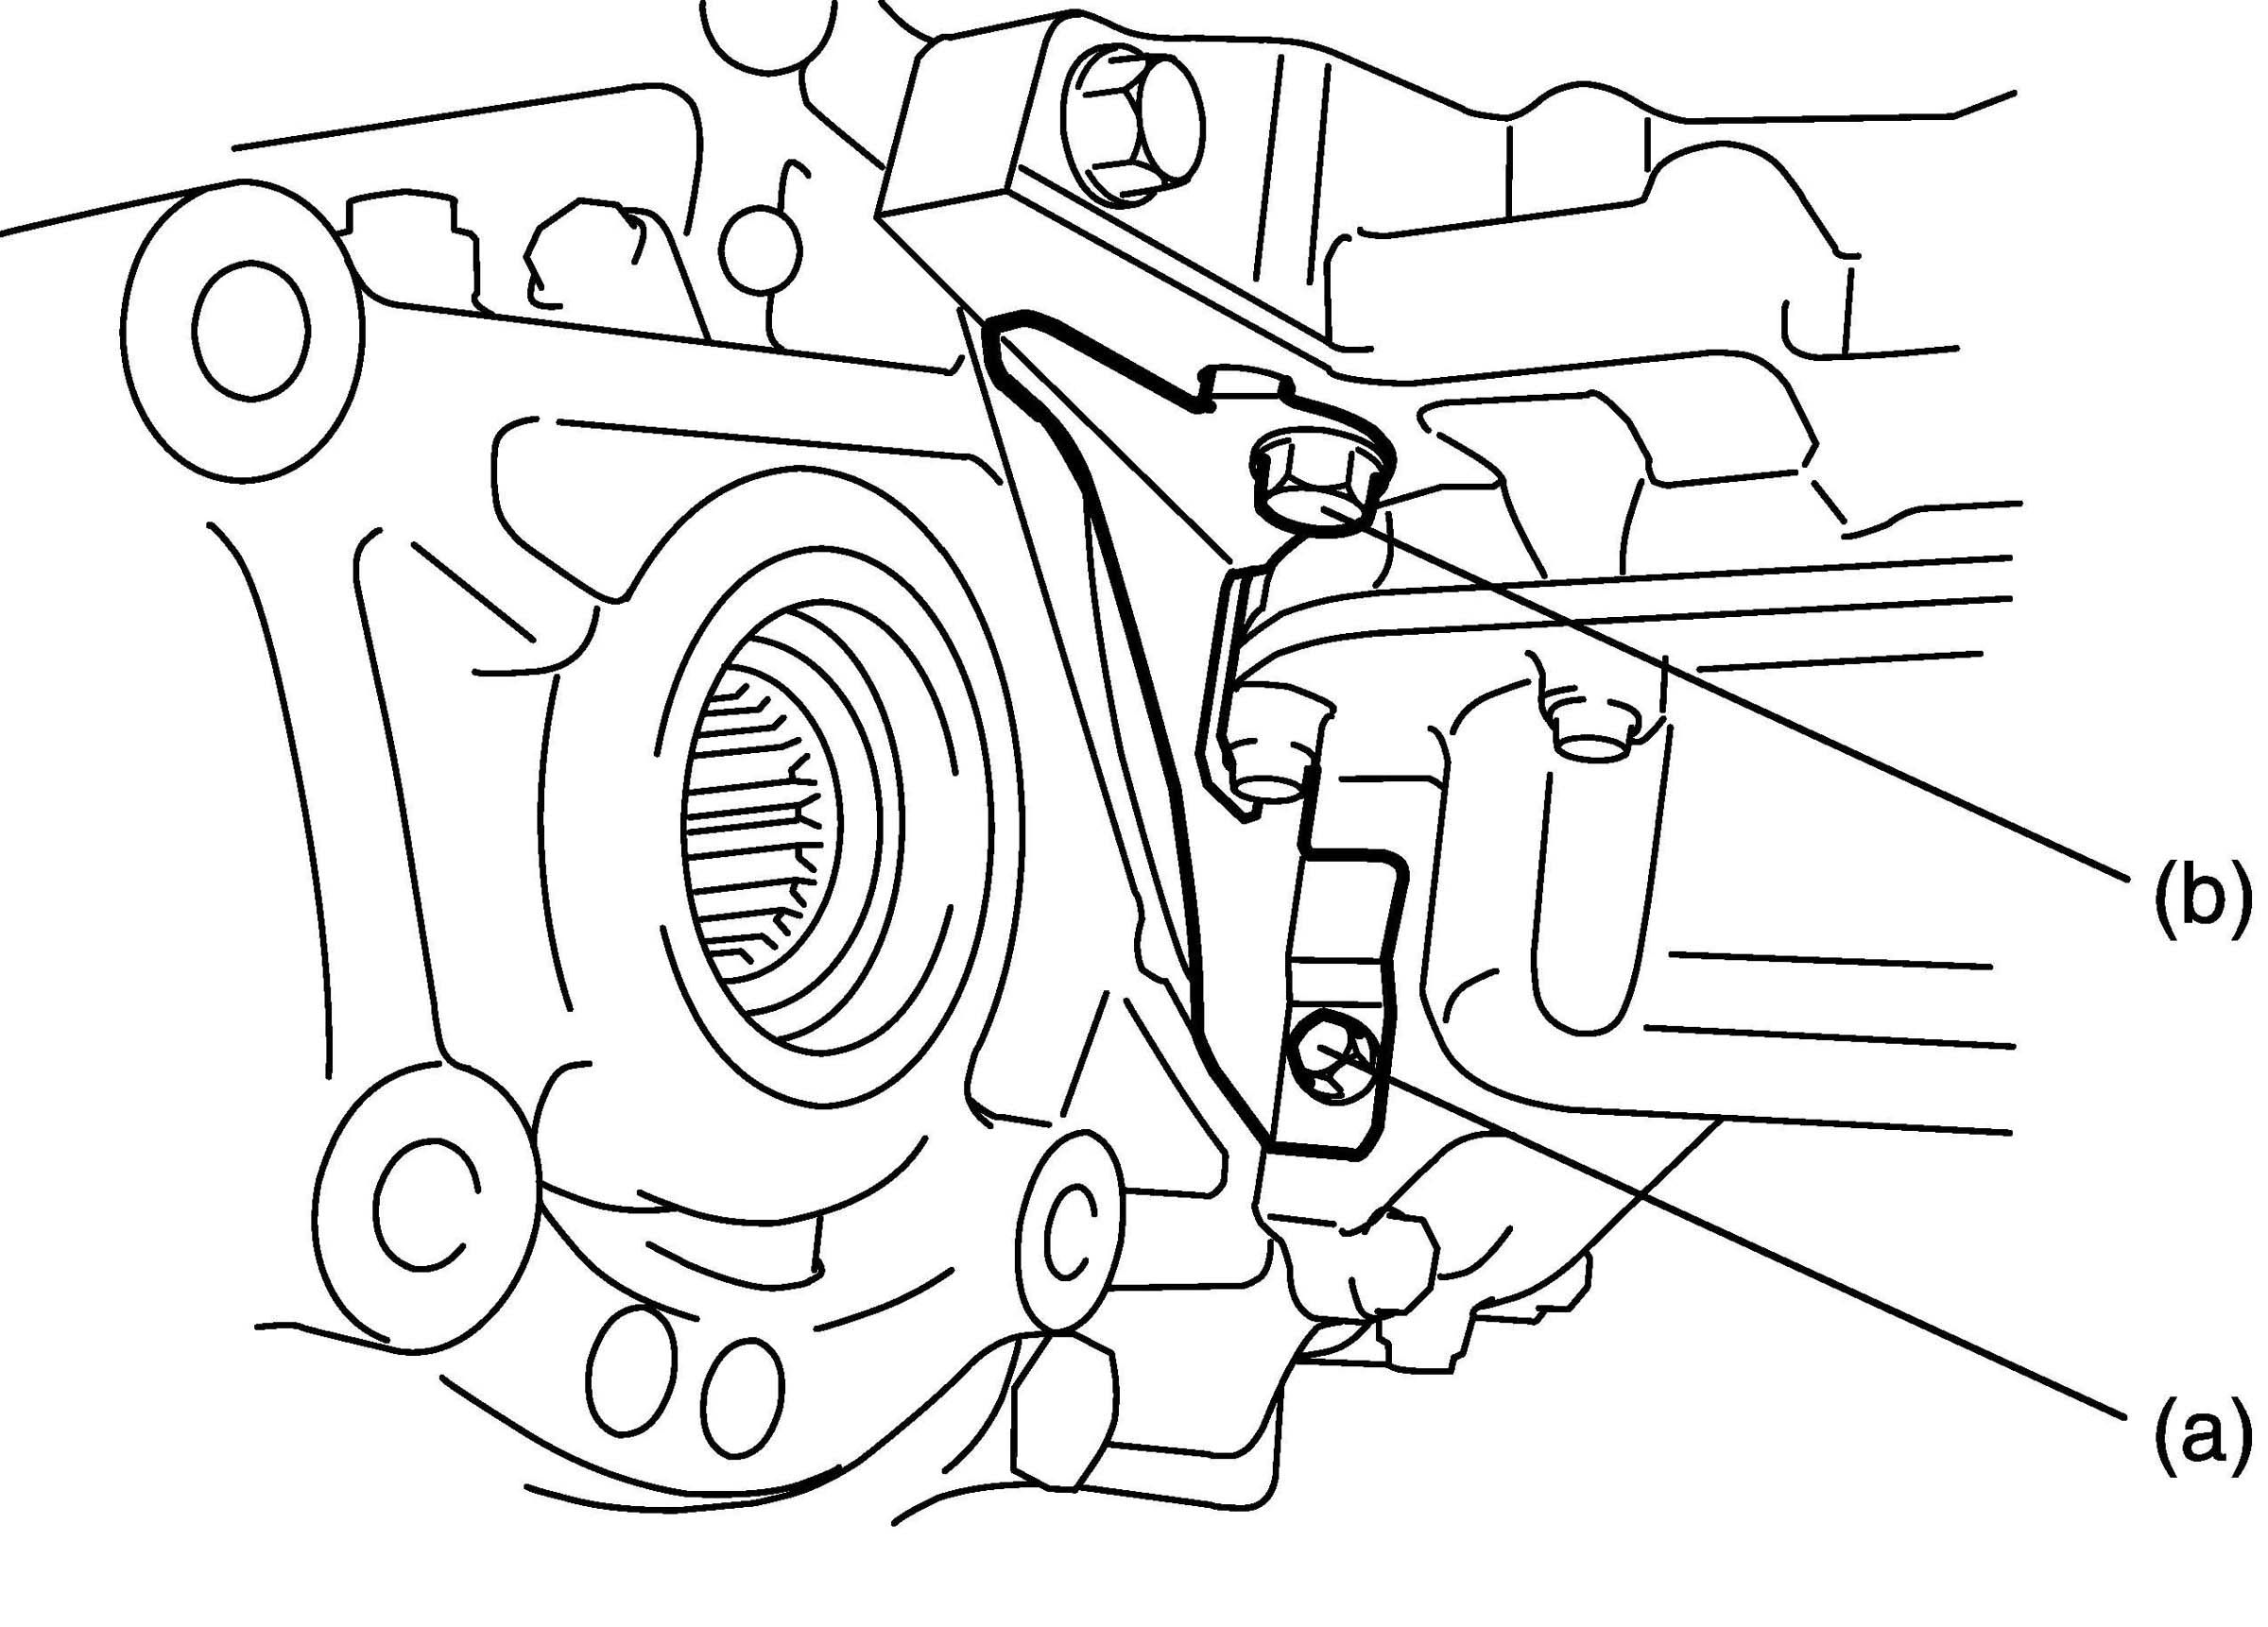
4. Install clutch housing plate.
Tighten clutch housing plate bolts (a) first and next (b) with specified torque.
Tightening torque
Clutch housing plate bolt (M6) a: 11 Nm (1.1 kgf-m, 8.0 ft. lbs.)
Clutch housing plate bolt (M10) b: 30 Nm (3.0 kgf-m, 21.5 ft. lbs.)
pic 8
5. Install starter motor.
6. Install center shaft (1) to differential gear (for 2WD vehicle). Tighten center bearing support bolts to specified torque.
CAUTION: Be careful not to scratch oil seal lip with center shaft while inserting.
7. Install engine rear mounting brackets and stiffener (for 2WD vehicle).
8. Install transfer.
9. Remount engine with transaxle assembly to vehicle.
_____________________________
Let me know if this helps or if you have other questions.
Take care,
Joe
Images (Click to enlarge)
Jul 29, 2019 at 9:21 PM