Hi,
You are very welcome. If you get a chance, let me know if it helps.
As far as bench bleeding the master cylinder, here are the directions for "bench Bleeding." Since you already have it on the truck, simply disconnect the brake lines and have a helper slowly pump the brake pedal in the vehicle while you make sure the fluid is being recirculated back into the reservoir. Don't let me any brake fluid get on a painted area. It will damage the paint.
_____________________________
1997 Dodge or Ram Truck RAM 1500 Truck 4WD V8-5.2L VIN Y
Bench Bleeding
Vehicle Brakes and Traction Control Hydraulic System Brake Master Cylinder Service and Repair Procedures Master Cylinder Bleeding Bench Bleeding
BENCH BLEEDING
Master Cylinder Bleeding
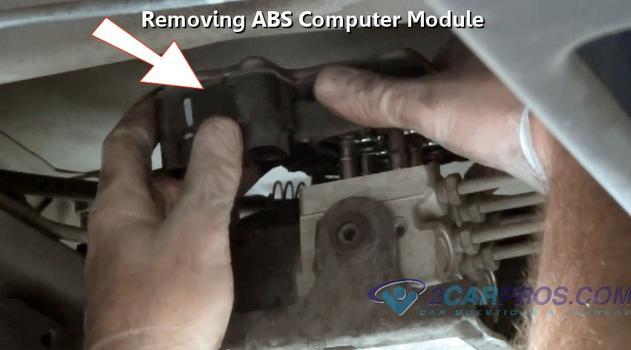
See pic 1
PROCEDURE
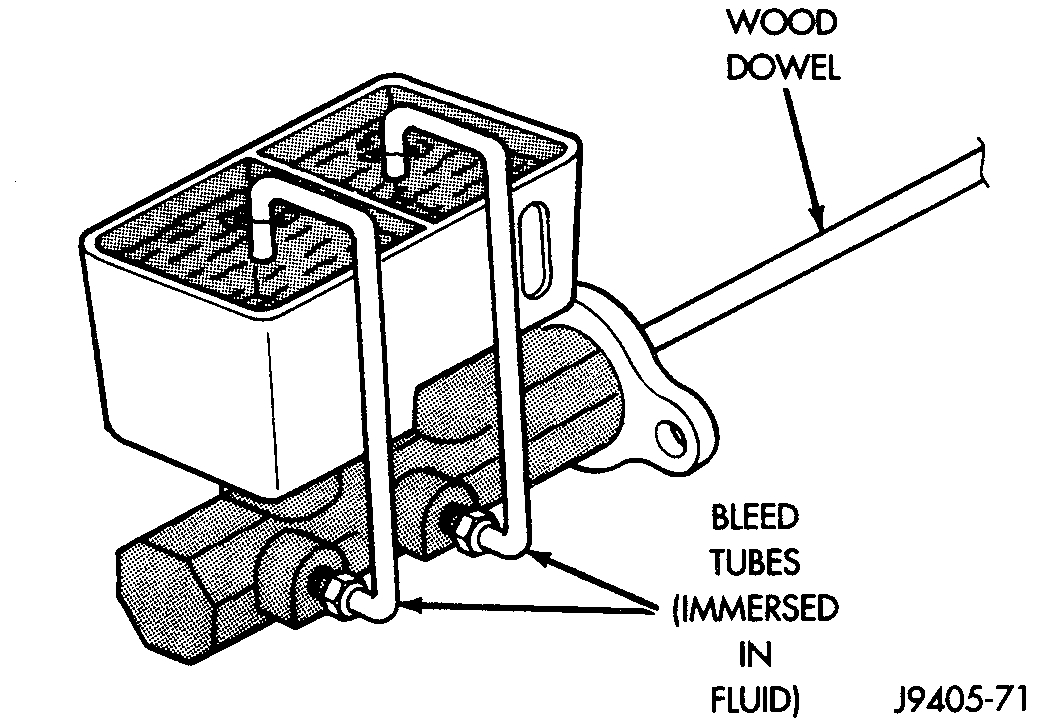
An overhauled, or new master cylinder should always be bled before installation in the vehicle. This practice saves time during brake bleeding because air in the cylinder will not be pumped into the lines. The only tools needed for bench bleeding are a vise, a pair of bleed tubes, and a length of wood dowel. Bleed tubes can either be purchased or fabricated from spare brake lines and fittings.
1. Mount master cylinder in vise. Clamp vise jaws on one of the cylinder mounting ears.
2. Install bleed tubes in cylinder outlet ports and direct tube ends into appropriate reservoir chambers.
3. Fill reservoir chambers about 3/4 full with fresh, clean brake fluid.
4. Bleed cylinder by stroking cylinder pistons inward then allowing them to return under spring pressure. Use a wood dowel, or similar tool to stroke pistons.
5. Continue stroking pistons until bubbles no longer appear in fluid entering reservoir.
6. Remove bleed tubes and install plastic plugs in cylinder outlet ports. Plugs will prevent fluid loss and keep dirt out until cylinder assembly is ready for installation.
7. Top off reservoir fluid level and install cover and seal.
CAUTION: Be sure the seal is properly positioned on the reservoir cover. The seal can shift out of position during installation if care is not exercised. This will result in leakage and possible fluid contamination.
_______________________________________
Also, let me know if you have other questions.
Take care,
Joe
Image (Click to make bigger)
Saturday, March 13th, 2021 AT 11:47 AM