Hi and thanks for using 2CarPros.
Are you able to tighten the fitting any more? If it is leaking around the threads, either it's slightly loose, the line is deformed, or the nipple inside the cylinder is damaged. If tightening it doesn't help, you need to remove the fitting and inspect for nicks or any evidence of damage.
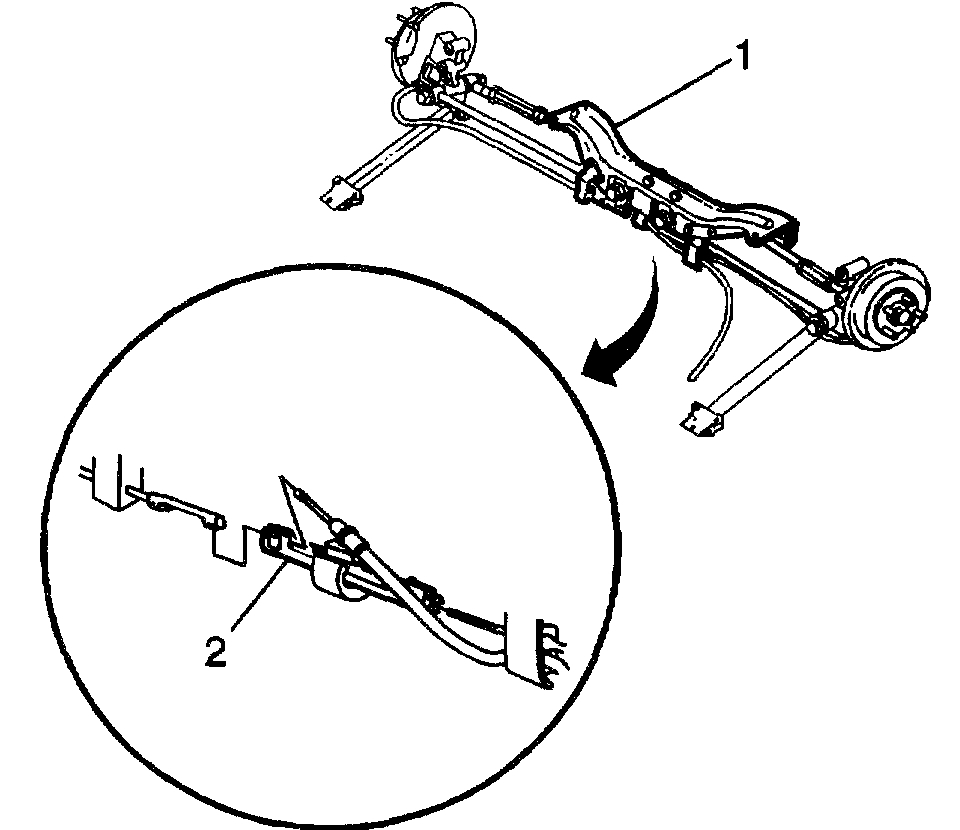
As far as parking brake, here are the directions for cable adjustment. See picture 1
PARK BRAKE CABLE SERVICE/ADJUSTMENT
1. Adjust the rear brake shoe.
2. Apply and fully release the parking brake six times.
3. Verify that the parking brake pedal releases completely.
^ Turn ON the ignition. Verify that the BRAKE indicator lamp is off.
^ If the BRAKE indicator lamp is on, ensure that the parking brake pedal is in release mode and fully returned to stop. Remove the slack in the front parking brake cable by pulling downward on the cable.
4. Raise and suitably support the vehicle.
5. Adjust the parking brake by turning the nut on the equalizer (2) while spinning both rear wheels. When either rear wheel starts to drag, back off the nut one full turn.
IMPORTANT: If the rear wheels rotate during the following test, adjust the parking brake shoe.
6. Apply the parking brake to four clicks. Inspect the rotation of the rear wheels:
^ The wheels should not rotate forward.
^ The wheels should drag or not rotate backward.
7. Release the parking brake. Verify that the wheels rotate freely.
_______________________________________
Here are the directions for parking brake shoe adjustment. The remaining pictures correlate with these directions.
PARK BRAKE SHOE ADJUSTMENT
REMOVAL PROCEDURE
^ Tools Required
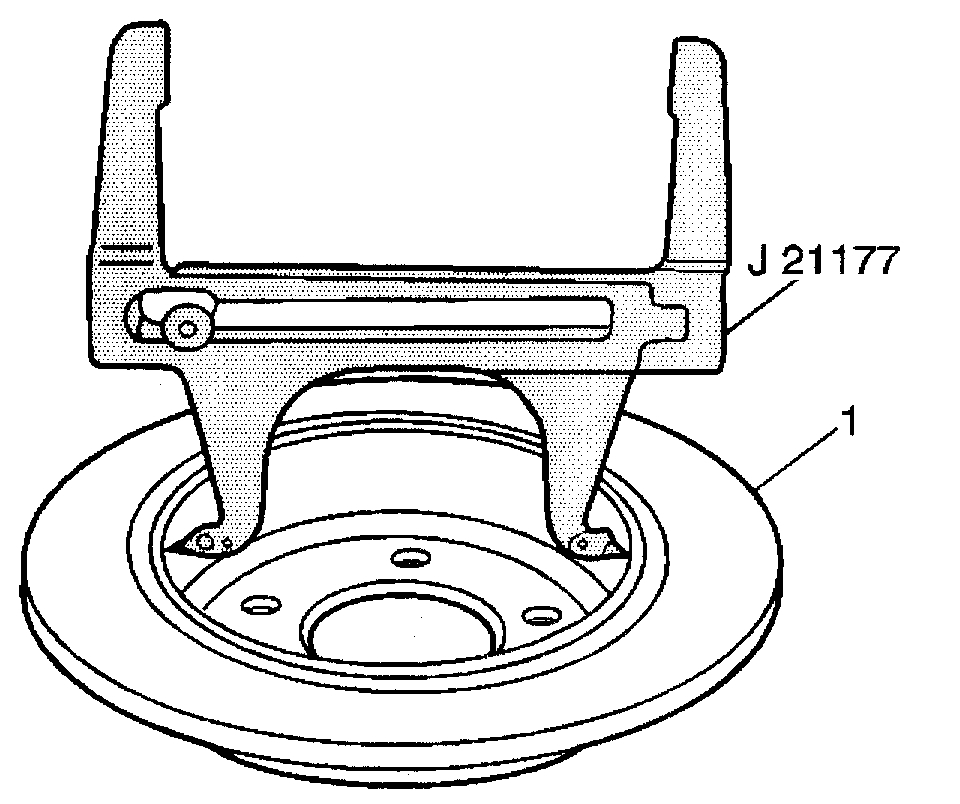
- J41713 Drum-to-Brake Shoe Clearance Gage
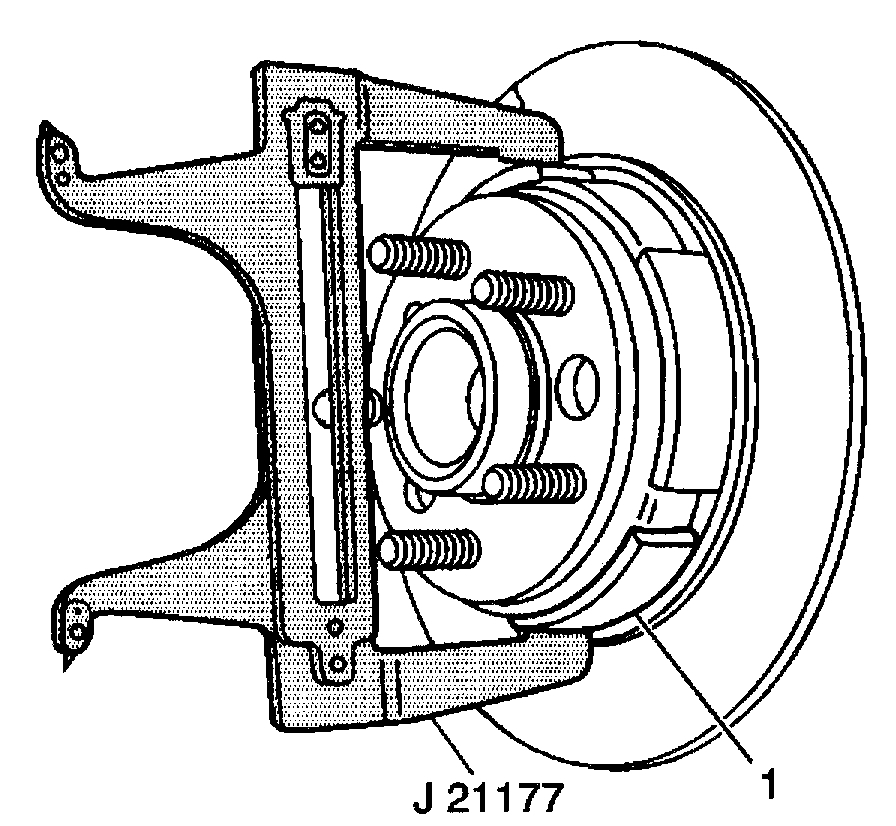
1. Remove the rear caliper bracket.
2. Remove the rotor.
3. Loosen the adjusting nut on the parking brake cable until the lever is at the rest position.
4. Set the J41713 so that the J41713 contacts the inside diameter of the rotor.
5. Position the J41713 over the shoe and lining at the widest point.
6. Turn the adjuster nut until the lining just contacts the J41713.
7. Repeat steps two through five for the opposite side.
8. Adjust the adjusting nut on the rear parking brake cable.
INSTALLATION PROCEDURE
1. Tighten the parking brake cable adjusting nut.
2. Install the rear rotor.
3. Install the rear caliper bracket.
__________________________________________
Let me know if this helps or if you have other questions.
Take care,
Joe
Images (Click to enlarge)
Mar 16, 2021 at 5:29 PM