Hi and thanks for using 2CarPros.com.
First, the air flow direction is not changed by the blend air door. The blend air door determines the air temperature entering the vehicle. If you are stuck in the defrost position and cannot change it, the mode door operation is faulty.
The system in your vehicle is operated by engine vacuum. The first thing I suggest is with the engine running, listen to see if you can hear any hissing or vacuum sounds which would indicate a leak. Since the system is in the defrost position, that indicates there is most likely a leak or low vacuum from the engine. It defaults into the defrost position so you can clear the window in the event of failure.
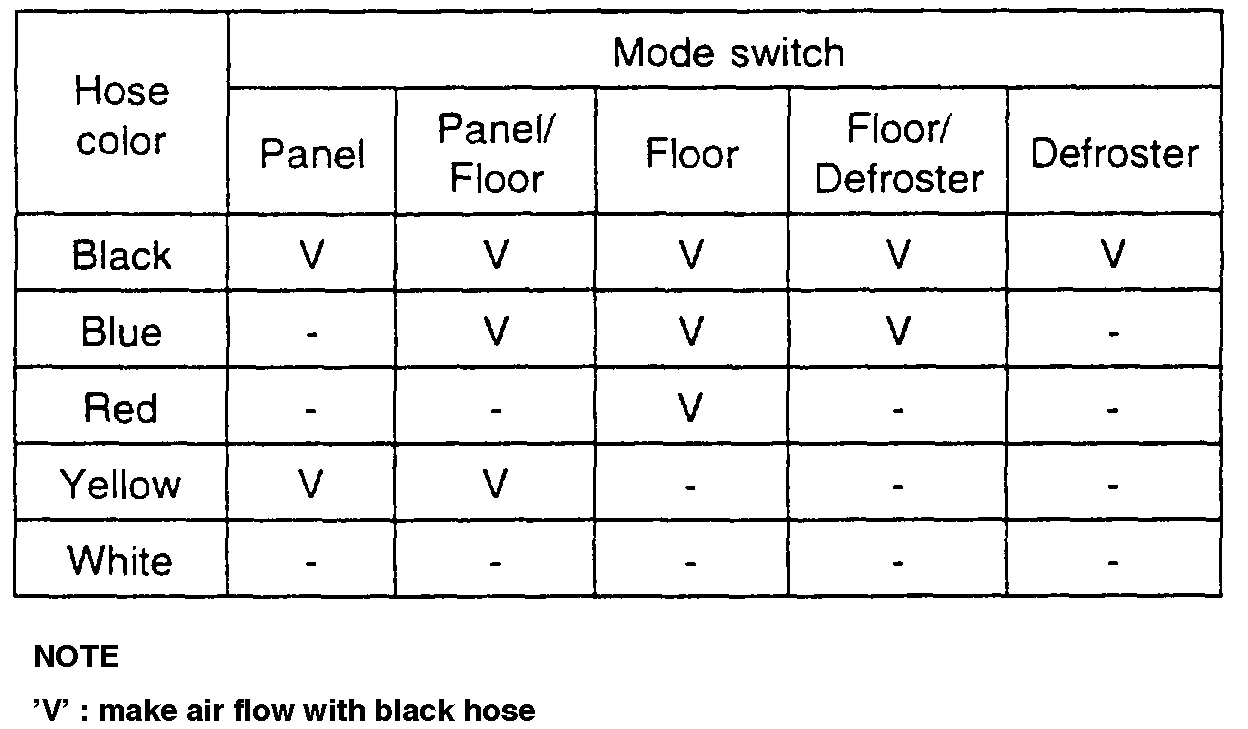
Here are the test procedures for checking the unit. The first picture attached indicates which hoses should have vacuum based on air mode direction selected.
__________________________________
MODE CONTROL SWITCH INSPECTION
1. Connect the vacuum tester to black color hose of the vacuum connector.
2. Connect the vacuum hoses to mode control switch.
3. Clog the vacuum port for fresh/recycle control switch.
4. Check for vacuum hiss from the mode switch and vacuum hoses, and inspect for air flow between each hoses when the mode switch is at the each positions as shown.
If air flow is not as specified, replace the mode switch.
________________________________
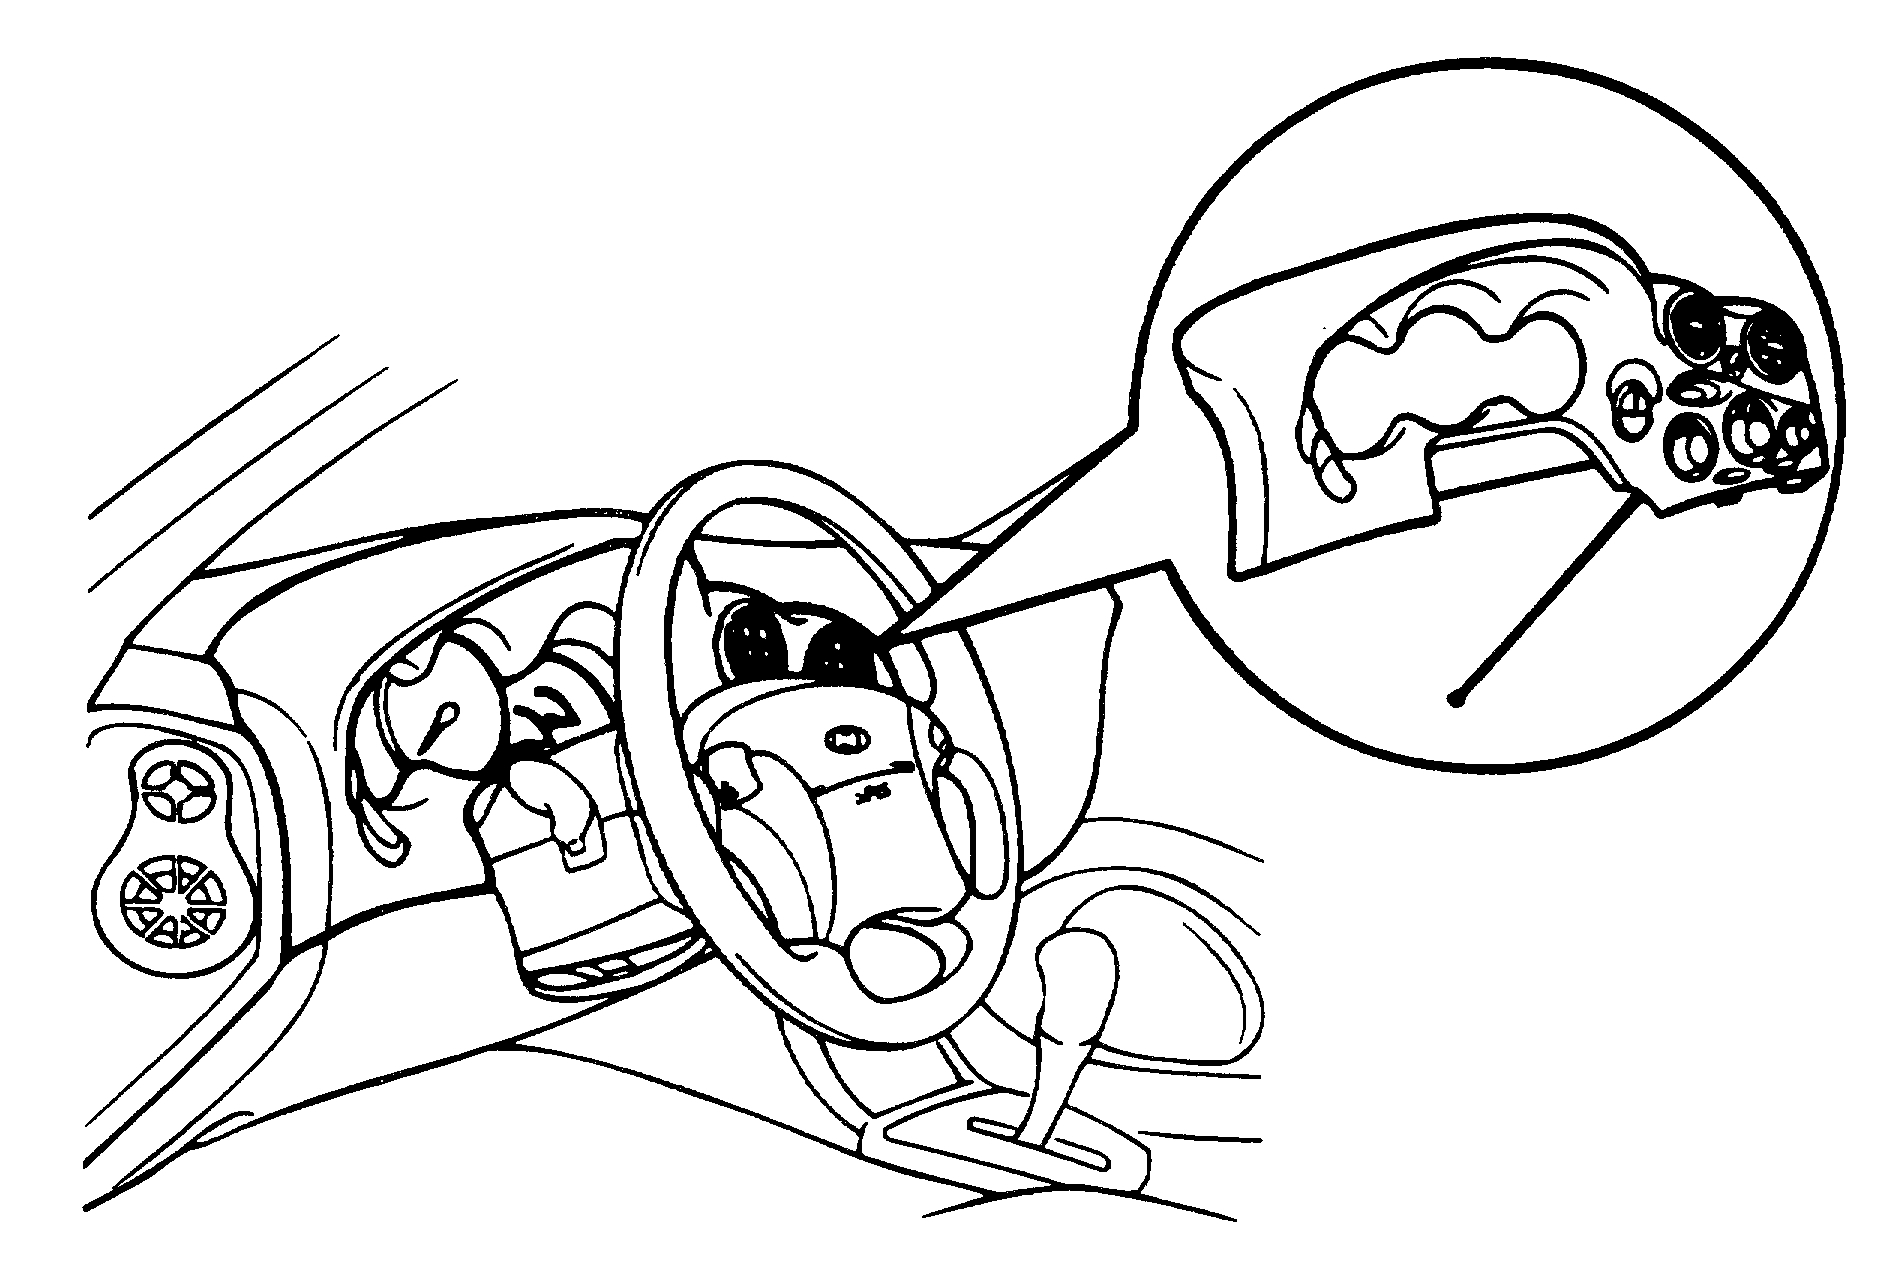
Now for the bad news. Chances are you won't be able to access the vacuum switch hoses unless the switch is removed. Here are the directions for removal. All remaining pictures correlate with these directions.
PROCEDURES
COMPONENTS
REMOVAL
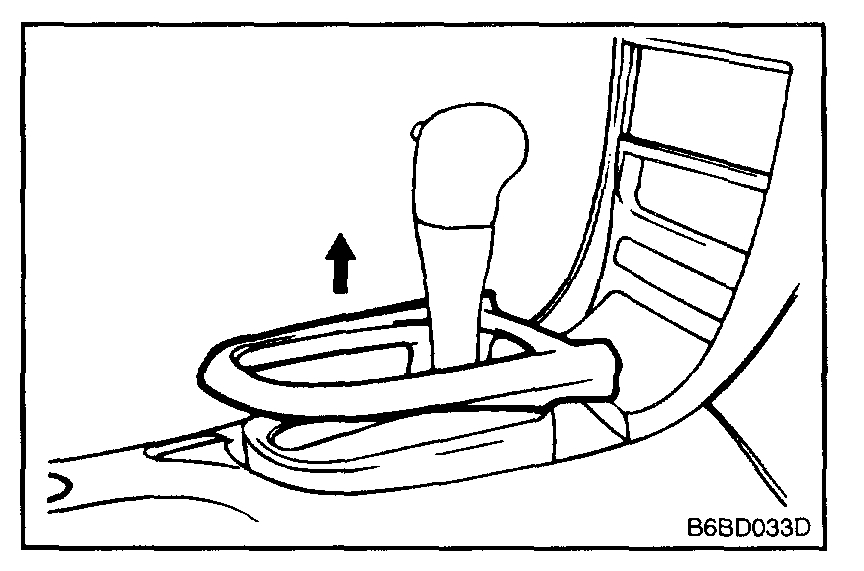
1. Remove the shift lever upper cover.
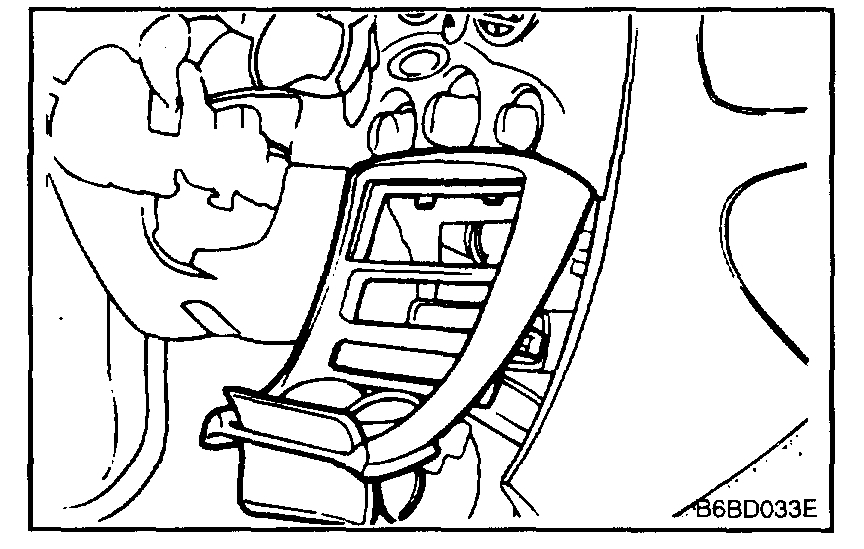
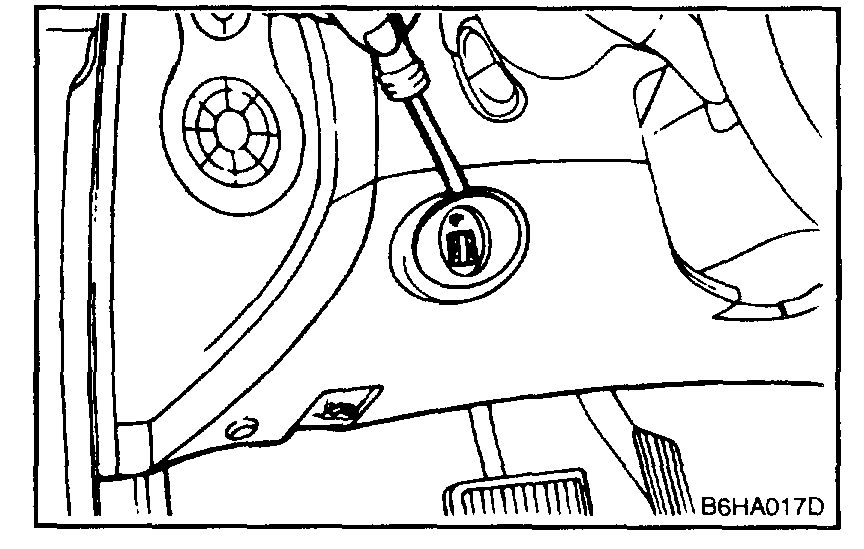
2. Remove the fascia panel mounting screws.
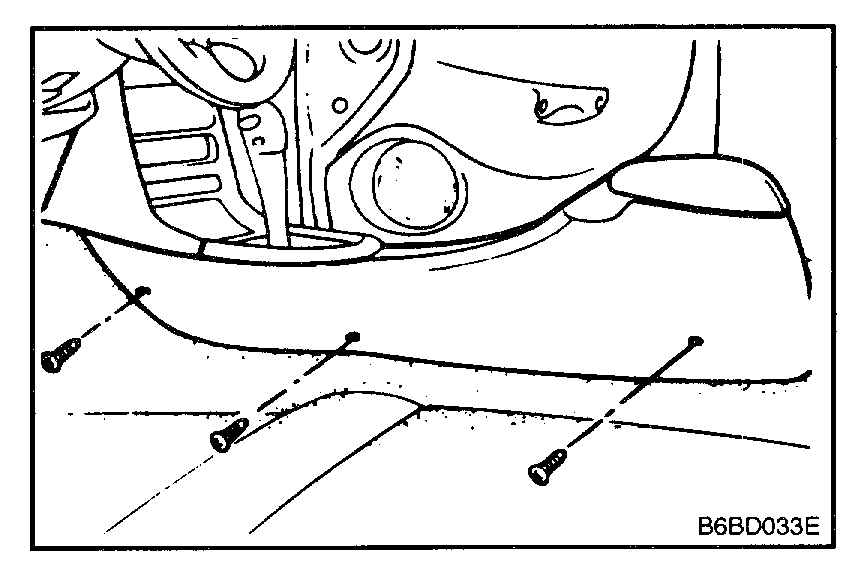
3. Remove the floor console mounting screws (4EA) and then, remove the floor console.
4. Disconnect the rheostat switch.
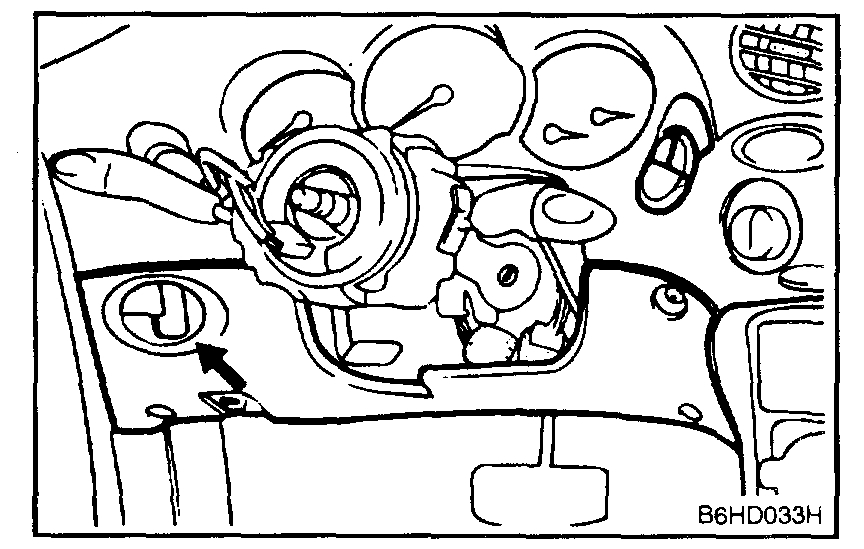
5. Remove the lower crash pad panel.
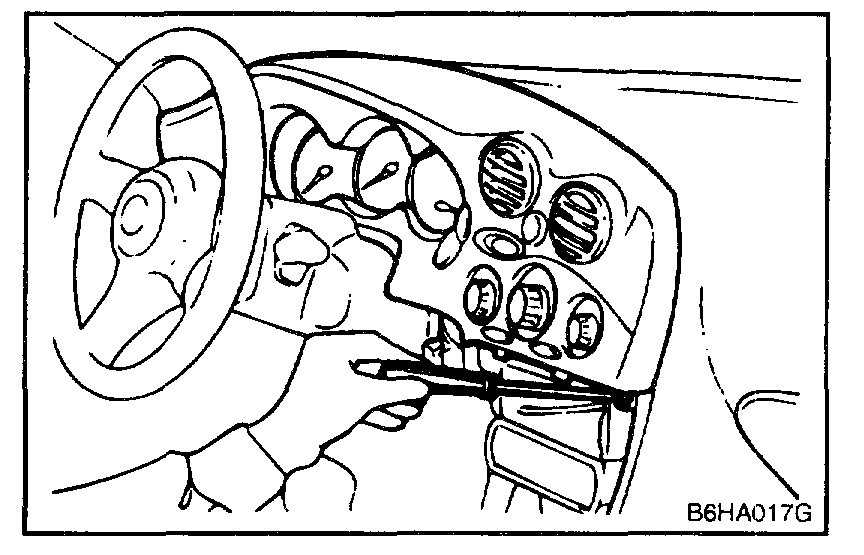
6. Remove the cluster fascia panel mounting screws (5EA) from the cluster fascia panel.
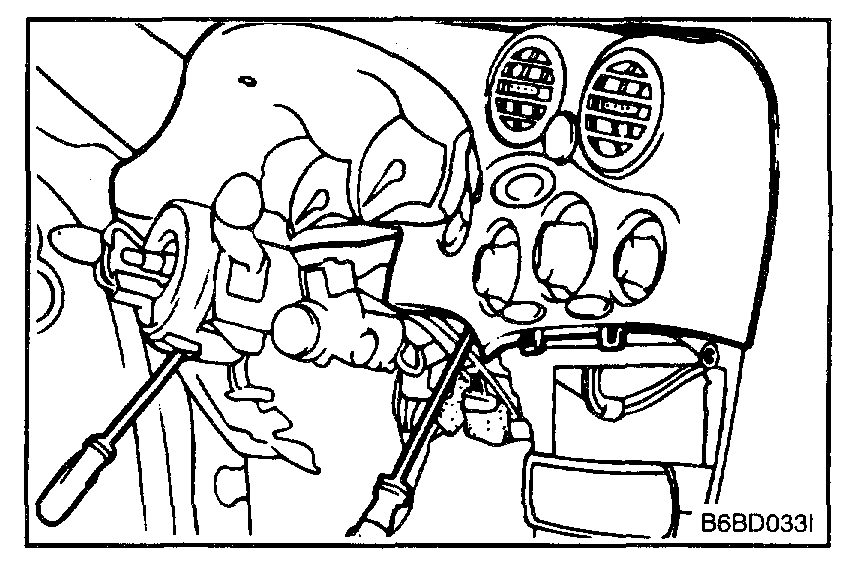
7. Pull out the cluster fascia panel, disconnect switch extension wire connector, vacuum harness connector, blowers switch connector, A/C switch connector
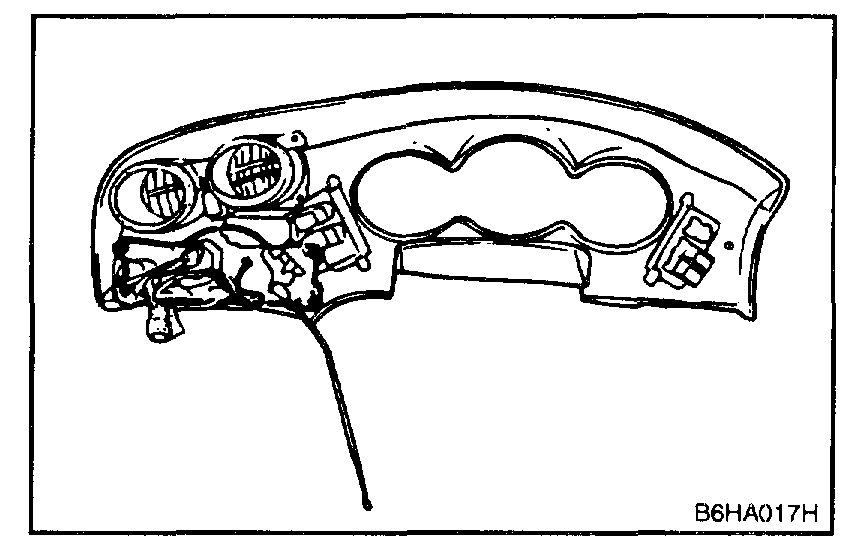
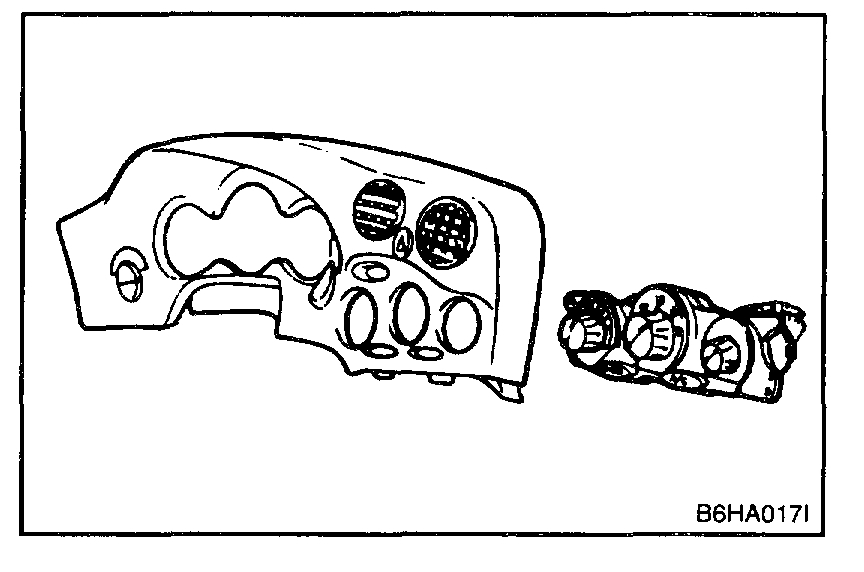
8. Remove the heater control panel mounting screws.
9. Remove the heater control panel assembly from the cluster fascia panel.
INSTALLATION
Installation is the reverse order of removal.
____________________________________________________
I hope this helps. Let me know if you have other questions.
Take care,
Joe
Images (Click to enlarge)
Sep 25, 2018 at 7:22 PM