when I was underneath the truck I decided, since I had them already, to change out the upstream o2 sensors. In the truck listed above there are no downstream sensors. Mistakenly I went to the driver's side first, easily accessed the sensor, removed and replaced it. Ten minutes start to finish. Then went to the passenger side and looked up to where the sensor connects.
that should have been a warning. Anyway, I managed to disconnect the switch and put a 7/8 this open end on the nut after spraying with pb blaster.
There is virtually no room to work in there, you will have to get creative when trying to remove the sensor. So, the open ended slipped and I did not break the nut. Next I got a torch, using mapp gas I heated it up again and again used the 7/8ths open end. Nothing. Next I cut wires and took a deep socket and both half in ratchet and breaker bar but again space restrictions made this also a no go.
heated again and tried the closed end wrench. No go.
i took a small grinder with a cut off wheel and cut the top of the sensor off so I could slip a 12-point 22mm socket over the nut and use my cordless impact. (Amazingly it fit) I heated the nut again, pressed impact in place and hit trigger. Ran impact until it smoked and quit on me. This impact is old, I believe a newer one with more torque might have done the job.
got pipe wrench and gave it a shot but it would not fit if you wanted the jaws placed properly. Tried heavy vice grips but no go there either. This exhaust is two into one so there are three connections to be dealt with to drop it. I do not want to do that. I can access the pipe at a few inches below the old sensor and drill and weld in a bung. Is this feasible? I am a millwright/welder so I can tig stick or mig weld the bung. That is basically my question. The rest serves as a warning to anyone wanting to give this a try.
Images (Click to make bigger)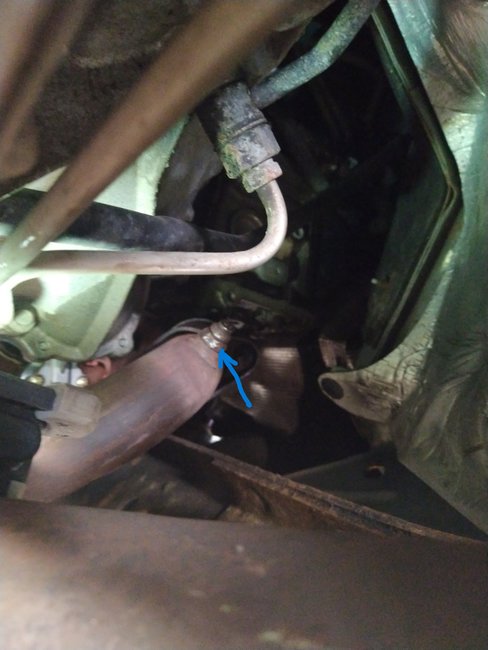


SPONSORED LINKS
Sunday, March 27th, 2022 AT 9:02 AM