Welcome to 2CarPros.
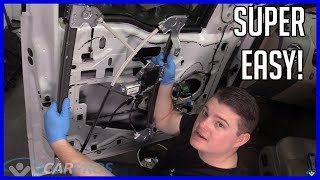
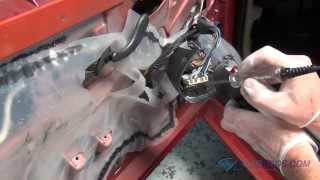
I don't have anything specific to just the cable. However, when replacing the regulator, the cables are involved. Here are the directions for removal of the regulator and cables. The directions show removal, but for install, it says it's the reverse of removal. So, you will need to follow the directions in reverse order. The attached pictures correlate with the directions.
I hope this helps.
____________________________________
2000 Volkswagen New Beetle (1C1) L4-2.0L (AEG)
Front Window Regulator
Vehicle Windows and Glass Windows Window Regulator Front Door Window Regulator Service and Repair Removal and Replacement Front Window Regulator
FRONT WINDOW REGULATOR
Window Regulator, Replacing
Note: In this illustration the repair of the window regulator on the driver side is described.
The repair for the front passenger side is identical
pic 1
1 Tension wire with cable guide housing
2 Sliding show - replace as a pair
3 Window regulator with carrier plate
4 Guide roller
5 Window regulator motor
Removing
- Remove door window from window regulator.
- Remove subframe.
- Disconnect the window regulator motor from the cable guide housing.
- Remove the faulty tension wire with the cable guide housing.
- Remove the sliding shoe.
Installation
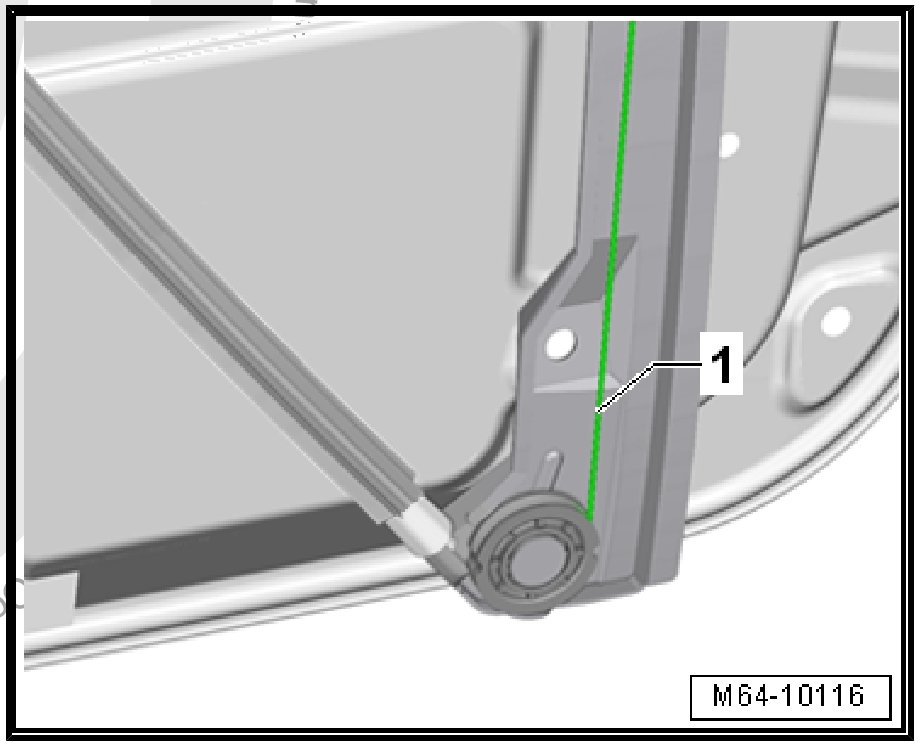
Note: The reference point for installing the tension wire is the guide roller with position -4- at the bottom left.
- Route the tension wire -1- for the left lower roller and secure.
Pic 2
- Engage the tension wire on the sliding shoe -2-.
- Route the tension wire -1- to the left upper roller and secure.
- Re-install the sliding shoe.
- Secure the tension wire in the lower right roller according to the illustration and engage in the sliding shoe.
Pic 3
- Install the sliding shoe.
Pic 4
- Widen the tab from the upper roller -1- in the area -a- with a suitable tool (pliers) from 5 mm to 8 mm.
- Secure the tension wire -2- on the roller and then engage in the tab.
- Careful shape the tab back to the dimension 5mm.
- Remove the fastener mechanism from the cable guide housing.
- Apply Guide Rail with Lubricating Grease - G000045003-.
- Check the routing of the new tension wire again.
Pic 5
- Remove window regulator motor -5- from window regulator.
- Remove plugs -3-.
- Remove combination nut -2-.
- Unclip window recess cable.
- Move window regulator to center of door and remove.
Installing
- Installation is performed in the reverse order of removal.
_____________________________
Let me know if this helps.
Take care,
Joe
Images (Click to make bigger)
SPONSORED LINKS
Monday, September 16th, 2019 AT 7:19 PM