Car door locks enable us to lock our car before leaving it unattended while feeling safe that it will be undisturbed when we return. These locks use the car's ignition key or a remote fob to unlock and enter the vehicle. Incorporated into the door handle and connected by a series of metal control rods these locks are attached to the inner door handle and to the door latch which holds the door shut.
What Goes Wrong?
A door lock is subjected to cold rain and wind as part of its everyday operation. Dirt and water sneak into the lock causing the tumblers to corrode while the constant use of the lock wears on its internal parts. When this part fails the door can be jammed shut and unable to open or it will hinder the operation of the inner handle. The key tumbler like any other lock will wear due to the key being inserted causing the tumbler to stop working.
What Does it Cost?
The parts for a door lock and key will cost between $20.00 and $50.00(US) depending manufacturer if you don't mind having a different key to work the lock. Each key is cut for an individual key the new lock will have a different key than the original unless you take the lock to a locksmith to have it matched to the new tumbler which will run about $30.00 (US). If you were to take your car in to have the job done at a repair garage or the dealership it will run between $170.00 and $280.00 (US) a side.
SPONSORED LINKS
Symptoms of a Door Lock Going Bad
There is a distinctive sign a door lock is going bad. When you put the ignition key in the lock it will not turn the lock unless you giggle the key which causes the tumblers to move slightly upward allowing the lock to work. This is a sign that one day you will not be able to wiggle the key because the wear will have overtaken the lock disabling its ability to open and close.
There is a video of this job being done at the bottom of this guide.
Let's Get Started
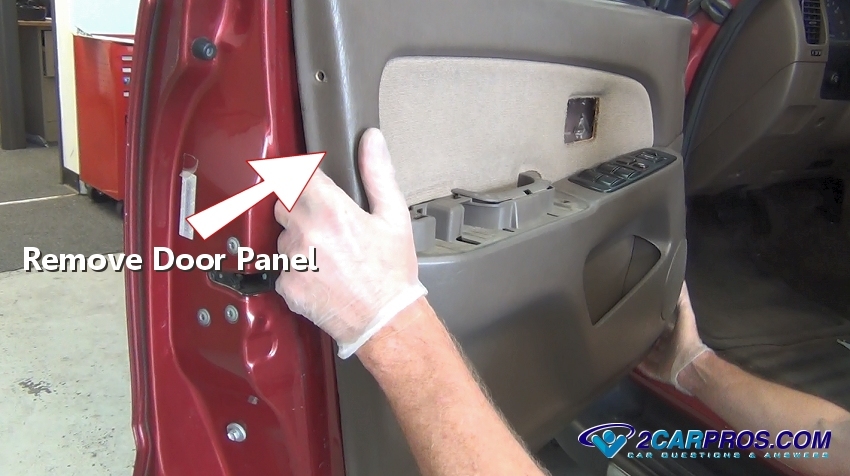
1. Remove Door Panel
If the car has electric windows turn the ignition key to the on position and raise the window completely. Then turn the ignition off and remove the door panel. This will allow you to gain access to the rear of the door lock for removal.
SPONSORED LINKS
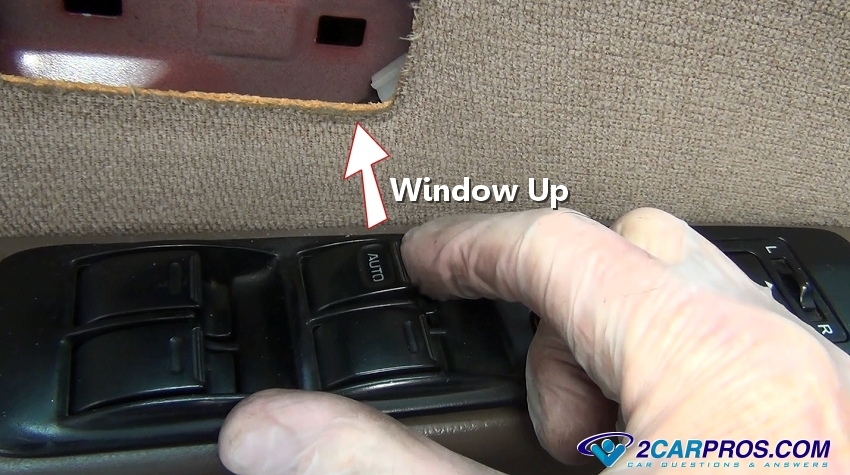
2. Raise the Window Up
Once the door panel has been removed with the window wiring still connected turn the ignition key back to the on position. Work the switch so the window is in the most upright position then turn the key off. It is a good idea to move the passenger's side window down to prevent accidental lock out during the job. If the car has manual windows you can just work the window crank up or down.
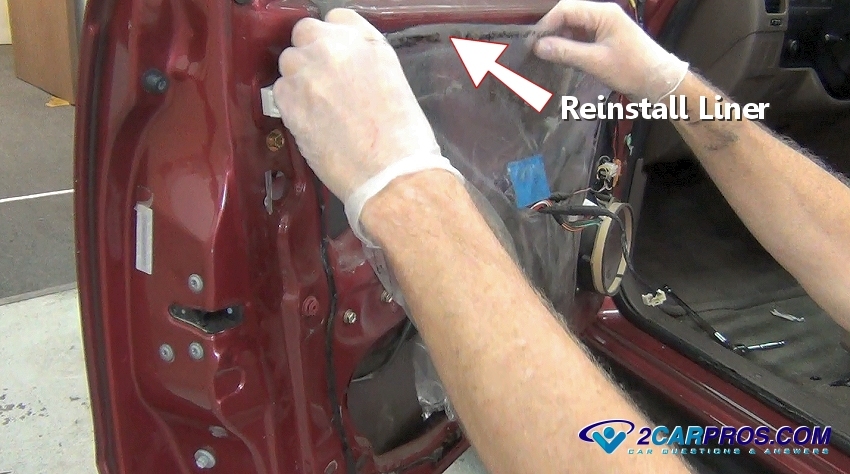
3. Remove the Inner Liner
There will be a plastic liner which is used to keep water from entering the inner workings of the door. Grasp the plastic door liner and gently remove it. The glue used is meant to be reused after the repair is complete.
SPONSORED LINKS

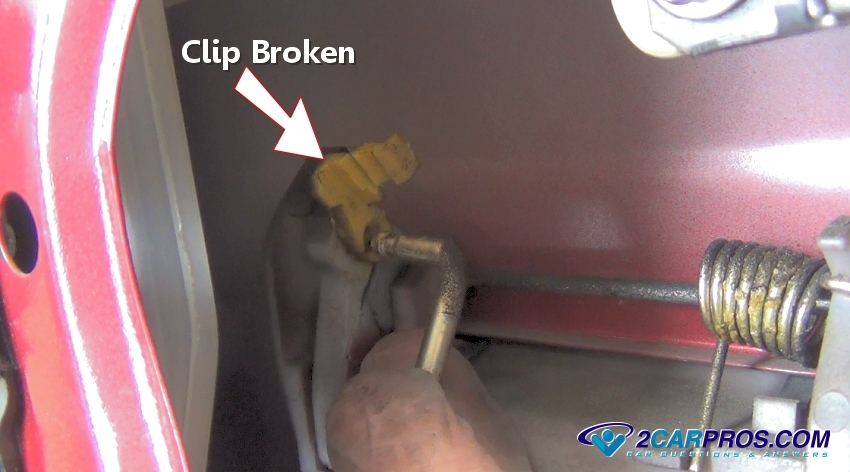
4. Remove Door Handle Control Rod
While using the access of the inner door locate the main handle control rod and un-clip it. This clip was broken rendering the handle non operational which will be also fixed in this repair.
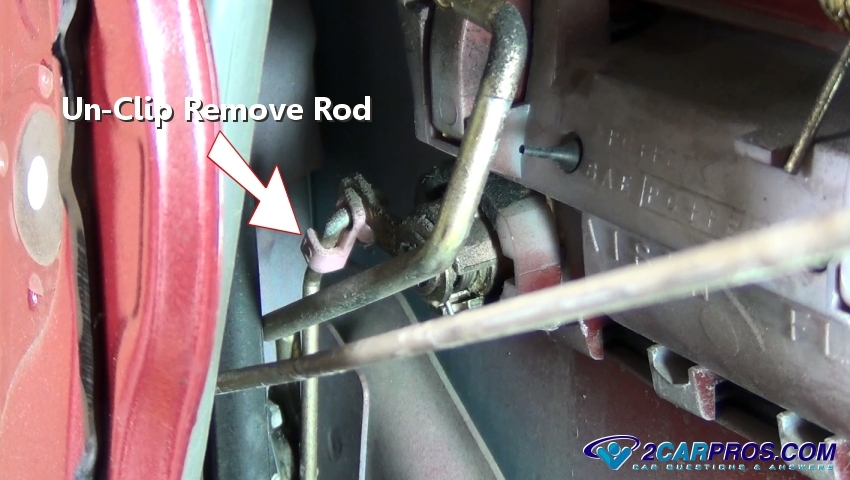
5. Remove Lock Control Rod
Locate the lock control rod and by using a long pick or screwdriver un-clip the rod and remove it from the lock arm by pushing the clip downward away from the control rod.
SPONSORED LINKS
Watch the Video!
Please watch this video of the job being done, then continue down the guide to glean additional helpful information.
6. Unbolt Outer Handle
Using a 10mm socket or wrench remove the inner door handle lock mounting bolts by turning them counterclockwise.
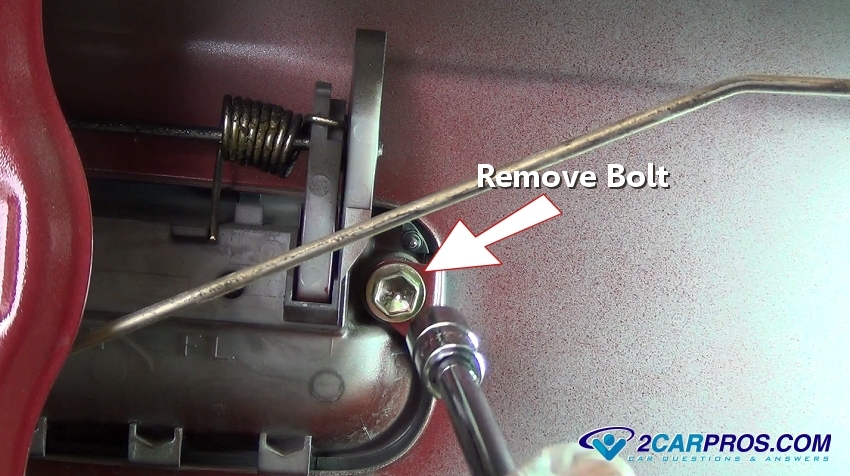
Some manufacturers offer a door handle mounting bolt access hole which can aid in the removal of the door handle mounting bolts.

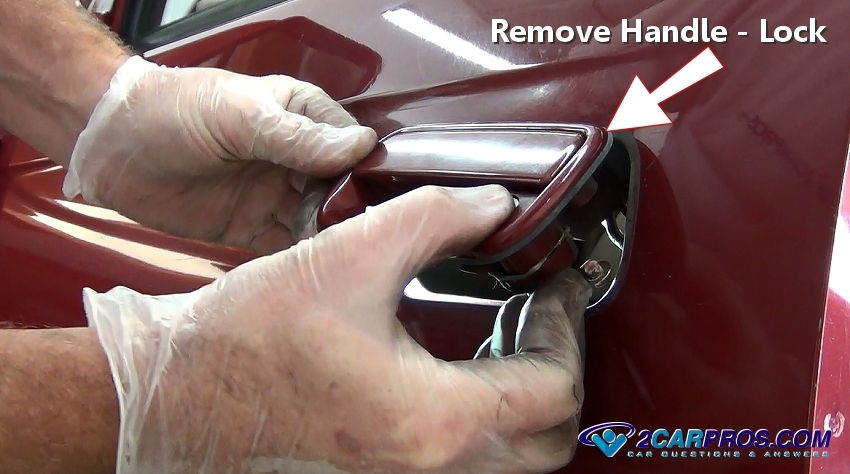
7. Remove Outer Door Handle
SPONSORED LINKS
Once the mounting bolts have been removed gently grasp the handle and lock assembly and lift up to remove it. This can take some jostling so be careful not the scratch the paint. Masking tape can be used stuck below and around the handle to help avoid paint damage.
8. Remove Door Lock
Use a small screw driver or pick remove the retainer clip that holds the lock inside the handle housing.
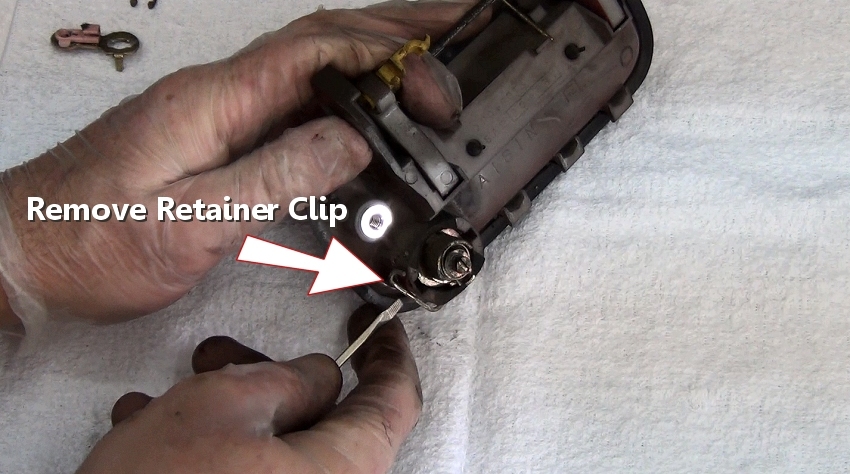
Once the clip has been removed the lock cylinder will become loose and ready to be removed.
SPONSORED LINKS
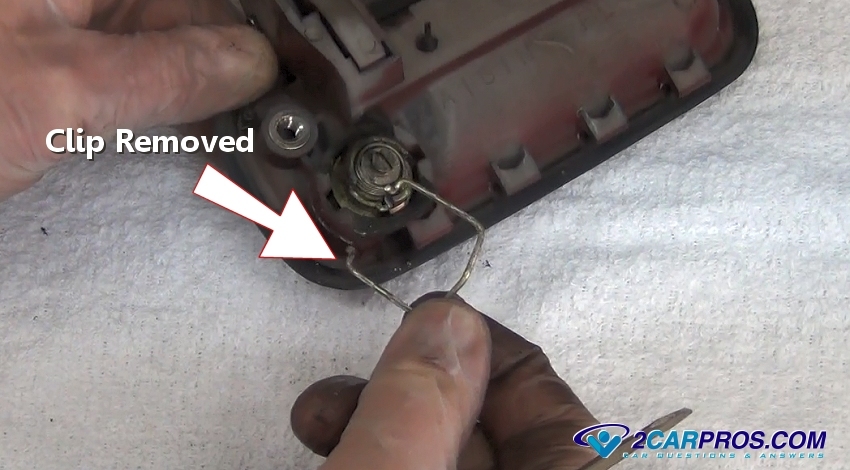
Push the lock tumbler out from the outer door handle and use a shop towel to clean the handle cylinder to get ready for the new lock to be installed.

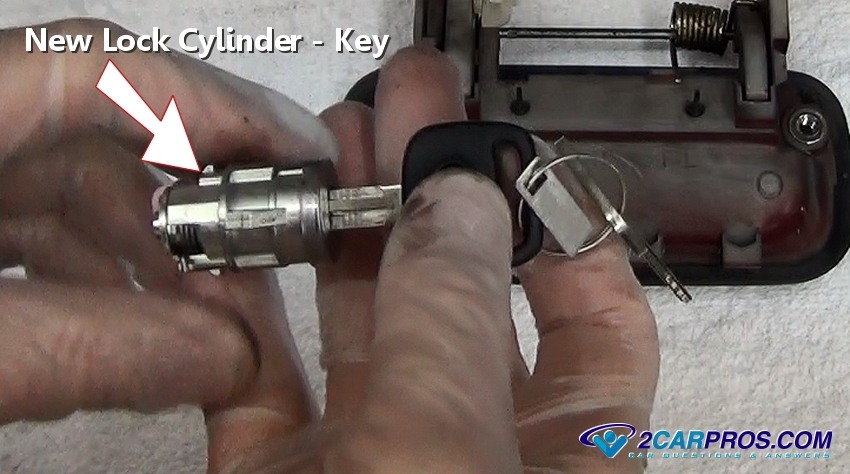
9. Install New Door Lock
A new key will be included with the new lock assembly that will be different than your old door key. If you want the same key the lock will need to be taken to a locksmith with the old key and rekeyed.
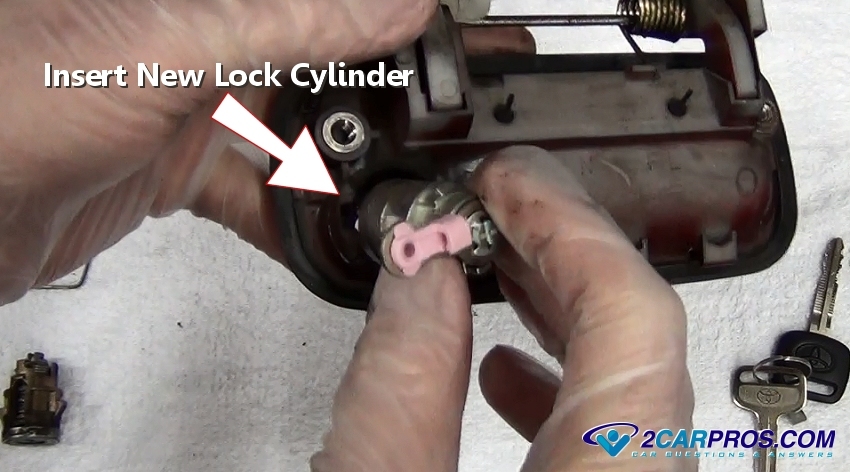
Gently insert the lock into the door handle being careful to line up any keyway timers in the handle so the orientation of the lock is correct.
SPONSORED LINKS
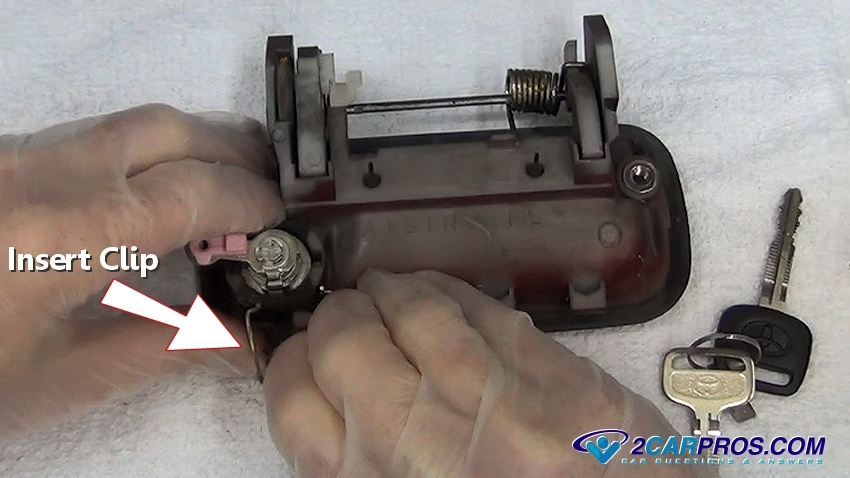
Grasp the lock clip and slide it into place. Some clips can be installed before the lock in which case the lock will snap into place.
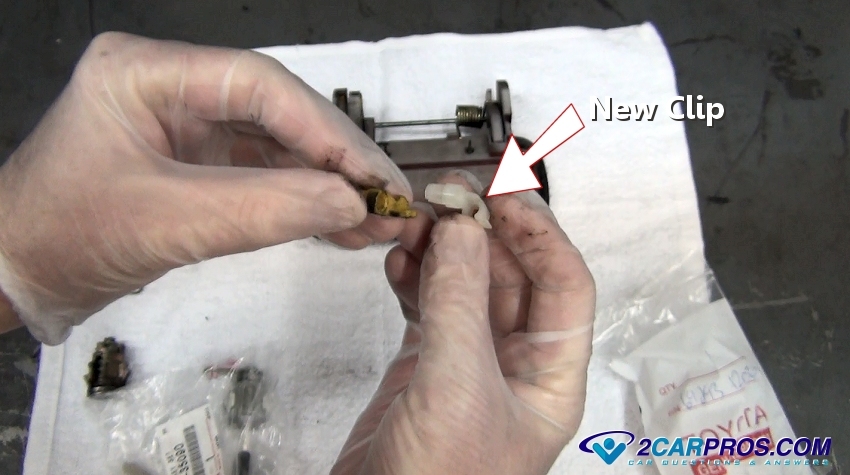
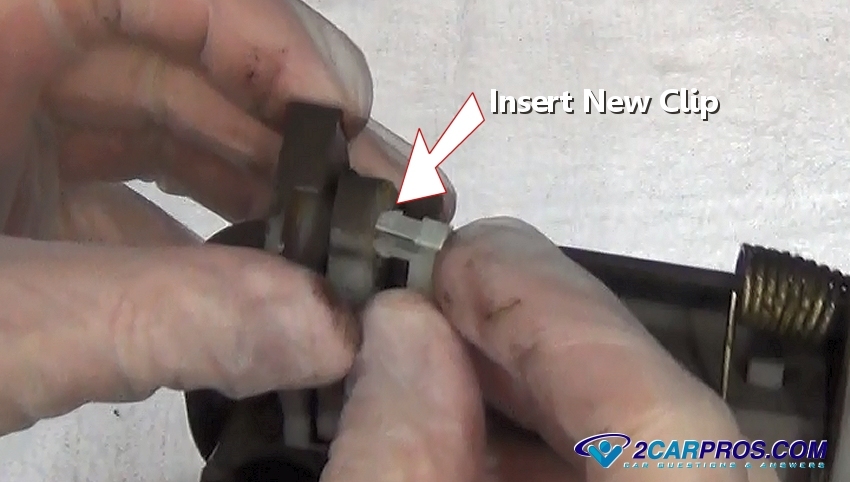
10. Install New Outer Door Handle Rod Clip
Once the door lock has been installed into the handle inspect and remove broken clips.

Match the new door handle clip to the old unit they should match identically.
SPONSORED LINKS
Grasp the door handle to insert the new plastic retainer clip. Now the handle is ready for installation.
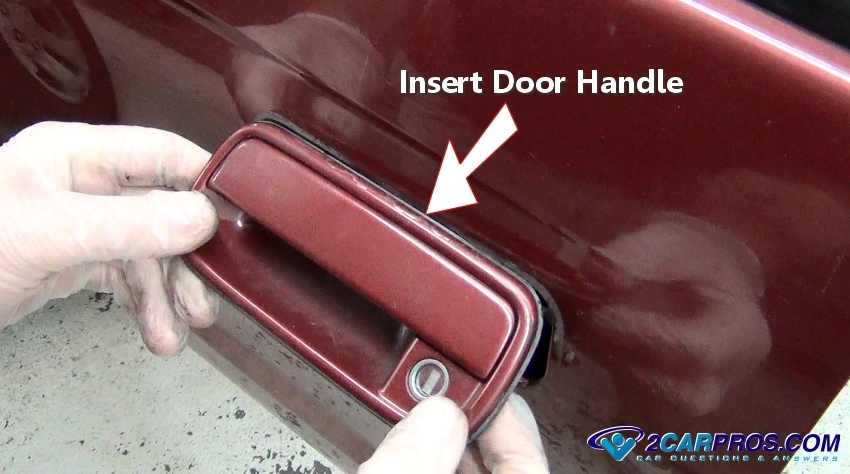
11. Reinstall Outer Door Handle
Gently lower it into position while being careful of the paint and control arms behind the handle.
SPONSORED LINKS
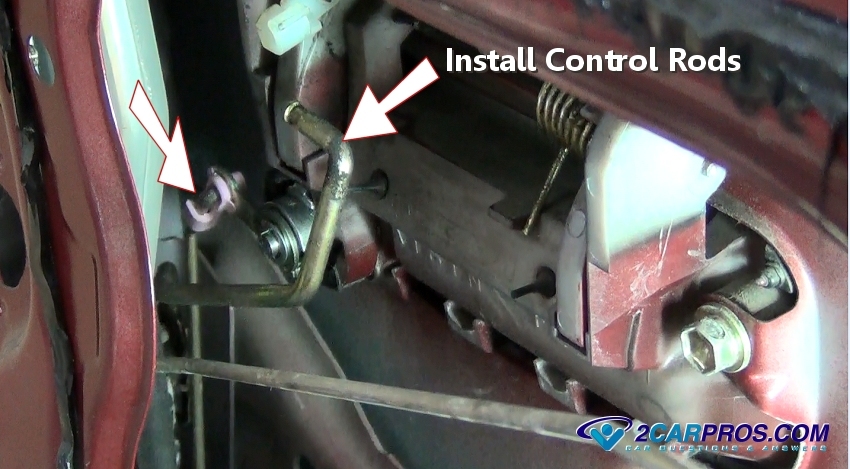
While holding the handle in place from the front side install the mounting bolts and tighten them to 5 foot pounds of torque.

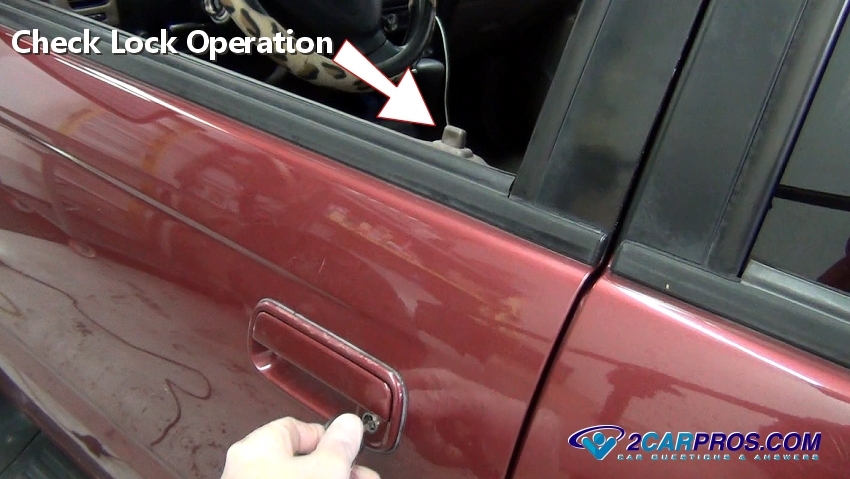
Then reconnect the control rods to the lock and to the door handle while securing the plastic clips.
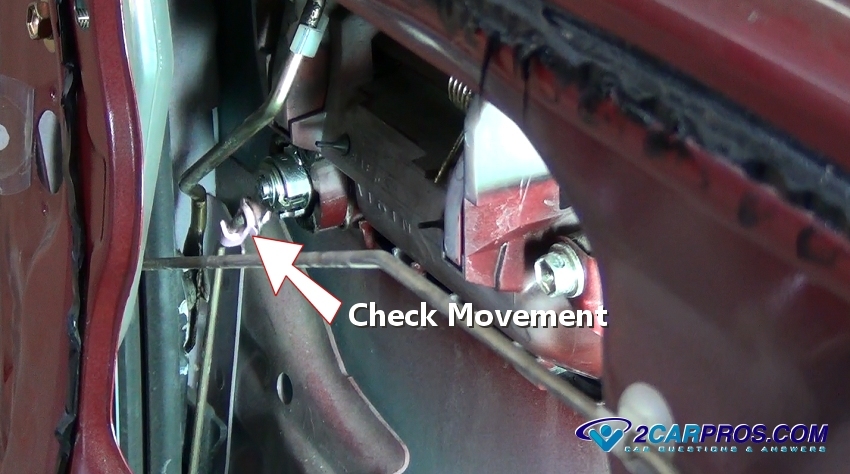
Once the control rods are connected use the key and work the lock to confirm it's proper operation. Work the door handle as well.
SPONSORED LINKS
Now grasp the plastic liner and reattach it to the door body. Be careful not to leave tools inside the door.
12. Reinstall Door Panel
Reinstall the door panel and clean any finger prints from the outer door paint and inner door panel.
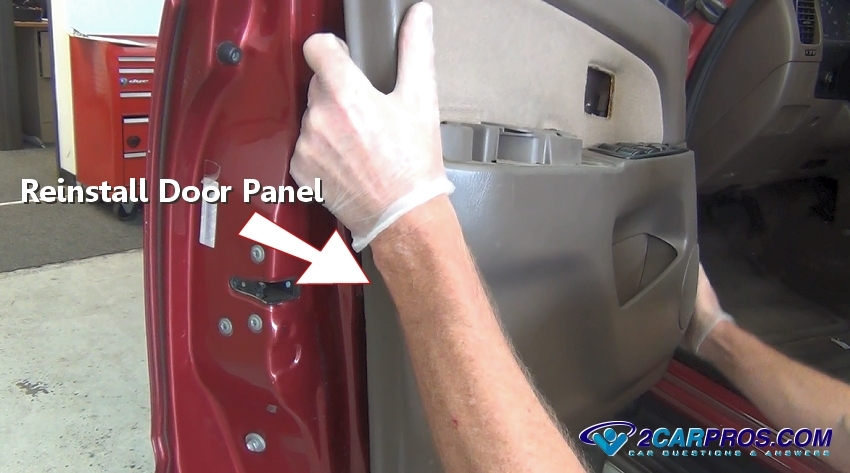
Check the door lock and handle operation to confirm a proper repair and you are all set.
If you have any door lock questions, please visit our forum. If you need car repair advice, please ask our community of mechanics is happy to help you and it is always 100% free. We hope you enjoyed this guide and video. We are creating a full set of car repair guides. Please subscribe to our 2CarPros YouTube channel and check back often for new videos which are uploaded almost every day.
SPONSORED LINKS
Article published 2022-03-12
SPONSORED LINKS


