Need to change your serpentine belt? This is an easy job in most cases. There are several names used to describe a serpentine belt, including: drive belt, poly-v belt, multi-rib, and micro-v belt. These belts are designed with multiple "v" grooves which provides better traction for the drive and components pulleys than the old style single "v" belts. A serpentine belt is a normal service item that must be replaced when worn, glazed or cracked.
What Goes Wrong?
When the serpentine belt fails it will render the vehicle inoperable; power steering, alternator and water pump functions will stop working. Steering will become difficult, but not impossible to turn because the power assist will be non-operational and eventually the engine will overheat. Use a flashlight to perform a complete visual inspection of the serpentine belt, looking for fraying, cracking or large pieces missing.
What Does it Do?
A serpentine belt's function is to convert the rotational force of the engine, and transfer it to the accessories such as the air conditioner compressor, alternator, water and power steering pumps.
Pro Tip
When replacing the belt inspect all belt pulleys for damage or rough spots that will affect the new belts performance. Do not use "belt dressing" or anti noise sprays, this is a temporary fix and will cause the replacement belt to fail prematurely because of contaminates on the pulley system. Regular replacement of this belt will help prevent breakdowns.
Let's Jump In!
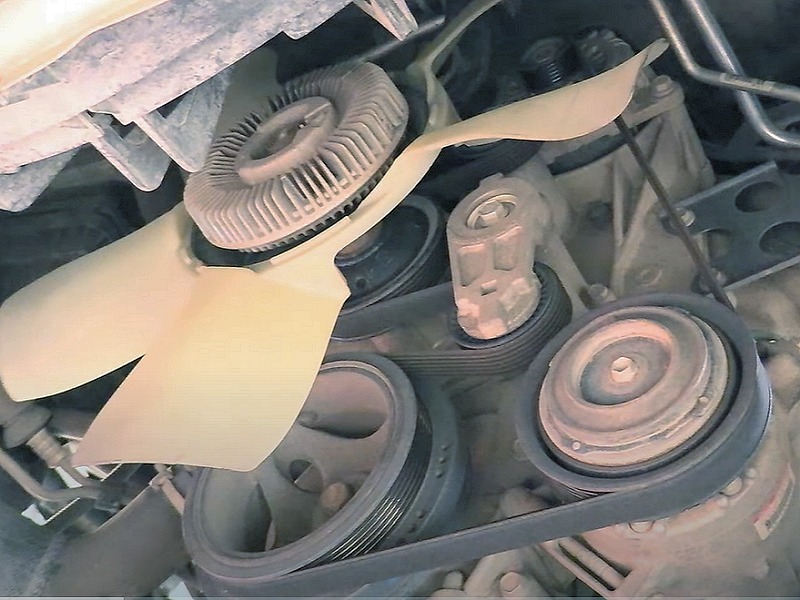
Step 1 - We begin underneath the vehicle for this
job in particular even though most of the time you can do it from above, whichever
is easier to reach the belt tensioner which will release the belt pressure.
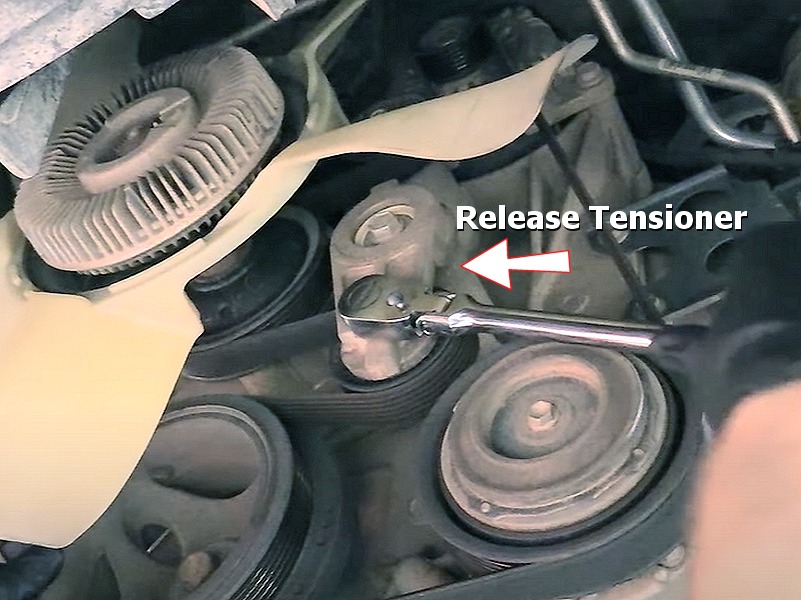
Step 2 - Use a 3/8 or 1/2 drive socket wrench (ratchet)
and force against the spring pressure in the opposite direction to release the tension
on the serpentine belt.
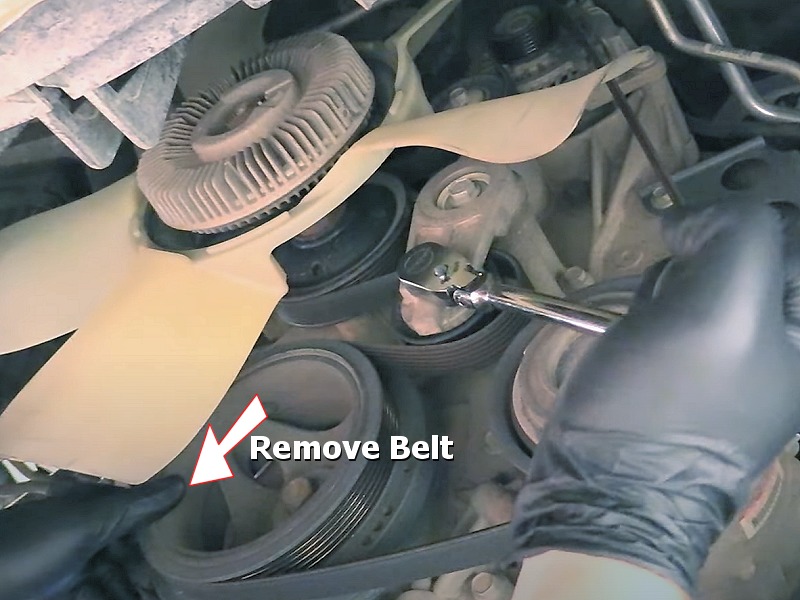
Step 3 - As you can see in the example below the
belt is loose on the pulleys, while holding the tensioner use your opposite hand
to remove the drive belt off of the nearest pulley. Belt routing can be confusing,
so make sure to take a picture using your phone or draw a routing diagram before
removing the old belt. If you get mixed up on the routing you can
ask one of our experts to help, for free.
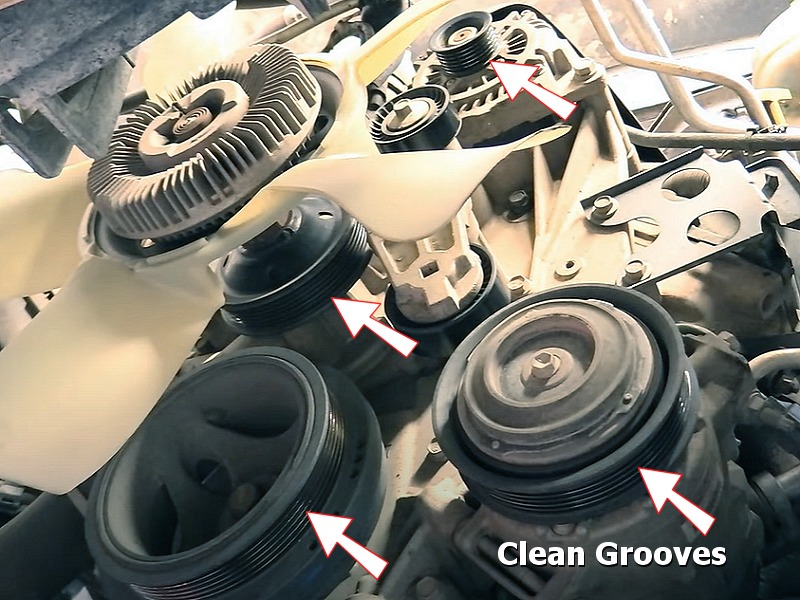
Step 4 - This is what it looks like with the belt
removed, at this point clean the pulleys using a small wire brush to make sure there
is no dirt, grease or little rocks stuck in the pulley grooves. Also, with the belt
removed, spin all the pulleys that freewheel to make sure the bearings are good.
When a bearing fails it will make a squealing noise before they lock up completely
and throw the belt off.
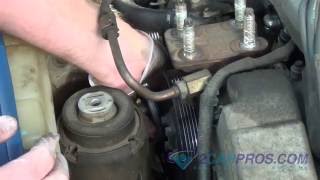
Watch the Video!
Please watch this video of the job being done, then continue down the guide to glean additional helpful information.
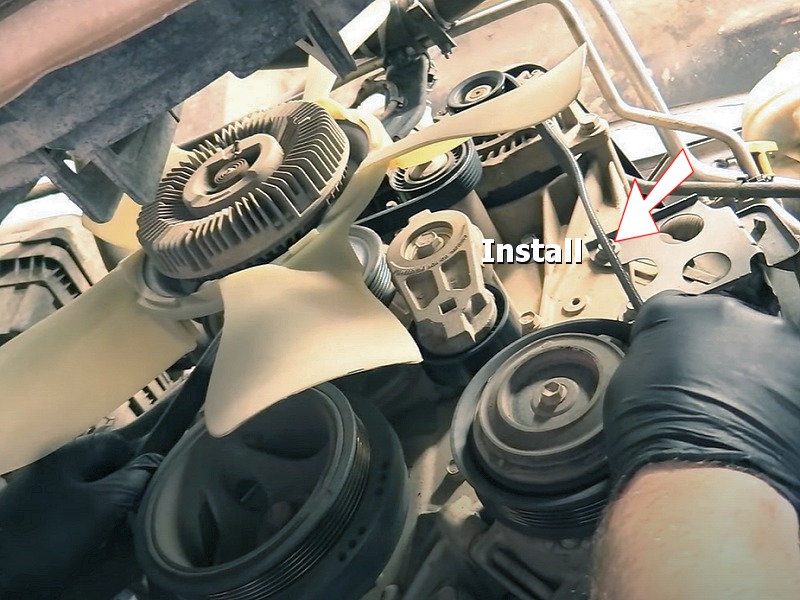
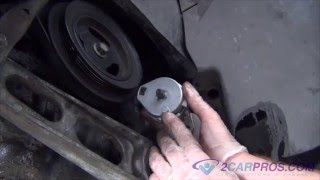
Step 5 - Check the size of the new poly belt to
make sure it matches the old belt, always use the right size belt in both length
and width to maintain the proper amount of tension and performance avoiding squeaking
and chirping while in operation. Begin at the top, and route the belt in and around
the pulleys, work your way down while routing the new belt.
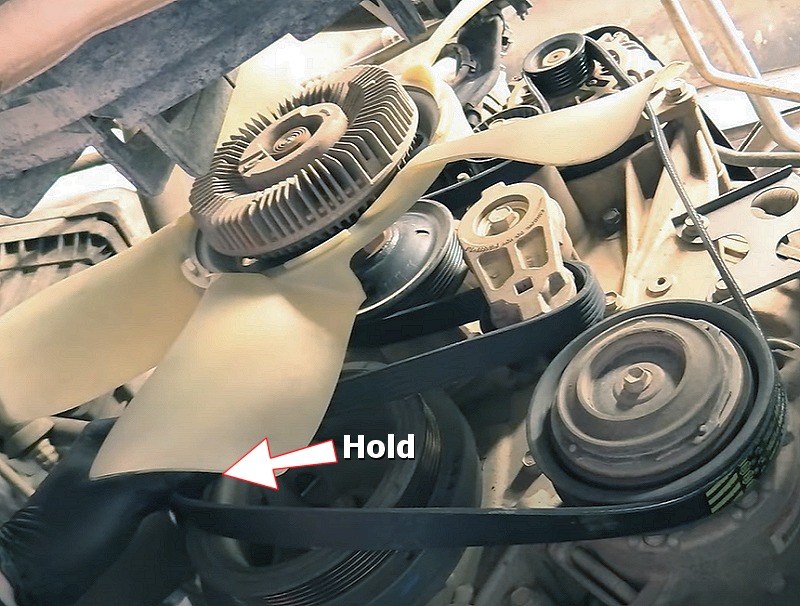
Step 6 - Once the belt is routed correctly, you
will need to hold the belt in position close to the last pulley that the belt needs
to be installed onto. It will not go on the last pulley until the tensioner is again
released.
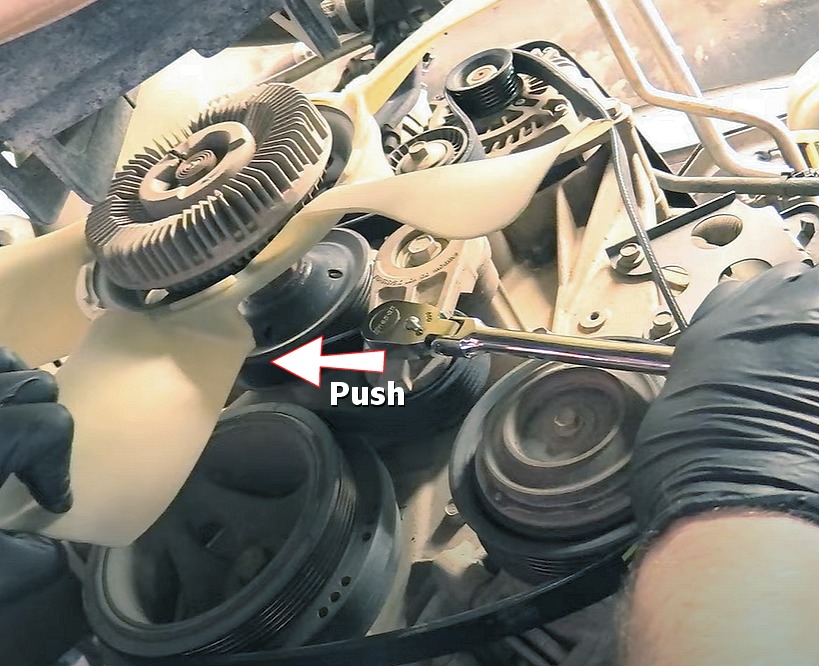
Step 7 - Using your opposite hand, insert the ratchet
into the tensioner and apply pressure to release the spring tension, this will allow
you to finish installing the belt onto the last pulley.
Step 8 - After the new belt has been installed use a flashlight to inspect the belt location on the pulleys, and that the belt grooves are aligned with the grooves of the pulleys. There is no adjustment necessary to the serpentine belt, the tension is automatically maintained by the belt tensioner. Check the belt tension, if the belt is loose it can cause a chirping noise due to the lack of pressure needed for the belt to operate properly.
Serpentine Belt Replacement Videos
- Acura MDX
- Acura TL
- Chevrolet Camaro 3.8L
- Chevrolet Cavalier
- Chevrolet Silverado
- Chevrolet Tahoe, Suburban, Silverado
- Chrysler PT Cruiser
- Dodge Caravan 3.3
- Mercedes Benz C230
- Mercedes Benz ML 500
- Ford Contour V6
- Ford Explorer
- Ford F-150
- Ford Focus
- Saturn Vue V6
- Toyota Prius
Questions?
Our certified technicians are ready to answer poly drive belt replacement questions for free. We hope you saved money and learned from this guide. We are creating a full set of car repair guides. Please subscribe to our 2CarPros YouTube channel and check back often for new videos which are uploaded regularly.
Article published 2022-05-12

Serpentine Belt Tensioner Replacement
Serpentine Belt Tensioner Replacement Ford
Serpentine Belt Tensioner Replacement