A strut and spring are designed into the vehicle's suspension to support the load and control movement when traveling over bumps and impurities in the road. Struts assemblies should be replaced in pairs, either front or rear.
What Goes Wrong?
A strut is a series of fluid-oils and pressurized gases controlled by valves and seals which can fail over time and mileage allowing excessive movement which can cause drivability issues that can be dangerous by allowing the vehicle to bounce uncontrollably. The coil spring mounted around the strut can break or become weak which will cause one corner of the vehicle to sag, again causing handling issues.
What Does it Cost?
Strut prices can vary greatly depending application and performance level but in general you can expect to pay from $140.00 for a pair to $130.00 for one on Amazon. Labor time at a shop will run about 1.8 hours each and it is recommended to get a wheel alignment in most cases. If exact labor times or procedures are needed you can ask our experts to supply you with the information (free), or consult an online resource such as AllData DIY (pay) but this guide and video will be sufficient in most cases.
SPONSORED LINKS
Where is it?
A strut is located at each corner of the vehicle, two in the front and two in the rear which attach to the mainframe or body of the vehicle (upper) and bolt to the lower control arm of the front or rear suspension.
Let's Jump In!
To start, the vehicle will need to be
jacked up and supported on
jack stands and the wheels
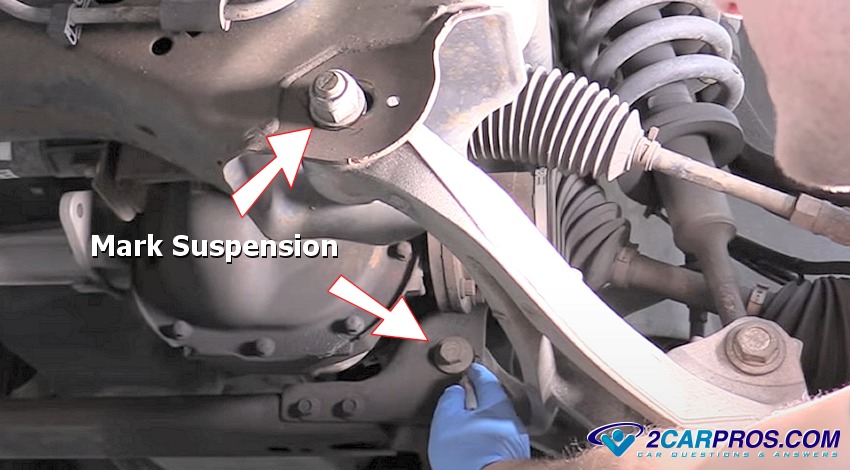
removed either front or rear. Anytime you are working with suspension components
take note of where the adjustments are made for the alignment. Assuming the alignment
is correct proper markings will help you to reassemble parts in the exact place
they were when you removed or loosened them. This job is on a 4x4 truck so some
steps may be omitted on two wheel drive vehicles.
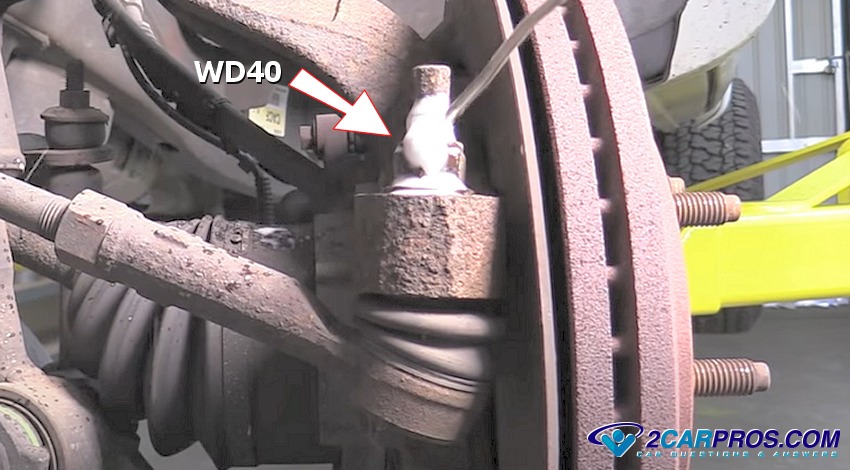
When dealing with suspension parts it’s best to use a lubricant such as WD40
or equivalent to help facilitate the removal of various nuts and bolts allowing
it to sit for a few minutes to penetrate into the threads before you begin.
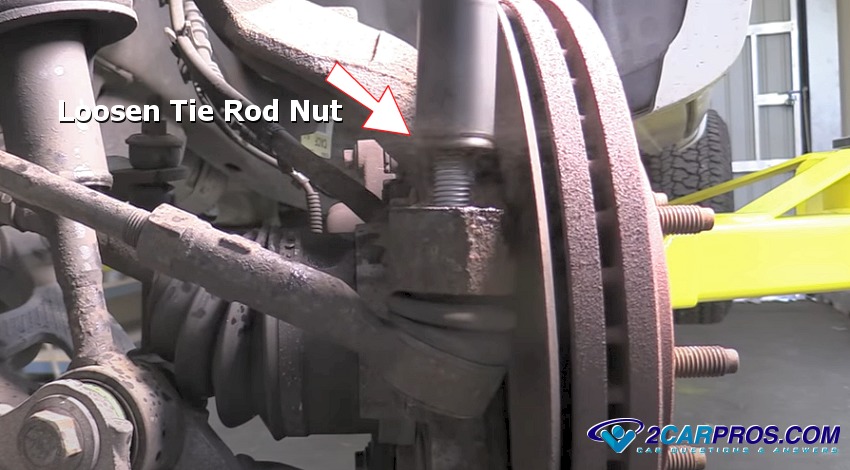
In most cases you will need to remove
the tie rod end from the spindle to add room allowing the removal of the strut
assembly. This is a taper fit part and will need to be released before it will come
undone which we will show you in the next step.
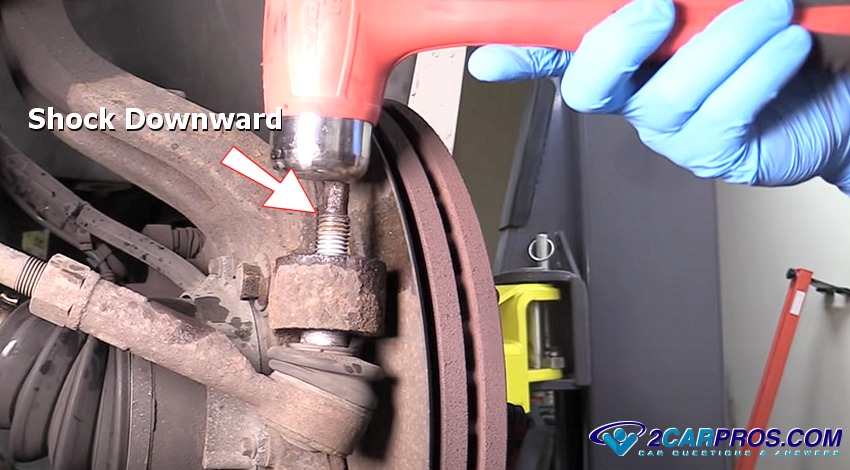
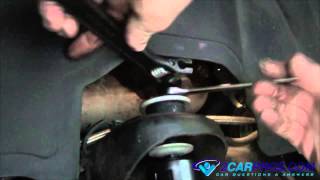
Here, the tie rod taper fit is being "shocked" to force the removal. Hold pressure
downward with a breaker bar while protecting the thread by leaving the nut (loose)
over the threads (not shown). In this case the taper fit was loose enough to where
it was easily removed, but this is not always the case. If you have trouble removing
the taper fit check out this taper fit
removal guide.
SPONSORED LINKS
There are two sides of the strut that must be removed, the top and bottom mounting
bolts, this shows the bottom nut location which needs to be removed, in this case
it is a 21mm (nut size).

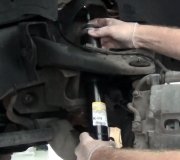
To remove the bottom bolt you will need to relieve a slight amount of tension
from the lower control arm by using a breaker bar.
Watch the Video!
After the video please continue with the remainder of the guide to glean additional information.
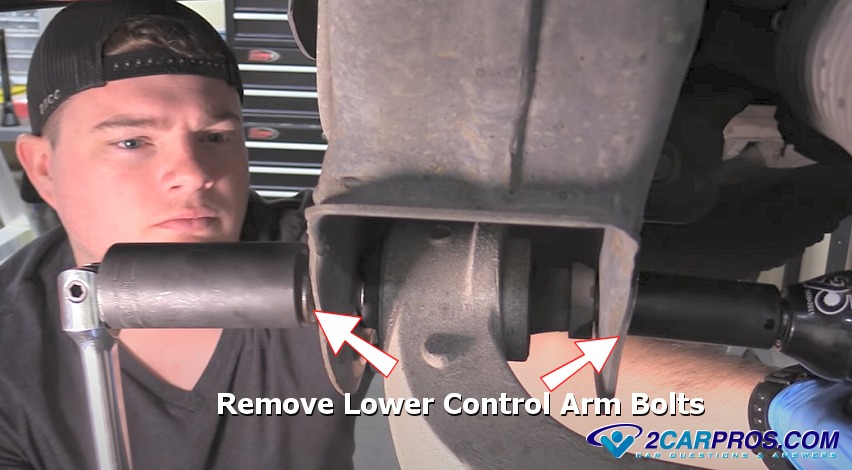
Before the top strut assembly mounting bolts are removed the lower control arm
nuts and bolts must be removed. Sometimes it might be easier to remove the lower
spindle ball joint which has a taper fit, but not in this case. There will be two
nut bolts assemblies, be sure to see the alignment markings before you remove them,
this will help you keep the alignment specs upon reassembly.
SPONSORED LINKS
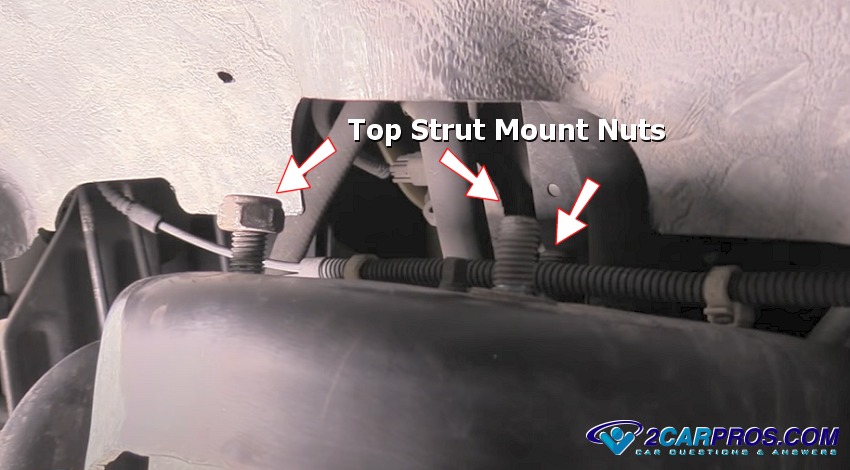
There are three upper mounting nuts that hold the strut to the frame or body
of the vehicle, these are the last attachments before the strut can be removed,
in this case they are 15mm. It is a little difficult to see the third nut because
it is the most inward of the three.
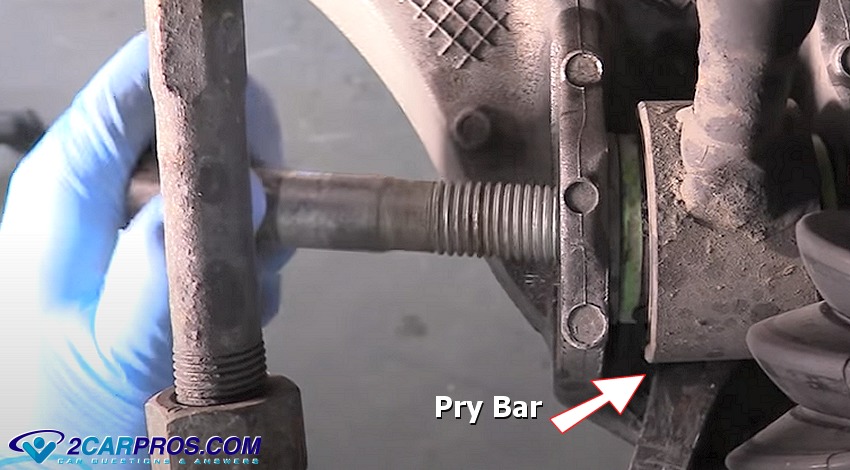
Use a large pry bar to dislodge the lower control arm, then move to the lower
strut mount again using the pry bar. As in any suspension replacements a large pry
bar is a great help and is highly suggested.

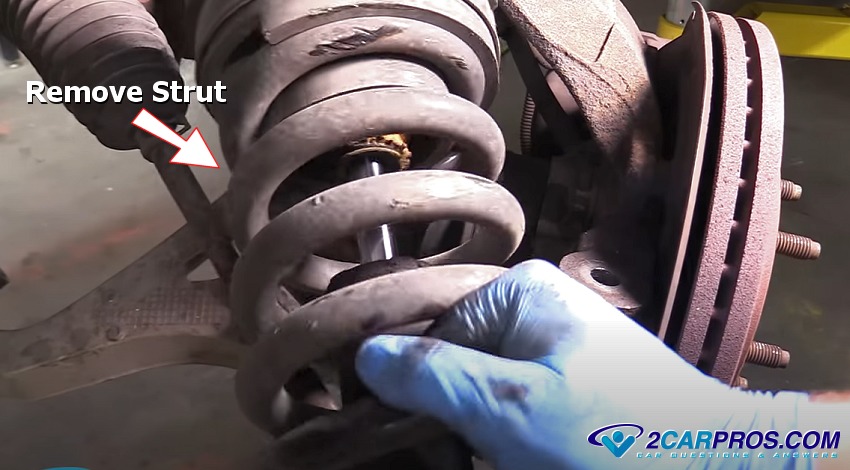
Obtain clearance using the pry bar on the lower control arm to help dislodge
the strut, be sure to grasp the strut firmly as to not drop it, remove the strut
and spring from the vehicle.
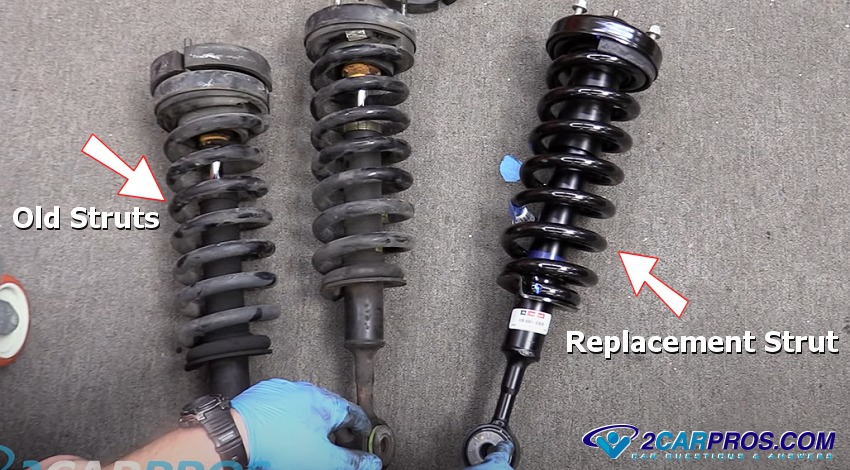
Once the old strut and spring assemblies are removed, compare the new units to
ensure a proper installation and usability. Reassemble the vehicle in the reverse
order to complete the job, a wheel alignment could be necessary in some cases.
Additional Strut and Spring Replacement Videos
SPONSORED LINKS
Questions?
Our certified technicians are ready to answer strut and spring questions for free. We hope you saved money and learned from this guide. We are creating a full set of car repair guides. Please subscribe to our 2CarPros YouTube channel and check back often for new videos which are uploaded regularly.
Article published 2022-03-09
SPONSORED LINKS
Shock Replacement - Front

Shock Replacement (Air) Mercedes Benz
