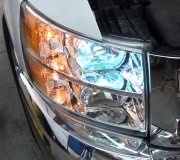
The brake light system in your car is used to help alert follow drivers that you are about to slow down, this system consists of to lower brake lights on the right and left sides and the upper third brake light or Cyclops light as some call it. When this system stops working it can be a safety hazard which is why we have created this guide, the flowing is how a mechanic would approach this problem starting with the easy stuff first.
Brake lights can fail in one of two ways, first and easiest is a signal brake light bulb failure which you can just replace the brake light bulb, the following guide goes over the signal bulb and complete brake lighting system failure.
Potential Tools and Supplies
- Screwdrivers (flathead and Phillips)
- Wire strippers
- Multimeter
- Replacement bulbs
- Electrical tape
- Socket set
- Fuse puller
- Replacement fuses
- Dielectric grease
- Work gloves
- Service manual for your vehicle
Getting Started
Park your car on level ground with the parking brake set. Turn the engine off and use protective gloves and eyewear if needed.
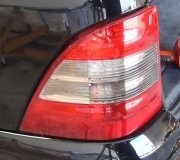
Single Brake Light Bulb Operation Failure
This is where some testing and observation is needed to repair a bad connection or broken wire.
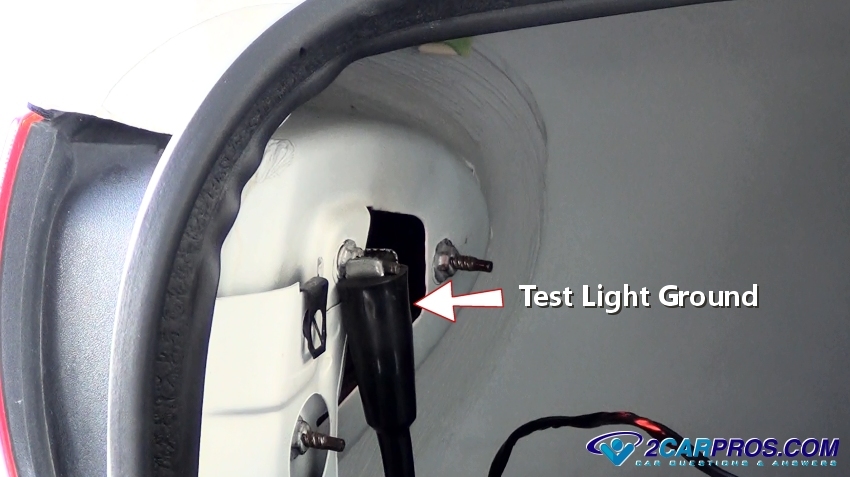
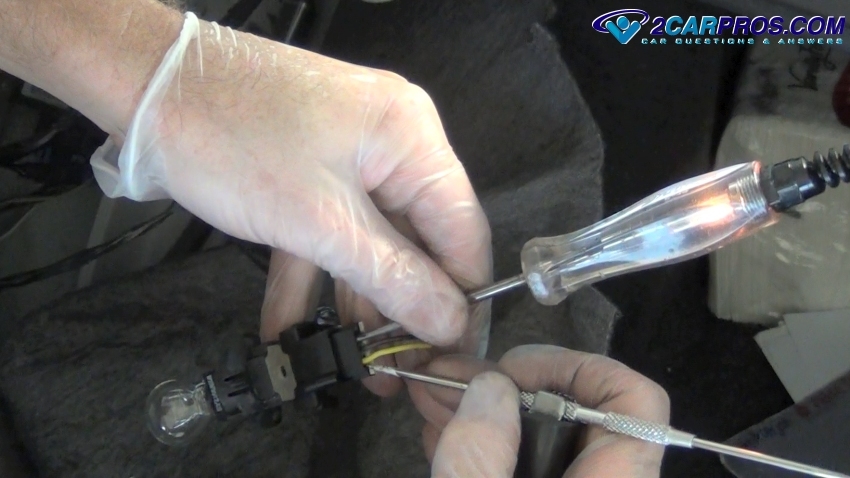
1. Test Brake Light for Power and Ground: Secure the ground clip of a test light to a known good ground source such as a bolt or solid metal piece. It's important to get a good connection free from rust or paint because the test light depends on this conductivity to work correctly which will give you a good test result. Wiggle the clip so the teeth of the spring loaded clip dig into the metal to ensure a good connection.
Have a helper hold down on the brake pedal, the remaining working brakes lights should be on. Use a test light to probe each of the brake light sockets feed wires; one of them should light up. If you cannot find power then access the opposite light that is working and probe the wires until power is found to confirm the test light is working. If power is present at the non-working bulbs continue with the guide. If power cannot be found skip down to: "Brake Light System Failure".
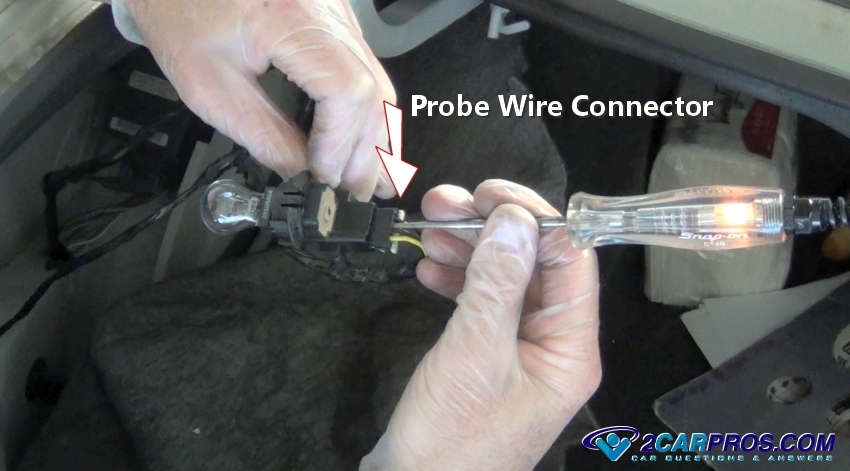
If you have power at the socket the next step is to check the system ground. Attach a pointed metal object to the test light clip and probe the brake light feed wire and the ground wire of the socket. If the test light lights up the circuit is working and the fault is in the bulb socket connections. If the test light does not light up there is an open connection in the ground wire. This will could make the bulb be dim, dull or not work at all.
You can either make a new ground wire connection by cutting the wire and using a new wire to any metal part near the socket or follow the wiring harness and look for obvious damage or cuts in the wiring that will need to be repaired.
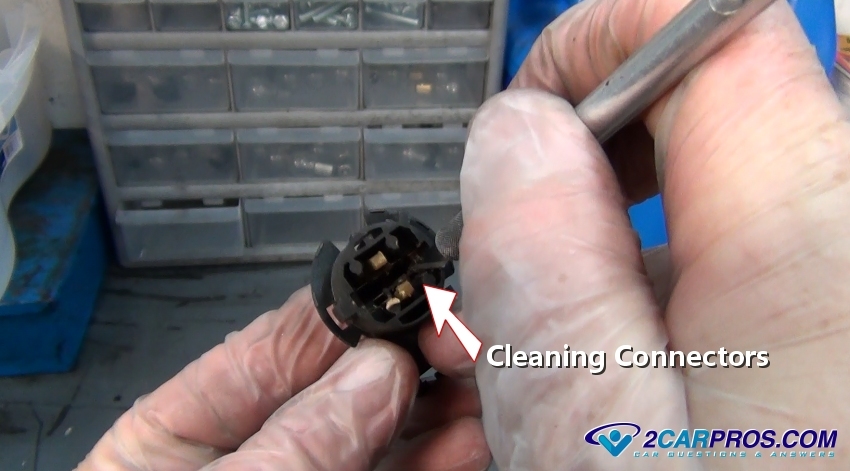
2. Repair Bad Connections: The bulb socket could be subjected to heat and corrosion. Remove the bulb socket and inspect the electrical connector for burned or melted terminals. This is caused by high resistance creating an open connection causing the bulb not to work. Manufacturers will install dielectric grease into the socket to help protect the connection but with time this clear or brown grease will melt out and expose the connectors to the atmosphere causing rust or corrosion which causes a bad connection.
Use a sharp object such as an Exacto knife to scrape the connection clean. If the connections are loose the bulb will flicker and flash. Use a small flat blade (standard) screwdriver to enhance the spring load of the terminals. This will help the bulb connect to the socket making the bulb to work again. If this socket is badly damaged it should be replaced. With all connections cleaned or socket replaced and the power and ground checked reassemble the socket and bulb onto the wiring harness. Have a helper step on the brake pedal to confirm the bulb operation. Then reinstall the bulb socket back into the lens and you are all set.
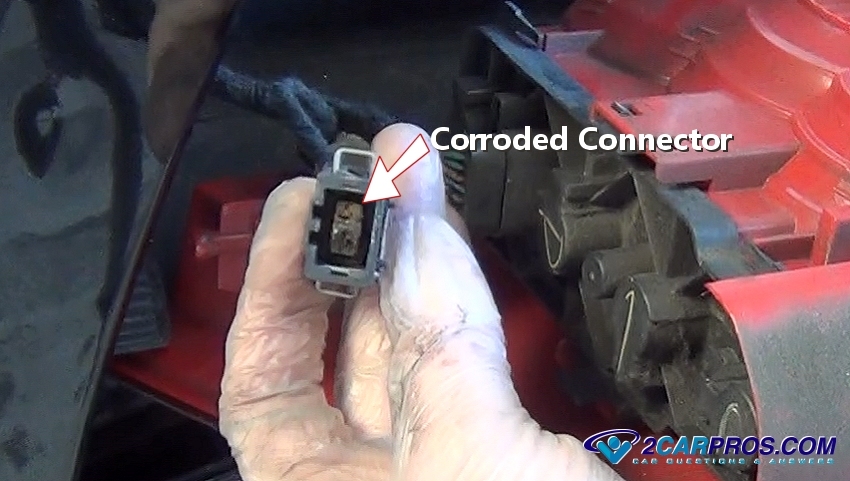
Many lighting system bulb clusters have a connector which can melt due to poor connection which causes high resistance and a bad connection. The connector with pigtail will need to be replaced which you can get from Amazon or from the dealer. With the foot off of the brake pedal cut the harness and splice in the new connector. If the connector looks okay inspect the wiring harness and check for obvious damage such as a cut or wear mark indicating the harness has rubbed against a metal frame breaking the wire. If everything looks okay continue with this guide.
Brake Light System Failure
This portion of the guide is to help you test for power when one, both lower or all three brake lights have no power.
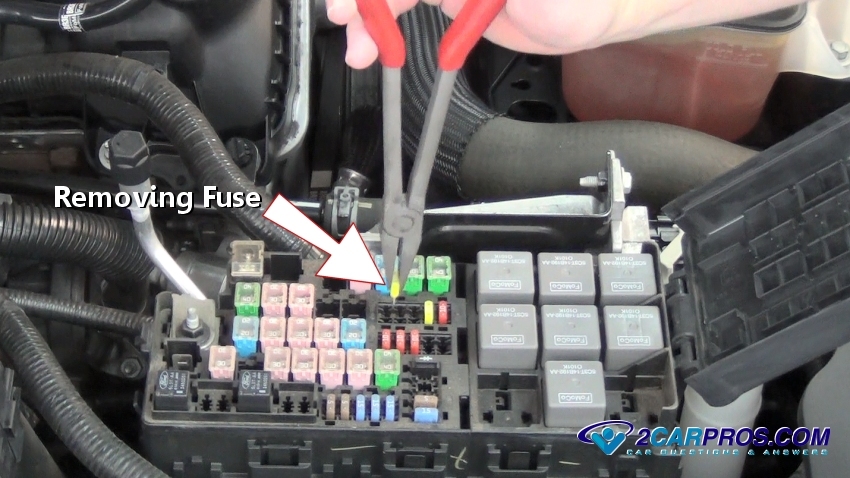
1. Test the Fuses: Use the owners manual or the lid of the fuse panel to find the brake light system fuse. Then use a test light to check the fuses for the brake lights and the BCM fuses and replace any that are blown. If the fuse is blown it could be caused by a shorted wire to ground, a melted light socket or a weak fuse. Check to see if the fuse is loose in it's holder which will cause a bad connection. Enhance the tension on the holder terminals to correct the problem. If the fuse is okay continue down the guide.
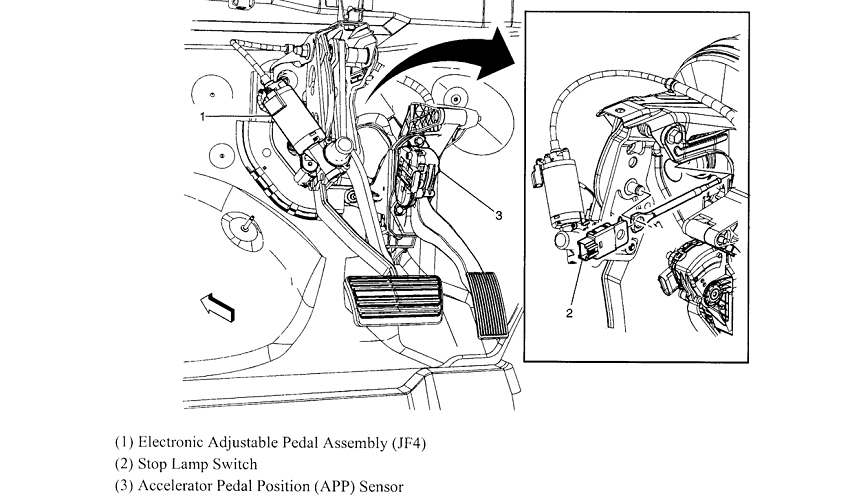
2. Check the Brake Light Switch: On newer cars using a BCM or lighting control module the brake light switch completes a ground circuit which triggers the lighting computer to supply power to the brake lights. Locate the switch near the upper part of the pedal which will have wiring connected to it. Begin by inspecting the wiring harness and look for obvious damage such as a cut, wear mark or broken wire indicating the harness has rubbed against a metal frame causing the failure.
Wiggle the wiring while pressing down on the the brake pedal to see if the lights begin working. This would indicate an internal broken wire or bad brake light switch. To test the brake light switch use a test light and connect it to power and probe each of the two wires. One should be lit all the time, while the other should light up when pushing the brake pedal down. If only one side lights up the brake light switch is bad and needs replacement.
On older cars the brake light switch controls brake light power, perform the same test using a grounded test light. These switches are held in place by a metal clip and pin assembly which makes replacement about a 20 minute job in most cases.
If the switch becomes out of adjustment it can leave the brake lights on which can drain the battery down. Since the brake light switch is used many times it will eventually need to be replaced. A brake lens and socket can melt and distort when the brake lights are kept on for an extended amount of time so try to avoid allowing the brake lights to stay on overnight.
On vehicles using a lighting or BCM module use a wiring diagram to test the ingoing signal from the switch and the outgoing voltage to the lights. If the BCM has a brake light input signal from the switch and no outgoing signal the brakes lights the module is bad. If none of the lights are working check the fuse for the BCM or lighting module. Here is a typical BCM wiring diagram with power outputs going to the brake lights.
They are listed as LR Turn Signal (YEL) and RR Turn Signal (DK GRN) which are the same as the brake lights on this car. To test the BCM power output connected a ground test light and probe the wires to confirm power or not.

Older American Cars Only
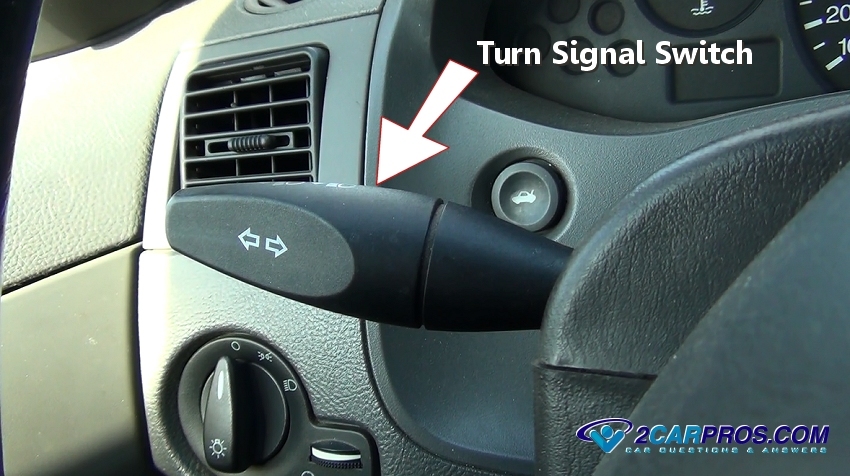
1. Test the Turn Signal Switch: On older American vehicles the brake light circuit is routed through the turn signal switch which can go bad not allowing the voltage to continue to the brake lights. Most American cars are designed with the lower brake light circuit incorporated into the turn signal switch where the brake light bulb and the turn signal bulb are one and the same. The turn signal switch interrupts the brake light circuit and installs the blinker circuit when the switch is activated.
Using a wiring diagram test the color wires that are ingoing and outgoing to see if the circuit is working. If not replace the turn signal switch, this is sometimes called a multifunction switch.
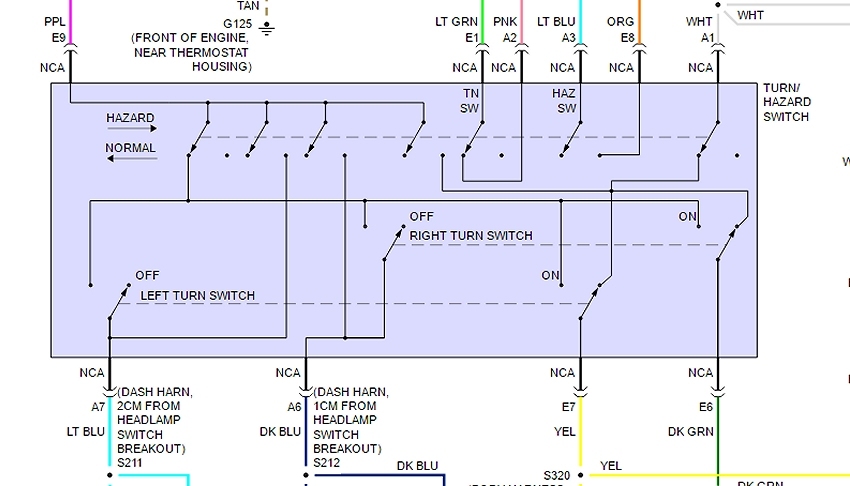
Here is a typical wiring diagram for a system which powers through a turn signal switch. Again YEL (E7) and DK GRN (E6) probe these wires while holding down the brake pedal. They should have power and if not the switch is bad and needs replacement. You can get a wiring diagram for your car by asking one of our experts for free.
Watch the Video!
Please watch this video of the job being done to glean additional helpful information.
Credits
This guide knowledge base was created by the 2CarPros Team, and by Ken Lavacot: Automobile repair shop owner and certified master automobile technician of over 30 years. If you have question or need help please ask one of our experts we are happy to help. Please visit our 2CarPros YouTube Channel.

Article published 2024-06-24