If you are continuously recharging the air conditioner system, or if the system is flat (no charge), you have a leak which needs to be found and repaired to keep the AC system functioning correctly. There are a few ways to find a leak which depends on how big the leak is. If the leak is relatively large you should be able to hear it escaping much like a hole in a tire, which is easily found. Large leaks are typically a blown hose, or a hard line that has been rubbed through on the frame or bracket inside the engine compartment.
Let's Jump In!
There is an alternative way to find leaks not involving a leak detector. With the AC system charged prepare a water spray bottle with a heavy soap solution, (for large leaks a small amount of refrigerant is okay). Then, spray around the various components and when a leak is found bubbles will start to appear indicating a leak. This method works well except for the compressor front seal and evaporator leak detection. Also, there are refrigerant recharge products that include a dye, and when installed into the system can be detected using a black light, but again a compressor front seal and evaporator leak is difficult to detect.
SPONSORED LINKS
A slow leak can be a little more difficult to find, most of the time you can visually see slow leaks because of the PAG oil inside the system along with the refrigerant which leaks out. The oil seepage indicates where the leak is located. Look at all refrigerant lines, compressor and the condenser to see any signs of leakage.
The method below is the preferred way to find a slow leak.
Step 1: Leak Detector Usage
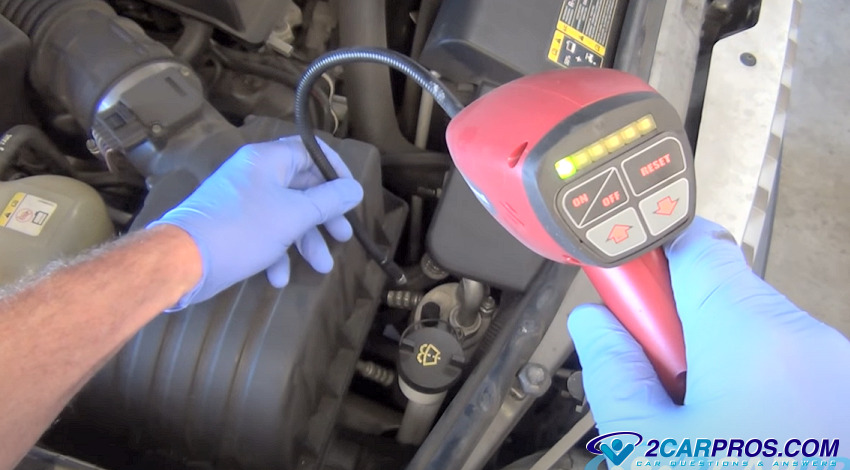
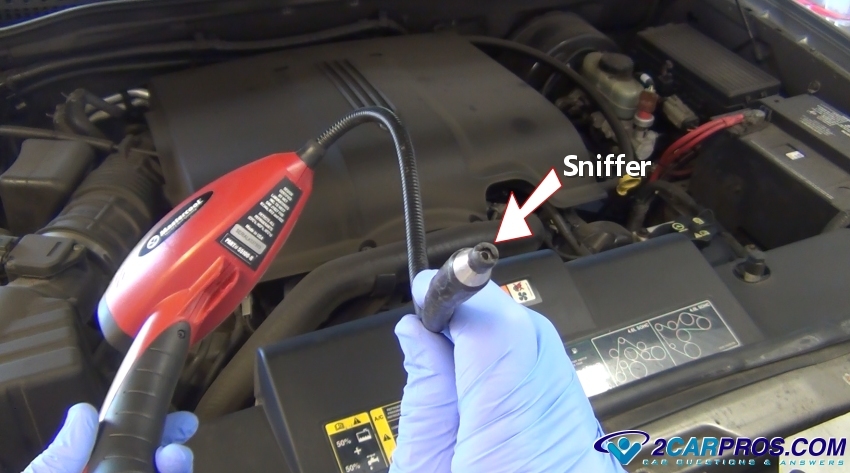
If you cannot hear the leak, or find any oil residue then a leak detector is needed. If you do not have a detector you can purchase one from Amazon from about $35.00. The detector is comprised of a main body which holds a sensing device, batteries, and sensitivity controls. At the end of the detector there is a "sniffer" which is where the detector pulls in a small amount of air to be analyzed for traces of refrigerant.
SPONSORED LINKS
Step 2: Testing the System for Leaks
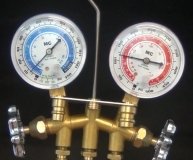
Before you begin testing the system should have a static charge of about 65 psi so the detector can do its job. The engine must be off and the car should be in a place where there is no wind or breeze is present. Any air movement can push the refrigerant away from the actual leak and give you a false reading or make the detection more difficult. One more thing worth mentioning is that refrigerant is heavier than air so try to test below or at the bottom of an object for leaks.
Note: Dust and dirt can cause the detector to falsely "go off" and it can fool you into thinking there is a leak when in reality there is not. If you do accidently catch some dust blow into the sniffer tip and the detector will reset itself. Keep the tip out of the dirt of the vehicle as much as possible.
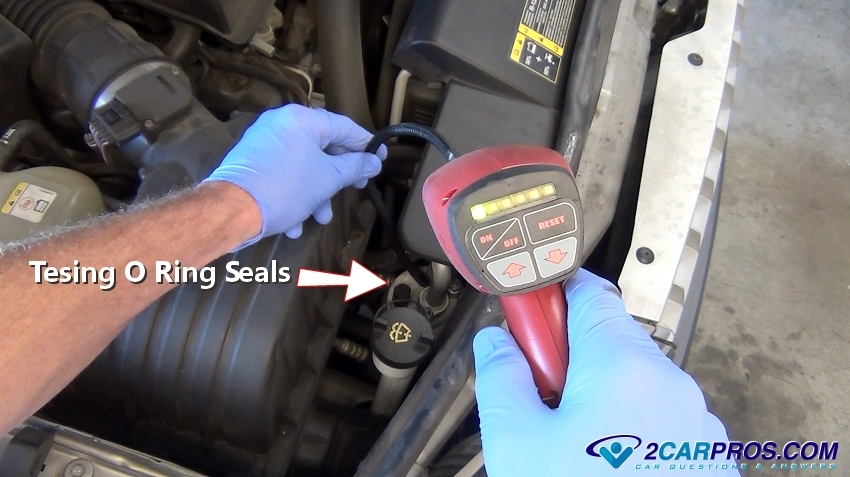
1. Turn the detector on and adjust the sensitivity to the lowest setting to start testing. Here we are testing an O ring seal on the receiver dryer with no response from the detector. O rings are popular places to finds leaks. The tester will indicate a leak by showing one or more red lights while beeping. If you have tested the entire system and no leaks are found, adjust the sensitivity to its higher settings.
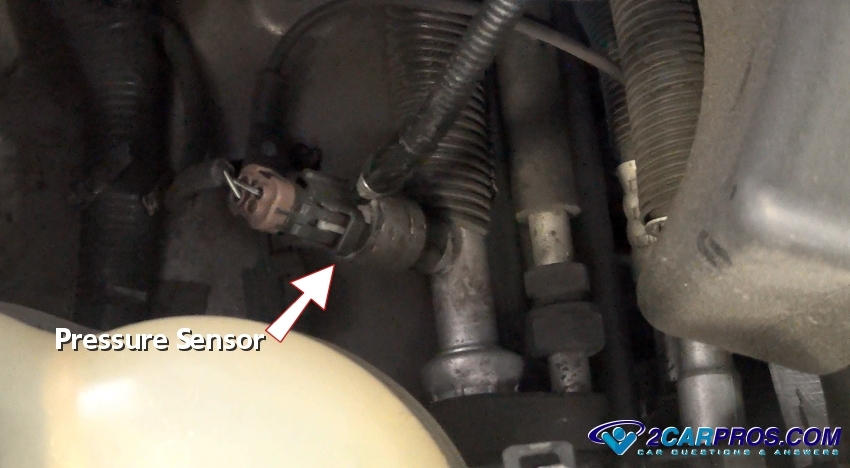
2. Pressure sensors for the system also presents a popular place to find leaks, check at the base and at the electrical connector.
SPONSORED LINKS
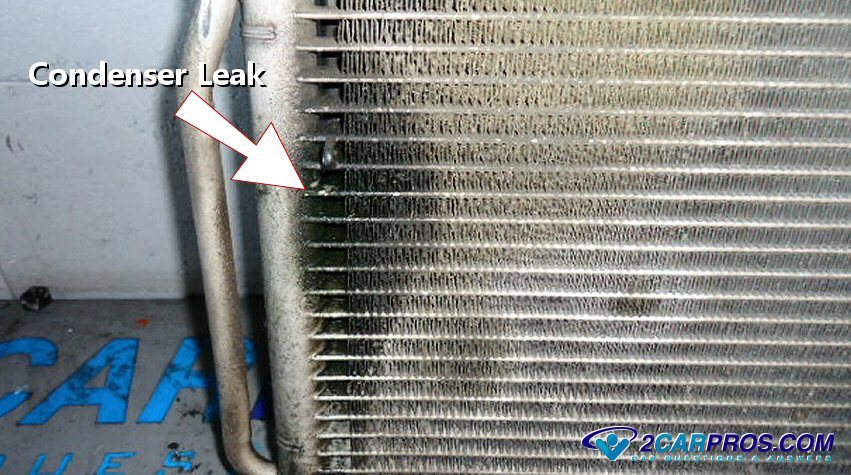
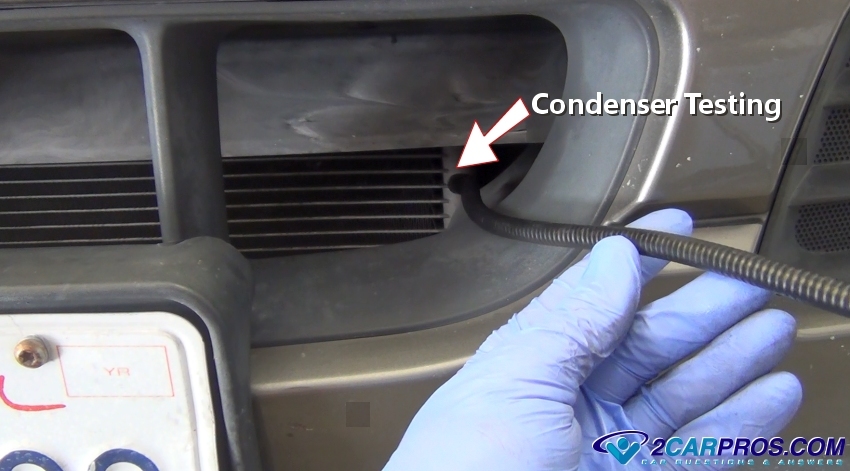
3. The AC condenser is positioned at the front of the vehicle and is subject to small rocks and other road debris which can easily damaged the unit and cause a leak. Check the entire condenser including the hose connections.
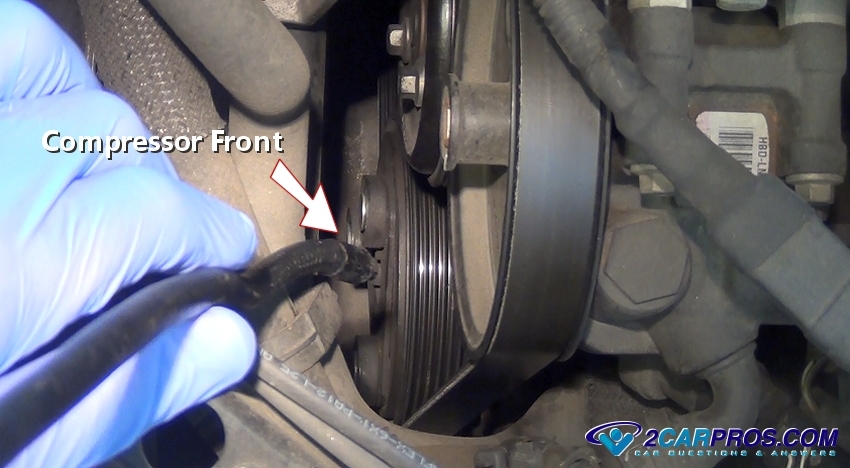
4 . The front of the compressor is where the main shaft seal is located and a very popular place for a refrigerant leak. Position the sniffer in the very front of the compressor, and at the lower part of the clutch or pulley.
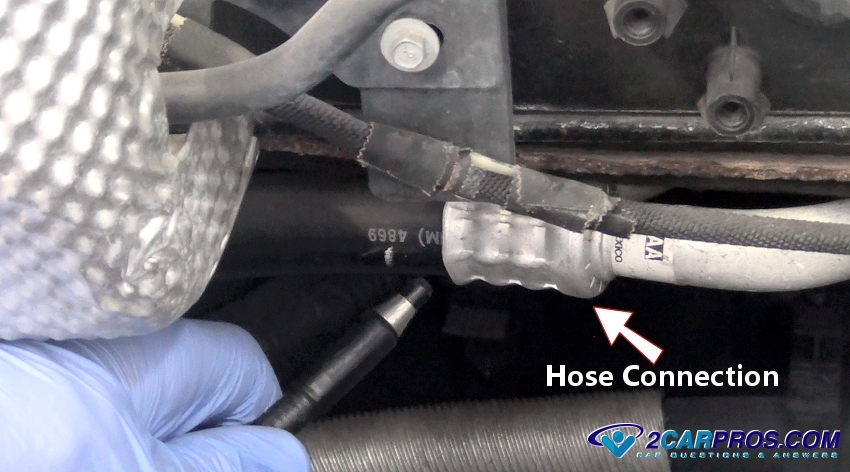
5. Air conditioner hose fittings look like this, which holds the rubber hose into the aluminum fitting or tube. Test at the lower part of the connection.
SPONSORED LINKS
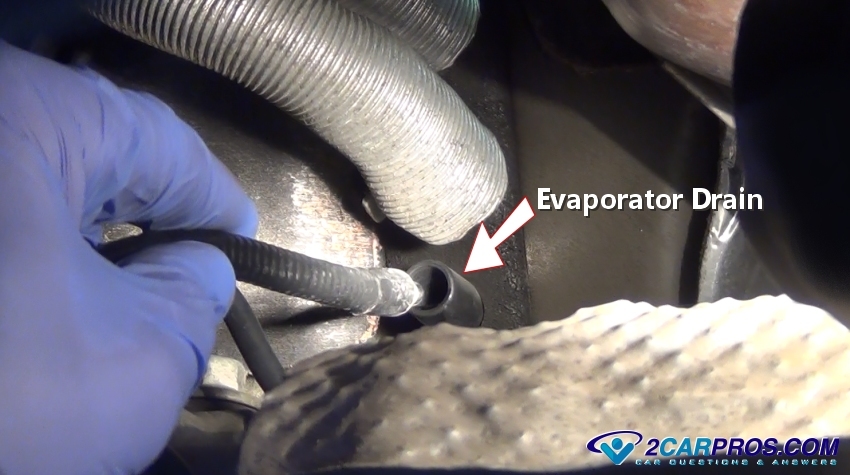
6. Here is the method to check the evaporator of the AC system. Locate the water drain and insert the sniffer, if a leak is detected the evaporator core or the O rings that seal it to the high and low side hoses are leaking. This drain allows the refrigerant to funnel down into the tube which is the best place to check for leaks. Do not get water or dirt into the nose of the sniffer.
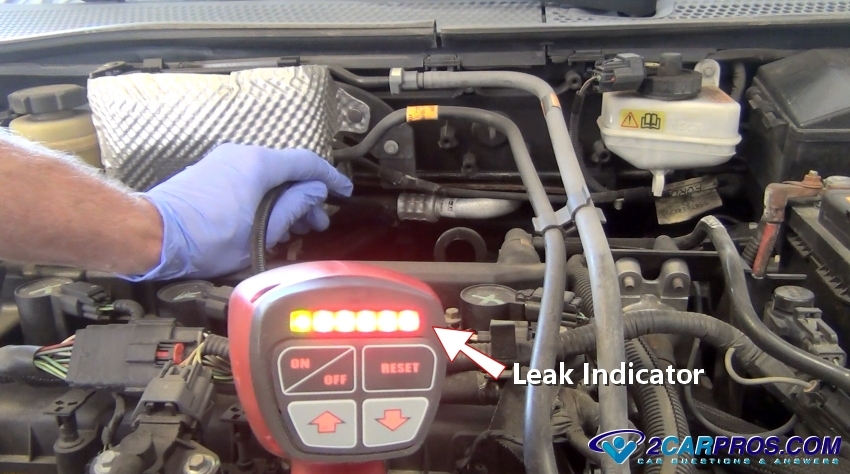
7. When the detector has found a leak it will indicate this by beeping rapidly and advancing the red lights on the detector. Before the repair can be made the system must be discharged, once the repair is completed the system must be vacuumed down and recharged.
Watch the Video!
Please watch this video of the job being done to glean additional helpful information.
Credits
This guide knowledge base was created by the 2CarPros Team, and by Ken Lavacot: Automobile repair shop owner and certified master automobile technician of over 30 years. If you have question or need help please ask one of our experts we are happy to help. Please visit our 2CarPros YouTube Channel.

SPONSORED LINKS
Article published 2024-04-15
SPONSORED LINKS

Fix an Air Conditioning Not Working Video

Air Conditioner Recharge - Simple
