Hi,
Here are the directions from Alldata for service. The torque specs for the pan and filter are included in the directions. Also, make sure your vehicle has a dipstick. I can't recall if this year came with one or if the trans dipstick tube has a cap on it requiring one from a dealer.
As far as the cooler lines, they have quick connects and will not require you to unbolt anything. If you look at the second set of directions, it shows how to remove and replace.
__________________________
2013 Chrysler Truck Town & Country V6-3.6L
62TE - Automatic Transaxle - Fluid/Filter Service
Vehicle Maintenance Filters Fluid Filter - A/T Service and Repair Procedures 62TE - Automatic Transaxle - Fluid/Filter Service
62TE - AUTOMATIC TRANSAXLE - FLUID/FILTER SERVICE
FLUID AND FILTER SERVICE
FLUID/FILTER SERVICE (RECOMMENDED)
NOTE:
Refer to the maintenance schedules in LUBRICATION and MAINTENANCE, or the vehicle owner's manual, for the recommended maintenance (fluid/filter change) intervals for this transmission.
NOTE:
Only fluids of the type labeled MOPAR ATF+4 should be used. A filter change should be made at the time of the transmission oil change. The magnet (on the inside of the oil pan) should also be cleaned with a clean, dry cloth.
NOTE:
If the transmission is disassembled for any reason, the fluid and filter should be changed.
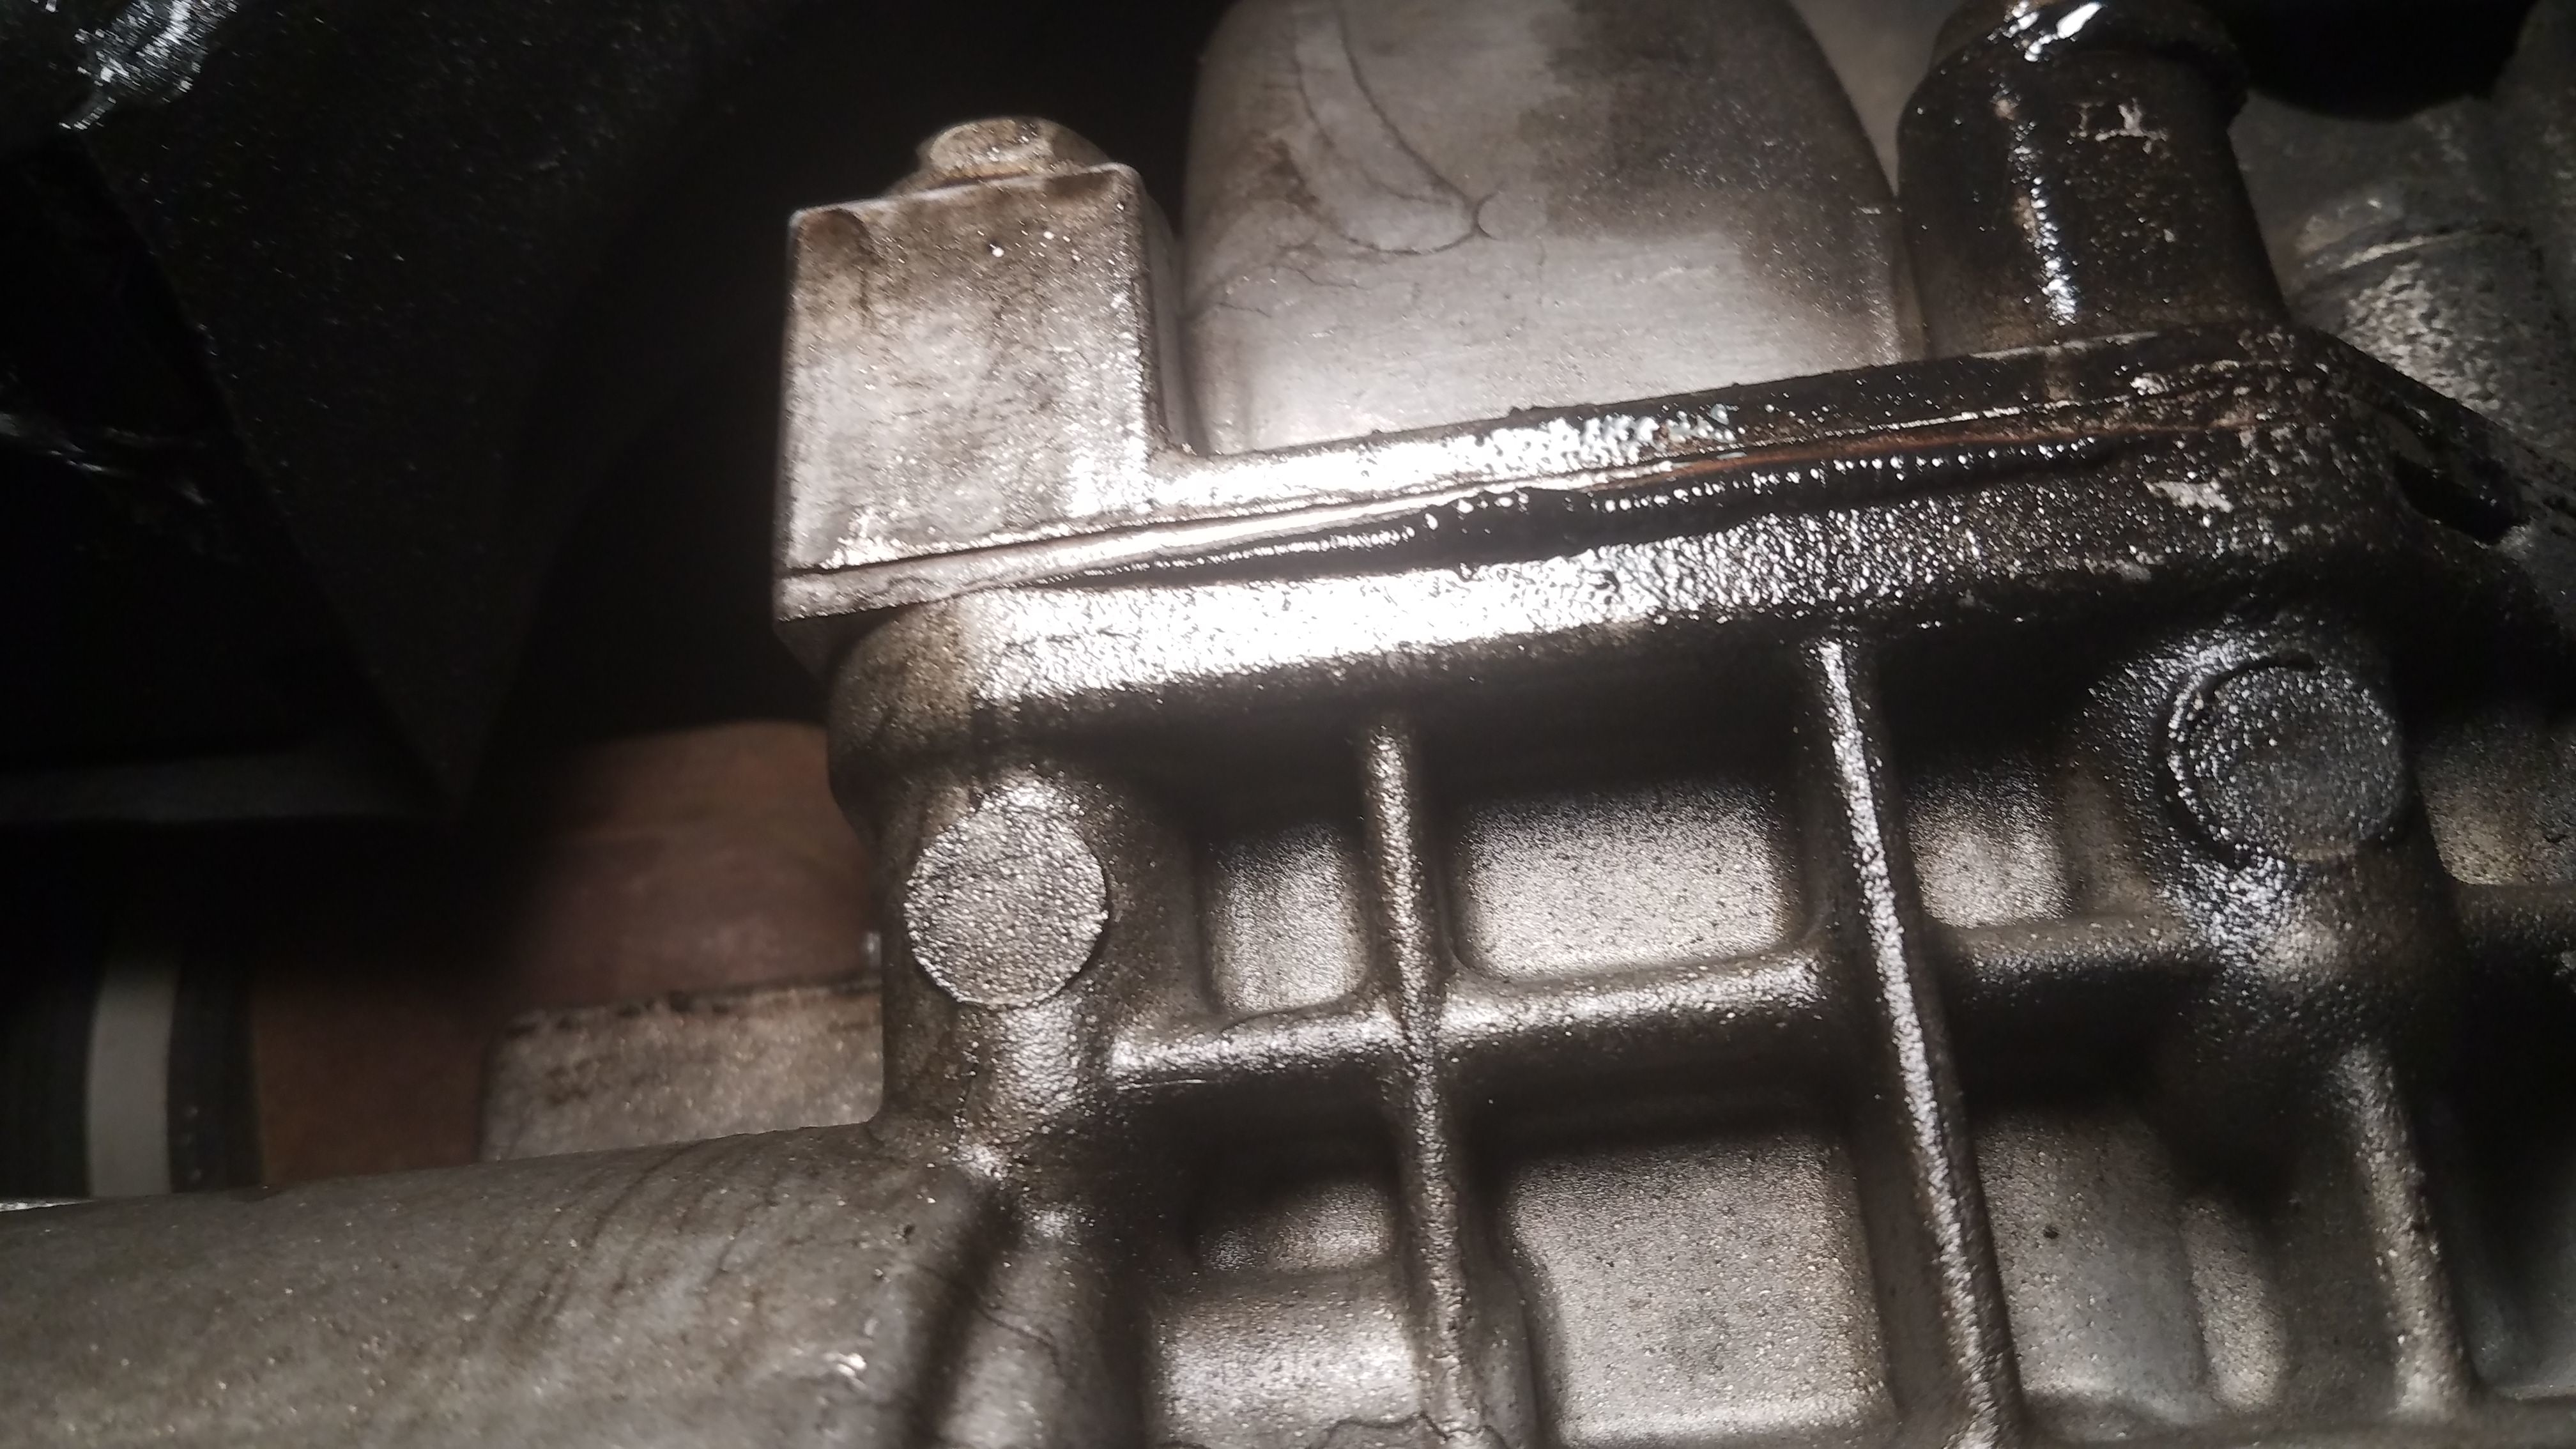
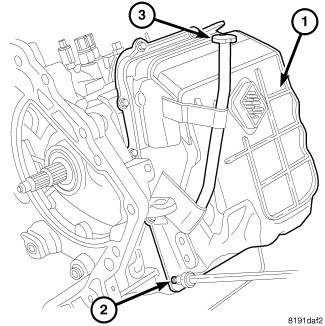
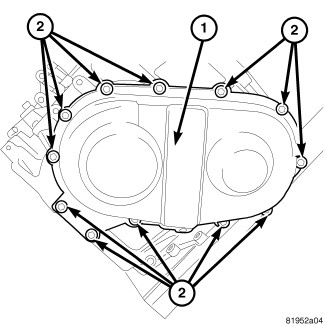
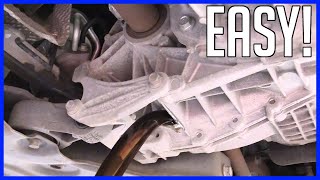
Raise vehicle on a hoist. Refer to LUBRICATION and MAINTENANCE for proper procedures. Place a drain container with a large opening, under transmission oil pan.
Loosen pan bolts and tap the pan at one corner to break it loose allowing fluid to drain, then remove the oil pan.
Remove nuts at the oil filter.
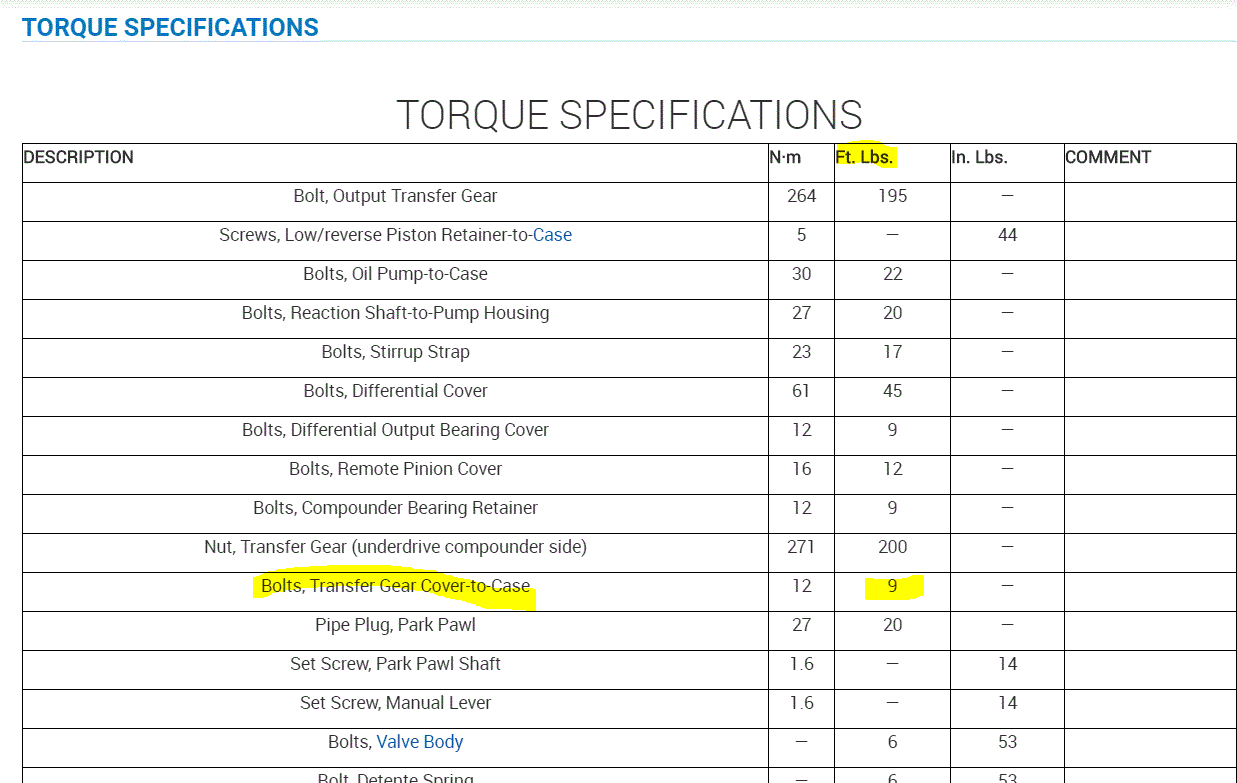
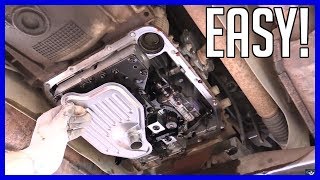
Install a new filter and nuts, tighten to 5 N� m (40 in. Lbs.).
Install the fluid filter oil pan, use a bead of MOPAR ATF RTV (MS-GF41).
Clean the oil pan and magnet. Reinstall pan using new MOPAR Silicone Adhesive sealant. Tighten oil pan bolts to 12 N� m (105 in. Lbs.).
Pour four Quarts of MOPAR ATF+4 through the dipstick opening.
Start engine and allow to idle for at least one minute. Then, with parking and service brakes applied, move selector lever momentarily to each position, ending in the park or neutral position.
Check the transmission fluid level and add an appropriate amount to bring the transmission fluid level to 3 mm (1/8 in.) Below the lowest mark on the dipstick.
Recheck the fluid level after the transmission has reached normal operating temperature 82° C (180°F). Refer to Fluid Level and Condition Check for the proper fluid fill procedure (Refer to 21 - Transmission and Transfer Case/Automatic - 62TE/FLUID - Standard Procedure).
To prevent dirt from entering transmission, make certain that dipstick is fully seated into the dipstick opening.
____________________________________
Cooling lines:
2013 Chrysler Truck Town & Country V6-3.6L
Transmission Cooler Line Quick Connect Fitting Disassembly/Assembly
Vehicle Transmission and Drivetrain Automatic Transmission/Transaxle Fluid Line/Hose Service and Repair Procedures Transmission Cooler Line Quick Connect Fitting Disassembly/Assembly
TRANSMISSION COOLER LINE QUICK CONNECT FITTING DISASSEMBLY/ASSEMBLY
STANDARD PROCEDURE - TRANSMISSION COOLER LINE QUICK CONNECT FITTING DISASSEMBLY/ASSEMBLY
Special Tools
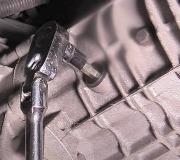
Pic 1
8875A - Disconnect, Transmission Cooler Line
Originally Shipped In Kit Number(s) 9202, 9328, 9328-CAN, 9329, 9516, 9575.
9546 - Disconnect Tool
Originally Shipped In Kit Number(s) 9590.
DISCONNECT
Pic 2
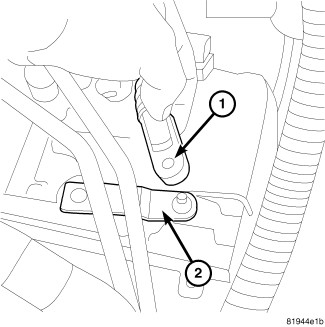
Remove dust cap by pulling it straight back off of quick connect fitting
Place disconnect Special Tool 8875A onto a3 /8 inch transmission cooler lines or Special Tool 9546 onto a 1/2 inch transmission cooler lines with the fingers of the tool facing the quick connect fitting.
Slide disconnect tool down the transmission line and engage the fingers of the tool into the retaining clip. When properly engaged in the clip, the tool will fit flush against the quick connect fitting.
Rotate the disconnect tool 60° to expand the retaining clip.
While holding the disconnect tool against the quick connect fitting, pull back on the transmission cooler line to remove.
CONNECT
pic 3
Align transmission cooler line (3) with quick connect fitting while pushing straight into the fitting.
Push in on transmission cooler line until a click is heard or felt.
Slide dust cap (4) down the transmission cooler line and snap it over the quick connect fitting until it is fully seated and rotates freely. Dust cap will only snap over quick connect fitting when the transmission cooler line is properly installed.
NOTE:
If dust cap will not snap into place, repeat assembly step 2.
__________________
Let me know if this helps or if you have other questions.
Take care,
Joe
Images (Click to make bigger)
SPONSORED LINKS
Sunday, March 1st, 2020 AT 8:25 PM