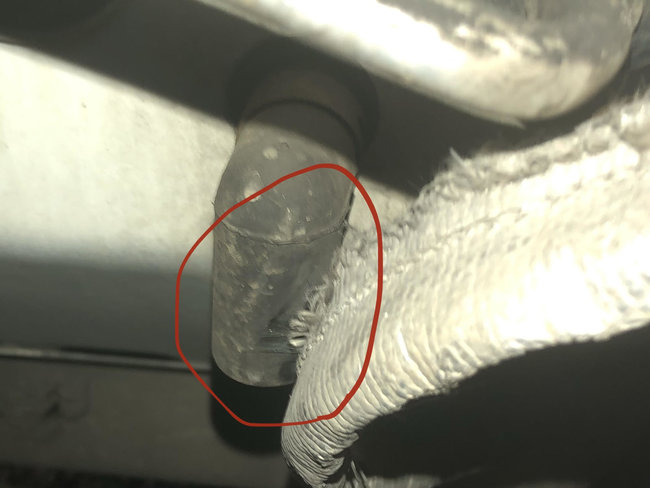
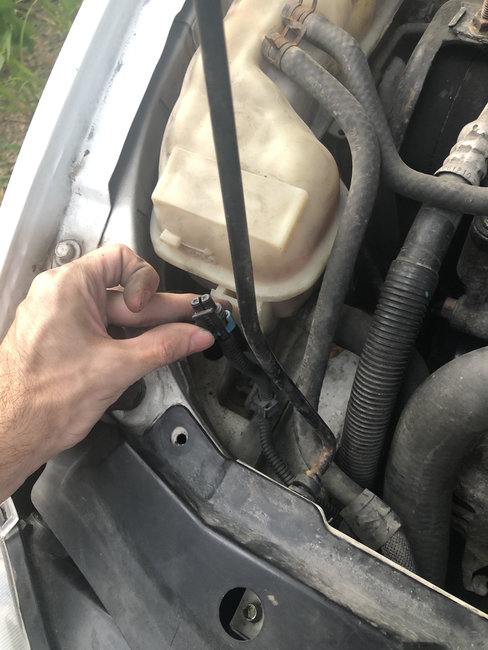
Pic 1 is an electrical connector and pic 2 is the A/C drain.
The mode door is what controls air flow direction. I looked it up and found that this one is controlled by a cable. Take a look at these directions for removal and replacement of the cable. Check the cable shown and see if it is disconnected or broken.
Take a look at this link for a better description and what to do when it is stuck in defrost mode:
https://www.2carpros.com/articles/air-vents-stay-in-the-defrost-position
______________________________________
2003 Chevrolet Cavalier L4-2.2L VIN F
Mode Control Cable Replacement
Vehicle Heating and Air Conditioning Air Door Air Door Cable Service and Repair Procedures Mode Control Cable Replacement
MODE CONTROL CABLE REPLACEMENT
REMOVAL PROCEDURE
pic 1
1. Remove the I/P trim plate.
2. Disconnect the mode control cable from the mode door lever.
3. Remove the cable flag retaining screw.
4. Remove the HVAC control assembly.
5. Release the flag from the mode base using the release tab.
pic 2
6. Remove the flag.
7. Remove the cable end form from the lever post.
8. Remove the temperature control cable.
INSTALLATION PROCEDURE
pic 3
1. Install the mode control cable to the HVAC control assembly.
2. Snap the flag into the mode base.
3. Snap the cable end form over the lever post.
pic 4
4. Install the cable to the mode door lever/cam.
5. Install the cable flag and screw to the HVAC module assembly.
NOTE: Refer to Fastener Notice in Service Precautions.
Tighten
Tighten the screw to 2 N.m (18 lb in).
6. Install the HVAC control assembly.
7. Install the I/P trim plate.
___________________________________
Let me know what you find or if you have other questions.
Joe
Images (Click to make bigger)
SPONSORED LINKS
Wednesday, July 8th, 2020 AT 7:46 PM