Hi,
Take a look through these directions and let me know if they help. The attached pictures correlate with the directions.
_________________________
2006 Pontiac G6 V6-3.9L VIN 1
Procedures
Vehicle Power and Ground Distribution Fuse Block Service and Repair Procedures
PROCEDURES
UNDERHOOD ELECTRICAL CENTER OR JUNCTION BLOCK REPLACEMENT
REMOVAL PROCEDURE
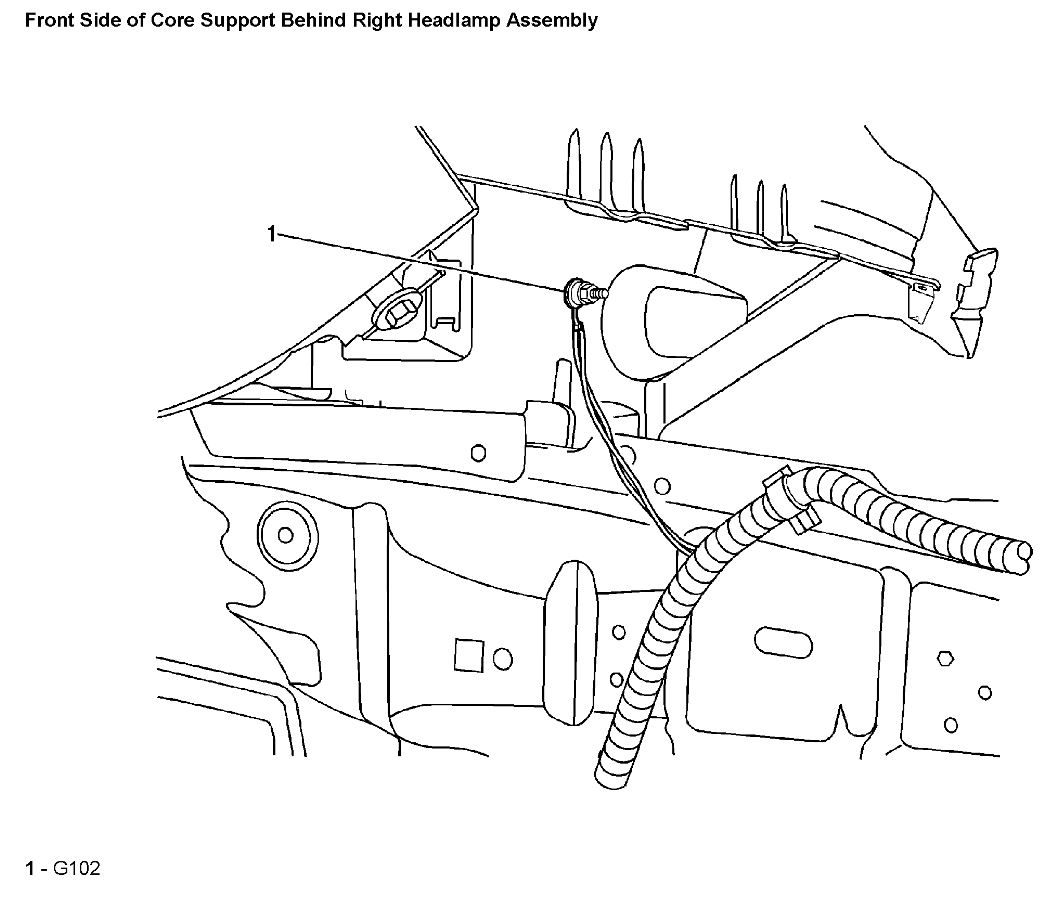
pic 1
1. Remove the battery.
Pic 2
2. Remove the fasteners retaining the positive battery cable leads to the underhood electrical center, then reposition the cable lead away from the electrical center.
3. Remove the electrical center cover.
4. Remove all of the fuses and the relays.
Pic 3
5. Use a flat-bladed tool to disengage the 4 tabs that secure the electrical center to the battery tray.
Pic 4
6. Use a flat-bladed tool to remove the connector cover from the electrical center.
Pic 5
7. Loosen the 4 bolts across the top of the electrical center.
Pic 6
8. Use a flat-bladed tool to remove the locking pins from the body harness connector.
9. Disconnect the body harness connector.
10. Disconnect the remaining wiring harness connectors from the junction block.
INSTALLATION PROCEDURE
pic 7
1. With the electrical center turned upside down, install the electrical center harness connectors into the electrical center.
Pic 8
2. Install the locking pin to the power supply connector.
3. Install the bolts retaining the engine, instrument panel (I/P), and forward lamp wiring harness connectors to the junction block.
NOTE: Refer to Fastener Notice in Cautions in Notices.
Tighten the electrical center junction block bolts to 7 N.M (62 lb in).
Pic 9
4. Install the electrical center connector cover.
5. Turn the electrical center right side up.
6. Install the electrical center to the battery tray by pushing the electrical center into the retainer tab.
7. Install all of the fuses and the relays.
8. Install the positive battery cable lead to the stud on underhood electrical center, then install the positive battery cable lead retaining nut.
Tighten the positive battery cable lead retaining nut to 10 N.M (89 lb in).
9. Install the electrical center cover.
10. Install the battery.
_____________________________
Let me know if this is helpful or if you have other questions.
Take care,
Joe
Images (Click to make bigger)
Tuesday, February 4th, 2020 AT 8:16 PM