1990 Honda Civic Distributor Rotor Shaft Spacer

Tiny
BEEV
  • MEMBER
  • 1990 HONDA CIVIC
  • 4 CYL
  • FWD
  • AUTOMATIC
  • 115,000 MILES
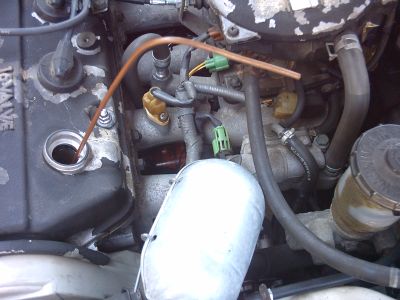
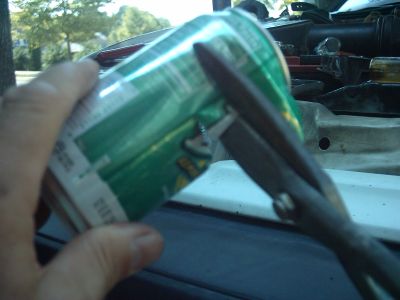
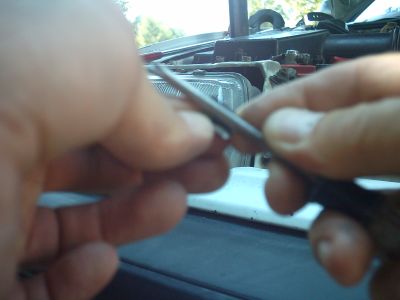
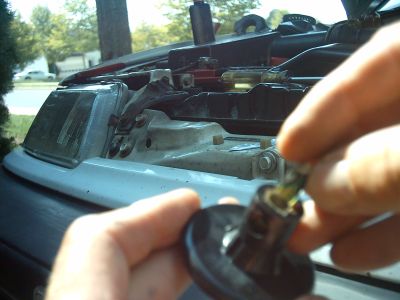
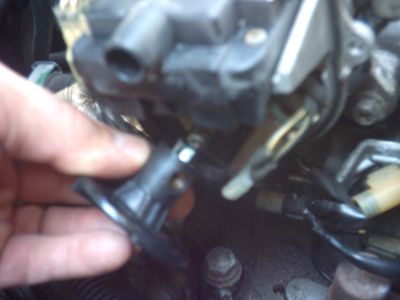
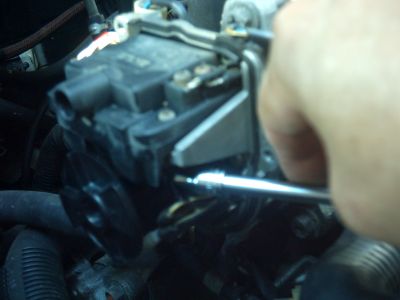
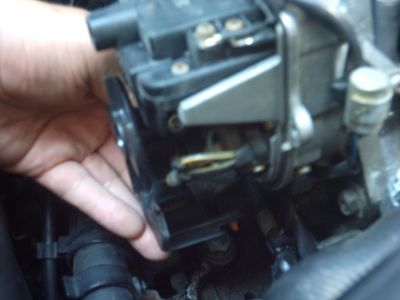
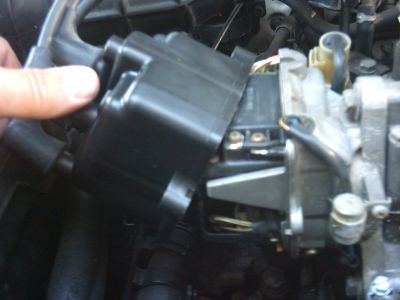
I purchased reman distributor for my '90 Civic DX w/ 1.5L New distributor rotors fit loosely on this distributor shaft. Tightening the set screw firms rotor but visible runout when cranking. Old rotor center contact worn in visible elliptical "O." This is second rotor in a year I've had to replace because they begin to disintegrate inside the cap. Commercial parts books for '88-91 rotors have a footnote that calls to "remove plastic spacer from old rotor and re-use" but Honda dealer lists no such part in database. Anybody know a fix other than a few turns of metallic tape to build up diameter of distributor shaft?
Monday, August 30th, 2010 AT 3:50 PM

3 Replies

Tiny
KHLOW2008
  • MECHANIC
  • 41,815 POSTS
Hi Beev,

Honda distributor bearing is 0.5 mm larger in diameter and during remans, if standard bearings are used, the shaft diameter would ne machined down to enable installation of the bearing. That is the reason Honda does not have any list for the part because it is non existence in OEM parts.

That is the reason for the rotor fitting loosely onto the shaft. A round of aluminium can foil should solve the problem.
Was this
answer
helpful?
Yes
No
Tuesday, August 31st, 2010 AT 5:57 AM
Tiny
BEEV
  • MEMBER
  • 4 POSTS
Thanks, KHLow2008. That did the trick (see photos.)

Cyl #1 TDC places rotor set screw facing front of vehicle with straight shot for removal/install. Any other position is blind or obstructed. Remove Cyl # plug and put a length of heavy gauge solid copper wire into tower so you can see when Cyl is at top of stroke from drivers seat (handy if you don't have an assistant or remote starter. You need a drop light to see TDC mark on crank pulley. The thickness of soft drink can measured .004" so installing a semicircular shim in rotor shaft opening across from set screw hole took up necessary slack. 0.5mm is 0.009" and more than semicircle circumference was too tight to slide on Rotor. A square of electrical tape in nut driver socket keeps that pesky set screw from dropping. Be sure to hook dust shield tongs into slots on bottom of Coil. The cap clamps bottom of shield. Install cap straight-on so you don't damage coil contact.

Thank you again! v/r Beev


https://www.2carpros.com/forum/automotive_pictures/567329_1Find_1_TDC_2.jpg


https://www.2carpros.com/forum/automotive_pictures/567329_2Cut_shim_1.jpg


https://www.2carpros.com/forum/automotive_pictures/567329_3Roll_into_semicircle_1.jpg


https://www.2carpros.com/forum/automotive_pictures/567329_4Place_in__Rotor_1.jpg


https://www.2carpros.com/forum/automotive_pictures/567329_5Install_Rotor_1.jpg


https://www.2carpros.com/forum/automotive_pictures/567329_6Install_Set_screw_1.jpg


https://www.2carpros.com/forum/automotive_pictures/567329_7Replace_dust_shield_1.jpg


https://www.2carpros.com/forum/automotive_pictures/567329_8Install_cap_1.jpg

Was this
answer
helpful?
Yes
No
Tuesday, August 31st, 2010 AT 2:35 PM
Tiny
KHLOW2008
  • MECHANIC
  • 41,815 POSTS
Glad to know you have fixed the problem.

This is one distributor that I hate to overhaul. Most of the torx screws would break when removed as they are very small and slender and has loctite applied.
Was this
answer
helpful?
Yes
No
Wednesday, September 1st, 2010 AT 1:14 PM

Please login or register to post a reply.

Sponsored links