This drawing is specific to your car:
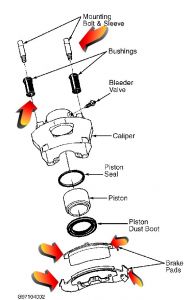
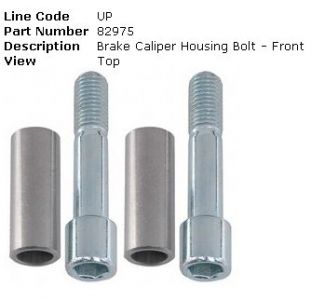
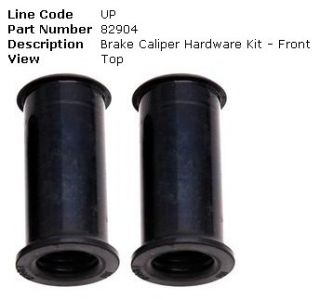
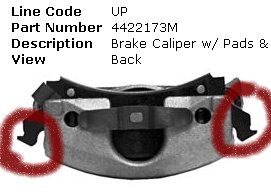
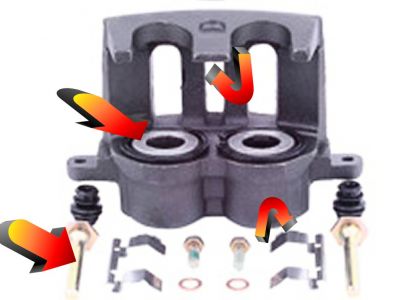
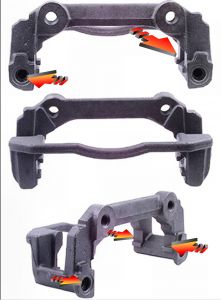
IF the calipers are original, you may want to consider replacing them with reman ones that have new hardware. The bolts can get pretty rough over time, and the piston a little stickier.
Also when you do this, you need to clean and adjust the rear brakes:
As brake shoe linings wear thinner, they take longer to reach the brake drum to begin the stopping process. All the time the rears are not making contact, the front brake will be creating the stopping power. This creates several problems. There is a longer distance needed for stopping, excessive heat is placed on the front rotors and brake pads causing premature wear. Emergency brakes may not work because of under adjusted brake shoes. The excessive travel the brake shoe has may not allow the shoe linings to make adequate contact to the brake drum. Many folks don't use the emergency brake also known as the parking brake. But in the event there is total loss of the hydraulic brakes, the emergency brake can be used as a makeshift brake to avoid tragedy. By holding down the emergency brake pedal and holding the release for the parking brake out, a temporary brake system is established. There are some states that require by law for the emergency brake to work correctly. Cleaning and Adjusting the rear brakes will prevent additional problems that can be expensive.
After raising the rear end of the car and securing it with jack stands or on a lift, remove the lug nuts and rear wheels. MAKE SURE IT IS STABLE WHILE IN THE AIR. The rear wheel should come off with no trouble. If it does not want to release, install one lug nut back on part way. With a five-pound hammer hit the inside of the tire towards the outside, spin it a quarter turn and hit it again. Continue until it pops free. Now that you have access to the drum grab it with both hands and attempt to pull it off the hub. Hopefully, it slid off fairly easily. There are different reasons for the drum to stick. Look closely at the base of the studs; if you jostle the drum at all does it look like the drum is moving independent of the wheel studs. If it is not and appears to be one with the drum, take your big hammer or a three-pound is better, whack the areas between the studs on the drum. Do not hit the studs. If you even think you might hit them, put the lug nuts partially back on to protect them. You'll notice it pop after striking it. This may take a little effort or a Herculean one. Once it pops it should slide off. IF not, back off the adjuster on the inside of the drum accessed from the adjuster hole in the backing plate. There have been times they will still stick and hitting the edge of the drum in the same manner, as the tire will aid in getting it off.
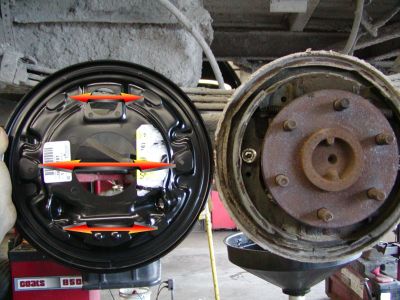
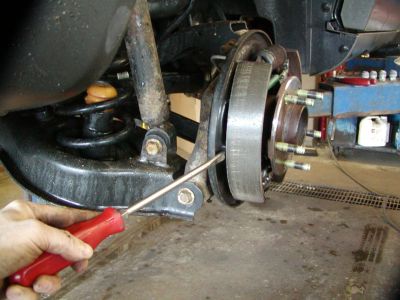
Now that the drum is off, get a pick and pull back on the rubber dust boots on the wheel cylinders to be sure that you don't have a wheel cylinder on its way out. If more than a few drips come out, replace both sides. When one goes, the other isn't far behind. If all is good, use a screwdriver, brake adjuster tool or similar to help move parts around while you spray the cleaner. With a catch pan under the brake assembly, spray down the entire brake area starting from the top down. Use your tool to lift up on the shoes and spray in behind the shoes where they ride on the drum. Try to move the adjuster wheel. If it moves freely, you can leave it alone. If it is tight or not moving, use your screwdriver to pry the shoe back and remove the adjuster. If your having trouble getting the adjuster out then pull off any springs you need to accomplish removing the adjuster. If the teeth are worn on the adjuster, replace it.
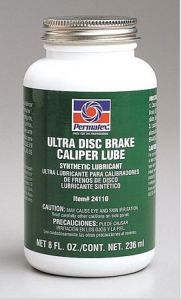
In a vise tighten the adjuster up in the jaws, use a pair of vise grip style tool to clamp onto the other end of the adjuster and get it free. Tap out and rust and spray it with the brake clean if needed. Use a wire wheel and get the adjuster clean. Lube the area where the adjuster was stuck and work the two parts back and forth. Re-install the adjuster in the same position the way it was removed, but fully turned in. There are various areas that now need to be lubed. The less resistance on moving parts the better. Pry back on each shoe on the top and lubed the post and the top of the shoe, the parking brake pivot arm. There are three raised portions the shoes slide on located on the backing plate. Pry the shoe up and lube these areas.
Going back to the drum, if it is too rough, too thin, badly rusted or damaged from removal, replace it. If not, you need to spray the inside down of it and wipe it clean. Grind off the ridge that is made from the shoes wearing into the drum so you'll be able to adjust it and remove easier next time it has to come off. Wire brush the hub portion in the center where the drum slides onto and lube it. Slide the drum on and spin it. Remove the drum and turn the adjuster several turns to increase the spread of the shoes. Slide the drum back on and spin it. Continue this until you get a slight drag on the shoes. Press the brake pedal with the drums on and recheck it. If there is any drag, pull the drum back off and turn the adjuster in so there is a very slight drag. Over adjusted shoes seem to be followed with a wheel cylinder failure, so don't over tighten. Re-install the wheels and you're done.
Feb 24, 2021 at 12:03 PM